 On the 27th of September, 1962, marine biologist and conservationist Rachel Carson saw her book, Silent Spring, published. A powerful examination of the effect that humans have on the natural world, with a particular emphasis on the use of pesticides, Silent Spring met with rapid success and soon became a landmark text on the subject. Despite fearsome opposition it became a rallying point for the environmental movement, fuelling discussions that would result in the widespread re-evaluation of the damage that pesticides can cause and the banning of some of the most damaging chemicals, such as DDT.

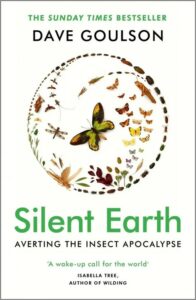
Dave Goulson’s new book, Silent Earth: Averting the Insect Apocalypse, is at once a tribute to Carson’s masterpiece and an innovative new work in its own right. Building upon Carson’s inspirational text, Silent Earth provides an up-to-date analysis of our impact upon the natural world over the last sixty years and beyond. The message is simple: despite the advances we’ve made, the warnings of Silent Spring have gone terrifyingly unheeded and without action we might soon find ourselves in a situation that we cannot reverse.
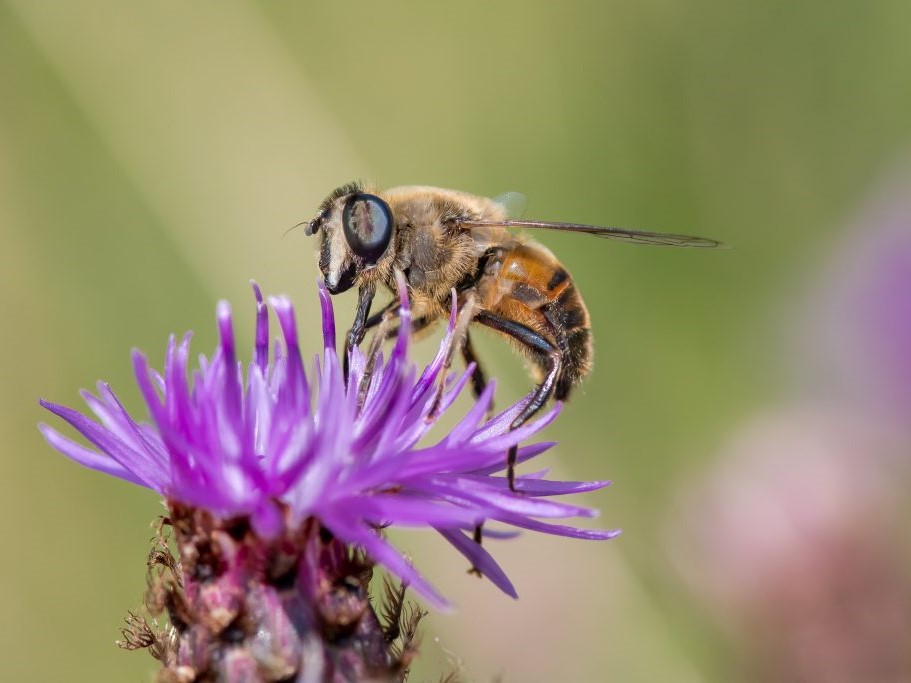
Goulson is a biology lecturer and leading expert in insect ecology, particularly bumblebees, as well as a highly respected scientific writer with several books and hundreds of published papers in his portfolio – it comes as no surprise that Silent Earth is both supremely well researched and beautifully written. It is written in five parts. The first, “Why Insects Matter”, is a fascinating delve into the significance of insects both to the 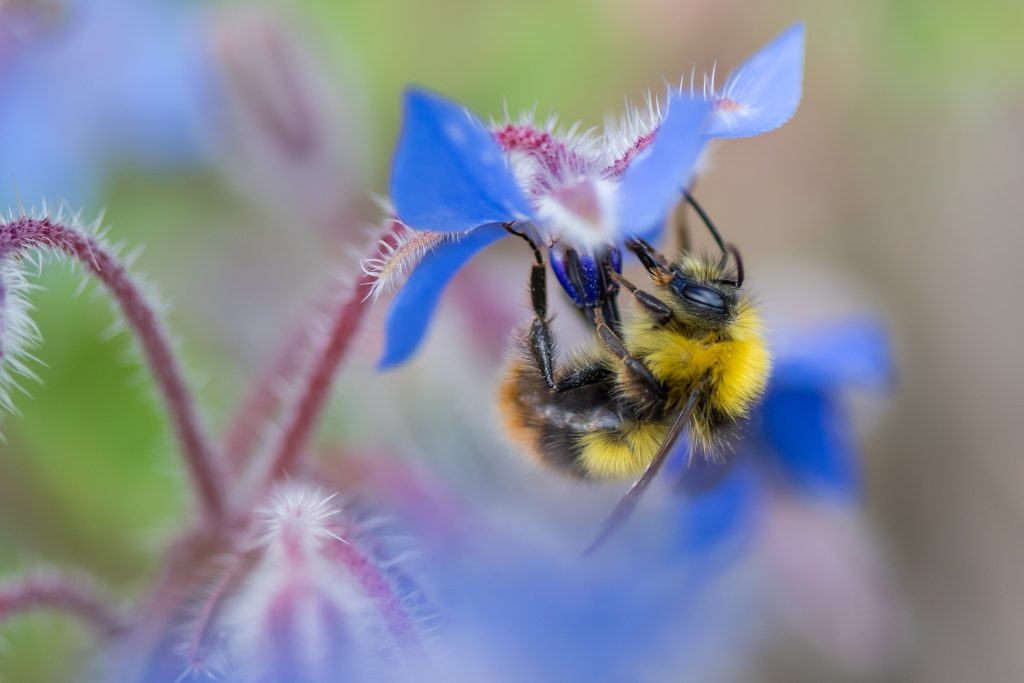 natural world and to human society. With an expert eye, Goulson skillfully guides the reader through different aspects of their importance, from the multi-million pound service that dung beetles provide the farming industry each year in the UK alone to the vital role that pollinators play in underpinning ecosystems across the planet, and the value that insects have in their own right as beautiful, vibrant denizens of our planet. The author’s passion is infectious; it is difficult to read this section without becoming invested in the wondrous ranks of the planet’s invertebrates, making the threat of their decline feel all the more personal.
In the next two parts, “Insect Declines” and “Causes of Insect Declines”, Goulson introduces the sources of evidence that can be drawn on to track insect declines and explores some of the reasons why society seems oblivious to our dwindling invertebrate fauna. He then moves on to explore in detail the various pressures upon their populations, examining and evidencing each before moving on to the next. Goulson writes with respect for the reader, never over-simplifying his prose while providing ample detail to engage any reader, be they a newcomer to the field, amateur enthusiast, ecology professional or academic. Particularly notable is the way in which Goulson details his own work, which has at times proved 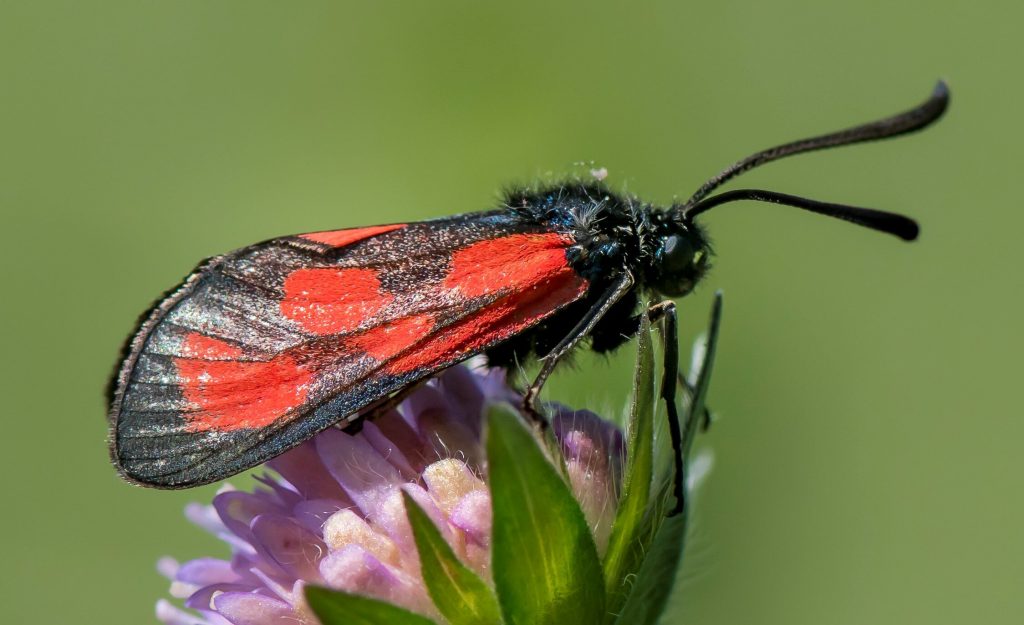 controversial among some parties. He consistently highlights the arguments of his critics, treating them with respect and validation. At some points he provides his rebuttal while at others he admits to the shortcomings of the relevant research, explaining why a different approach was impossible at the time. This is indicative of an attitude that permeates the book – the issues that he writes about are bigger than minor gripes with experimental methodologies, bigger than business margins or political leanings. He presents with a neutral eye the irrefutable reality that insects are vanishing at a terrifying rate, and unless action is taken the world is heading towards a very real disaster within generations. Though frequently distressing and at times heartbreaking, Goulson writes with a voice compelling and just witty enough to prevent the reader from becoming despondent. This book is not intended to drive us to despair, but to action.
Part Four – “Where Are We Headed?” – is a brief but poignant exploration of the author’s vision of the future. From another writer, this might seem like a flight of fancy, but from Goulson it comes across as a warning every bit as earnest and necessary as the hard science of the preceding chapters. It acts as a kind of crescendo, a snapshot of the future that the author is trying to warn us about, as well as a perfect segway into the final part. Perhaps most importantly after the relentlessly grim picture painted in “Causes of Insect Declines”, it ends with a ray of hope.
The fifth and final part of the book is simply titled “What Can We Do?”. It lists from the point of view of the author – a researcher, educator, and father – the actions that should be undertaken by everyone in society, from members of the public to researchers, farmers and politicians, among others, to begin to turn the tide. Various key actions are explored in detail – the importance of instilling an environmental ethos in young people, of  encouraging native plants in our towns and cities and overhauling the way in which we view farming. Finally, there is an extensive list of actions, large and small, that people can take, listed by occupation. This section is what the book has been building to, and it is worth reading for this alone. As usual, respect is paid to all viewpoints and all members of society. It doesn’t matter whether the reader is in a position where a free-range organic, locally sourced diet is financially viable or not – there will be other actions that they can take regardless of financial matters. Nor does it matter if they have beliefs, political or economic, that might conflict with the author’s. It is a call for society to overlook such matters which are, in the face of such a crisis, trivial.
Silent Earth: Averting the Insect Apocalypse is, in my opinion, a masterpiece of popular science writing. It is a feat to present such dire information in a way that is not only readable, but also engaging and compelling – Goulson’s prose manages never to lose the reader for a moment. It is a stark, hard-hitting warning, but one that must be heard by as many people as will listen. Moreover, it goes far beyond the reactionary doomsayings sometimes written on the subject to provide an inspiring manifesto for change. It equips the reader with the knowledge that they need to understand the problem, and the actions they can take to enact this change. It leaves you with the impression that, if the message can get through to enough readers across the world, we might just be able to turn the tide and preserve the buzzing of bees, the chirping of crickets and the droning of cicadas to prevent the silence falling for good.
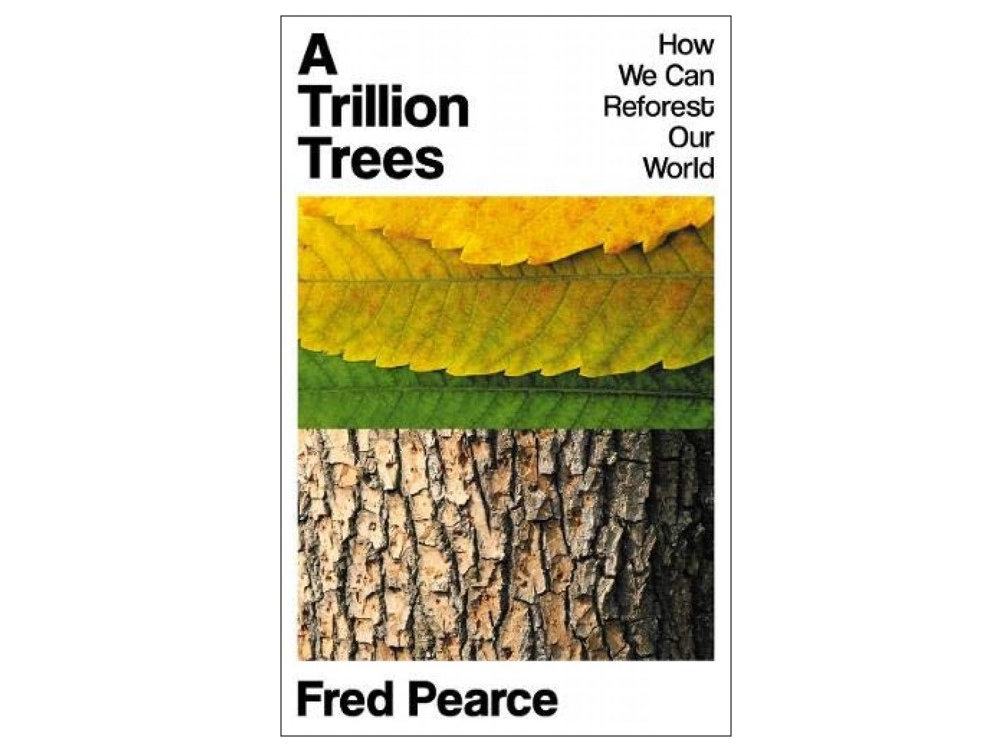
Silent Earth: Averting the Insect Apocalypse
By: Dave Goulson

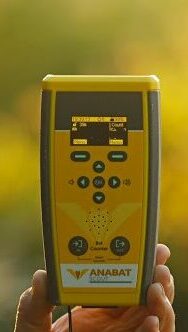
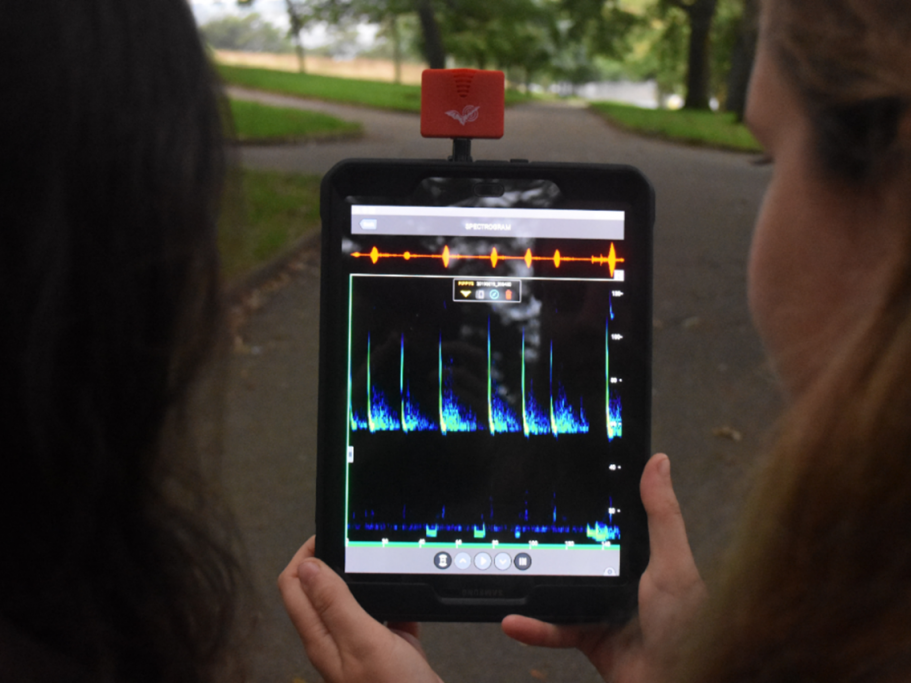
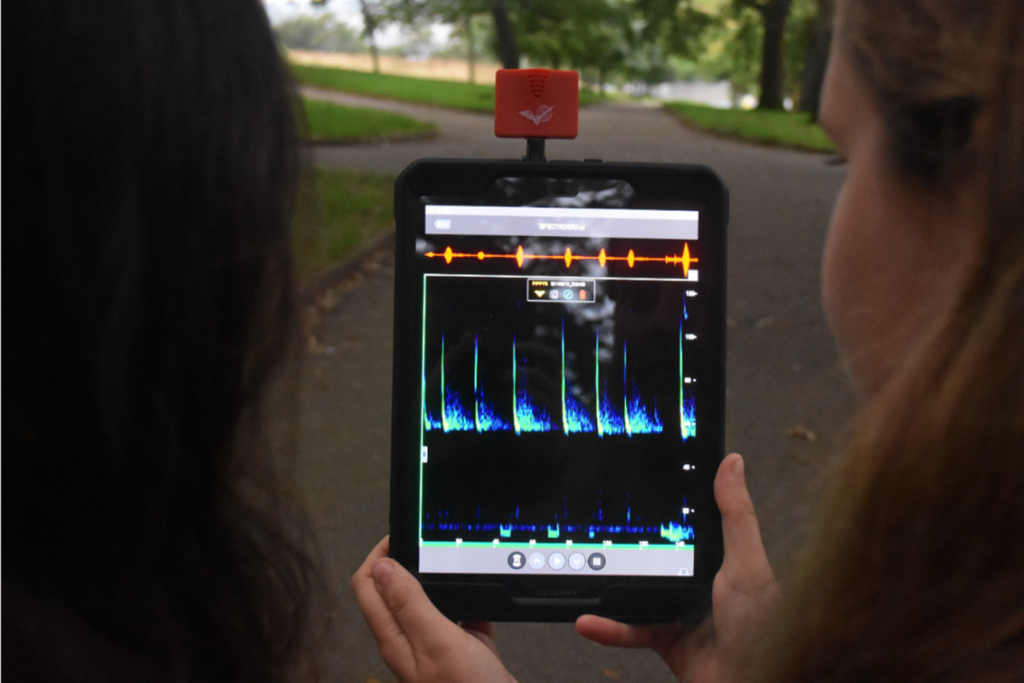
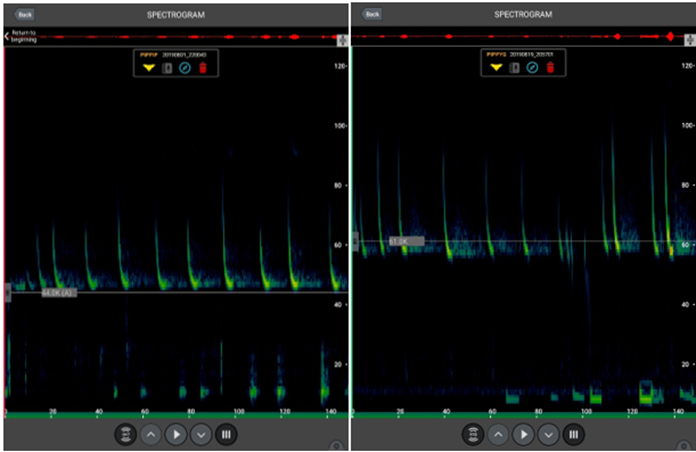
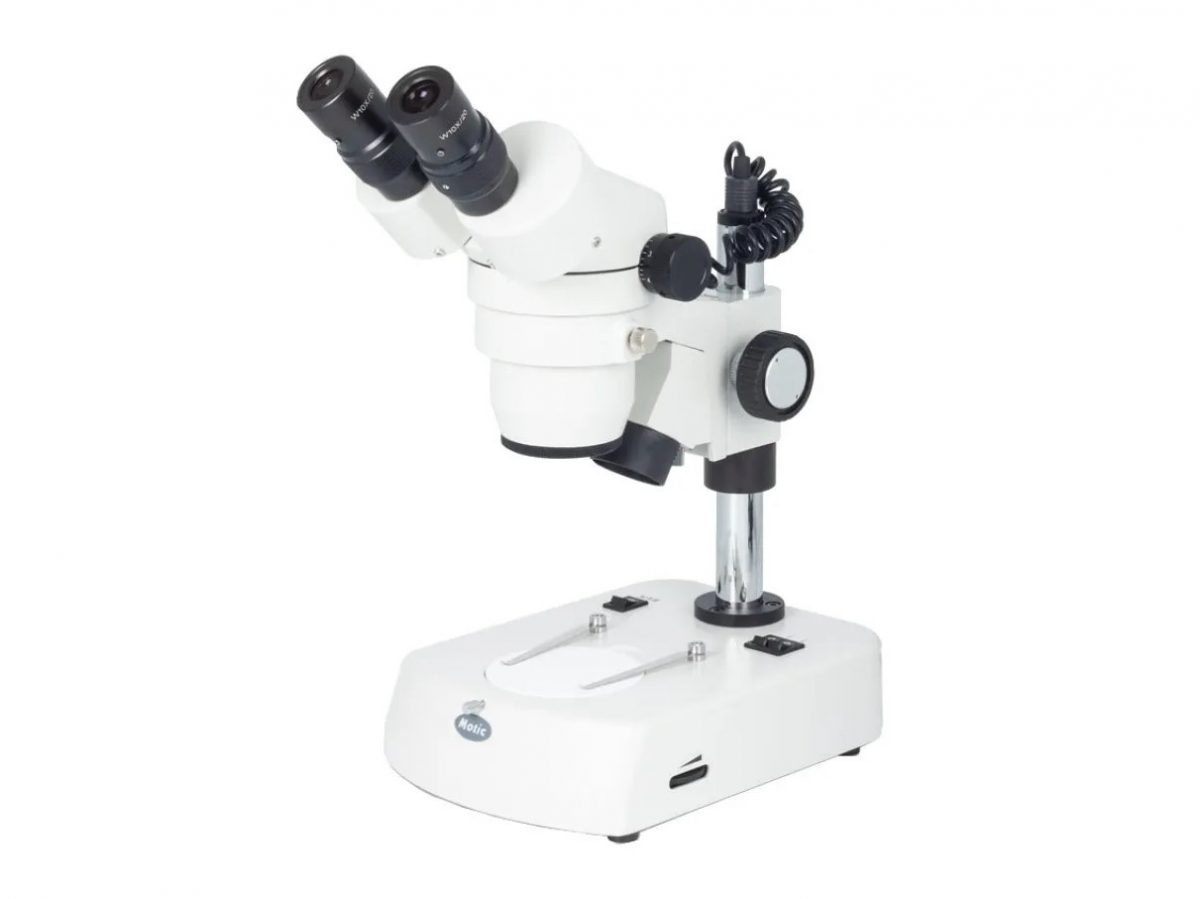
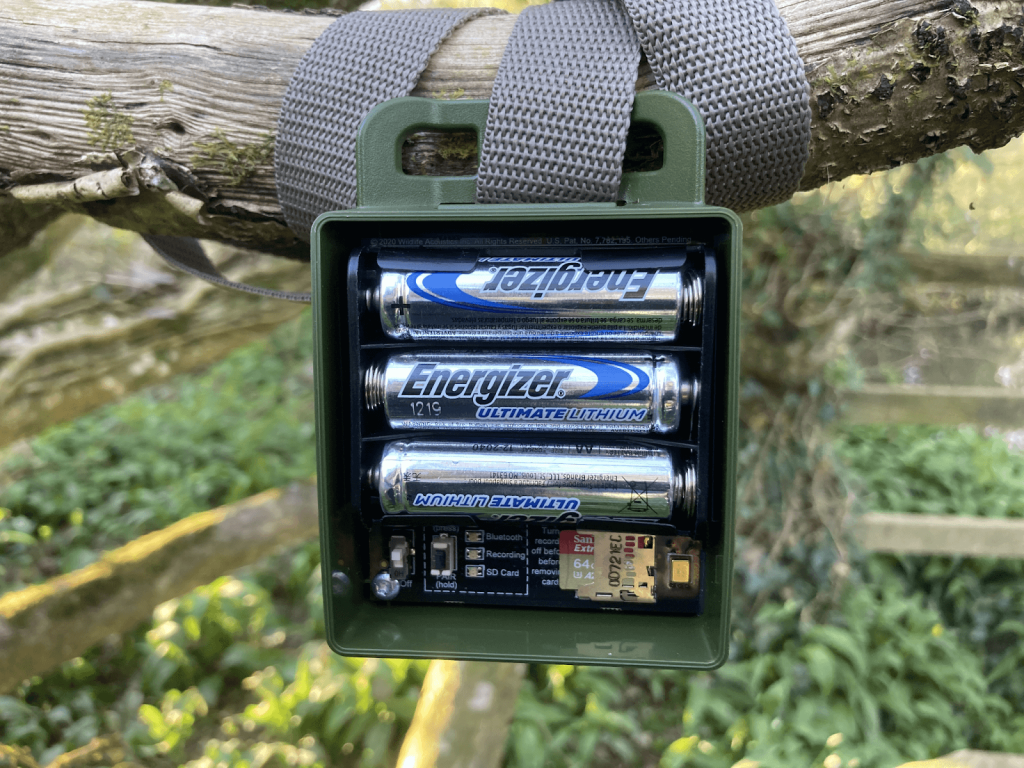
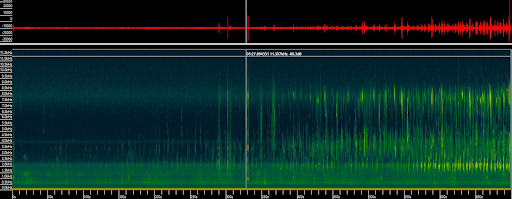
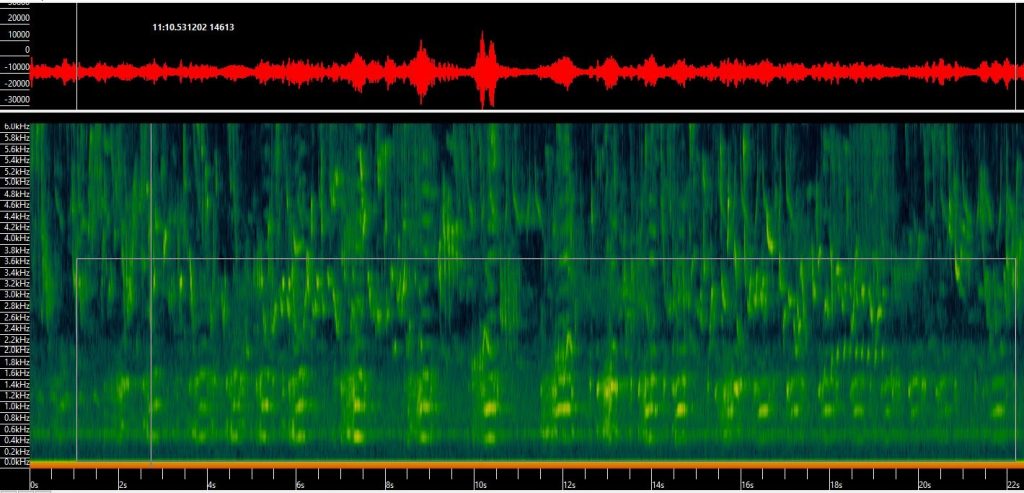
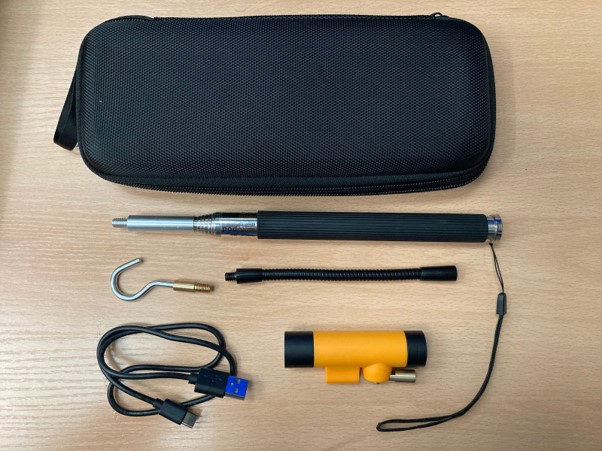
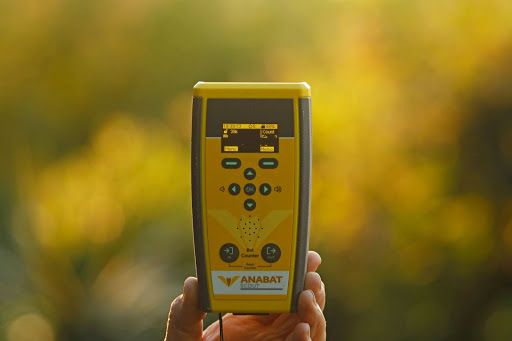 Here we review the Anabat Scout from Titley Scientific. The Scout is an easy to use active bat detector that offers excellent quality live audio and recording, plus many handy surveying features and durability that sets it apart from other detectors. It uses heterodyne, auto-heterodyne and frequency division audio that can be recorded in either full spectrum or zero crossing files.

 “In Woodland Flowers Keith Kirby invites us to look at the ‘wood beneath the trees’ and to consider what its flora can tell us. The focus of this, the eighth volume of Bloomsbury’s British Wildlife Collection (which I have contributed to myself), is on the vascular plants of the woodland floor; to this end Kirby embraces ferns as honorary flowers, but for the most part he steps aside from considering other elements of woodland ecosystems (including the ‘lower’ plants, fungi and fauna).”
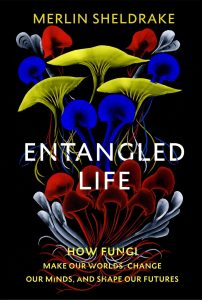 “This is Sheldrake’s first book, and, while his expertise means that the readers should feel that they are in safe hands from the off, in truth the experience is more like being whisked down a burrow by a white rabbit, or on a tour of Willy Wonka’s research facility: a trippy, astonishing, and completely exhilarating ride.”
 “Part autecology, part monograph and part impassioned love poem to a species that has captured the author’s heart, the pages offer an enjoyable blend of the Purple Emperor’s recorded history, biology, ecology and conservation.”
 “But do we really need a field guide to habitats? Possibly not. I certainly will not be taking my copy into the field. Yet this perhaps misses the point. What this book does is remind the users of other field guides that their organisms of interest do not live in isolation – they are nothing without their habitats. So, make this book an essential companion to your species guides.”
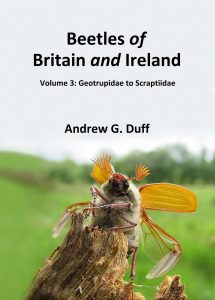 “Anyone interested in identifying and studying beetles simply cannot afford to be without [these books] and any quibbles can only be minor. Andrew cannot be too highly commended for his diligence and hard work to make so much information available to all.”
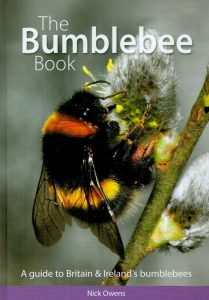 “This is the latest book to enter the now relatively crowded marketplace of bumblebee guides, which may leave one wondering what it can offer to the more seasoned hymenopterist – read on! The author’s intention is to provide a book at the ‘entry level’ of bee study, Owens stating from the outset that he ‘aims to provide an easily accessible introduction for those with little or no previous knowledge of bumblebees’.”
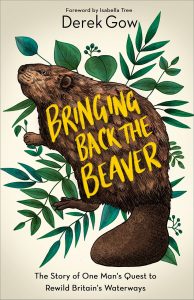 “There is no better place from which to view the tragi-comic events which unfold, and no better person to describe it than Derek Gow, a man of action as well as a powerful Beaver advocate. This account is unexpected, oddball, and, despite its serious side, enormously entertaining.”
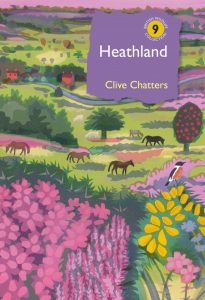 “He has written an ecological masterpiece, generous in its sympathies, awe-inspiring in its breadth of knowledge, and genuinely enticing in its journey around heathland Britain. This is a book that ought to influence policy.”


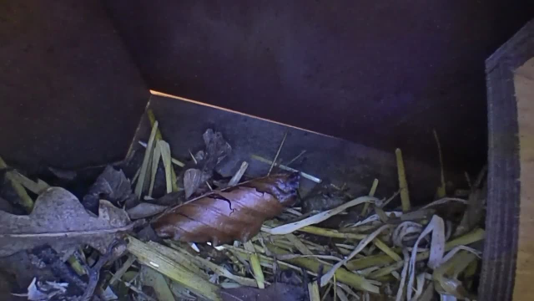
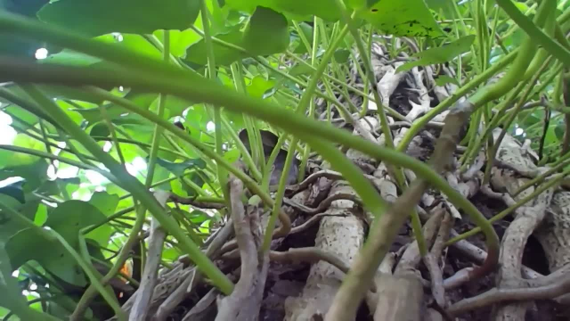
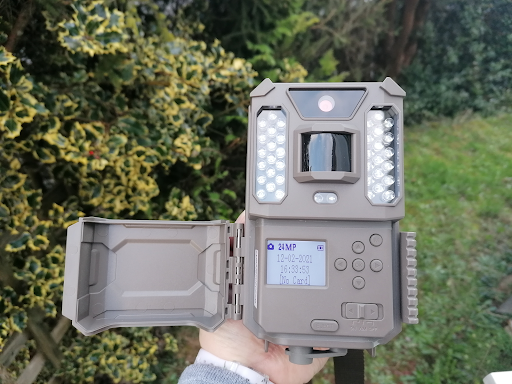
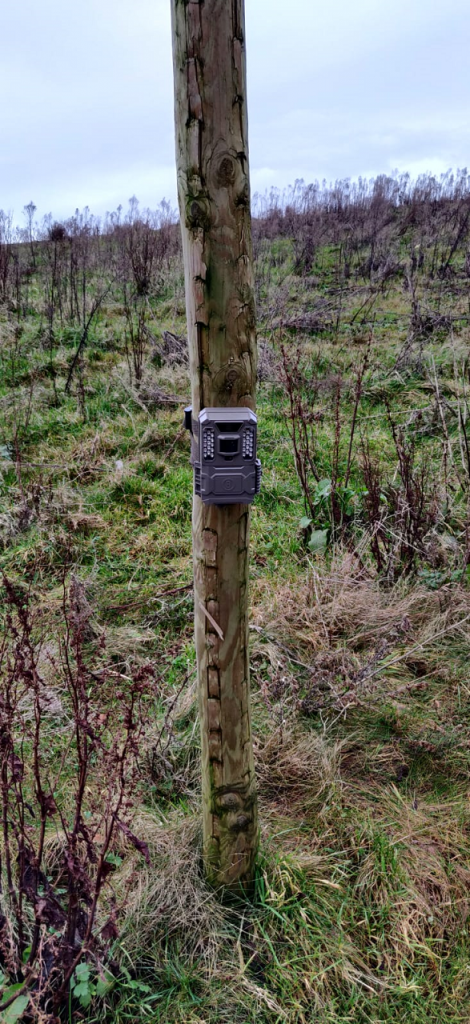
 However, when there was no cloud bank, even on a dull day the photos were bright and crisp as you can see in the below photos. We were particularly impressed by the close focus as many trail cameras are not designed with close focus in mind and the Bushnell Prime trail camera’s manual recommends that your target monitoring area be no closer than 3m to the camera. Although the bait was put further than 3m away, the animals certainly ventured closer to the camera.
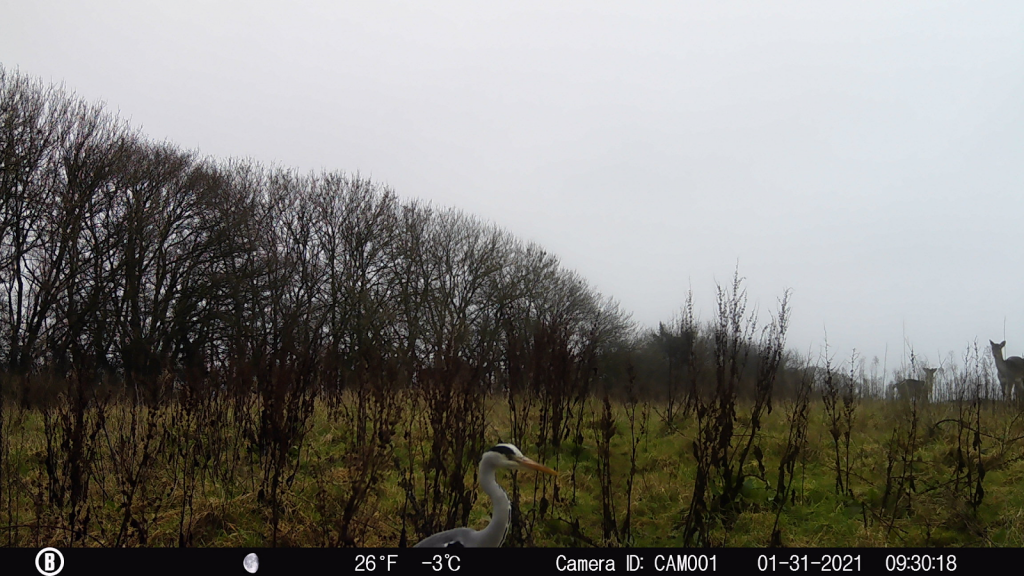
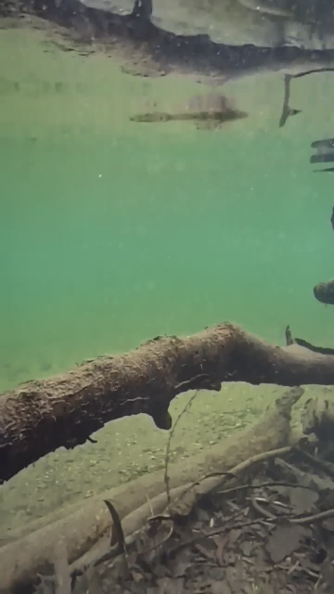
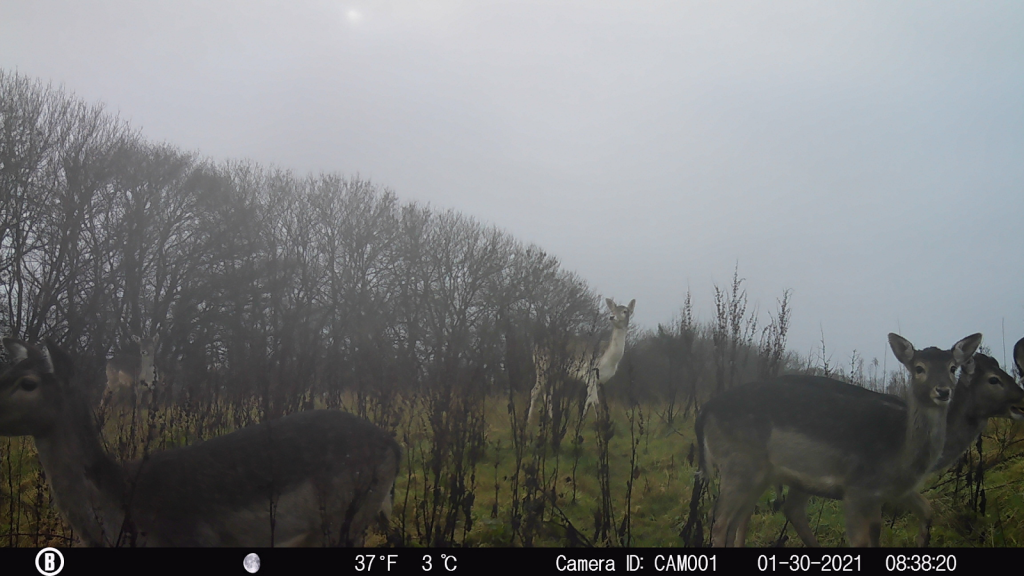
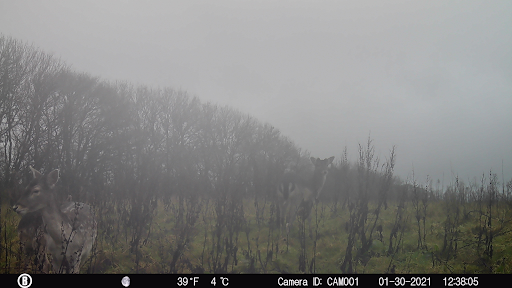
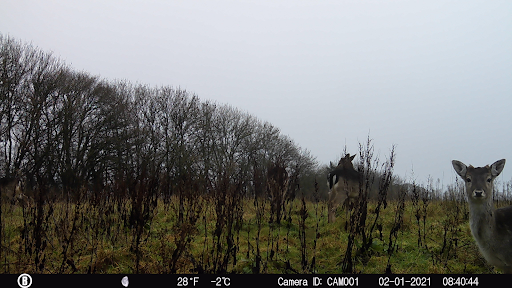 That being said, my preferred photos from the Bushnell Prime trail camera come from dusk and dawn, when the camera is still using the IR flash but there is some natural light illuminating the subject, as seen below.
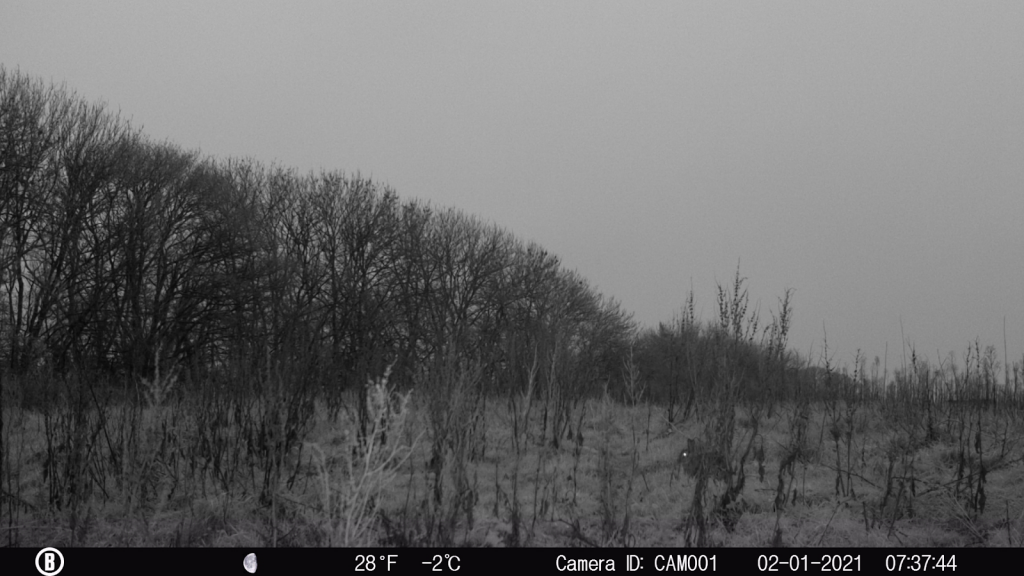 For our video testing we had slightly better weather though it was still not bright. We again found that the dawn lighting gave the best footage. We were impressed with the quick trigger speed for footage of a rabbit running across the field of view, not having made it halfway before the video started recording. It was clear from the video footage that the deer did notice the glow from the IR flash on the camera but this did not seem to stop them (or any other animals) from frequenting the area. The audio captured was also good, and bird song was picked up in many videos even with howling wind at times. You can see a few of the many video clips we caught in the compilation below.