 Ever Green: Saving Big Forests to Save the Planet is a deft introduction to the very complex topic of forest degeneration. Megaforests, forest ecosystems that are continental in scale and contain large undisturbed areas, are under threat. Only five megaforests exist today, New Guinea, the Congo, the Amazon, the North American boreal zone and the Taiga. These megaforests provide a vital service by preserving biodiversity, providing a stable climate and supporting thousands of cultures.
John W. Ried and Thomas E. Lovejoy explore how destructive human activities are impacting these remaining megaforests and their diminishing undisturbed zones. Blending evocative and accessible nature writing with fact-filled science, the authors explain why these untouched forests are so important for the survival of our global biodiversity and ourselves. Not only are these megaforests home to millions of species, but they also help to stabilise our climates by storing large amounts of carbon, to maintain watersheds, and provide much of the world’s drinkable water by releasing so much moisture-filled air that ‘flying rivers’ form.
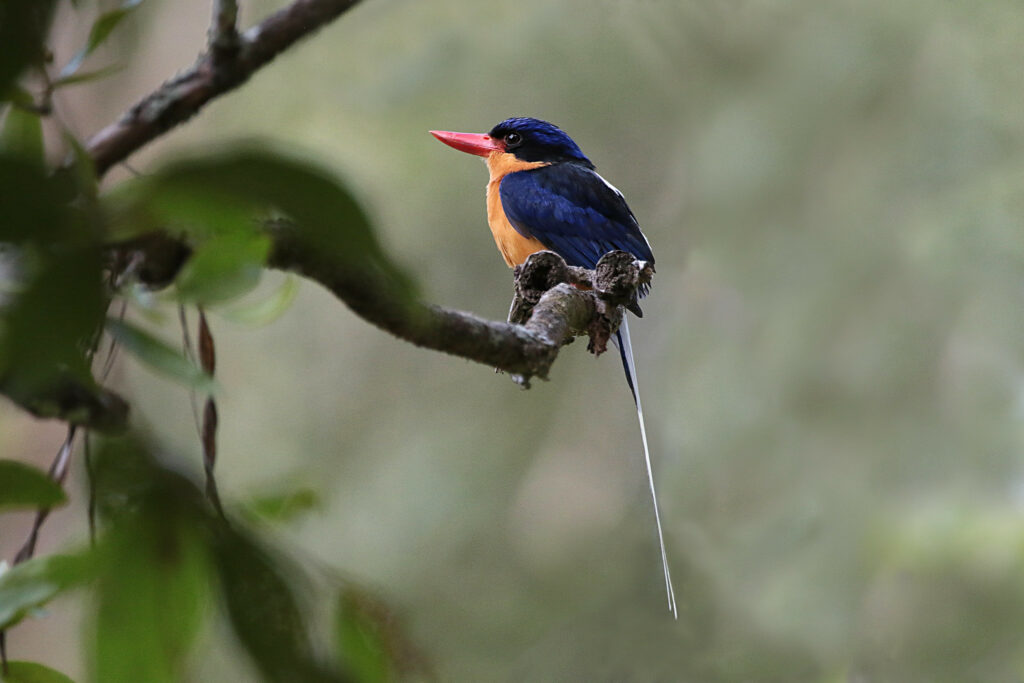
In the prologue, ‘Anastasia’s Woods’, we are introduced to a young member of the Momo clan who have lived in the forests of western New Guinea for many generations. Through vivid descriptions of the habitats, flora and fauna of these great megaforests, Ried and Lovejoy advocate for the rights of Indigenous people as stewards of their forests. Combining this with enchanting photographs, new perspectives and rich accounts of people who are fighting to conserve these landscapes, the authors create a persuasive appeal for the protection of these lands, through methods such as improving indigenous rights, smarter road network planning and the expansion of protected areas.
In chapters 2 and 3, ‘The North Woods’ and ‘The Jungles’, Ever Green explores each megaforest separately, discussing the unique make-up of their ecosystems, and their historical and current relationships with humans. The authors discuss how human activities are tipping the balance against species within these ecosystems. For example, we have known for a while that fire is an integral part of forest life in certain areas, promoting biodiversity and plant reproduction. The forest comes alive with specially evolved species, such as pyrophilous insects like the black fire beetle, consuming the fire-damaged wood; animals such as the blackpoll warbler that prey on these insects; and herbivores like the snowshoe hare consume the tender shoots and leaves that grow just after these fire events. The increased rate of fires is disrupting this natural regenerative process, however, impacting species that rely on different stages of regeneration. Other anthropogenic activities such as mining and road-building are opening up previously ‘safe areas’ for prey to predators and hunters. All these new threats are endangering the stability of species populations beyond the point that forest ecosystems may be able to cope.

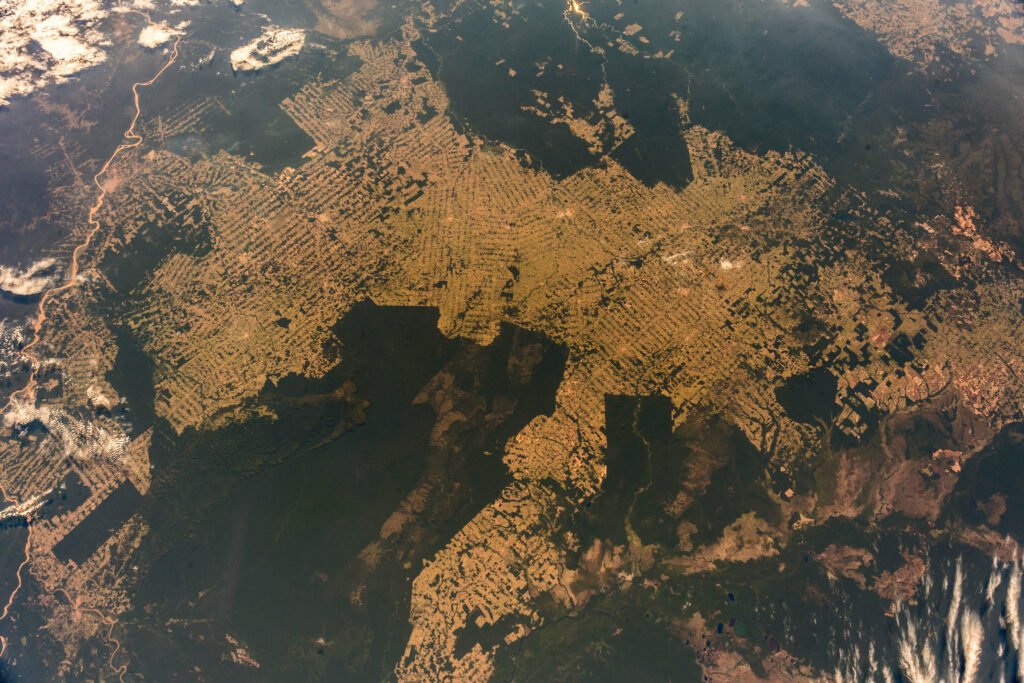
Chapter 7, ‘Forests and the Real Economy’, discusses the need for an economy that values the integrity of the natural systems of forests, which strives to support nature rather than disassembling it. Untouched forest areas, particularly megaforests, are continuously undervalued, as there is so much value in sellable products such as minerals, timber and game, as well as land for agriculture. With the perceived abundance of these products within large forests, it is often seen as reasonable to “chip these little pieces off the edges”, as the authors quote Meredith Trainor, head of the Southeast Alaska Conservation Council, without seeing the damage all these little pieces cause in the bigger picture. This destruction, the ‘inadvertent by-product of economic activity’, is unsustainable and has been wearing away the very foundations of much of our product-based economic systems.
To combat the current product-oriented view we have of forests, the authors discuss the idea of ‘forest-oriented metrics’, where environmental information such as climate costs and benefits are reported alongside existing indicators such as GDP and the employment rate. Ever Green argues that cost-benefit analysis cannot accurately price the whole value of forests, however, including their aesthetic and spiritual value, therefore these landscapes will always be undervalued while using this method. But the authors do believe that economics has a role in environmental policy, as it helps to inform on how to most effectively act to accomplish a goal that has been ‘fashioned from various streams of knowledge and ethics.’
While many of the solutions Ever Green puts forward are the work of major businesses and governments, the book ends with an invitation for everyone to visit these megaforests and to consider their own personal choices. Although it is easy to believe that our own good actions may be overshone by the negative actions of larger organisations, there are still a number of ways individuals can help save big forests. If you’re looking for an accessible and engaging introduction to deforestation, conservation-orientated solutions and nature-based economies, Ever Green: Saving Big Forests to Save the Planet is an ideal addition to your reading list.
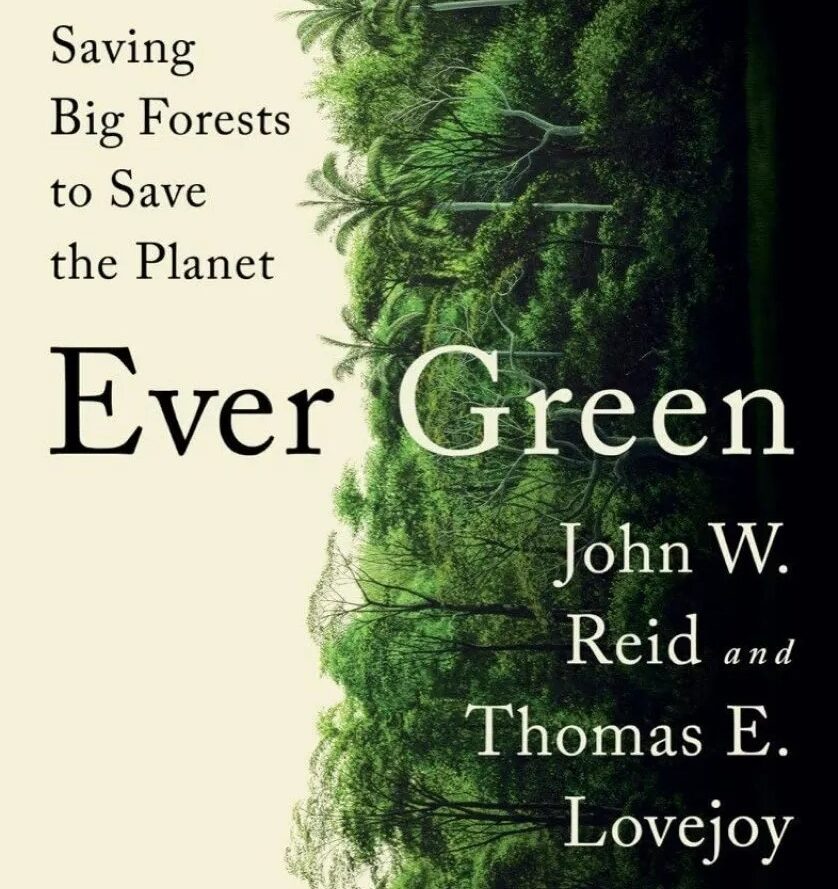
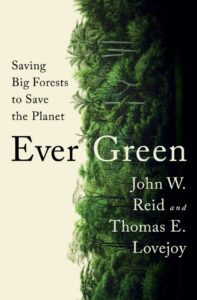
Ever Green: Saving Big Forests to Save the Planet
By: John W. Reid and Thomas E. Lovejoy
Hardback | April 2022 | £17.99 £19.99
All prices correct at the time of this article’s publication.


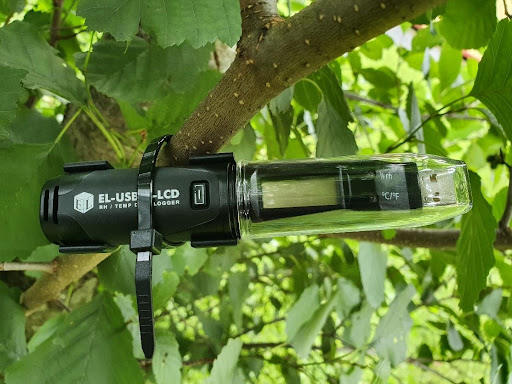
 Advanced Bug Hunting Kit


 “She walked and travelled through the farms and uplands of Britain and Ireland. She talked to people on both sides of the divide – sheep-farmers, salmonfishers, raven-tamers, writers, scientists, conservationists, gamekeepers. She watched her chosen predators in the field and noted how they ‘fit into the landscape’.”


 Recently added to our range, the