Within the last 15 years the availability and quality of USB digital stereo microscopes has vastly improved, and these fantastic devices are now regularly used by naturalists and hobbyists looking to view the hidden details of the natural world.
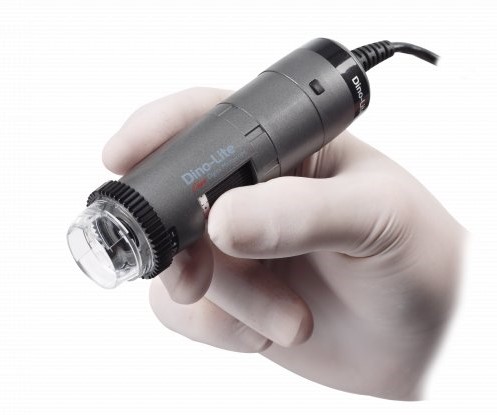
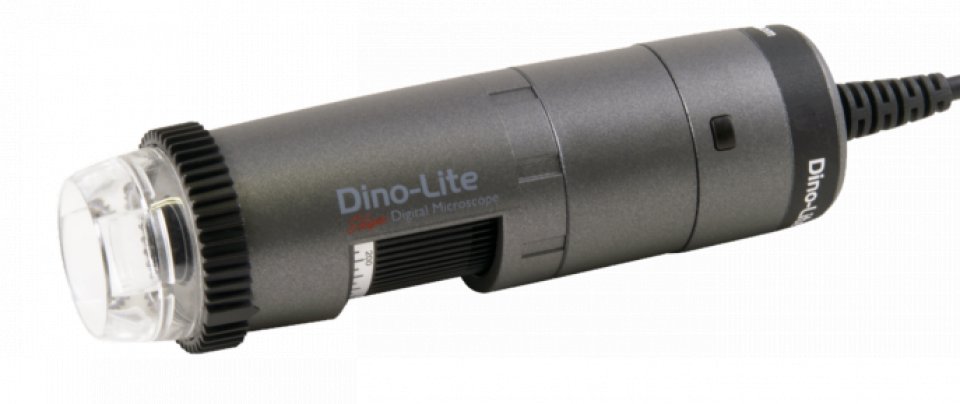
Dino-Lite are a well-known manufacturer of USB microscopes. Their range comprises basic models for those new to the field of microscopy, alongside cutting-edge models that produce stunningly detailed high-quality images and have additional features such as wireless video streaming.
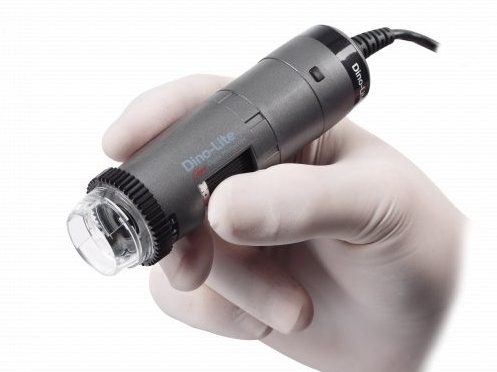
We recently tested the Dino-Lite WF4915ZT Wireless Microscope Kit. This kit is from Dino-Lite’s professional range and it includes an AF4915ZT microscope and a WF-20 wireless adapter. The AF4915ZT is a dynamic microscope and has a number of features which are not available on more basic models. These include: Extended Depth of Field (EDOF), which helps achieve greater overall focus on surfaces with varying heights; Enhanced Dynamic Range (EDR), which helps when viewing objects with large variations in brightness; Flexible LED Control, which allows you to turn on/off pairs of LED lights to achieve the best possible illumination; and Automatic Magnification Reading, which allows the DinoCapture software to automatically register and display the current magnification.
Our aim was to see how easy and intuitive the device was to setup and use, and to explore the benefits offered by its advanced features and wireless functionality.
How We Tested
First we installed the included DinoCapture 2.0 software onto our computer. All DinoLite USB microscopes come supplied with this program loaded onto a CD-ROM, however it is also available online as a digital download. We tested the microscope using DinoCapture 2.0 on a desktop computer, however, you can also use this microscope wirelessly on either a smartphone or a tablet via the free DinoCapture app.
The WF-20 module was charged overnight and then connected to the AF4915ZT. The WF-20 was easy to attach, as the wired end piece of the AF4915ZT has two release buttons which, when pressed simultaneously, allowed us to gently remove this module and then connect the WF-20. When powered on, the WF-20 appears as a wireless network on any nearby Wi-Fi devices. Once connected to this network we were able to view a live feed from the microscope on DinoCapture.
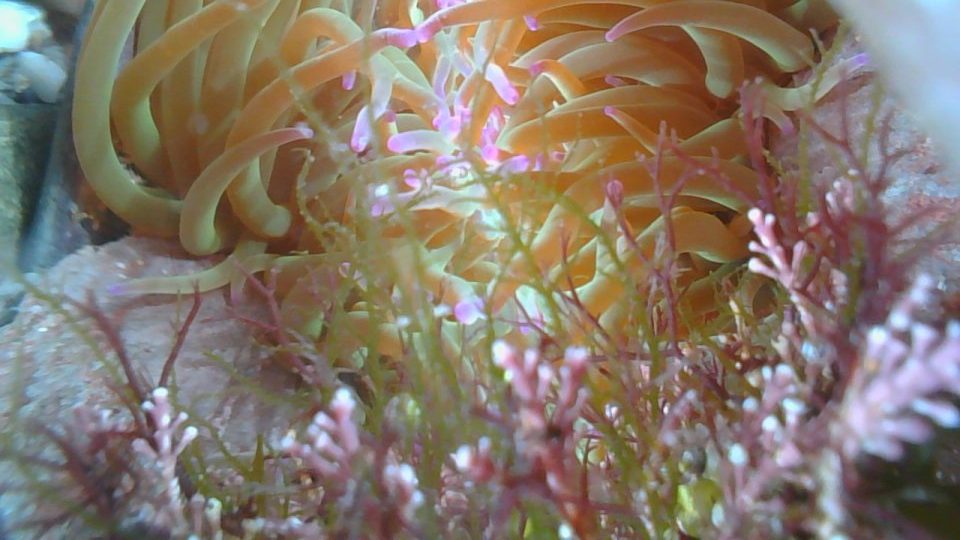
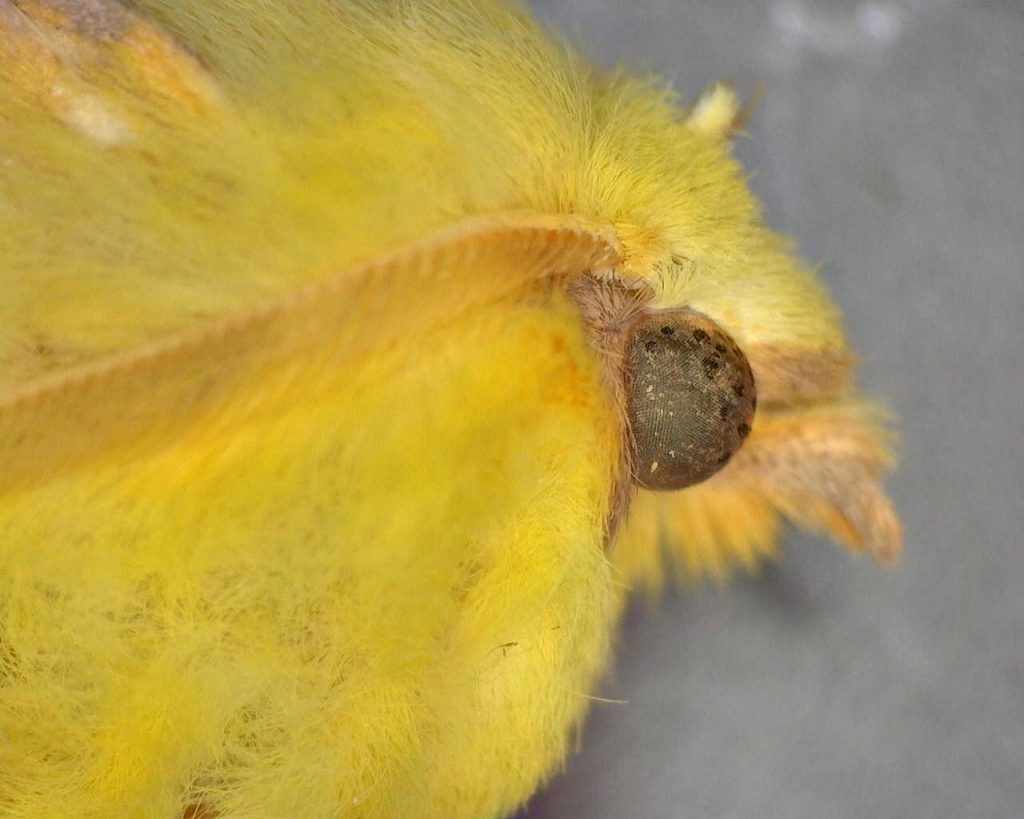
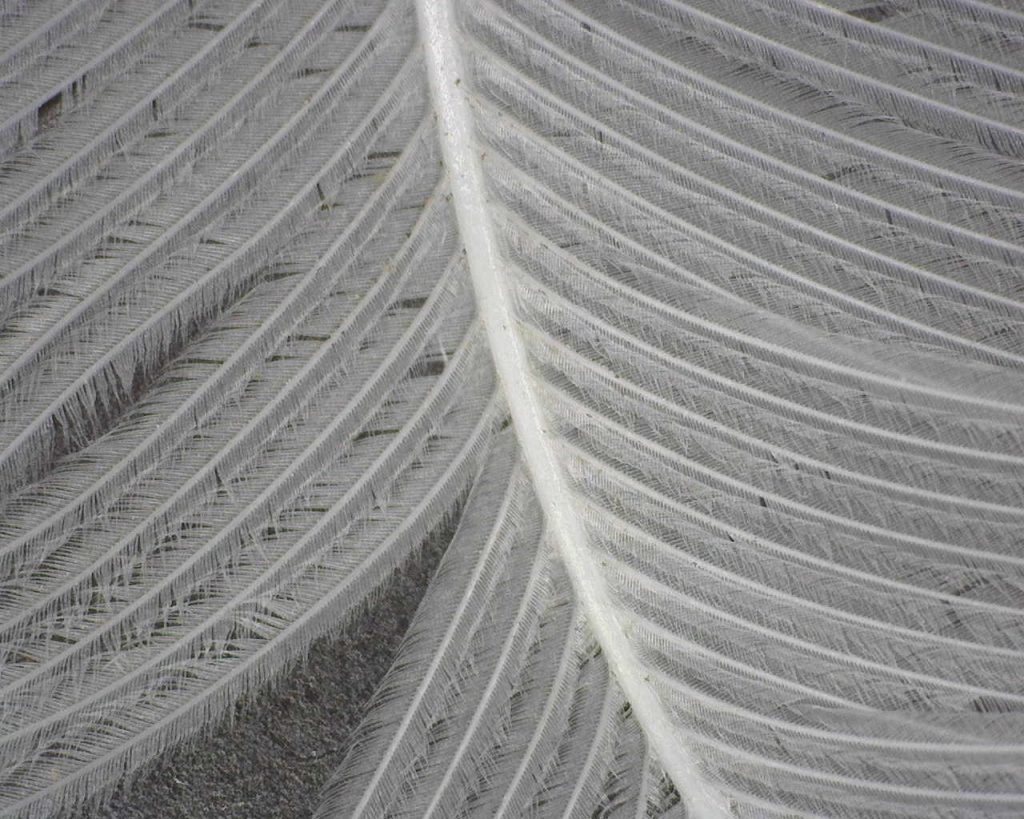
We used the microscope to view a number of plant and insect samples.
What We Found
The 1.3MP resolution is certainly a big improvement over some of the more basic models. Using the microscope at some of the higher magnifications is hugely rewarding, as you are granted some fantastic views of the minute details that are otherwise easily missed. The advanced features (as listed in the introduction to this review) may not be entirely noticeable to those new to digital microscopy, however, compared to older and more economical models they make operating this microscope far simpler. Previously, one would struggle at times to deal with structures having varying levels of brightness (particularly common with iridescent insects for example), and have little control outside of the overall LED brightness to try and address this. However, with the great LED controls and EDR the overall image can be brought closer together and previously obscured features become visible in much greater detail.
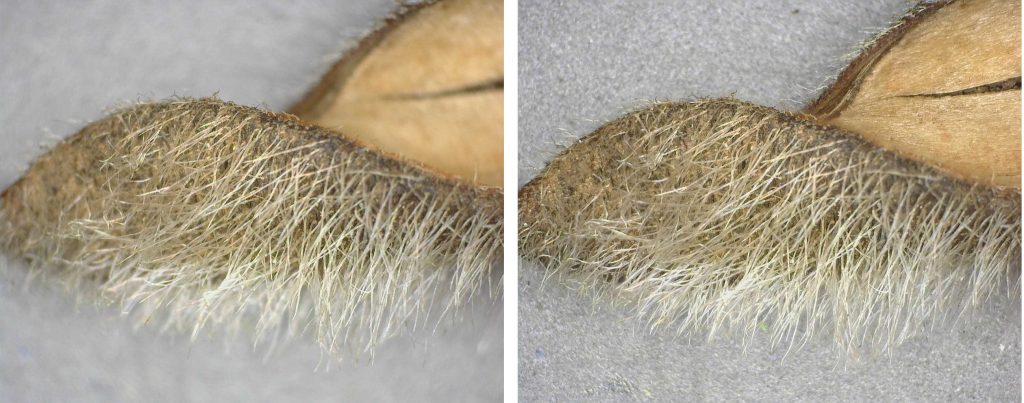
The EDOF is also a really helpful tool, especially at lower magnifications and on specimens with a variable structural height (which in our case was an acorn cup and a seed pod). Despite the differing heights, the microscope was able to keep most of the specimen in focus. Both the EDR and EDOF take around five seconds to process, meaning you can view the results and adapt your settings quickly to achieve the best image possible.
Manoeuvring the microscope freehand was relatively easy as it only has a few buttons on its main body, so there wasn’t any accidental mis-clicking. The focus ring is also light enough that it can be manipulated using only the middle and index fingers. Trying to keep the microscope steady and operate the DinoCapture software at the same time was rather difficult, especially at higher magnifications, and so when taking any images I opted to use the device with a stand (specifically the Dino-Lite RK06A). This allowed me to configure the microscope into the perfect position and then operate the computer without fear of losing that positioning.
When used in its wireless configuration we did find that occasionally there were moments of lag on the live feed. While these were only minor interruptions, it was certainly something that had to be considered when making any adjustments to the magnification and focus.


Our Opinion
Although we only used the WF4915ZT on a few select samples, it offered us a great opportunity to learn how to operate this advanced USB microscope. Thankfully the literature provided with the microscope was clear and easy to follow, and within 15 minutes of opening the box I was able to install the software and connect to the device in both its wireless and wired configurations. The image quality and the benefits offered by its advanced settings were also hugely impressive, particularly the EDOF, which really stands out as a key feature for this microscope.
While the wireless functionality of this microscope was a very interesting feature of the WF4915ZT, in practice it is not necessarily universally valuable. In the study of Natural History for example, most microscopy happens at a desk on pre-prepared specimens and as such you do not need the greater manoeuvrability that a wireless microscope offers. In other trades, however, these digital microscopes are used to inspect large objects (e.g. automobile manufacture) and in these situations a lack of trailing wires would be of huge benefit for the operator. In a situation where the operator does not have access to a computer/laptop, the Wi-Fi module allows you to connect to the microscope using a tablet or a smartphone, which is especially useful if you are planning to use it in the field.
In summary, we would highly recommend the WF4915ZT for any hobbyist or professional looking for a high quality and portable USB microscope. The AF4915ZT would be an excellent (and more economical) alternative for those who are unlikely to use the device away from a desk.
The Dino-Lite WF4915ZT is available through the NHBS website.
To view our full range of USB microscopes, visit www.nhbs.com. If you have any questions about microscopy or would like some advice on the right product for you then please contact us via email at customer.services@nhbs.com or phone on 01803 865913.


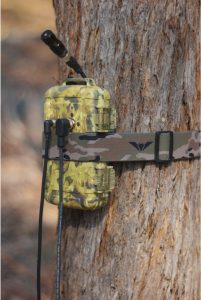
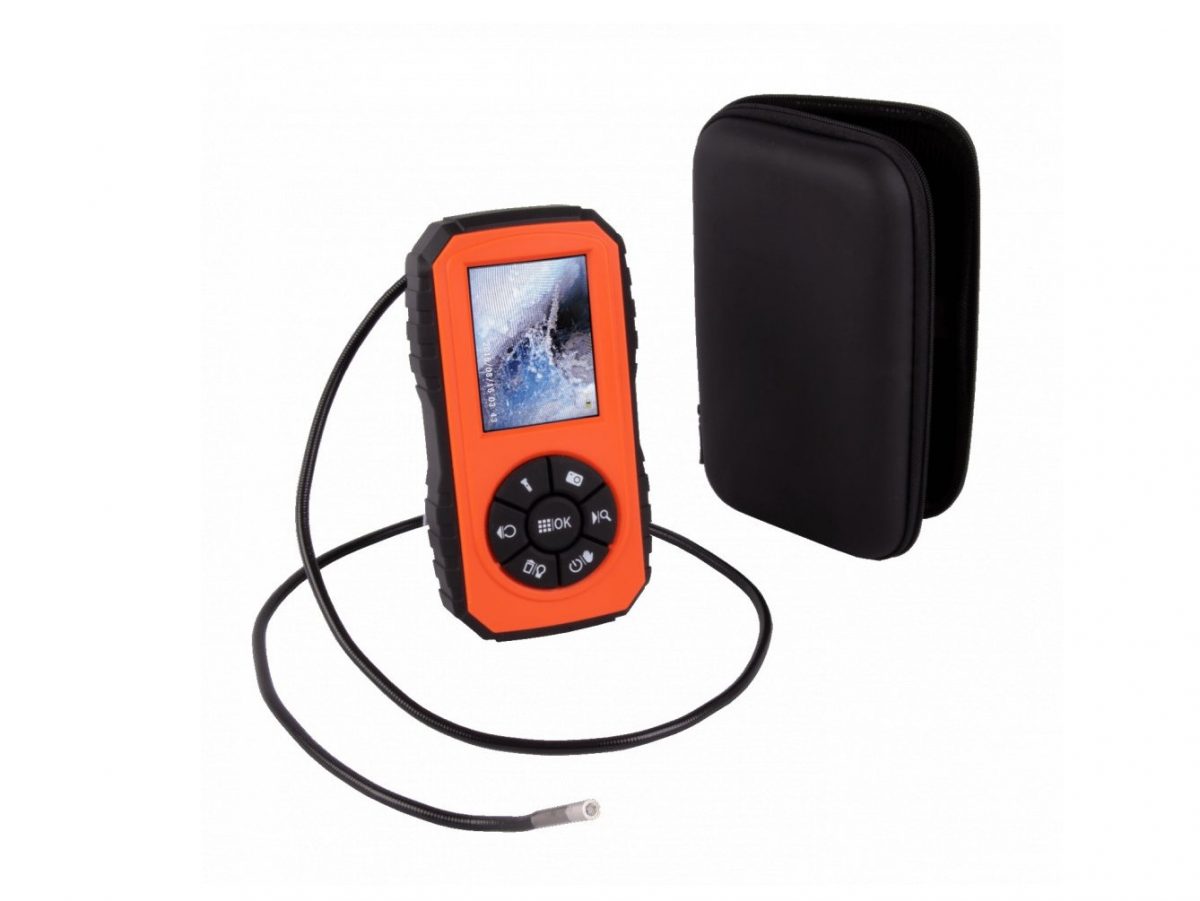
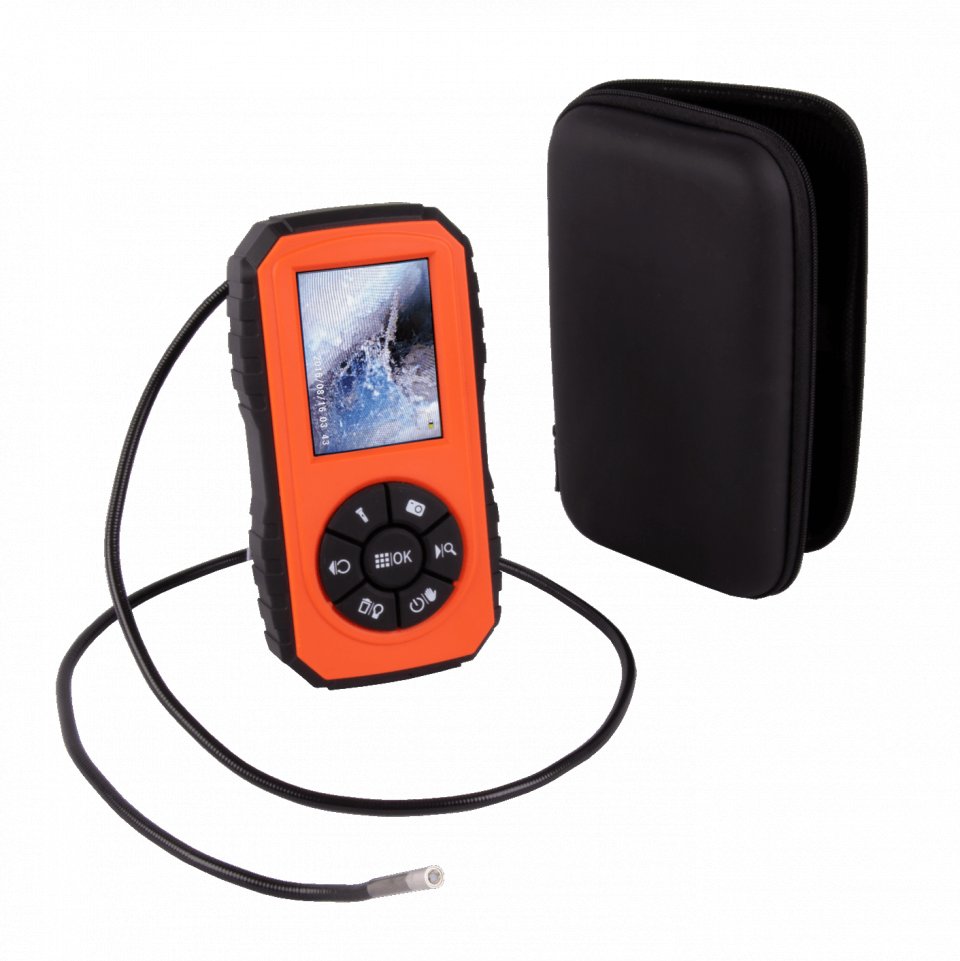
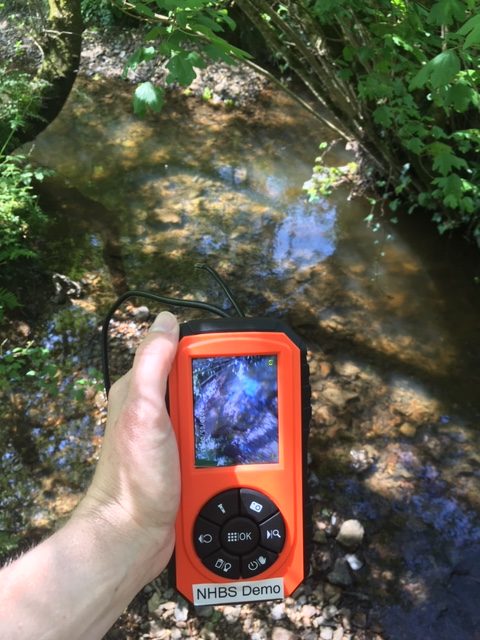 The Video Endoscope camera is IP67 water resistant so we wanted to test its performance when recording underwater. It also has adjustable LED brightness so we wanted to test it in dark conditions. We chose a pond on a farm in West Dorset known to have some tadpoles and selected some nest boxes in a nearby area to examine for nesting activity. We used a 16GB microSD card and 4 x new AA alkaline batteries.