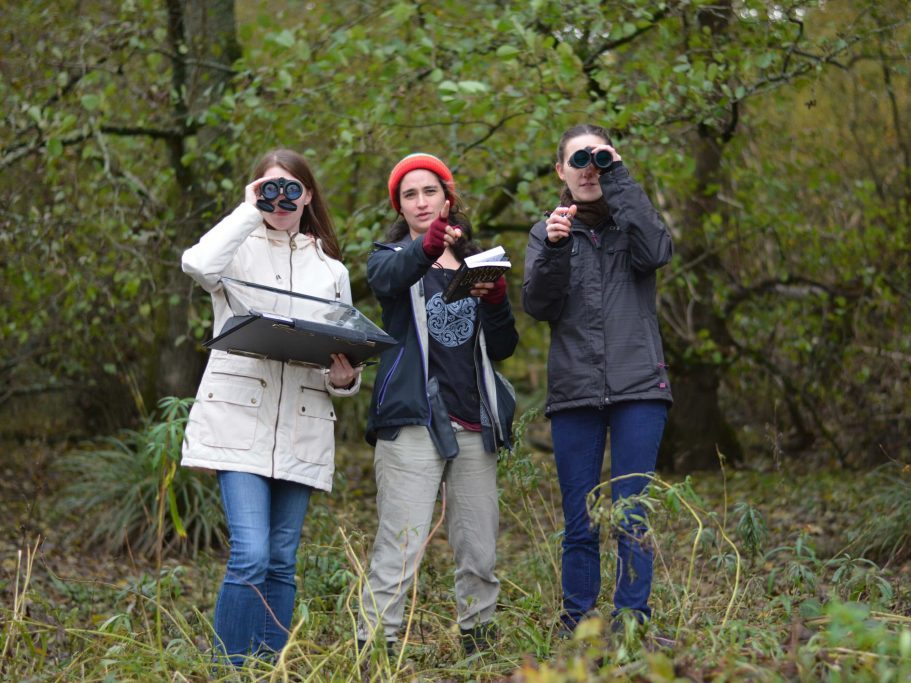
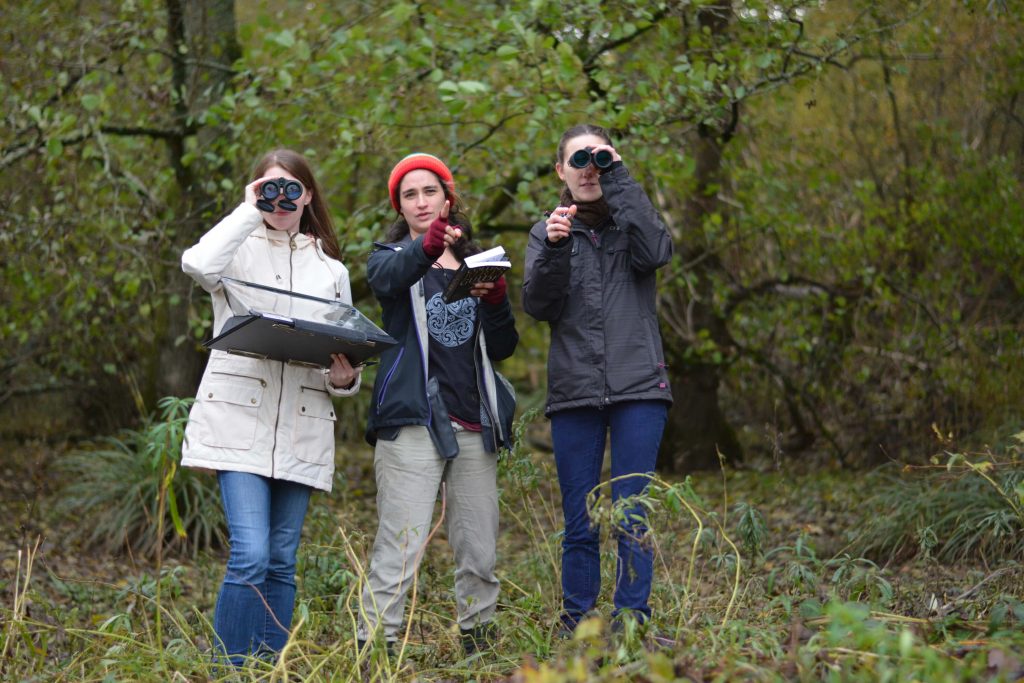
A good pair of binoculars is an invaluable part of any field kit and they provide some of the most memorable wildlife encounters. There is an overwhelming array of sizes and specifications and it can be difficult to choose between them when purchasing a new pair. In this post we will provide a summary of some of the key features of a pair of binoculars, to help you find the best pair to accompany you on surveys, whilst travelling or when enjoying your local wildlife.
Once you have decided on your budget, there are a few key metrics that will help you decide which pair of binoculars will suit you best. With binoculars it really is worth paying as much as you can afford as the glass, lens coatings and specifications improve with every step up in price.
Magnification
Binocular models generally have two numbers in their description. The first of these relates to the magnification. (For example, 8 x 42 binoculars will have a magnification of 8x). In general, binoculars have a magnification between 8x and 12x. As you would expect, the higher the magnification, the larger objects will appear when looking through them. As magnification increases, the field of view can be reduced and you will need to ensure that you have steady hands or use some kind of support.
Lens Diameter

The second number in the binocular model description (e.g. 8 x 42) refers to the diameter of the objective lens. Standard size binoculars tend to have objective lenses of 32mm to 42mm whilst lenses in compact binoculars usually measure 25mm. Larger lenses can dramatically improve low light performance and are particularly good for use at dusk or dawn. The trade-off is that larger lenses are heavier. The most popular size of binoculars for birdwatching was traditionally 8 x 42, but with advances in manufacture and lens performance, 8 x 32 binoculars now offer fantastic specifications in a more compact body.
Glass Type
The type of glass used to manufacture the lenses can vastly affect the quality of the image. Two types of glass to look out for are extra-low dispersion (ED) and fluoride (FL) glass. These reduce chromatic aberrations giving clearer and sharper colours and reduced colour “fringing”.
Fringing is the blurring that can occur between light and dark parts of an image. If your budget allows for an upgrade to ED glass binoculars, you will notice a distinct improvement in clarity compared to binoculars without ED glass. Affordable pairs of ED binoculars include the Hawke Optics Endurance ED and the Opticron Explorer ED.
Lens and Prism Coatings
The primary difference in performance and the brightness of images between different pairs of binoculars is often due to lens and prism coatings. Light is lost as it travels across every surface inside a pair of binoculars and the aim of a good pair of binoculars is to keep light transmission as high as possible between the objective and the ocular lens. Lens and prism coatings reduce the amount of light that is lost helping to produce a brighter and sharper image. Lenses that are multi-coated have multiple layers of lens coatings. High-quality binoculars are fully multi-coated which means that they have multiple layers of coating on all lens surfaces. Roof prism binoculars have a particular problem with “phase shift” where the polarisation angle of the prism causes the light passing through to be split into two slightly out of phase beams. This results in an image that has lower resolution and may look slightly blurred. Prism coatings correct this problem by forcing the split light back into phase. Look out for binoculars with Phase Correction (PC) prism coatings.
Key Comparison Metrics
Comparing some of the performance metrics of a pair of binoculars can help when deciding which pair would best suit your purposes. In particular, field of view will be useful if you are looking at large landscapes (e.g. whale or sea watching) and close focus is very important if you are looking at insects.
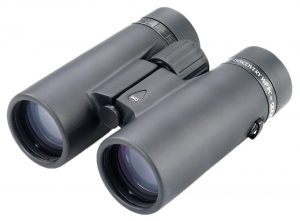
Field of View – The field of view is how wide an image can be seen at a specified distance (usually 1000m). A wide field of view is useful for large landscapes and for fast-moving animals. Models with a particularly wide field of view include all of the Kite Optics range, the Opticron Discovery, Traveller ED and Explorer ranges, the Bushnell Prime and Forge ranges and the Swarovski EL and SLC binoculars.
Close Focus – The close focus is the minimum distance at which the binoculars are able to focus. People interested in viewing insects using their binoculars would be advised to choose a model with a small close focus distance. Models with particularly low close focus include the Opticron Discovery and Traveller ranges, the Swarovski EL and the Kite Lynx HD+ binoculars.
Weight – The weight of the binoculars is incredibly important, as it is likely that you will be carrying them around for long periods of time. Higher quality models of comparable specification will tend to be lighter than entry-level models, and those with larger objective lenses will weigh more than those with smaller ones. Binoculars that are particularly lightweight and excellent for travelling include the Opticron Traveller range and the Hawke Optics Nature-Trek and Endurance ranges.
Eye Relief – This is the maximum distance from the eyepiece lens that the eye can be positioned at which the full width of the image is visible without vignetting (darkening of the image around the edges). Longer eye relief is useful for those who wear glasses.
If you have any queries regarding binoculars then our Customer Services team and trained Wildlife Equipment Specialists would be delighted to assist on 01803 865913 or via email at customer.services@nhbs.com.
Recommended Models
Entry Level
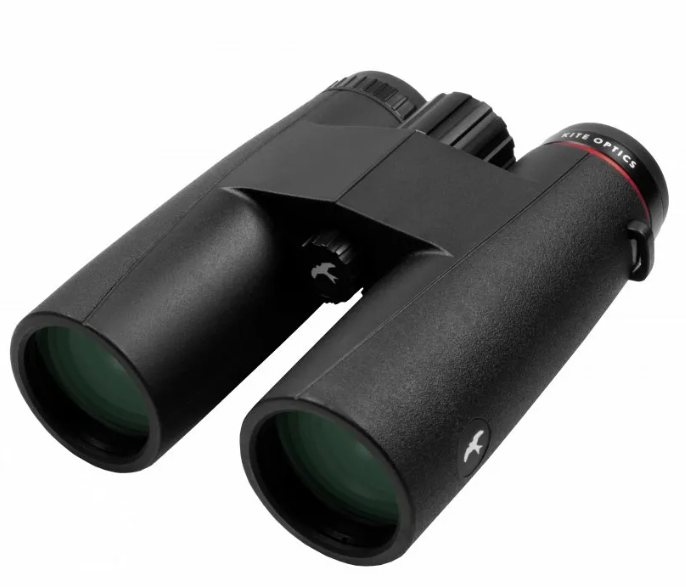
Kite Ursus Binoculars
Ease of use and excellent build quality in conjunction with a wide field of view and high image quality make this model ideal for beginner binocular users.
Budget Friendly
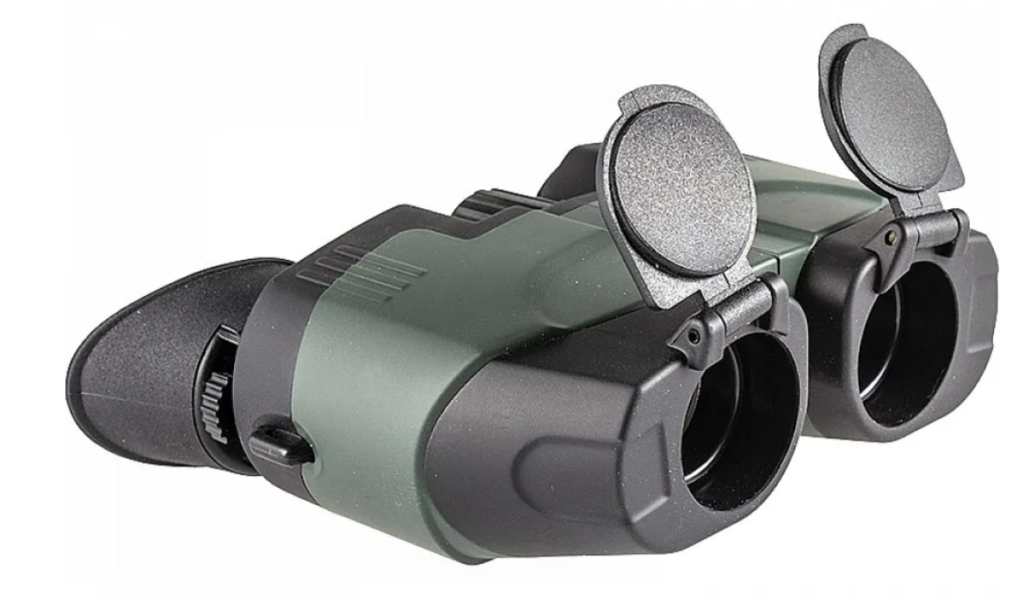
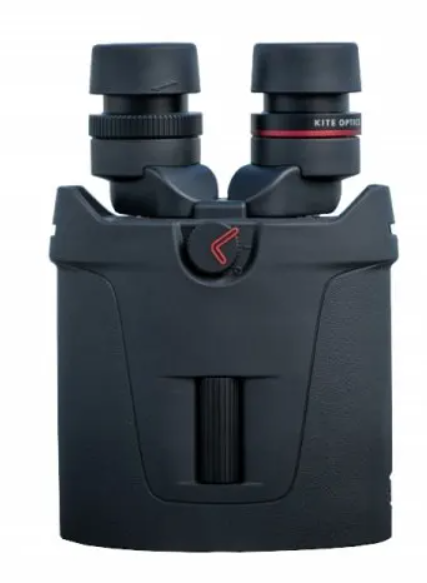
Yukon Sideview Compact Binoculars
Lightweight, robust and budget-friendly. These binoculars are ideal for fieldwork in almost any condition.
General Purpose
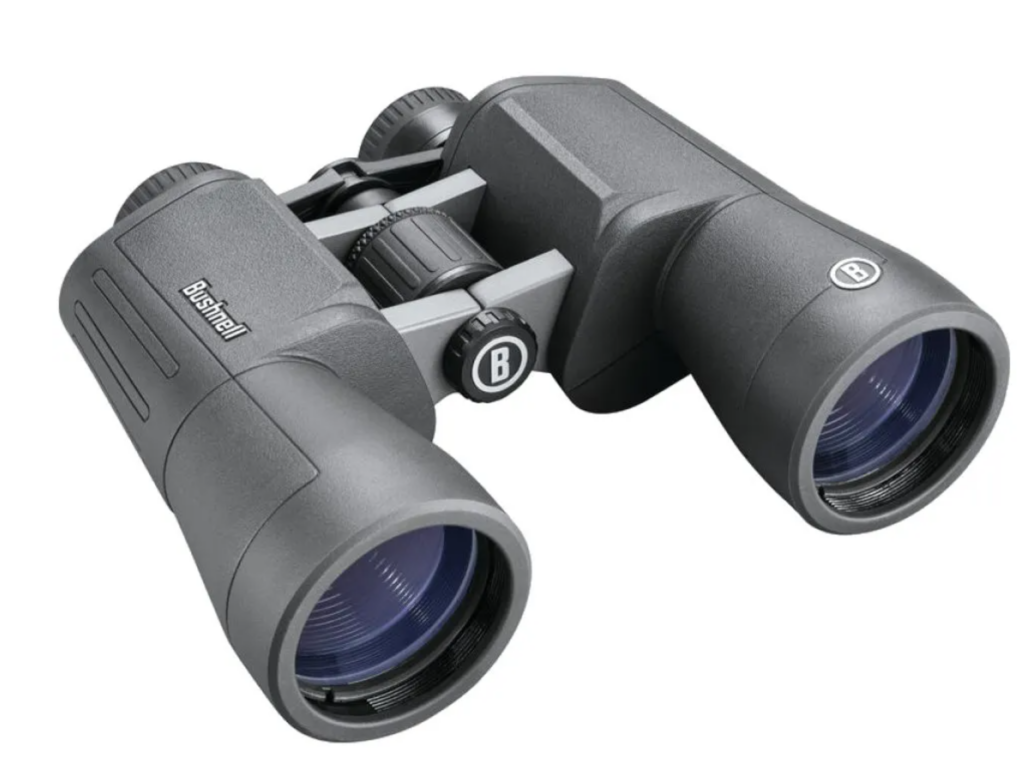 Bushnell POWERVIEW 2 Binoculars
A high-power , budget option for birders and other outdoor enthusiasts. Light and comfortable with the option for tripod mounting.
Travelling
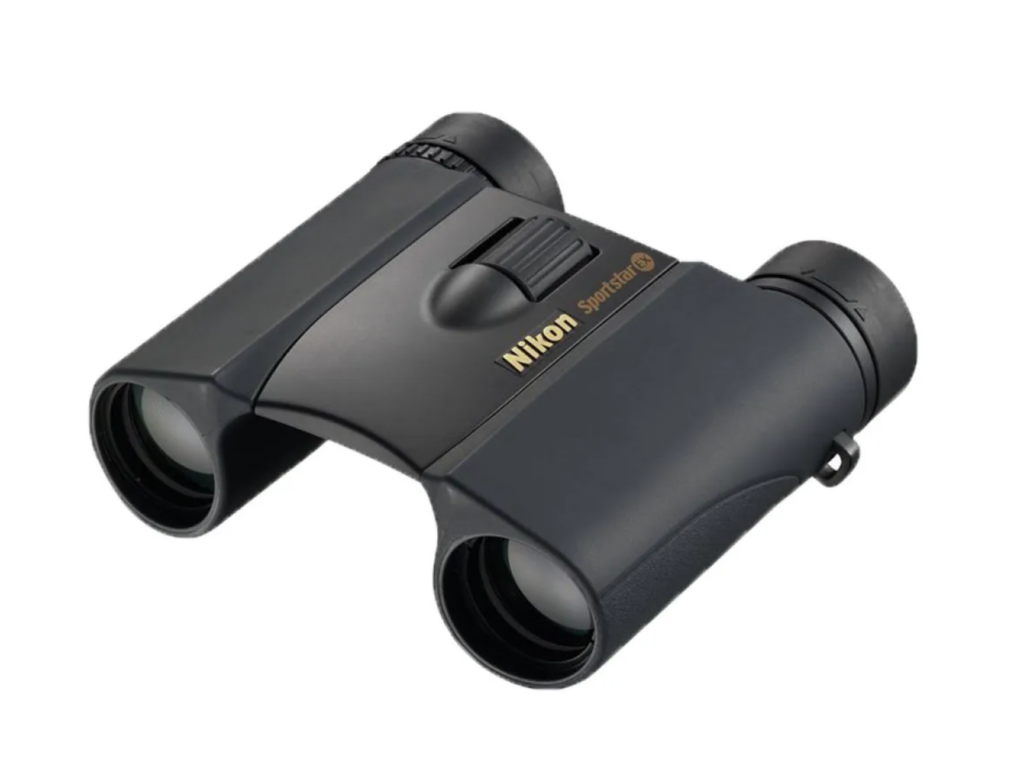
Nikon Sportstar EX DCF Compact Binoculars Ultra-lightweight, pocket-sized and weatherproof. Don’t get caught out when away from home with these binoculars.
Mid-range
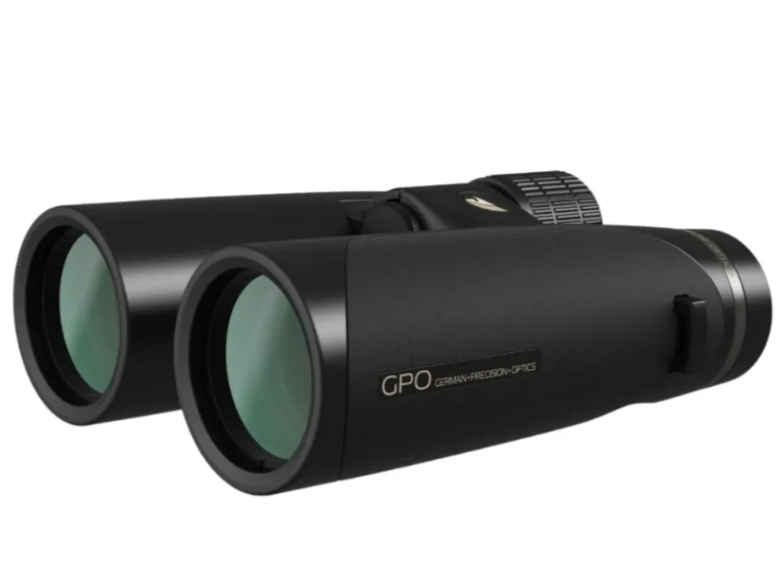
GPO Passion HD Binoculars
Multi-layer lens coating offers unbeatable image quality for the price, and a magnesium rubberised chassis creates a robust housing for the German-engineered optics.
Top of the Range
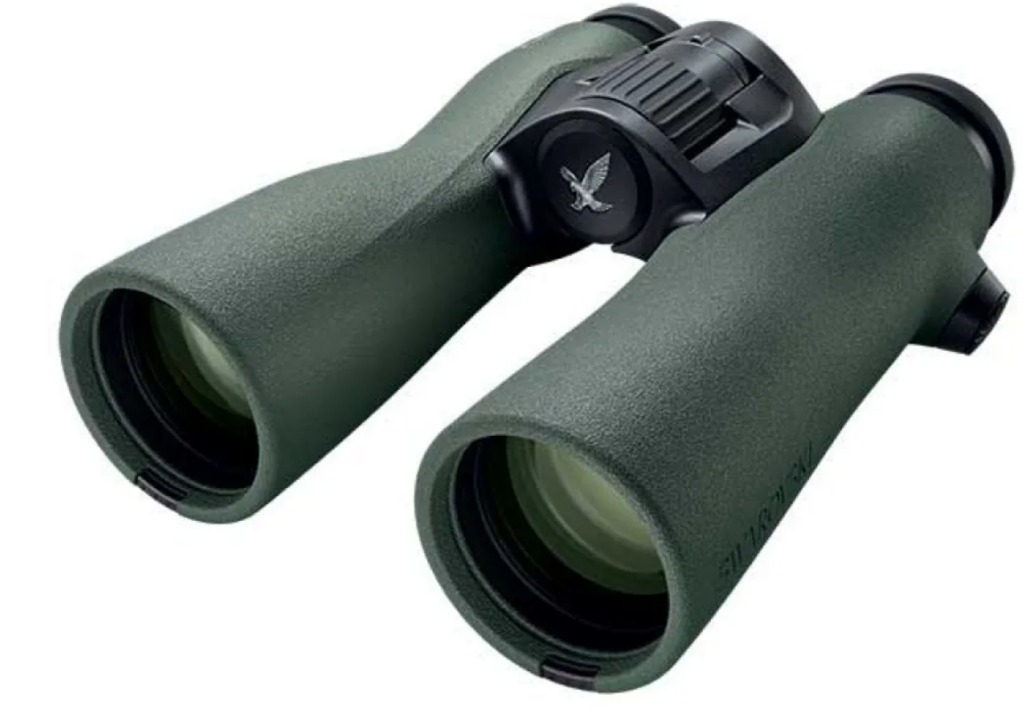
Swarovski NL Pure Binoculars
Enhanced optics offer the widest field of view with almost discernible edges all housed within a revolutionary ergonomic housing.
Specialist Models
Powerful image-stabilising binoculars ideal for use in vehicles or other fast-moving situations.

High-quality optics with an integrated laser range finder.
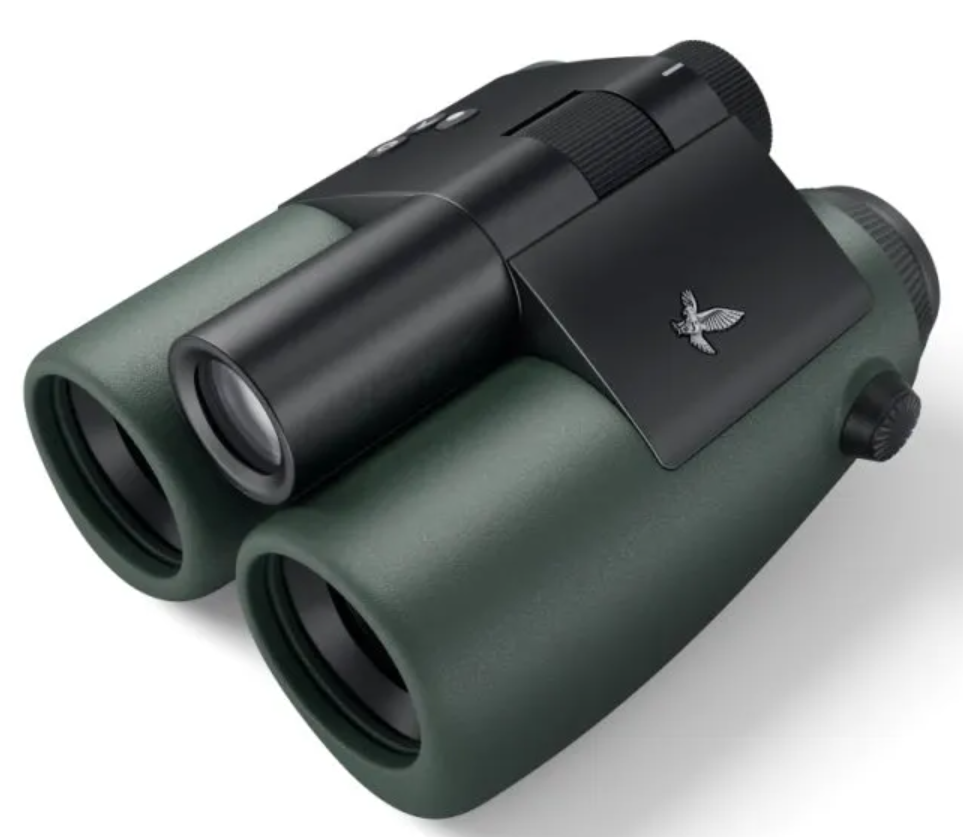
The expected Swarovski quality with integrated Artificial Intelligence identification features brings binoculars into the AI age.
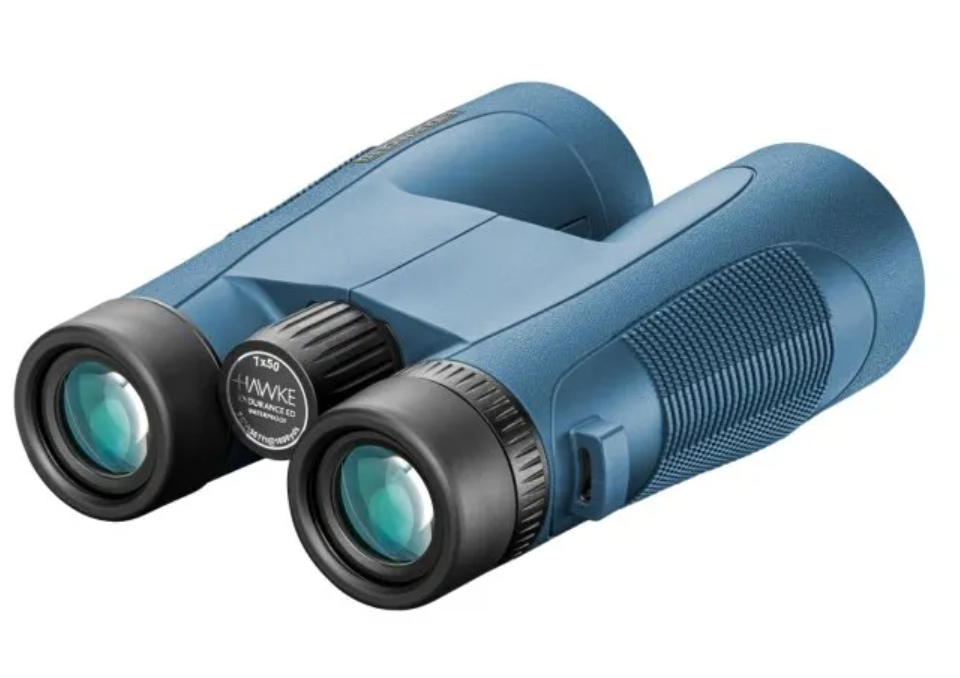 Hawke Endurance ED Marine Binoculars
Ideal for marine surveys, these fully waterproof (IP67) binoculars come with an integrated compass and supplied floating neck strap.
Accessories
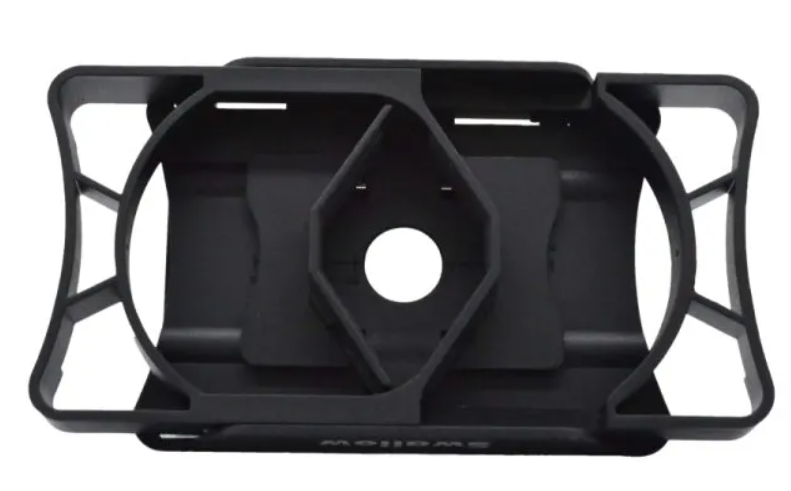
Viking Swallow Smartphone Adapter
Two available smartphone adapter options allow users to take crisp and stable shots directly down the lens of their binoculars or spotting scope using most smart-phone cameras.
Banner image features Northern Lapwings (Vanellus vanellus). Photo credit: Tony Hisgett – www.flickr.com


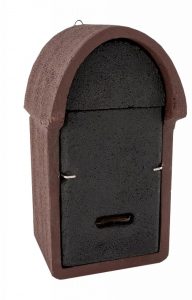


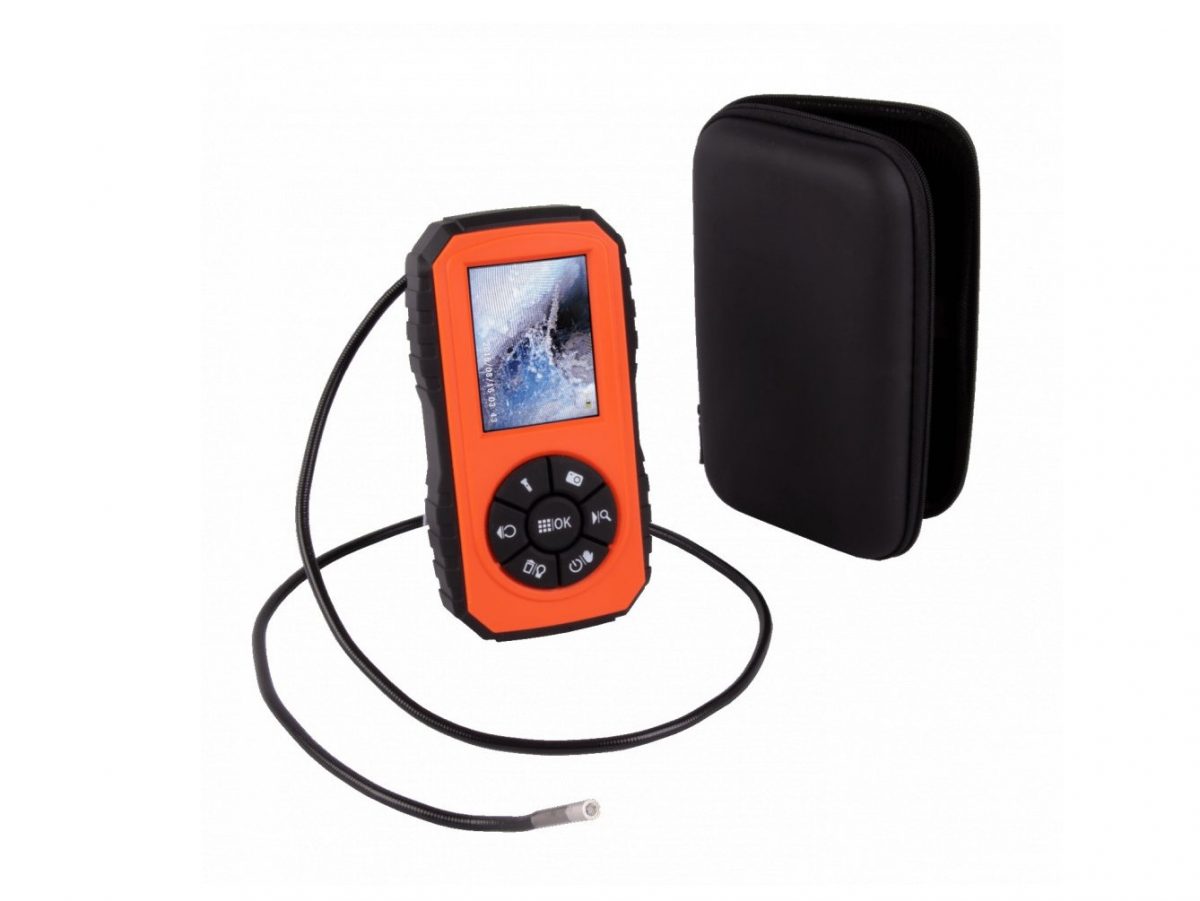
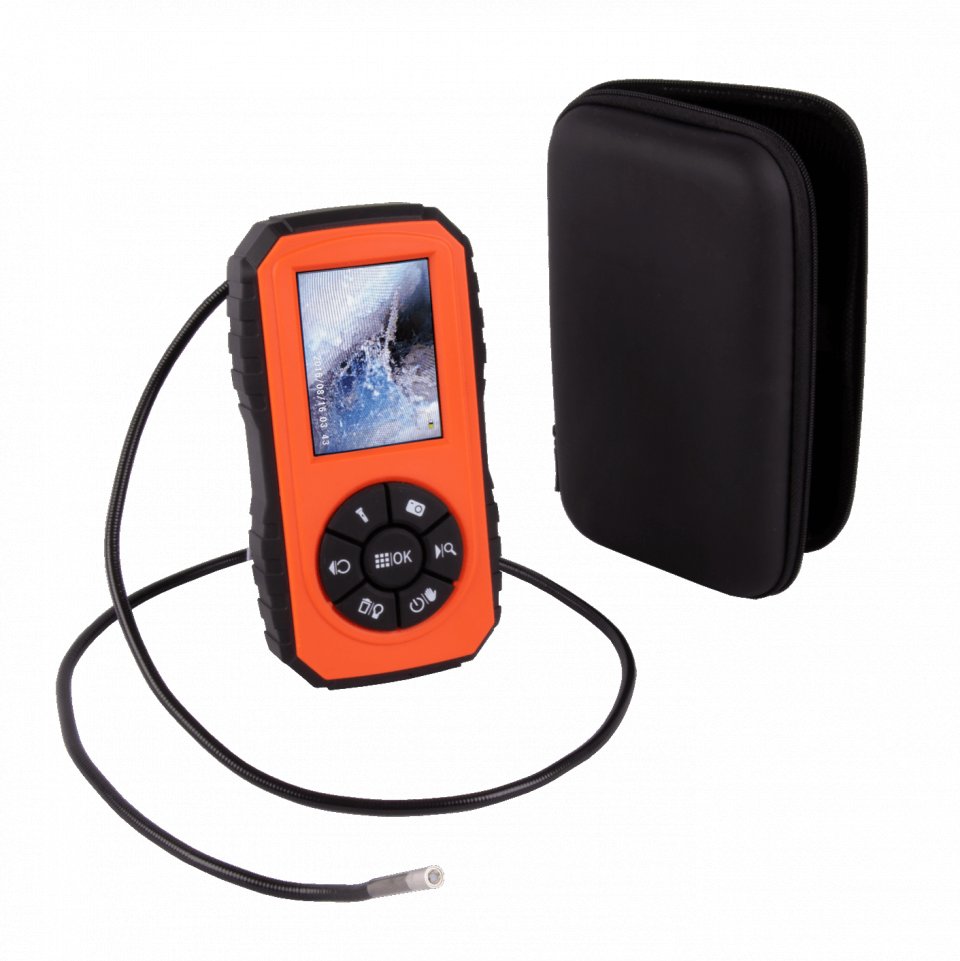
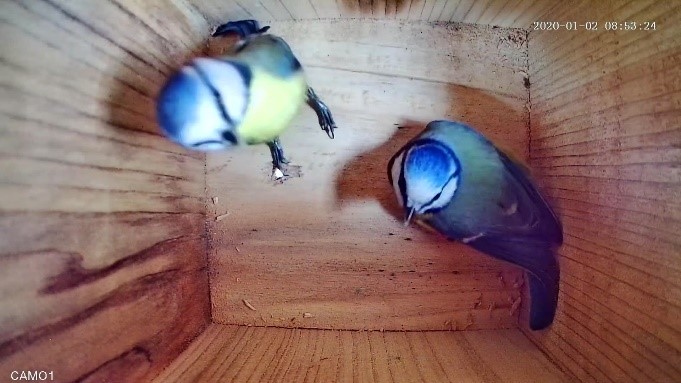
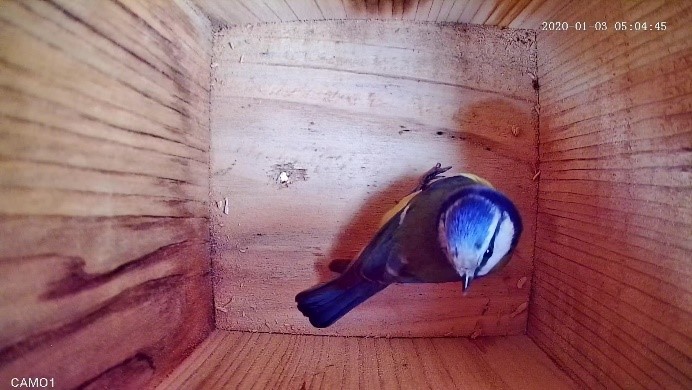
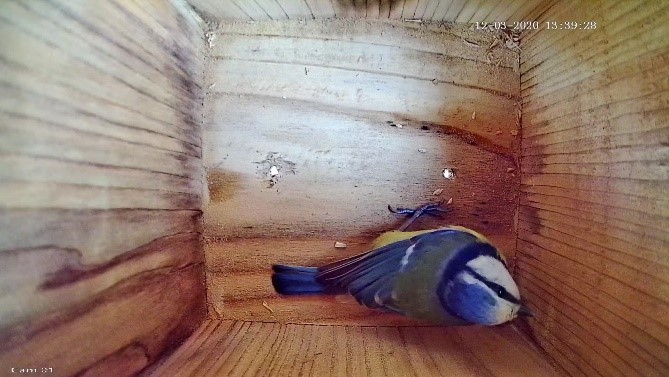
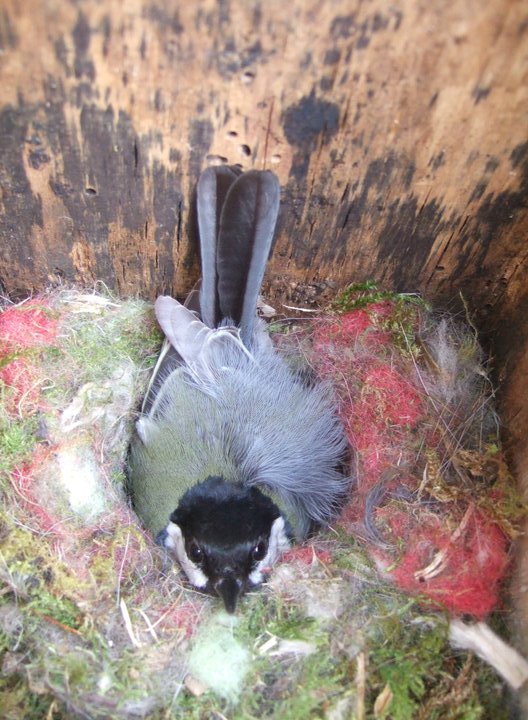
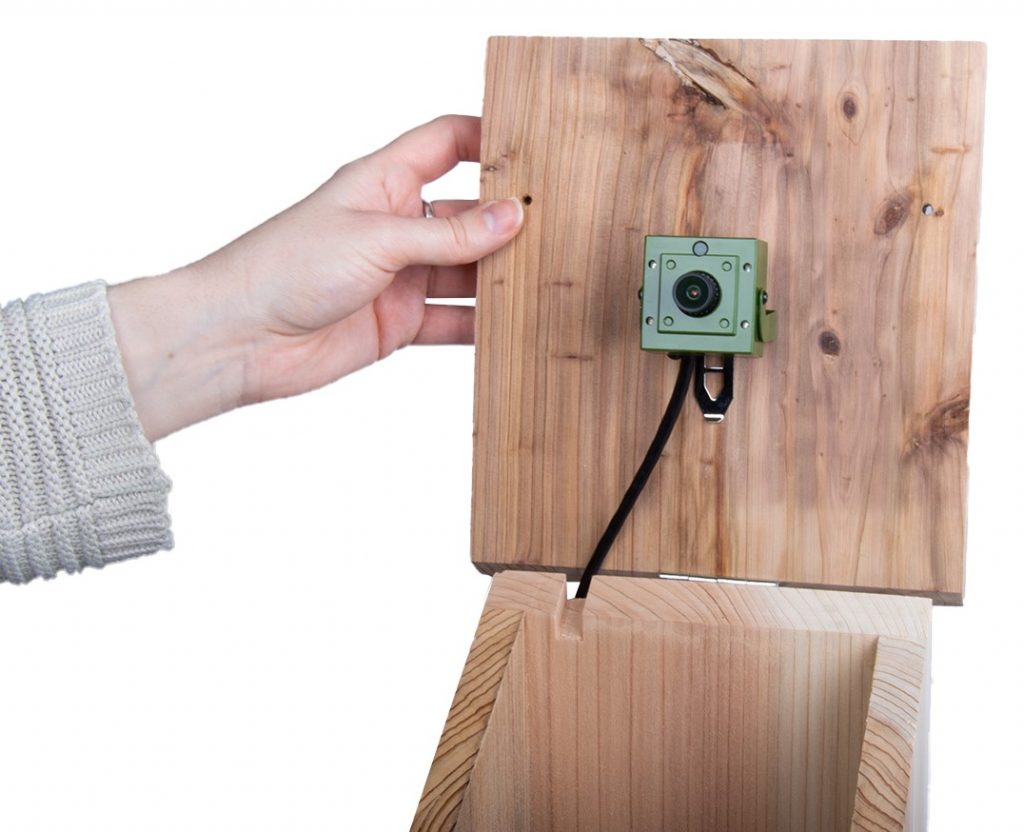
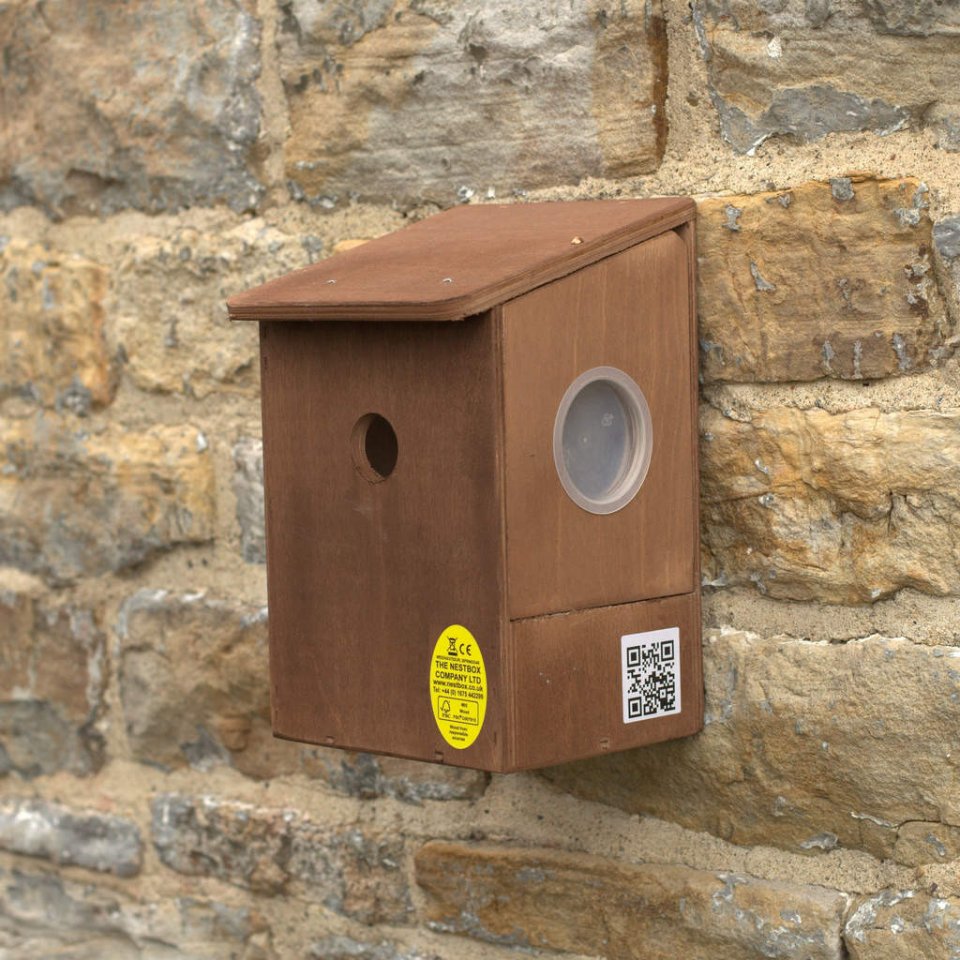
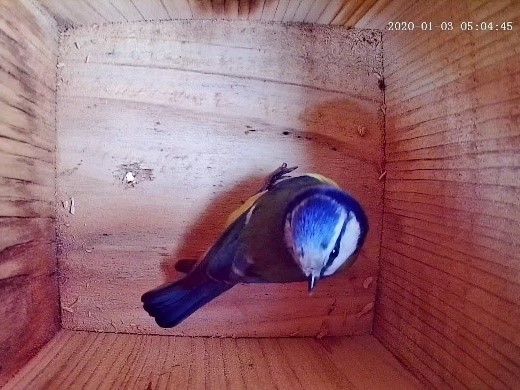
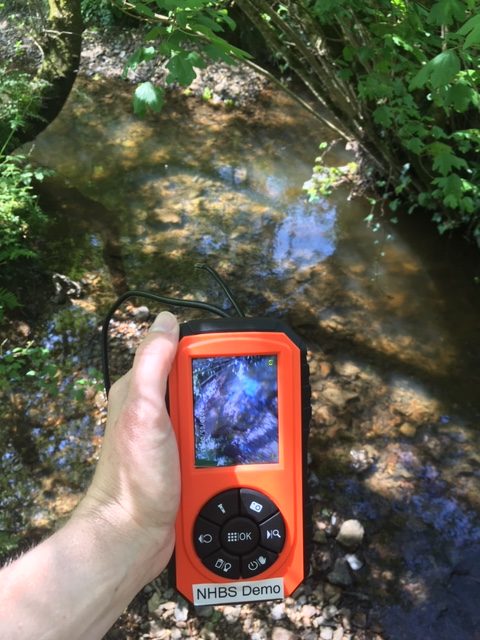 The Video Endoscope camera is IP67 water resistant so we wanted to test its performance when recording underwater. It also has adjustable LED brightness so we wanted to test it in dark conditions. We chose a pond on a farm in West Dorset known to have some tadpoles and selected some nest boxes in a nearby area to examine for nesting activity. We used a 16GB microSD card and 4 x new AA alkaline batteries.


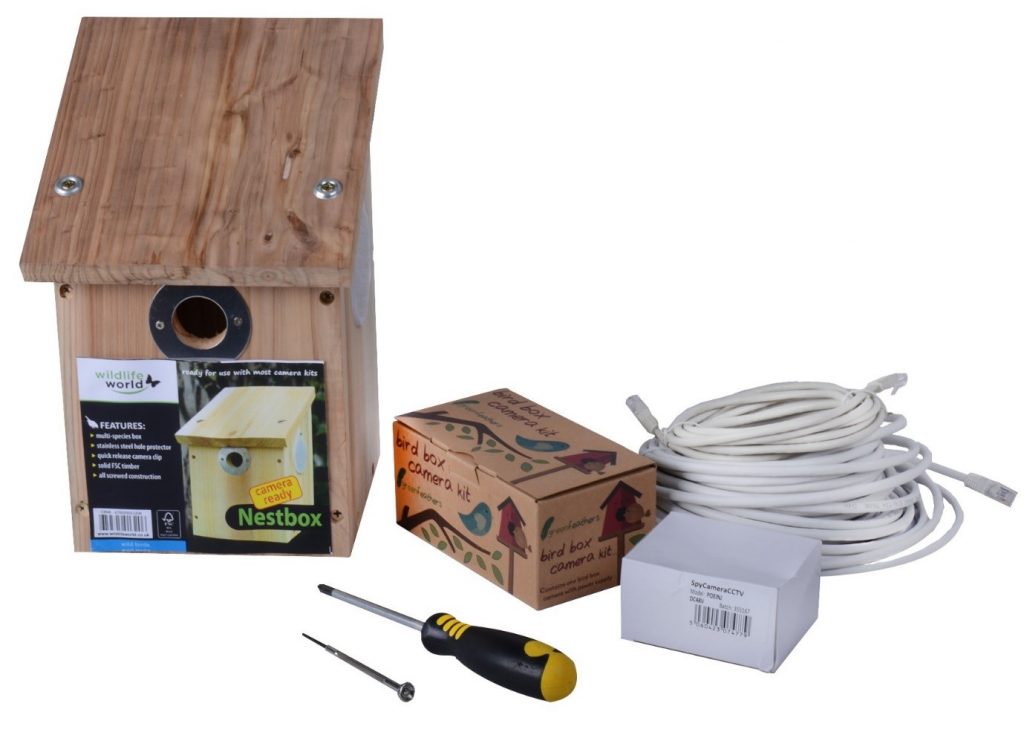
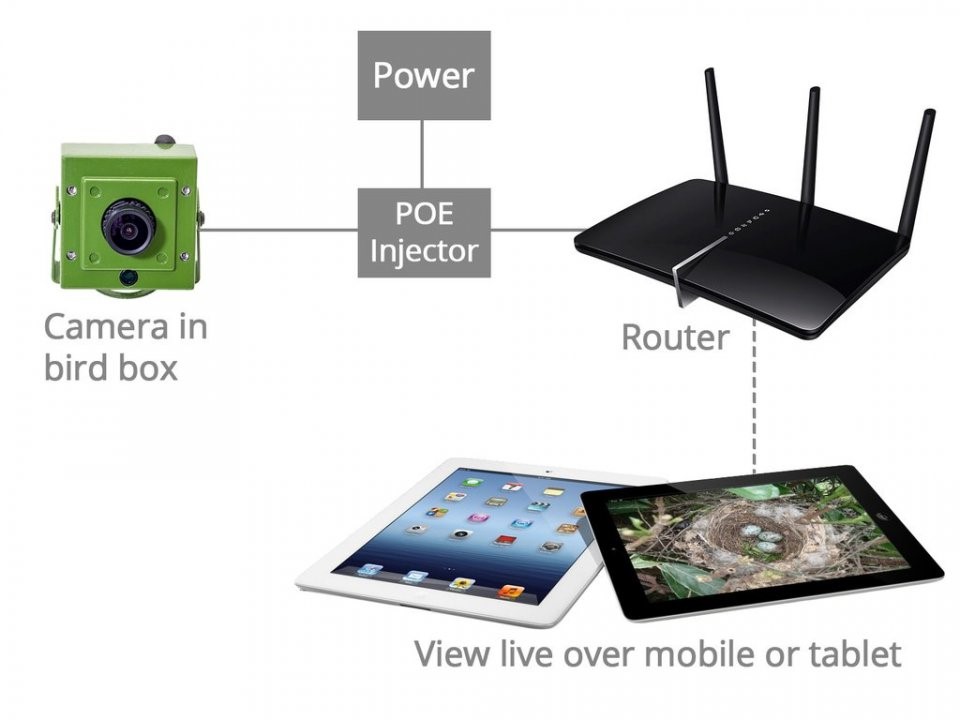
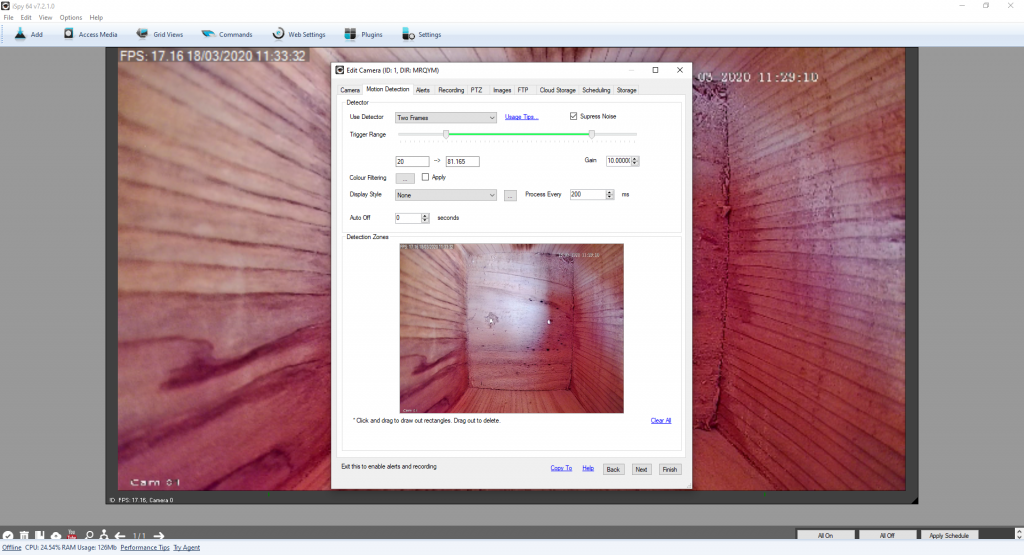
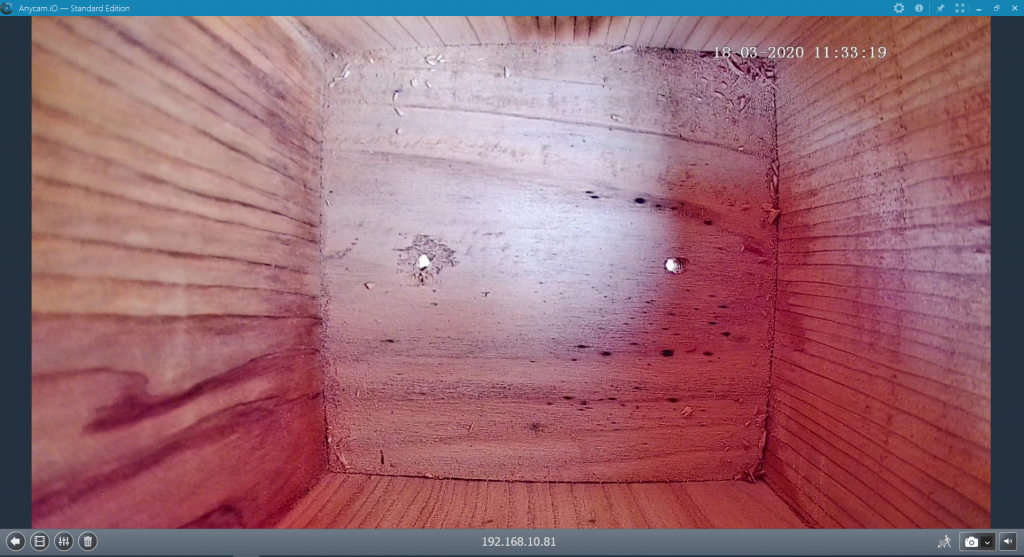
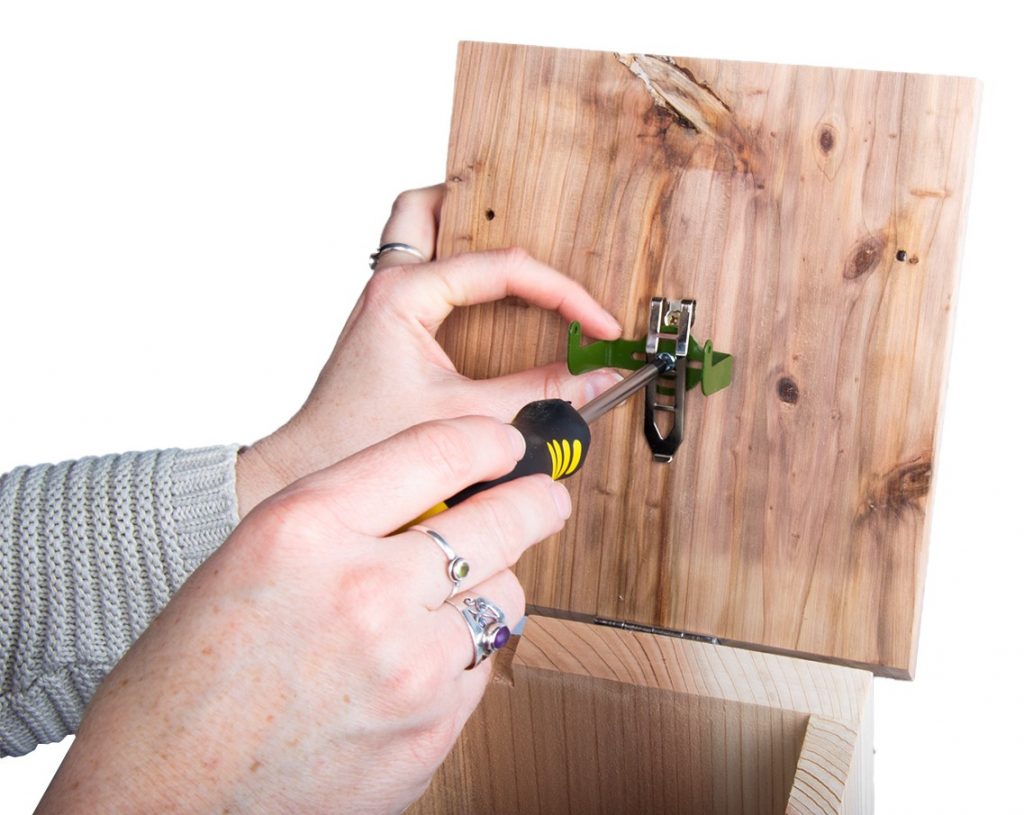
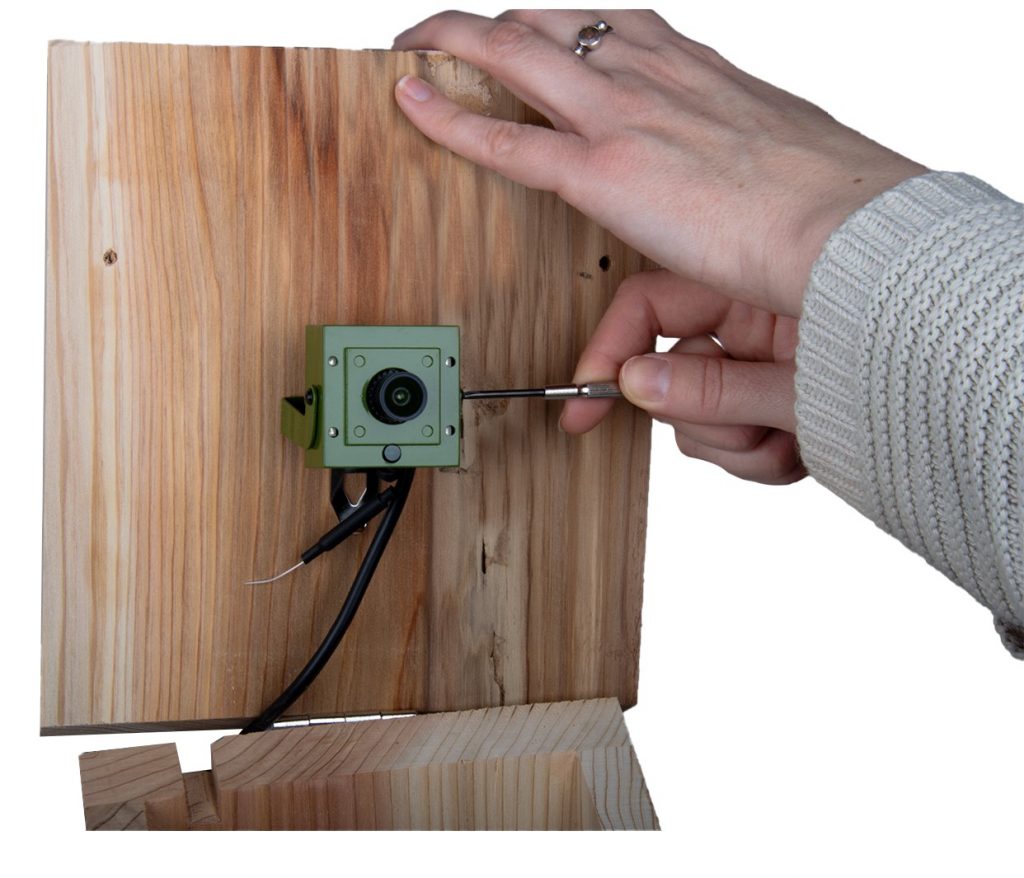
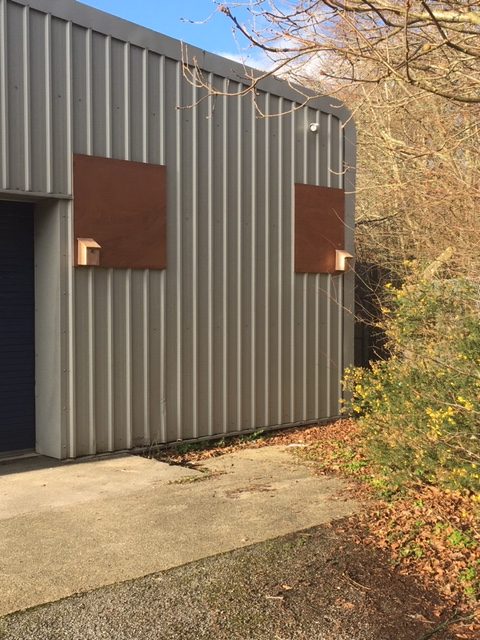
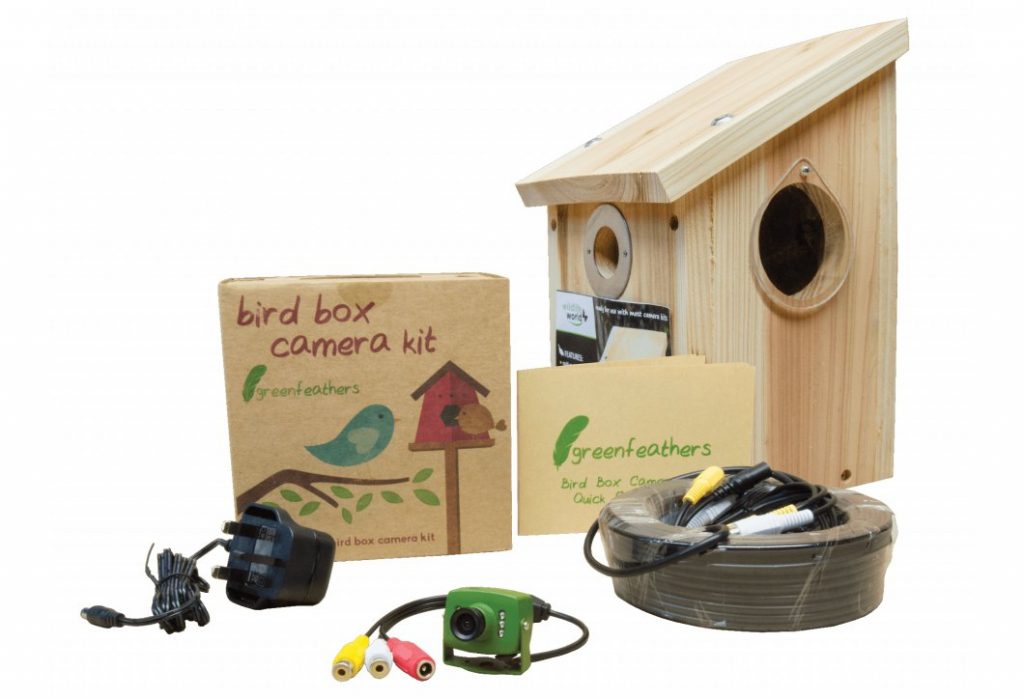
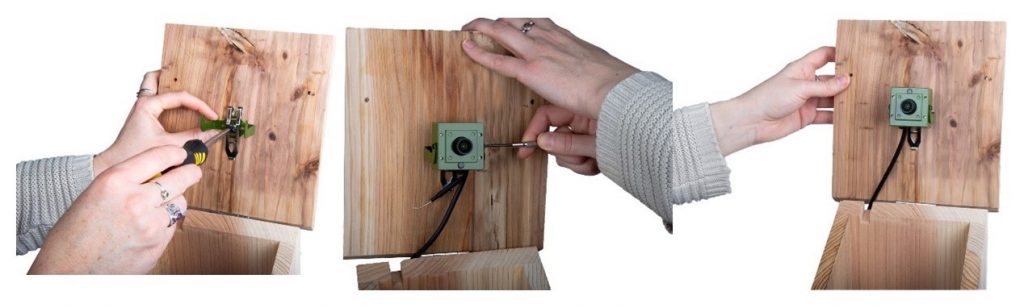 After the box was installed in position, we connected everything up and downloaded software to connect to the camera. We have tried three software programs, all of which are free to download, although additional features may require payment.