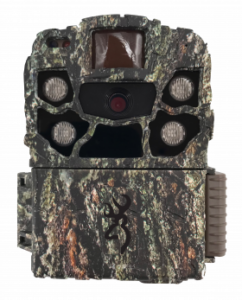
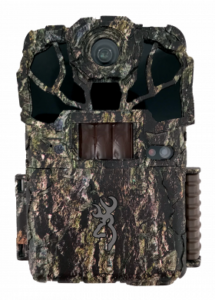
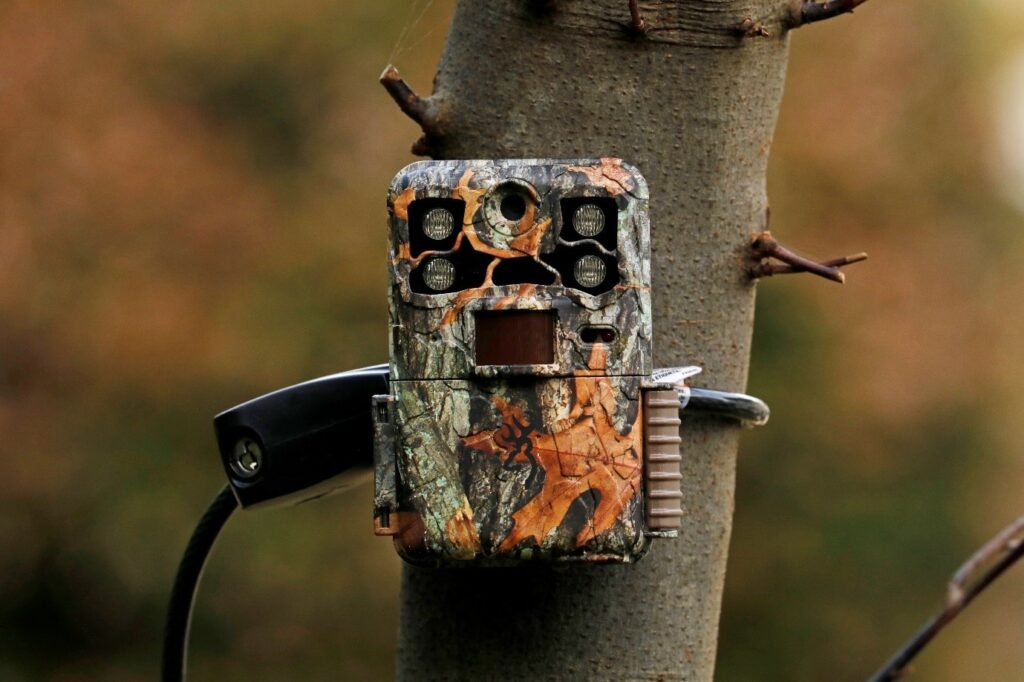
Similar in design and set up to our very popular Wi-Fi Nest Box Camera, the Wi-Fi Bullet Wildlife Camera (3rd Generation) is cased in a weatherproof housing, allowing it to be set up outside to watch all the wildlife in your garden.
It is set up via the free accompanying app Green Feathers. This camera is designed to live stream footage to your smartphone or tablet via Wi-Fi and can be watched on a web browser (Google Chrome or Microsoft Edge) once having been set up via your smartphone, or can be viewed and recorded on a computer via OBS Studio, or even live streamed to YouTube.
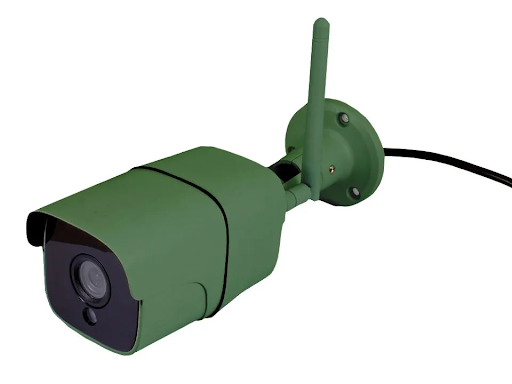 For a reliable connection, the camera is mains powered and extension cables are available to make installation more flexible if needed. The footage is recorded to a micro SD card up to the size of 128GB. You can add several cameras to the app if you want to watch different angles in your garden simultaneously.
It is worth noting that these cameras run on 2.4GHz Wi-Fi. This is not usually an issue as most Wi-Fi routers run both 5GHz and 2.4GHz, but if you do need help with this there is an online help guide available.
How we tested
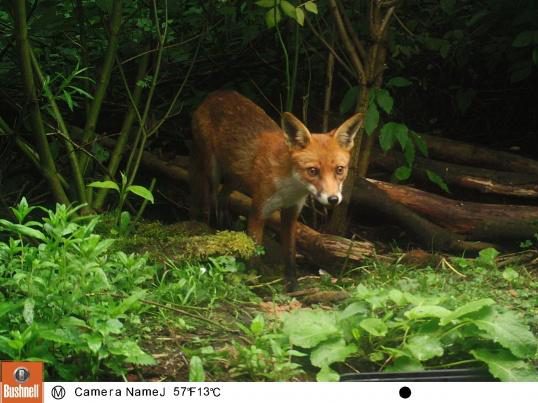
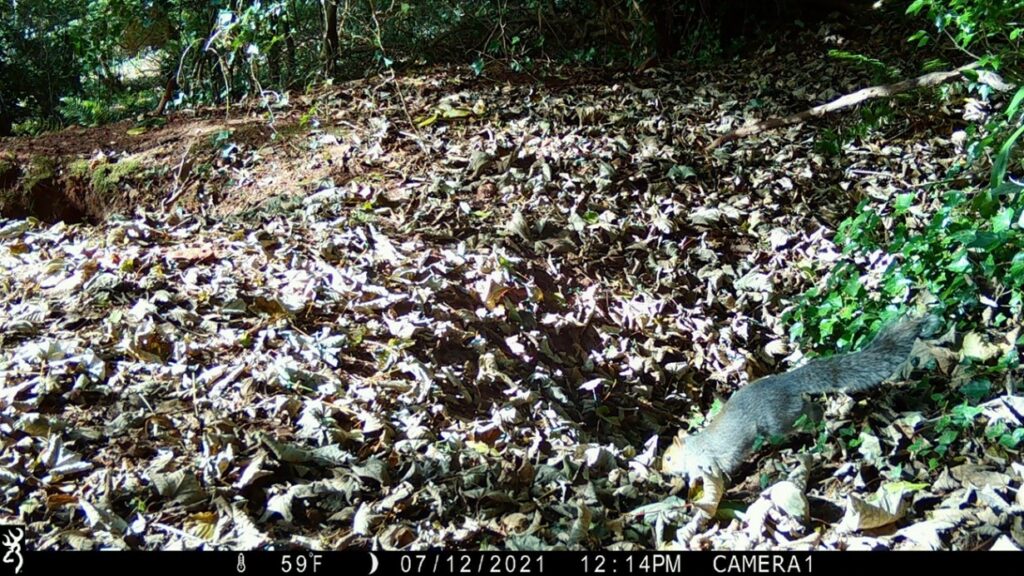
To check out how the Wi-Fi Bullet Wildlife Camera performs in a real life setting it was set up in an urban garden. It was placed on the outside of a greenhouse, facing different angles. We set the camera up to record when motion was detected. This is called event recording on the app but continuous recording is also a possibility. We enabled local recording to allow the footage to be recorded to the micro SD card.
We set up a motion detection alarm to alert us when motion was detected on the camera so that the footage could be watched live if wanted. We had this scheduled for between the hours of 7am and 11:30pm so that we would not be disturbed by notifications in the night. This does not stop the recording from happening at that time, but simply stops the notifications. The alarm sensitivity was set to ‘high’.
We predominantly viewed and recorded the footage on a smartphone but also tested out using OBS Studio alongside VLC to view and record the footage on a laptop, as well as watching the live feed on Google Chrome.
What we found
Setting up the camera was very quick and easy. Once we had downloaded the app it was quite a simple process and the app guides you through the setup process. If you do run into difficulties, there are a number of help guides online which include video tutorials.
Initially, we were not sure whether having the sensitivity set to high would result in lots of recordings triggered by wind, as the weather during testing was windy and autumnal, with hail showers and leaves falling from surrounding trees. We were pleased to find this was not the case. The only ‘false’ recording we experienced were spiders walking over the lens of the camera, too close for the camera to focus on, and as we had the camera set up facing the house, we noticed that at night the camera triggered when lights were turned on and off in the house when curtains weren’t drawn.
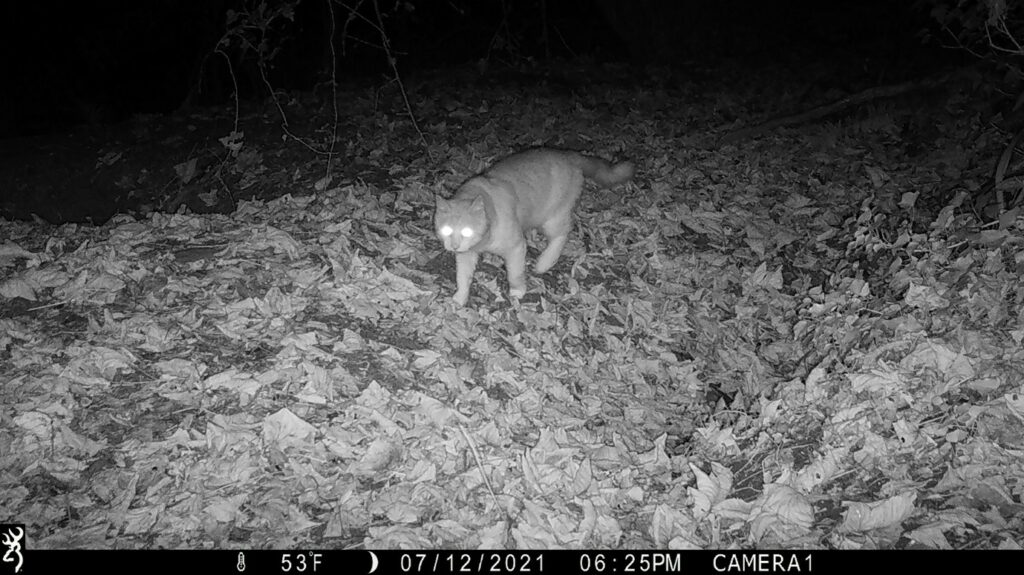
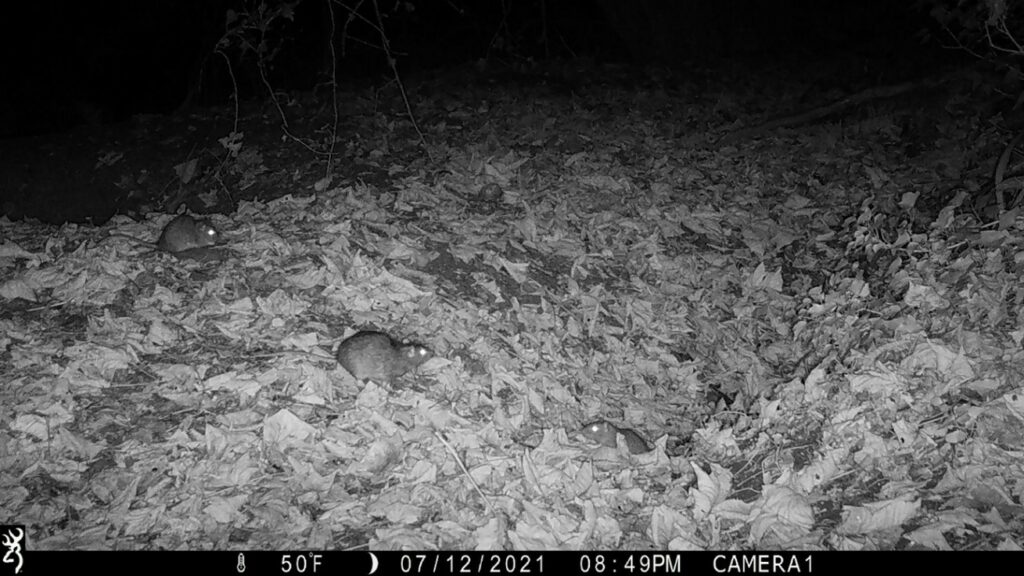
We did find that the motion trigger was more reliable when at a closer level to the subject. For this reason we predominantly kept the camera at a low height rather than placing it higher up and pointing down. We would recommend playing around with the location of the camera before permanently fixing it to a location using the included screws and fixing brackets. While wood pigeons and magpies triggered recording at distances of several meters, and cats (and people) even further, to the maximum tested distance of approx. 5 meters, we did find that smaller birds such as sparrows only triggered the camera when within 1 meter of the camera. For this reason, if you are wanting to use this camera for watching feeding stations for small bird/small mammals, we would recommend mounting the camera close to the feeding station or going for the 1080p HD Wired Outdoor Bird Feeder Camera if you would like a constant video feed to a TV (please note the Outdoor Bird Feeder Camera does not record sound).
We were impressed with the sound quality of the recordings. Although we did not manage to record a good video of the sparrows and starlings singing in the trees (the backlighting and distance to the tree was too far for good footage), they can be heard in other recordings. The camera does make some noise itself while recording but this was not too loud or distracting. We were also impressed with how little the noise of the wind was picked up by the camera.
The camera has an impressive viewing area, much larger than we were anticipating, however this did result in a bit of a fish eye effect to the footage. This was only really seen to affect the subjects being filmed when they were very close to the camera (as seen in footage of the cats having a good investigation of the camera).
The infrared, low light footage did kick in quite early some evenings, although these were particularly gloomy evenings. The footage was still nice and clear in the dark, as it was during the day, and the motion detection did not seem to be affected by whether it was day or night.
Exporting the videos from the camera was a little bit of a drawn out process as the videos are accessed via the playback function in the app while connected to the camera. From here you can see the event recordings as grey lines on the timeline on the bottom of the video feed. This timeline can be expanded and contracted using a pinching motion in order to allow easier navigation. When viewing an event recording that you would like to export/share, you can record it to the app by pressing the record button, and pressing it again to stop the recording. If you would like your saved recording to have sound, ensure that you enable sound while watching the playback before pressing record. You do this by clicking the speaker icon on the video. Once these recordings are saved to the app they can be found in your Photo Album which can be accessed through the app without internet connection. From here you can share them. Although this is a slightly long process, it does mean you can access your footage to share from wherever you are (as long as you have Wi-Fi) without having to remove the micro SD card, which is contained within the camera under a screwed latch in order to ensure that the camera is waterproof.
Being able to access the camera from a computer is also very useful and enables you to record footage straight to your computer rather than just to the micro SD card and app.

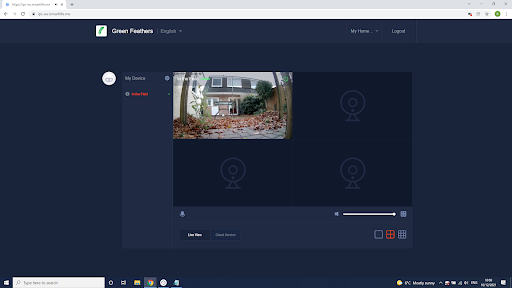
Viewing the camera from a web browser was also very easy to set up with the app by just scanning a QR code and confirming access via the app, to ensure it is a secure connection. You can also view multiple cameras in the web browser (single view and up to 9 cameras) so if you were to have multiple cameras, including a Wi-Fi Bullet Wildlife Camera and Wi-Fi Nest Box Camera, you can see them all simultaneously. This is a benefit over viewing in the app, as although you can add multiple cameras to the app, you cannot view them all at once.
Our opinion
This camera was easy to set up via the free app and provided hours of fun wildlife viewing. There are certain features that we think are worth bearing in mind when setting up the camera, such as positioning the camera close to where you hope to view smaller subjects, and we would also recommend that if you want to record specific behaviours or longer videos, to set the camera to continuous recording. This can be set up on a schedule so that the continuous recording only takes place in the timeframe you are interested in.
While the app was sometimes quite slow to connect to the camera, and the Wi-Fi connection to the camera was lost once (during 1 week of deployment), neither of these issues resulted in loss of video capture as the camera still records locally to the SD card regardless of whether there is internet connection. But the manufacturers are constantly working on improving the app, as it was only released earlier in 2021.
While the Wi-Fi Bullet Wildlife Camera has its limitations, we think that it is a great tool for watching your garden wildlife.
The Wi-Fi Bullet Wildlife Camera can be found here. Our full range of wildlife cameras can be found here.
If you have any questions about our range or would like some advice on the right product for you then please contact us via email at customer.services@nhbs.com or phone on 01803 865913.


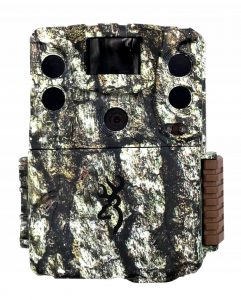
 Recently added to our range, the
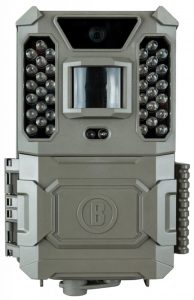
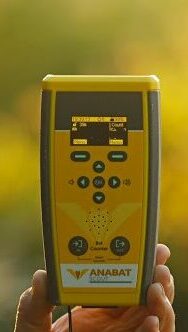
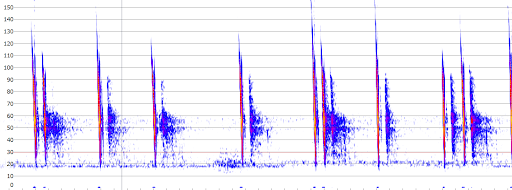
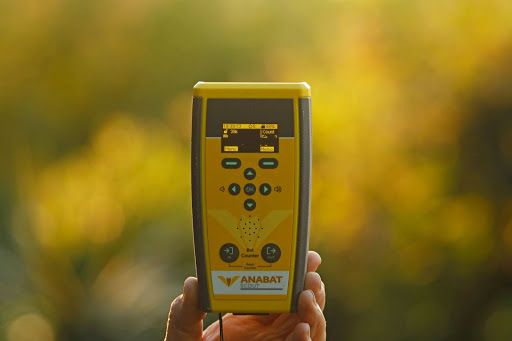 Here we review the Anabat Scout from Titley Scientific. The Scout is an easy to use active bat detector that offers excellent quality live audio and recording, plus many handy surveying features and durability that sets it apart from other detectors. It uses heterodyne, auto-heterodyne and frequency division audio that can be recorded in either full spectrum or zero crossing files.