The NHBS Guide to Swift Nest Boxes

Alongside House Martins and Swallows, Swifts are losing suitable nesting habitat at an alarming rate. Through changes to roof design and structure, nesting sites are becoming increasingly rare. This has contributed to the widespread decline of this species which has seen them added to the UK Red list.  

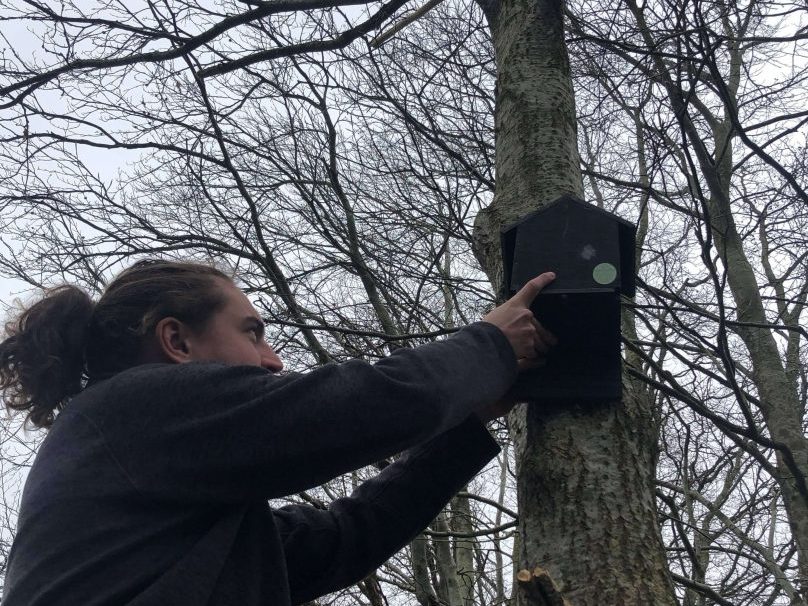
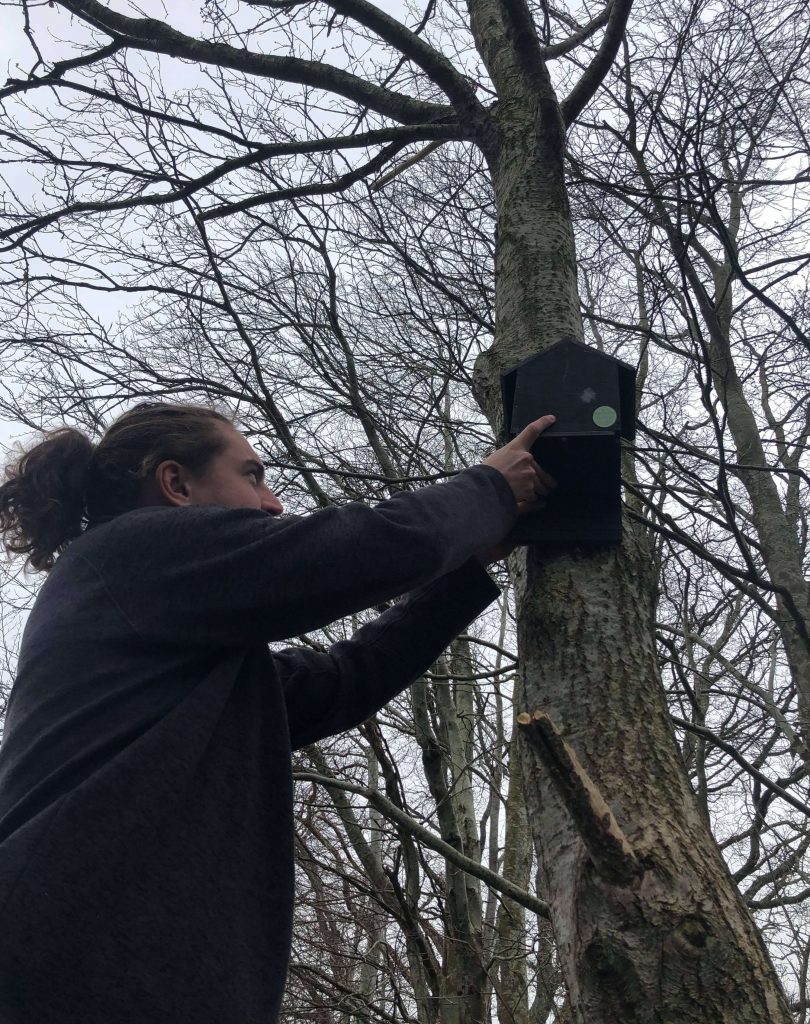
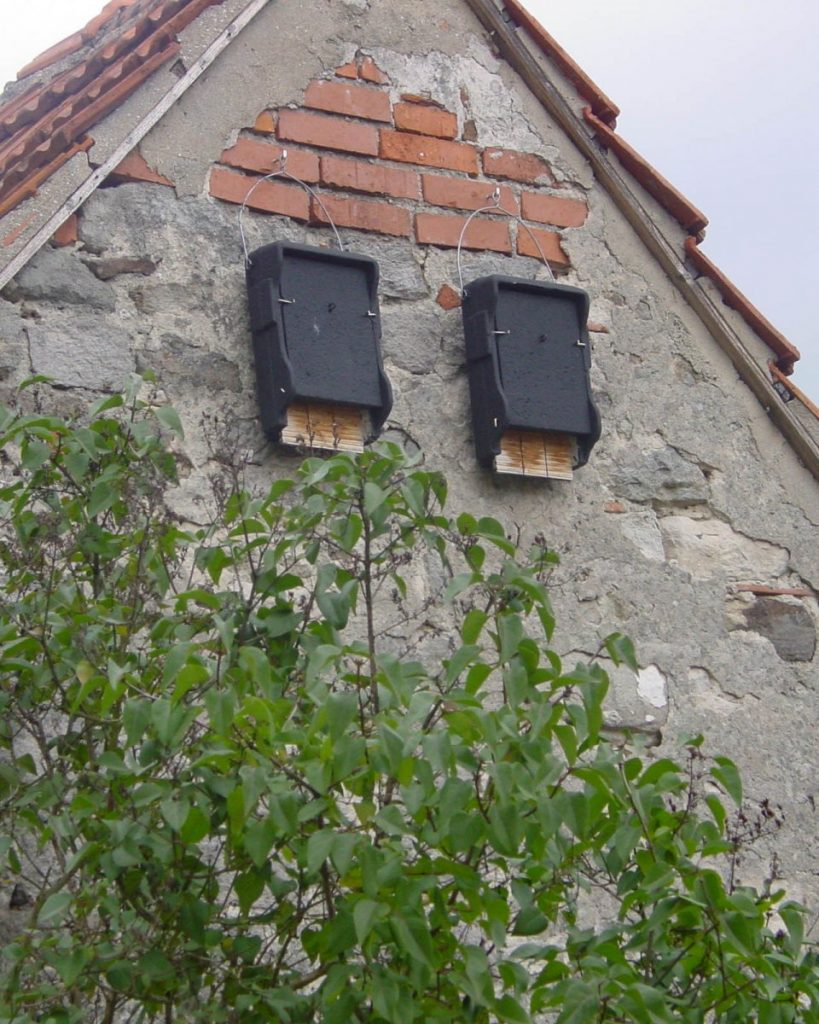
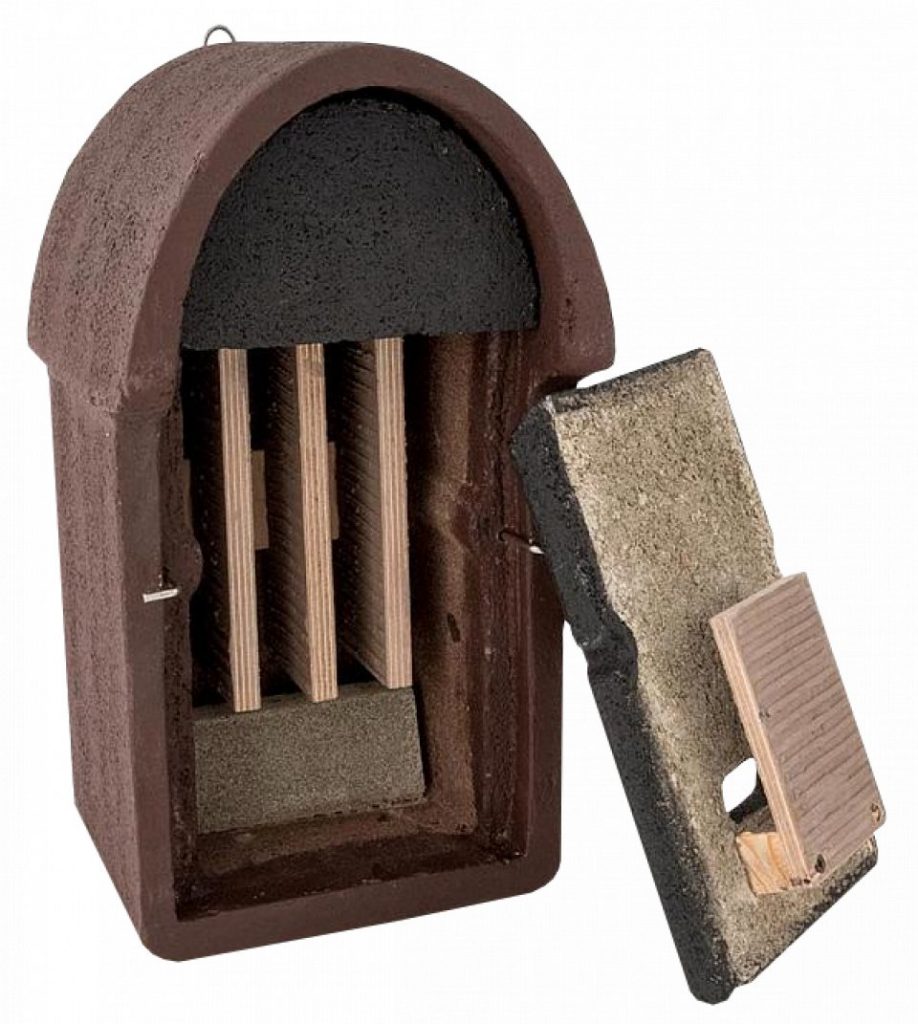
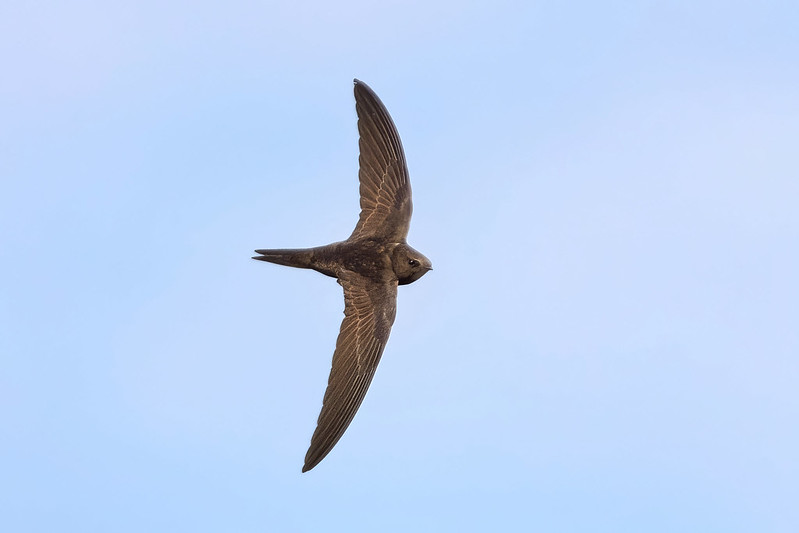
Swifts return to Britain and Ireland from April, following a lengthy flight from Africa. Before leaving in August, Swifts must mate, lay and incubate their eggs. Nest boxes provide Swift colonies with the perfect site to raise their young – boxes should ideally have a large internal cavity with an elongated entrance hole, either at the bottom or downward facing. Swift nest boxes should be placed under the eaves of a building, on walls at least five metres in height. Since these birds nest in colonies, multiple nest boxes or boxes on neighboring houses are ideal for attracting more Swifts.  

Here, we look at a selection of nest boxes suitable for Swifts, highlighting the benefits of each design.  

Key materials 

Wooden nest boxes are preferred by many. This lightweight material is breathable and provides excellent insulation for nesting birds, helping to protect them from temperature extremes between seasons. Typically used for external boxes, harder wood types provide a fair level of robustness and longevity when at least 15mm thick and help to prevent predator access to the nest.  The main drawback of wooden nests is the maintenance they require – they should be monitored to ensure the wood remains in good condition, and care taken in choosing wood treatments as many can be harmful to nesting birds. 

WoodStone and Woodcrete are almost identical in composition, but Woodcrete is a patented material by Durisol. The material is made from a blend of wood and concrete to produce long-lasting, very durable boxes which can last for decades. It has good insulative properties and creates a thermally stable environment inside the box to shelter inhabitants from extreme temperatures. This material is offered for both built-in and mounted nest boxes but is more often used for built-in boxes due to its weight, which is heavier than wood or eco-plastic. WoodStone is typically more expensive than other materials and requires thoughtful design to improve ventilation to prevent the buildup of moisture in the nest.  

Certain components of a bird box may be made with eco-, or regular, plastic. A low-cost option, plastic is more lightweight than Woodcrete, and provides more longevity than wood. This weather resistant material is easy to maintain and is often sourced from recycled plastics. Nest boxes featuring eco-plastic require careful design to mitigate issues with insulation and ventilation. This material is, however, less durable and provides little resistance to predators or extreme temperatures. 


Our Suggestions: 

Built in Swift Nest Boxes

Woodcrete/woodstone Swift Nest Boxes

PRO UK Rendered Build-in Swift Box

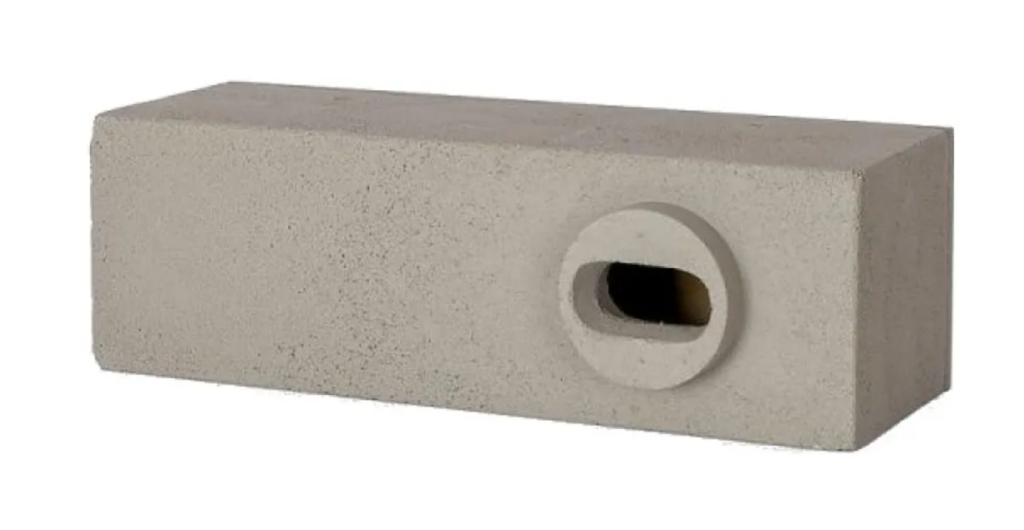
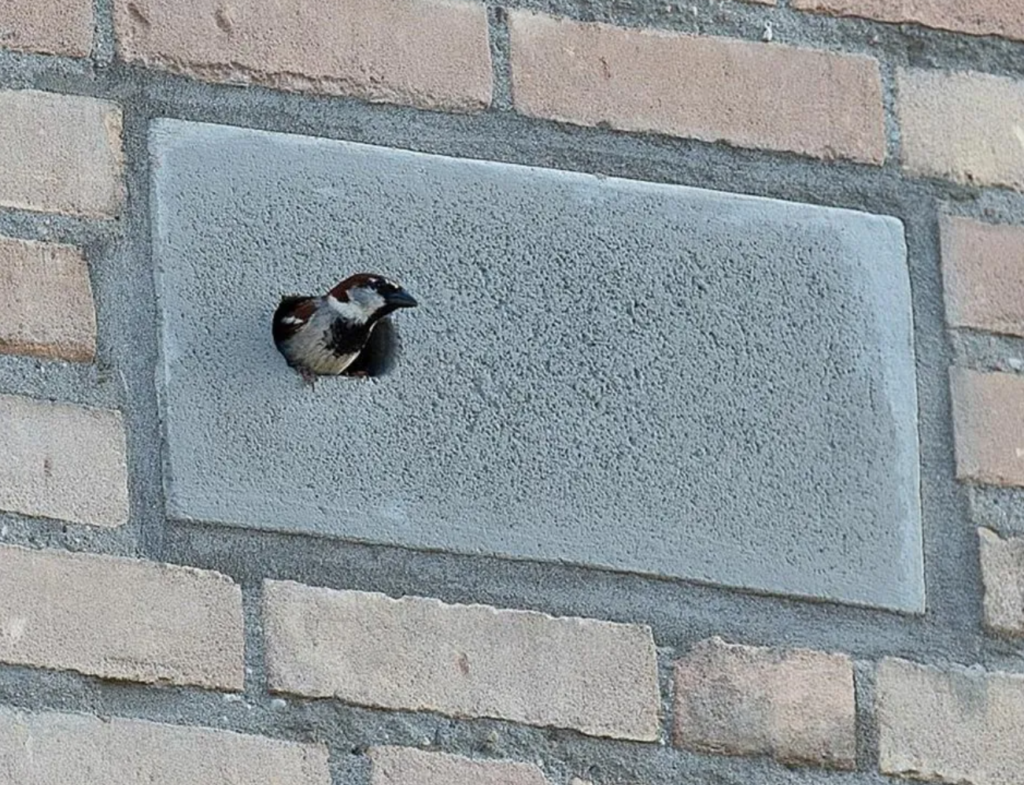
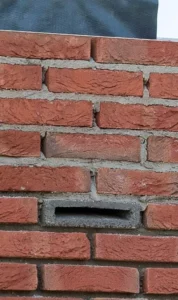
This built-in box provides Swifts with a thermally stable, secure nesting space. Woodstone is a durable, long-lasting material that is perfect for new builds. Because it is constructed to standard brick dimensions, this nest box can be rendered over to better blend into constructed walls.  


Pino Build-in Swift Box

This box provides nesting birds with ample nesting space in a single internal cavity. Woodstone material improves the thermal stability and longevity of the box, while maintaining breathability. This build-in box is also suitable for sparrows, Starlings and other small urban birds. 


Wooden Swift Nest Boxes

Soffit and Fascia Swift Box

 This built-in box from Unitura is designed to be mounted in eaves and soffits and features a sloped nesting board to allow for mounting at multiple angles. The box has one wood-concrete entrance for extra durability, and a durable plywood box for longevity. This nest box has two nesting bowls to encourage colony nesting. 


Concrete/Brick Swift Nest Boxes

Ibstock Eco-habitat for Swifts
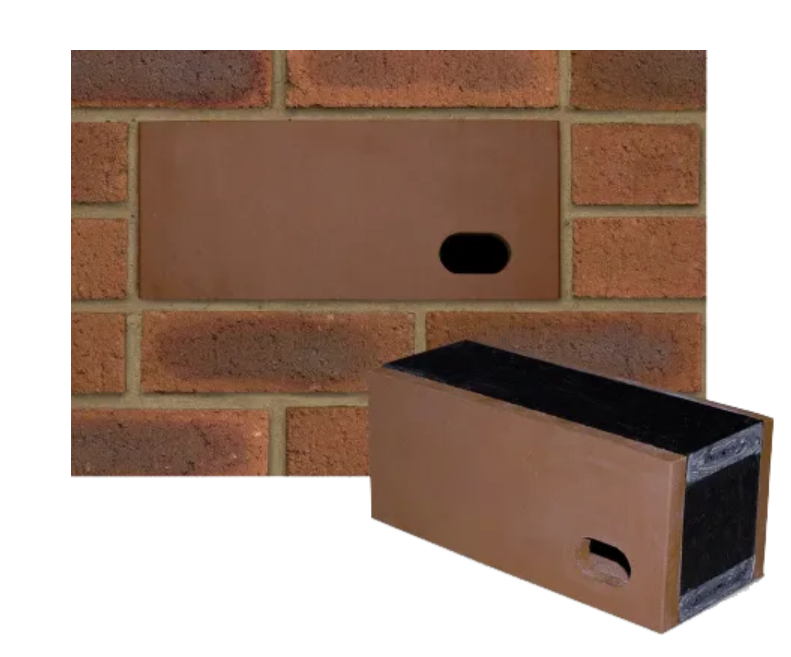
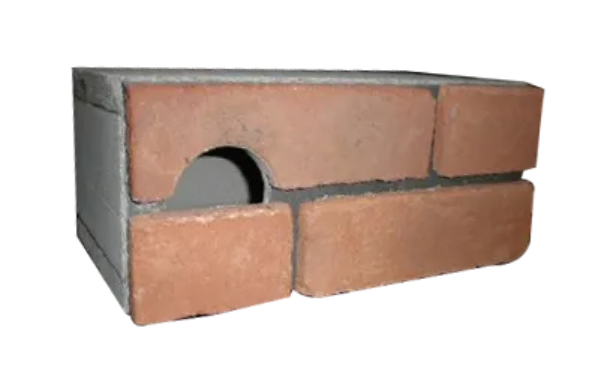
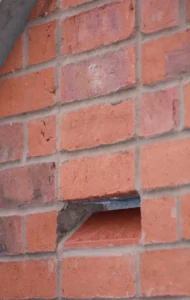
Designed to be incorporated into new builds or renovated properties, this Swift brick comes in three colours to ensure discreet placement. Constructed from brick, this box will be durable and will last for many years. 


Swift Box – Smooth Brick

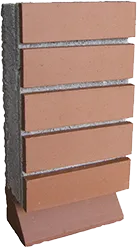
Made with insulating concrete, this nesting box provides a long-lasting, discrete, internal nesting space for Swifts. It can last for decades in the right environment. This box can also be bought unfaced, allowing it to be rendered to match the building’s aesthetics.  


External 

Woodcrete/woodstone Swift Nest Boxes

Vivara Pro Woodstone Swift Nest Box

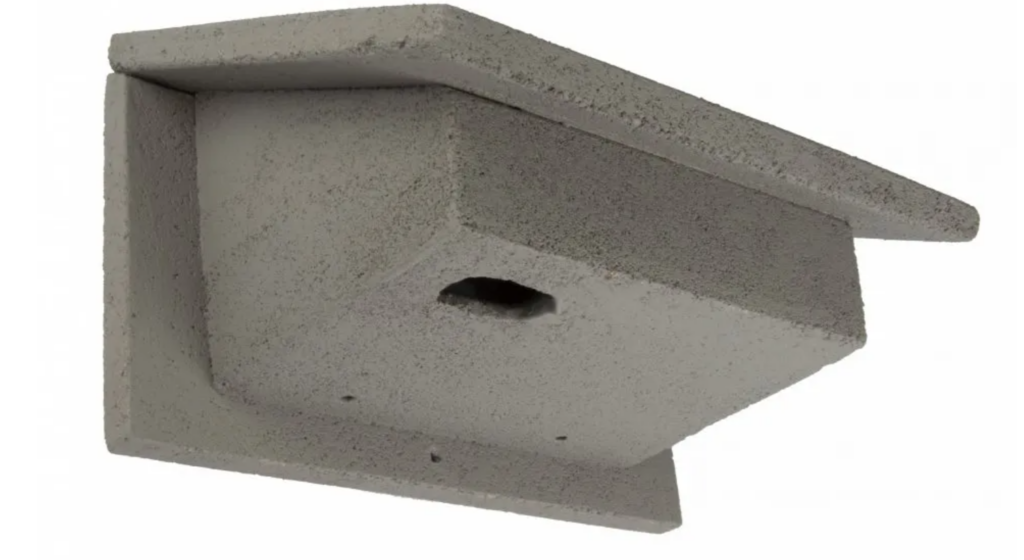
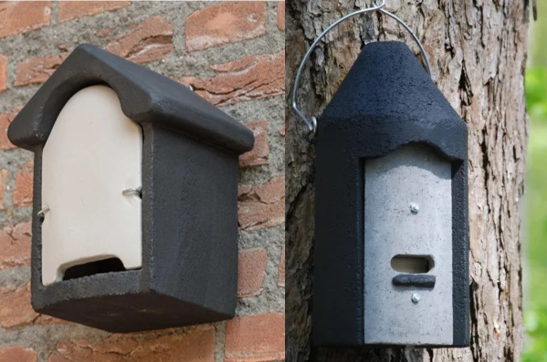
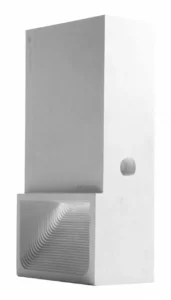
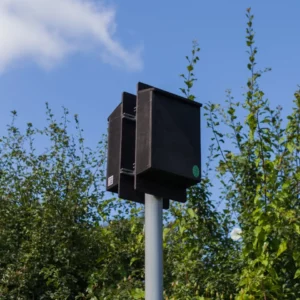
This robust nest box is constructed entirely of woodstone, ensuring a long-lasting, enduring design and thermal stability throughout the year. A rear entrance provides easy access for cleaning, and a downward facing entrance hole discourages other small garden birds from occupying the nesting space.  


Unitura External Swift Box

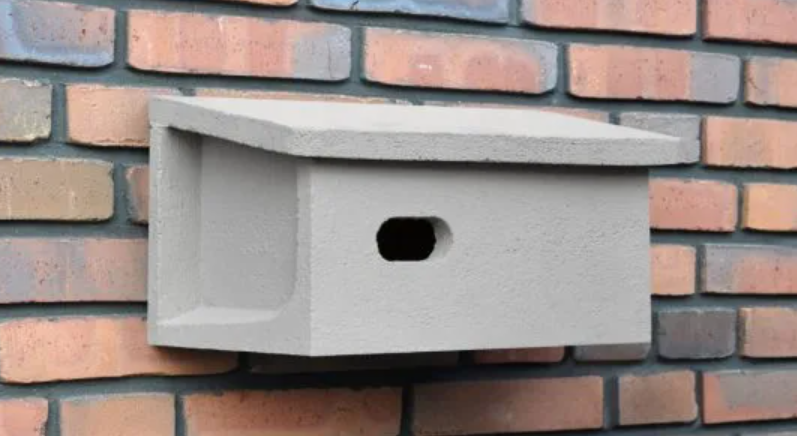
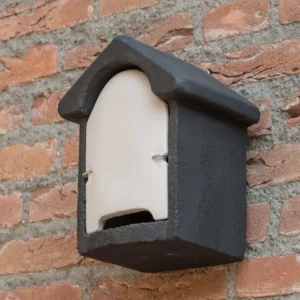
This nest box has a single cavity for nesting Swifts and an elongated entrance hole. The woodconcrete material ensures a climactically stable, long-lasting environment for generations of Swifts and a sloped roof ensures adequate drainage.  


Wooden Swift Nest Boxes

FSC Wooden Swift Box

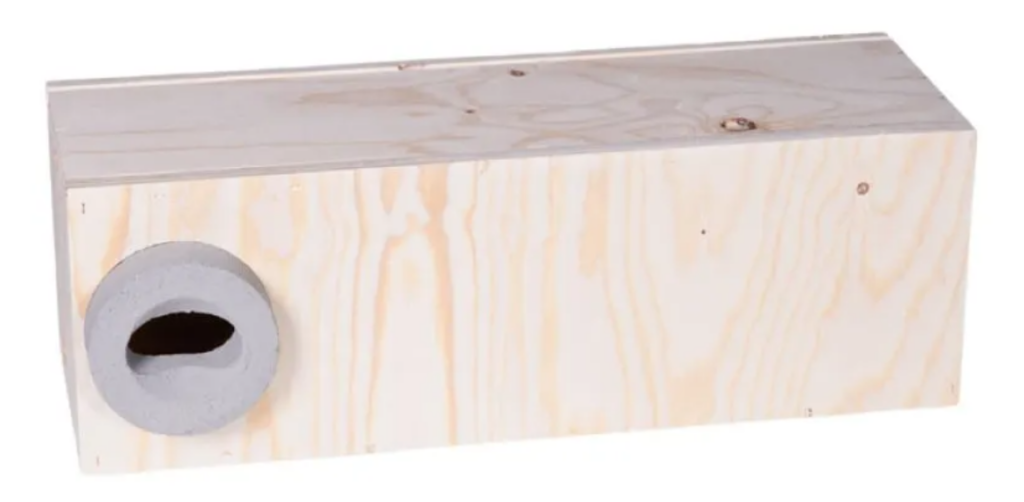
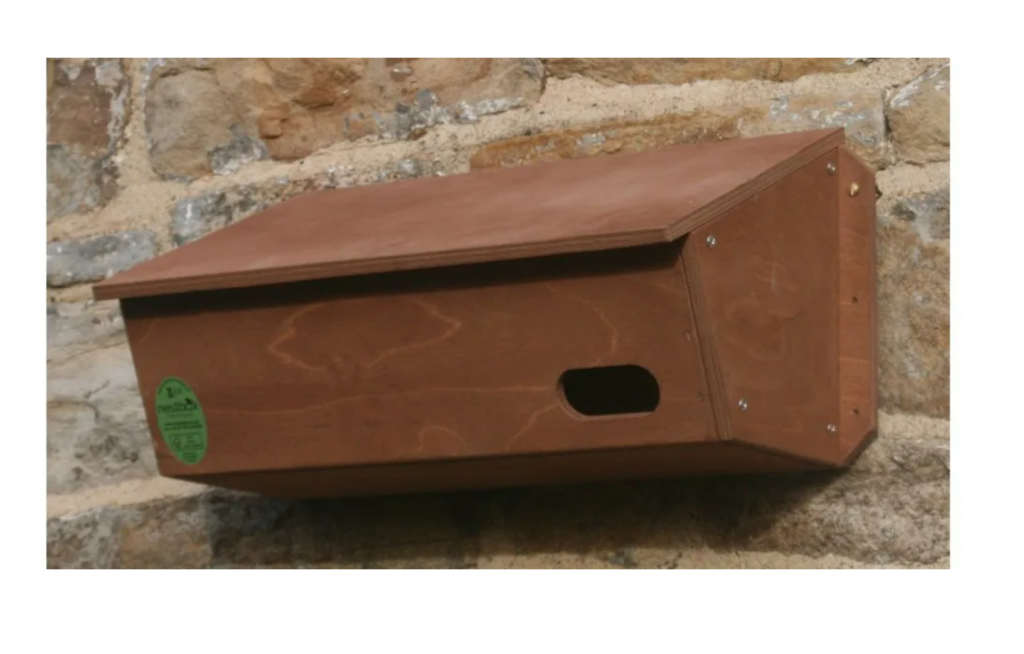
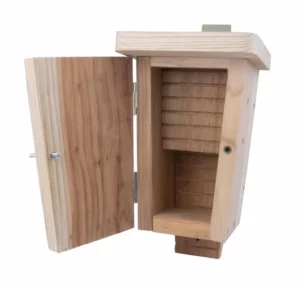
This robust nest box provides a single compartment for nesting Swifts, with excellent insulation for stability in extreme temperatures. An oval entrance hole and sloping roofs help to exclude Starlings and encourage Swift settlement. Designed to be placed under eaves, the mounting plates and openings are on the sides to allow close-fitting insulation.  


Under-eaves Swift Box

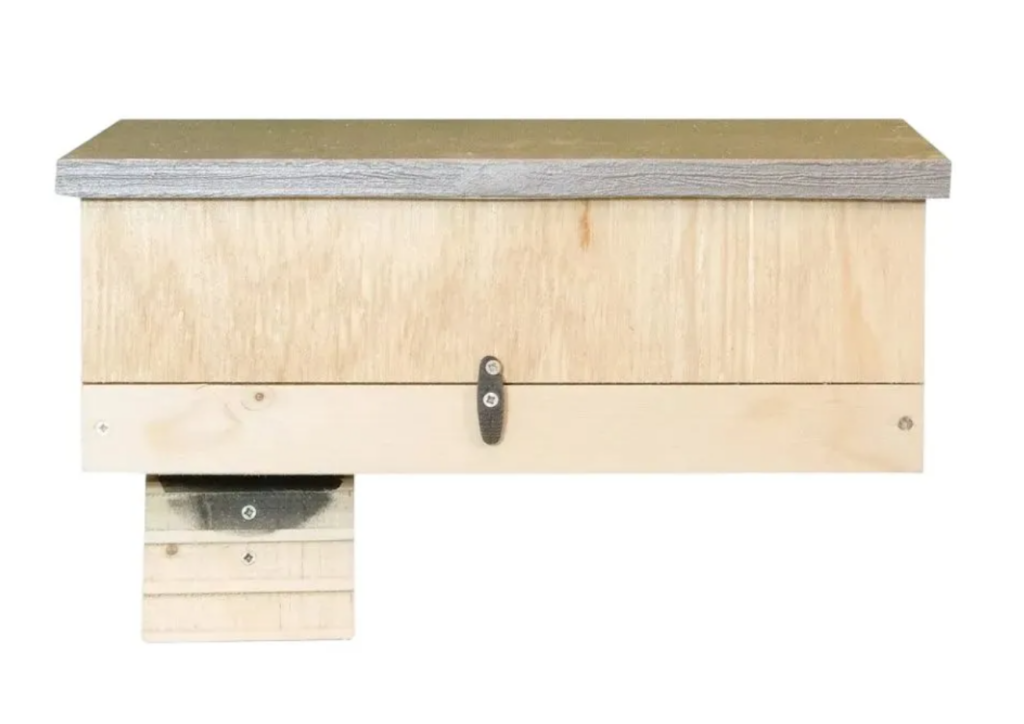
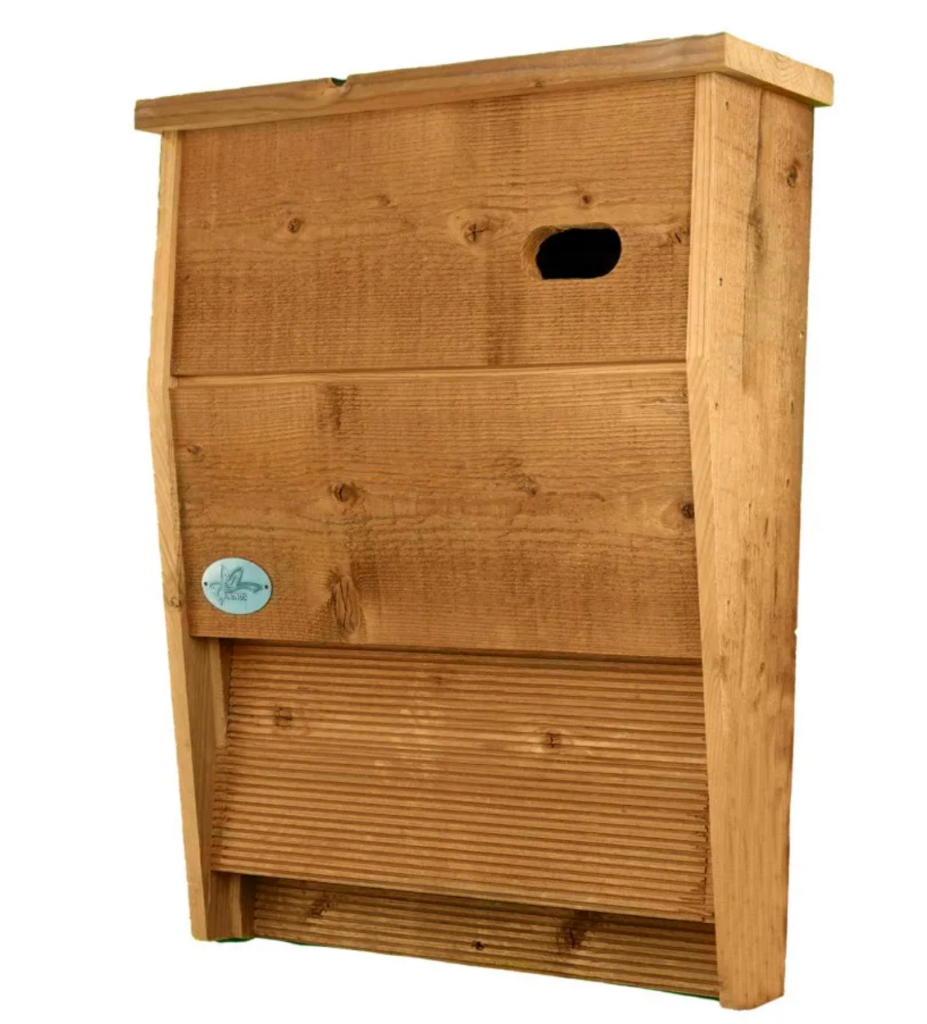
Available with left and right-hand side entrances, this box provides nesting Swifts with an underside entrance and landing ramp for easy access. The wood construction is naturally fungal and insect repellent and provides nesting birds with a well-insulated, stable environment.  


Kiki Bat and Swift Hybrid Box

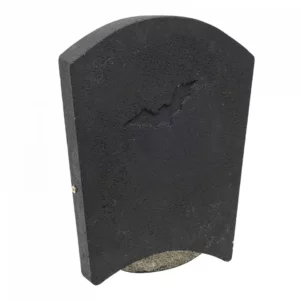
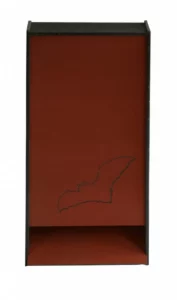
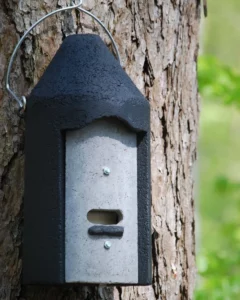
A hybrid box designed to house both Swifts and bats, the Kiki nesting box provides a thermally-resistant environment suitable for both groups. The compartment that is allocated for Swift nesting has a forward-facing entrance. The durable, long-lasting design can have a lifespan up to 25 years. 


Alternative Swift Nest Boxes

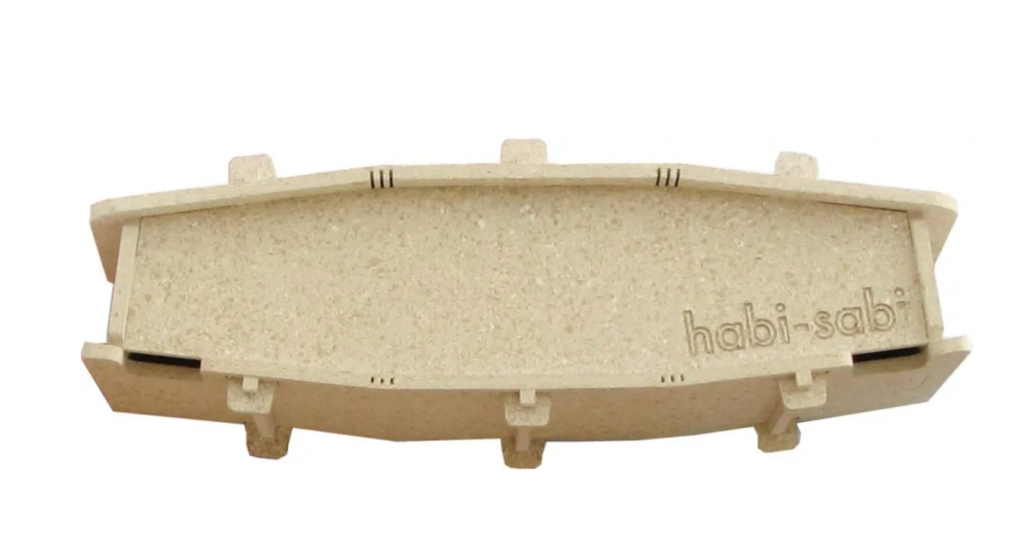
Habi-Sabi Double Swift Box

Constructed with an upcycled material made from recycled waste insulation, this double-chambered swift box is 100% resistant to moisture and has a long lifespan of up to 25 years. It is lightweight and simple to construct, making it a worthy addition to an existing structure. The excellent thermal properties, and downward-facing entrance, make this an attractive nesting choice for visiting Swifts.  


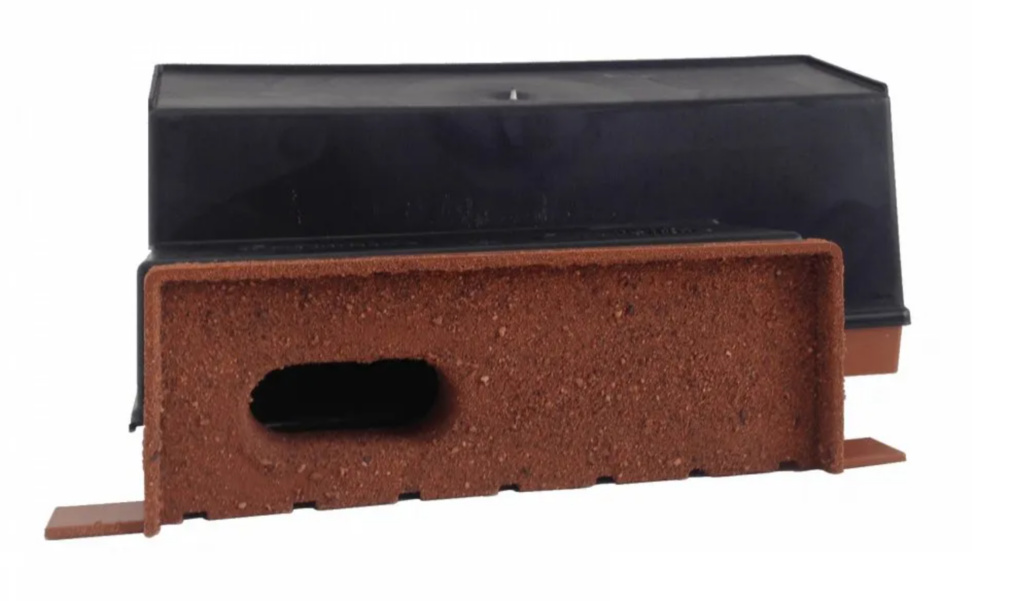
Manthorpe Swift Brick

An unobtrusive nest box, the Manthorpe Swift Brick provides nesting birds with a long-lasting, secure nesting site. This nest box is designed to sit inside the insulation cavity of a building, helping to create a thermally stable environment. This brick is available in six colours to blend into existing brickwork. 


Accessories for Swift Nest Boxes

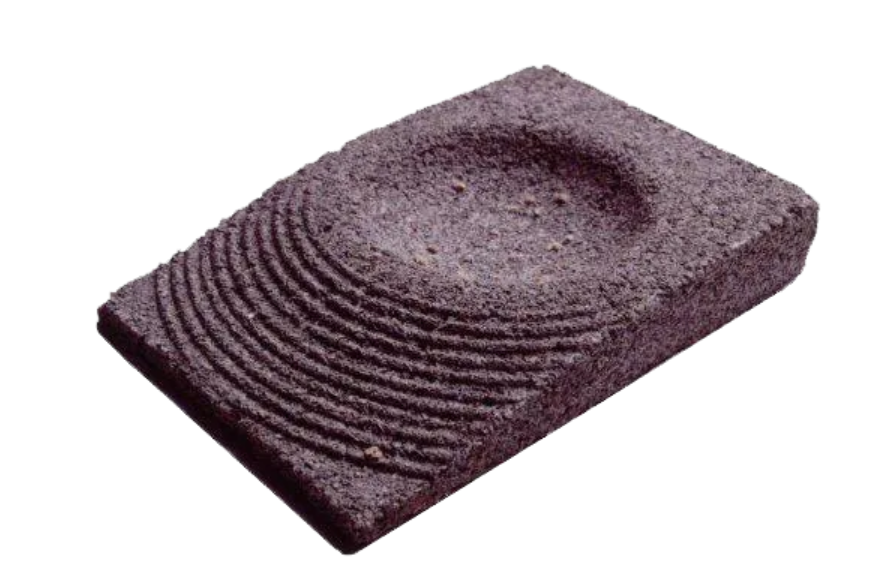
Schwegler Swift Nest Mould 

Designed to be incorporated into Swift nest boxes or existing cavities, this nest mould provides an appealing base to encourage Swift nesting 


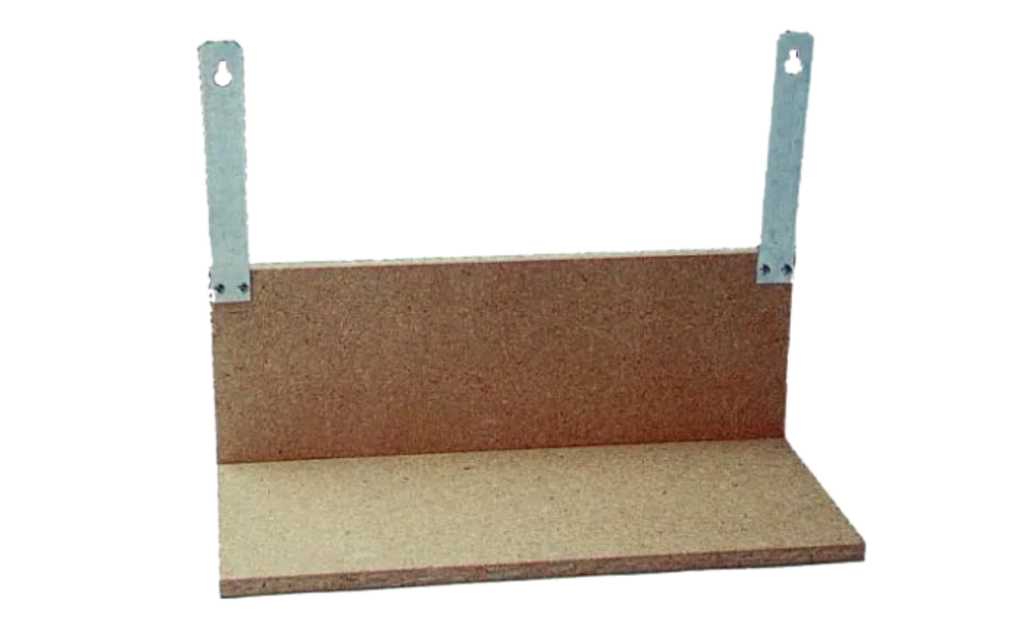
Schwegler Droppings Board

This droppings board prevents the accumulation of droppings from Swift nest boxes around windows and doors. It can be easily assembled and installed using screws and is suitable for use beneath any nest box.


For more information on bird boxes and how to choose them, find our Buyers Guides here. 

How to Choose a Pair of Binoculars

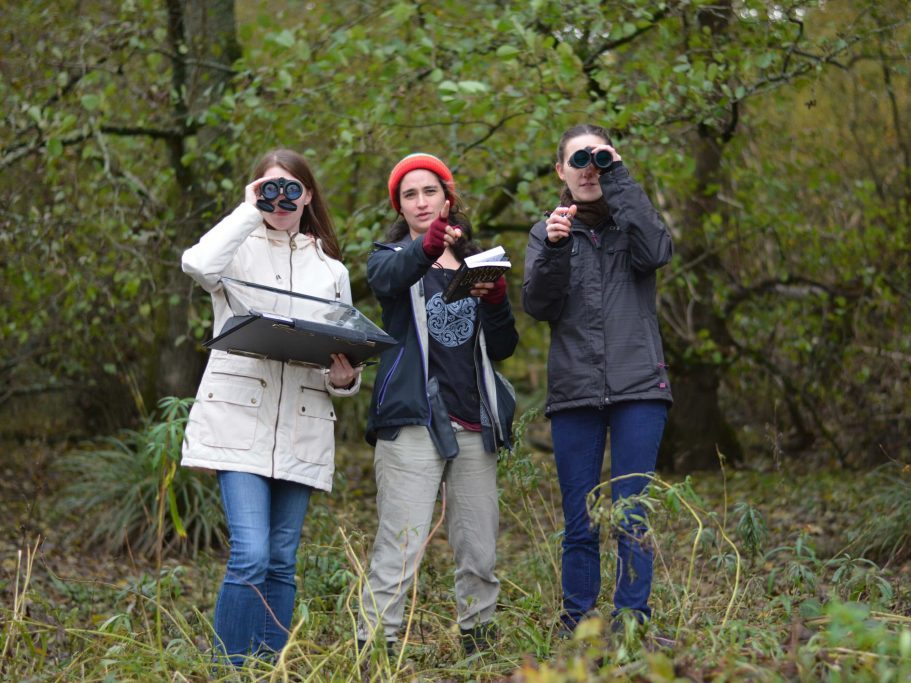
A good pair of binoculars is an invaluable part of any field kit and they provide some of the most memorable wildlife encounters. There is an overwhelming array of sizes and specifications and it can be difficult to choose between them when purchasing a new pair. In this post we will provide a summary of some of the key features of a pair of binoculars, to help you find the best pair to accompany you on surveys, whilst travelling or when enjoying your local wildlife.

Once you have decided on your budget, there are a few key metrics that will help you decide which pair of binoculars will suit you best. With binoculars it really is worth paying as much as you can afford as the glass, lens coatings and specifications improve with every step up in price.

Magnification

Binocular models generally have two numbers in their description. The first of these relates to the magnification. (For example, 8 x 42 binoculars will have a magnification of 8x). In general, binoculars have a magnification between 8x and 12x. As you would expect, the higher the magnification, the larger objects will appear when looking through them. As magnification increases, the field of view can be reduced and you will need to ensure that you have steady hands or use some kind of support.

Lens Diameter

Larger diameter lenses provide brighter images at dawn and dusk. Photo credit: Paulo Valdivieso – www.flickr.com

The second number in the binocular model description (e.g. 8 x 42) refers to the diameter of the objective lens. Standard size binoculars tend to have objective lenses of 32mm to 42mm whilst lenses in compact binoculars usually measure 25mm. Larger lenses can dramatically improve low light performance and are particularly good for use at dusk or dawn. The trade-off is that larger lenses are heavier. The most popular size of binoculars for birdwatching was traditionally 8 x 42, but with advances in manufacture and lens performance, 8 x 32 binoculars now offer fantastic specifications in a more compact body.

Glass Type

The type and quality of glass have a huge impact on image quality. Image by Bicanski via Public Domain Images

The type of glass used to manufacture the lenses can vastly affect the quality of the image. Two types of glass to look out for are extra-low dispersion (ED) and fluoride (FL) glass. These reduce chromatic aberrations giving clearer and sharper colours and reduced colour “fringing”.


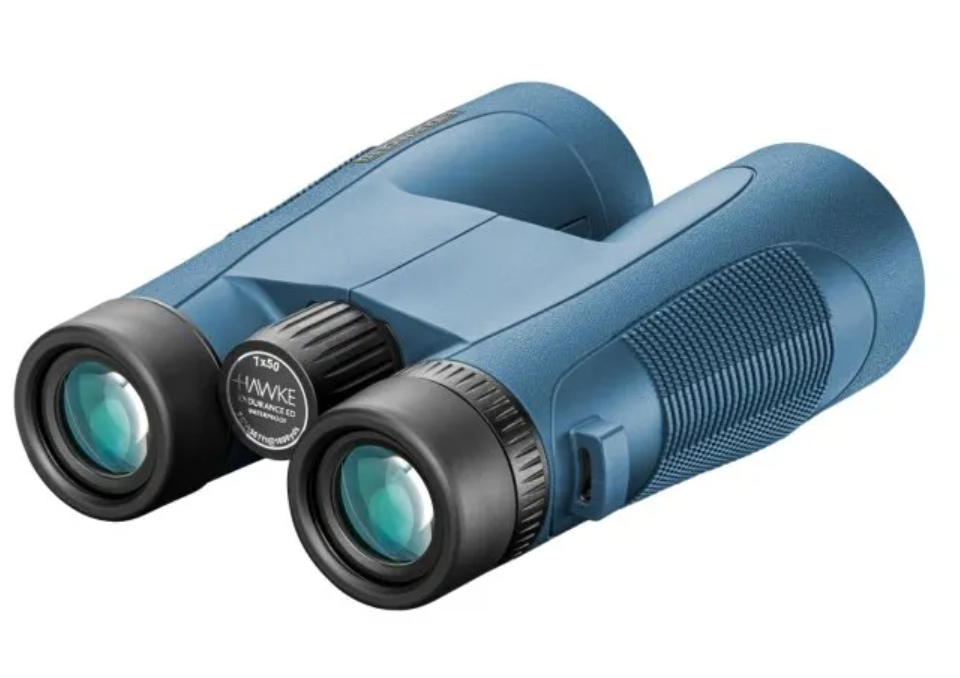
Fringing is the blurring that can occur between light and dark parts of an image. If your budget allows for an upgrade to ED glass binoculars, you will notice a distinct improvement in clarity compared to binoculars without ED glass. Affordable pairs of ED binoculars include the Hawke Optics Endurance ED and the Opticron Explorer ED.

Lens and Prism Coatings

The primary difference in performance and the brightness of images between different pairs of binoculars is often due to lens and prism coatings. Light is lost as it travels across every surface inside a pair of binoculars and the aim of a good pair of binoculars is to keep light transmission as high as possible between the objective and the ocular lens. Lens and prism coatings reduce the amount of light that is lost helping to produce a brighter and sharper image. Lenses that are multi-coated have multiple layers of lens coatings. High-quality binoculars are fully multi-coated which means that they have multiple layers of coating on all lens surfaces. Roof prism binoculars have a particular problem with “phase shift” where the polarisation angle of the prism causes the light passing through to be split into two slightly out of phase beams. This results in an image that has lower resolution and may look slightly blurred. Prism coatings correct this problem by forcing the split light back into phase. Look out for binoculars with Phase Correction (PC) prism coatings.

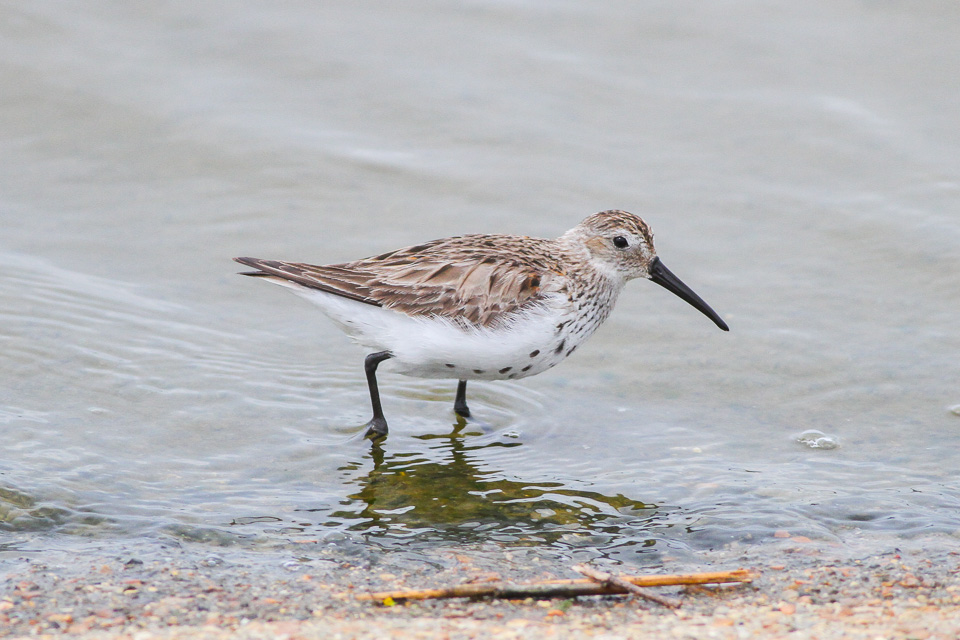
Dunlin (Calidris alpina). Photo credit: Ron Knight – www.flickr.com
Key Comparison Metrics

Comparing some of the performance metrics of a pair of binoculars can help when deciding which pair would best suit your purposes. In particular, field of view will be useful if you are looking at large landscapes (e.g. whale or sea watching) and close focus is very important if you are looking at insects.

Field of View – The field of view is how wide an image can be seen at a specified distance (usually 1000m). A wide field of view is useful for large landscapes and for fast-moving animals. Models with a particularly wide field of view include all of the Kite Optics range, the Opticron Discovery, Traveller ED and Explorer ranges, the Bushnell Prime and Forge ranges and the Swarovski EL and SLC binoculars.

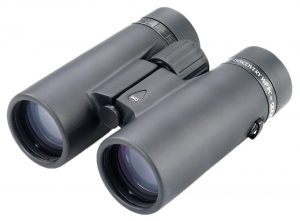
The Opticron Discovery range of binoculars has a fantastic field of view and great close focus.

Close Focus – The close focus is the minimum distance at which the binoculars are able to focus. People interested in viewing insects using their binoculars would be advised to choose a model with a small close focus distance. Models with particularly low close focus include the Opticron Discovery and Traveller ranges, the Swarovski EL and the Kite Lynx HD+ binoculars.

Weight – The weight of the binoculars is incredibly important, as it is likely that you will be carrying them around for long periods of time. Higher quality models of comparable specification will tend to be lighter than entry-level models, and those with larger objective lenses will weigh more than those with smaller ones. Binoculars that are particularly lightweight and excellent for travelling include the Opticron Traveller range and the Hawke Optics Nature-Trek and Endurance ranges.

Eye Relief – This is the maximum distance from the eyepiece lens that the eye can be positioned at which the full width of the image is visible without vignetting (darkening of the image around the edges). Longer eye relief is useful for those who wear glasses.

If you have any queries regarding binoculars then our Customer Services team and trained Wildlife Equipment Specialists would be delighted to assist on 01803 865913 or via email at customer.services@nhbs.com.

Recommended Models

Entry Level

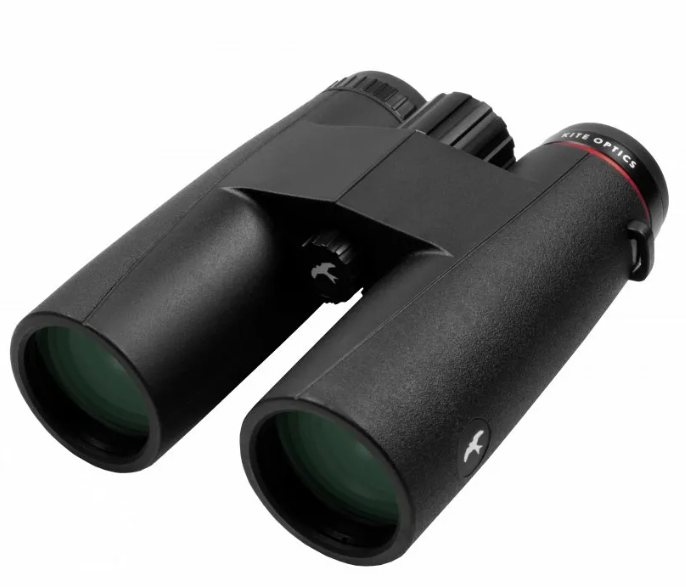
Kite Ursus Binoculars
Ease of use and excellent build quality in conjunction with a wide field of view and high image quality make this model ideal for beginner binocular users.


Budget Friendly 

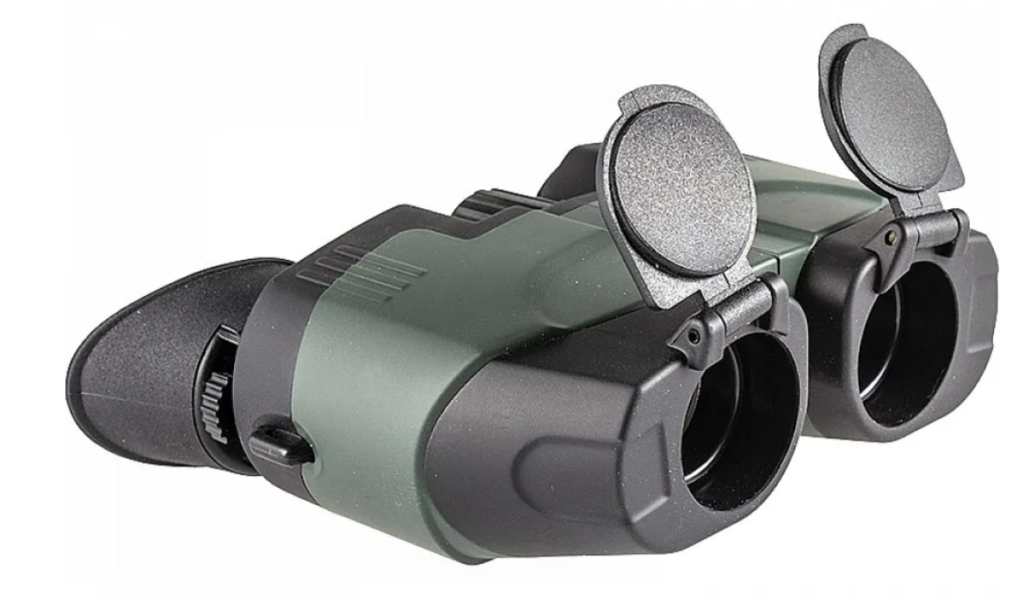
Yukon Sideview Compact Binoculars

Lightweight, robust and budget-friendly. These binoculars are ideal for fieldwork in almost any condition.


General Purpose

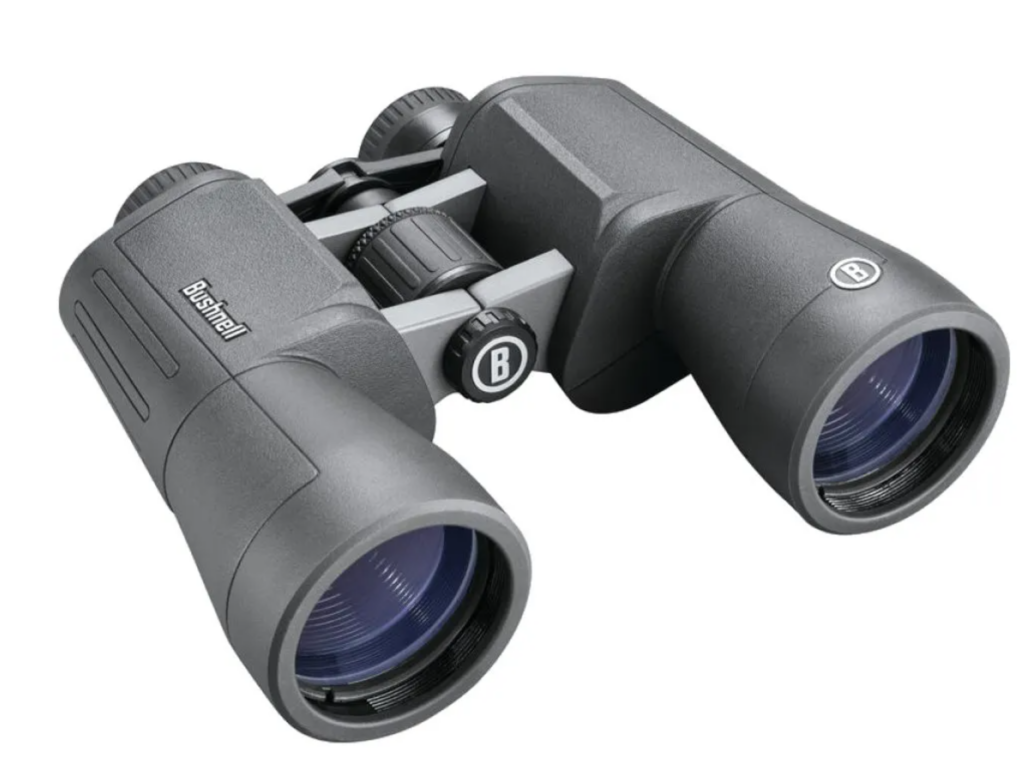
Bushnell POWERVIEW 2 Binoculars 

A high-power , budget option for birders and other outdoor enthusiasts. Light and comfortable with the option for tripod mounting.  


Travelling

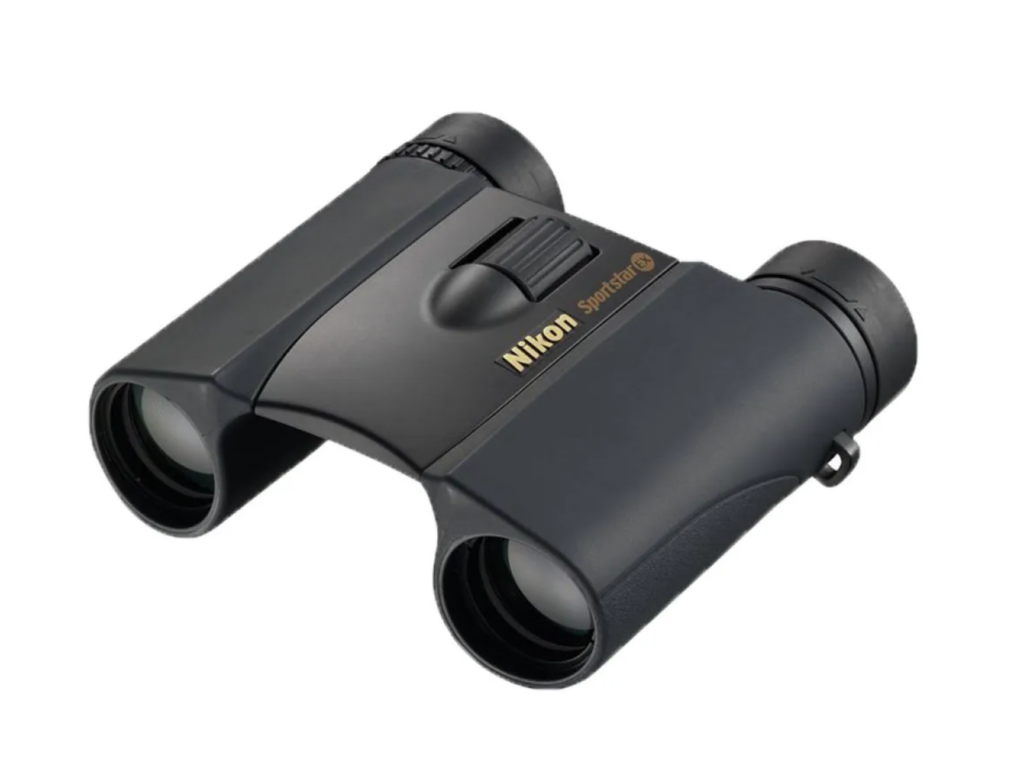
Black binoculars

Nikon Sportstar EX DCF Compact Binoculars Ultra-lightweight, pocket-sized and weatherproof. Don’t get caught out when away from home with these binoculars.


Mid-range

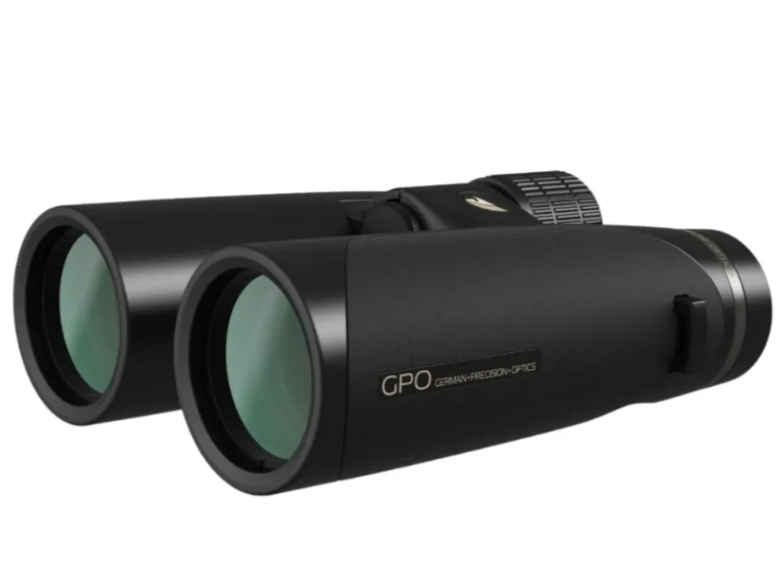
GPO Passion HD Binoculars
Multi-layer lens coating offers unbeatable image quality for the price, and a magnesium rubberised chassis creates a robust housing for the German-engineered optics.


Top of the Range

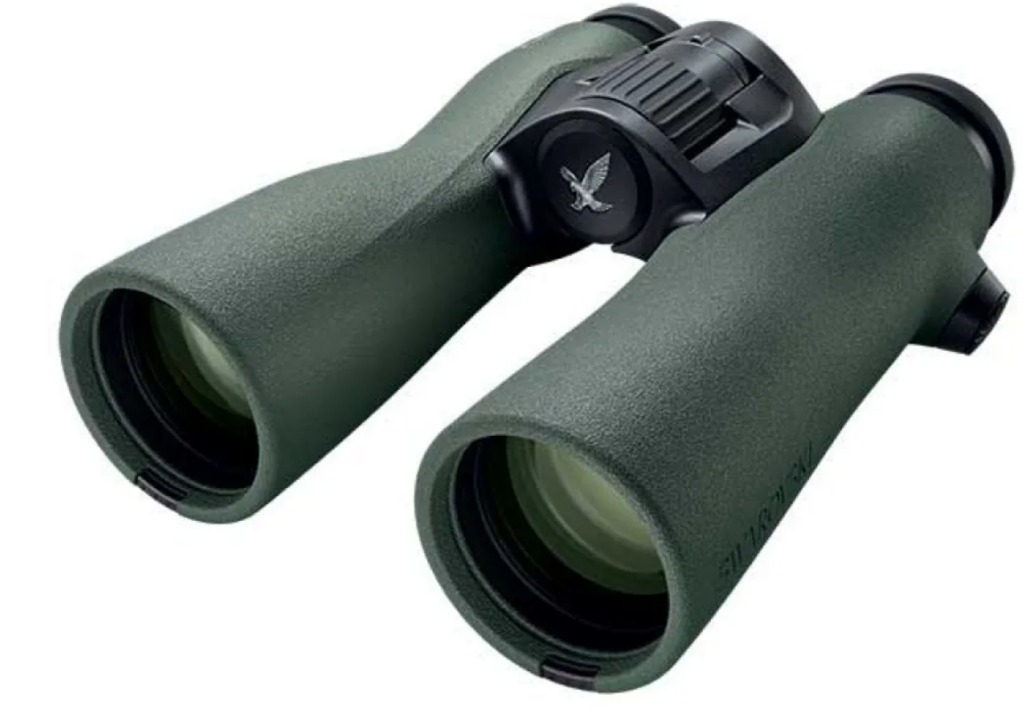
Swarovski NL Pure Binoculars
Enhanced optics offer the widest field of view with almost discernible edges all housed within a revolutionary ergonomic housing.


Specialist Models

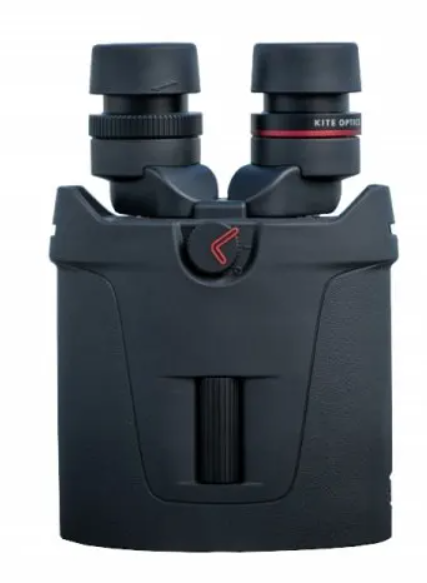
Kite APC Binoculars 42

Powerful image-stabilising binoculars ideal for use in vehicles or other fast-moving situations.


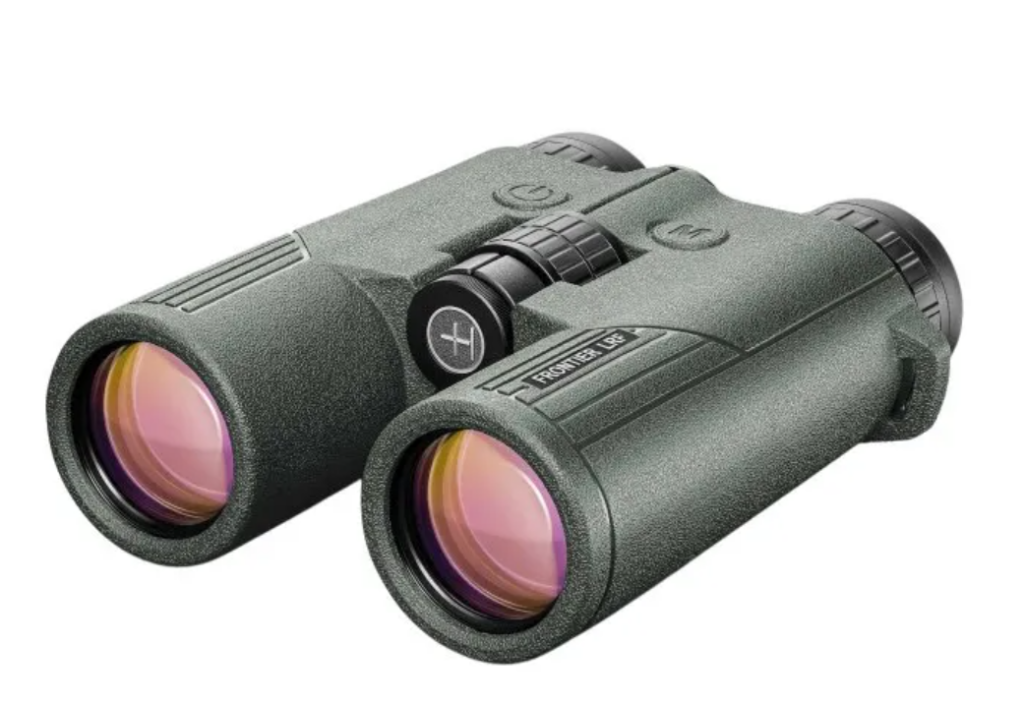
Hawke Frontier LRF 8×42 

High-quality optics with an integrated laser range finder.  


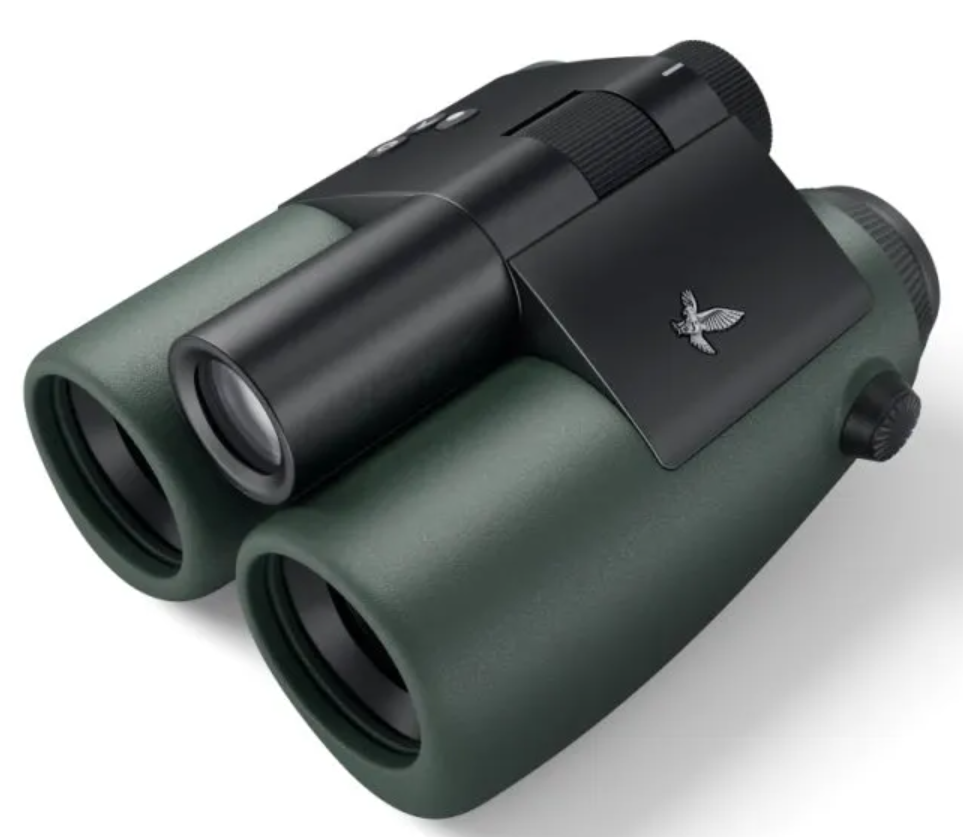
Swarovski Axio

The expected Swarovski quality with integrated Artificial Intelligence identification features brings binoculars into the AI age.  


Hawke Endurance ED Marine Binoculars 

Ideal for marine surveys, these fully waterproof (IP67) binoculars come with an integrated compass and supplied floating neck strap. 


Accessories 

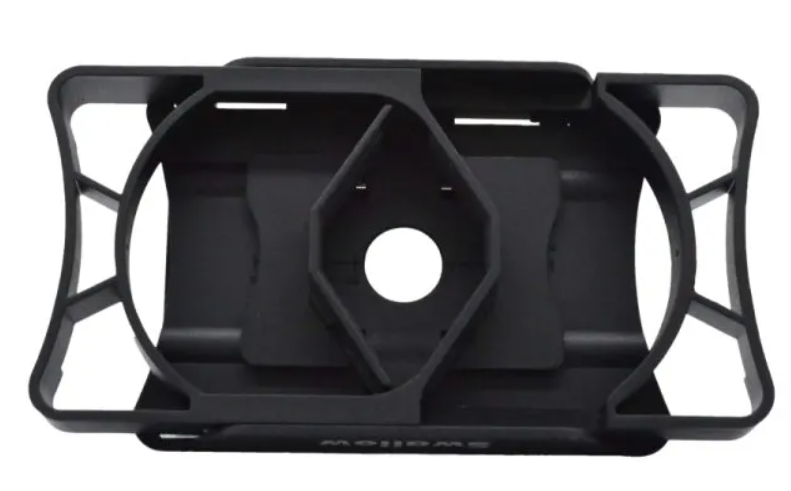
 Viking Swallow Smartphone Adapter

Two available smartphone adapter options allow users to take crisp and stable shots directly down the lens of their binoculars or spotting scope using most smart-phone cameras.


Banner image features Northern Lapwings (Vanellus vanellus). Photo credit: Tony Hisgett – www.flickr.com

Top 5: Trail Cameras

Trail cameras can be extremely useful tools for ecologists and naturalists, enabling simple non-invasive monitoring of wildlife. Here we feature five of our most popular models, highlighting the key features of each for easy comparison. 

For more detailed information please read our Trail Cameras Buyers Guide. 


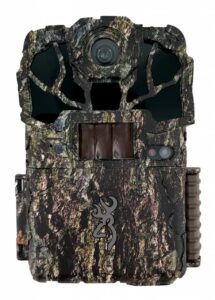
#256294 Browning Spec Ops Elite HP5  

Browning Spec Ops Elite HP5 trail camera

A good quality trail camera with fast trigger speed, this model is an excellent all-rounder.

Image quality: 24 mp
Video quality: 1920 x 1080p
Video length: Max 2 minutes
Glow: No glow
Trigger speed: 0.1-0.7 seconds
Recovery: 0.5 seconds
Flash range: 30 metres
Detection range: 24 metres
RADIANT 5 illumination technology


#258744 Spypoint Flex 

#258744 Spypoint Flex trail camera

An innovative low-glow trail camera with cellular transmission to transfer images to a mobile device.

Image quality: 33 mp
Video quality: 1920 x 1080p
Video length: Max 15 seconds
Glow: Low glow
Trigger speed: 0.3 seconds
Flash range: 30 metres
Detection range: 30 metres


#259714 Num’axes PIE1059 Trail Camera

Cost-effective and entry-level, the Num’axes PIE1059 is a robust, no-glow trail camera with great resolution.

Image quality: 32 mp
Video quality: 1920 x 1080p
Video length: Max 30 seconds
Glow: No glow
Trigger speed: 0.6 seconds
Flash range: 20 metres
Detection range: 20 metres
2″ colour screen


#256293 Browning Recon Force Elite HP5

A low-glow alternative to the Browning Spec Ops Elite HP5. This camera is a good all-rounder and is suitable for fast-moving animals.

Image quality: 24 mp
Video quality: 1920 x 1080p
Video length: Max 2 minutes
Glow: Low glow
Trigger speed: 0.1-0.7 seconds
Recovery: 0.5 seconds
Flash range: 39 metres
Detection range: 30 metres
RADIANT 5 illumination technology


#246930 Spypoint Solar-Dark Trail Camera

A super fast, no-glow model, this trail camera features a solar panel providing users with an extended battery life.

Image quality: 12 mp
Video quality: 1280 x 720p
Video length: Max 2 minutes
Glow: No glow
Trigger speed: 0.07 seconds
Flash range: 27 metres
Detection range: up to 33.5m
2″ colour screen


Recommended Reading:

#222466 Camera Trapping for Wildlife Research  

Paperback | June 2016

A guide to the use of camera trapping for most common ecological applications to wildlife research.


#227479 CCTV for Wildlife Monitoring 

Paperback | June 2016

A handbook on the use of CCTV in nature watching, conservation and ecological research.


Spring Exploring: Equipment for Wildlife Watching

As spring emerges, naturalists across the UK are dusting off their kit to begin exploring the great outdoors. From bird watching to bug hunting, we have equipment to help you explore. Below, we have compiled a list of must-have equipment for wildlife watching this spring. 


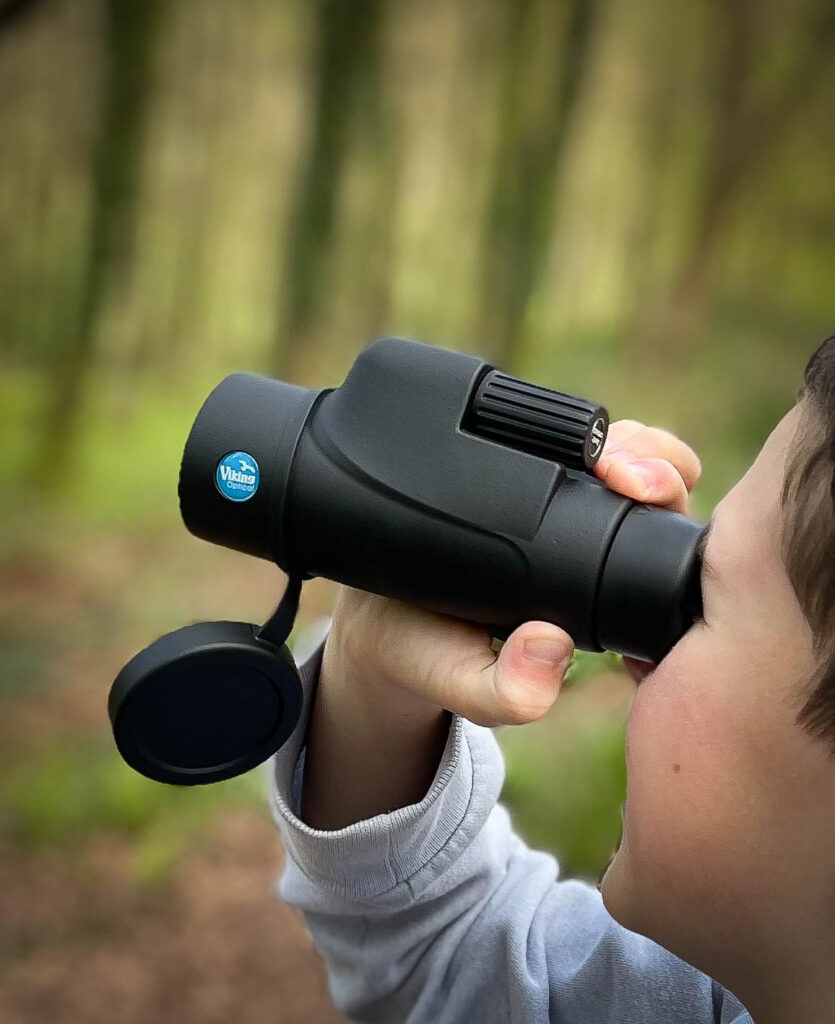
Viking Cygnus Monocular 

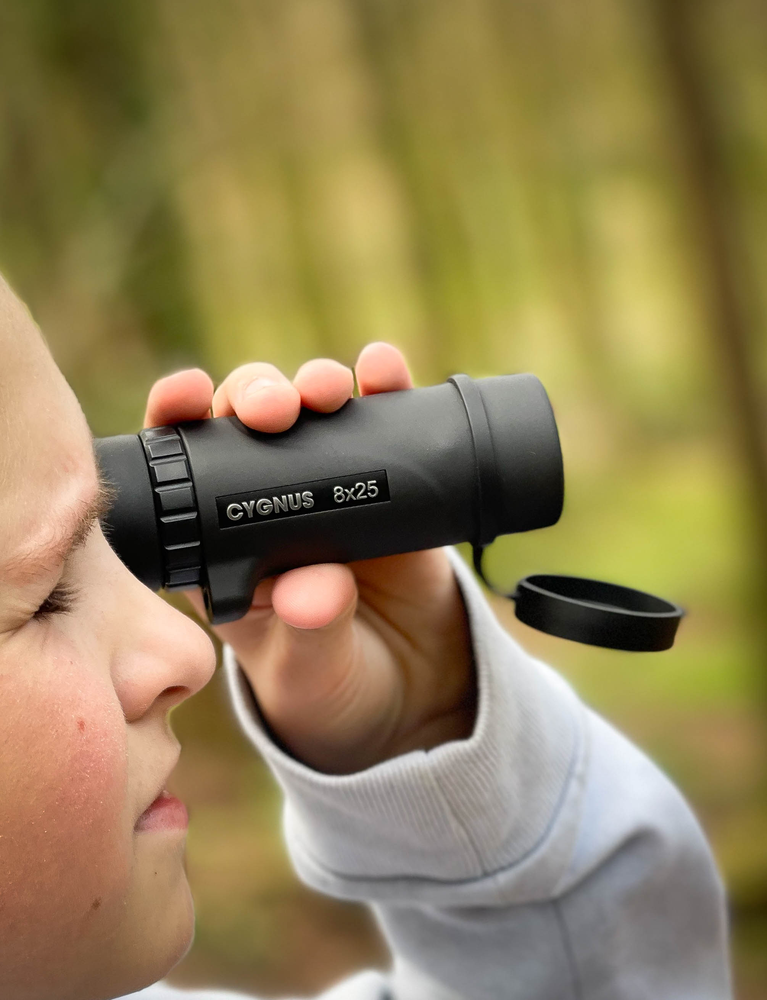
Young boy looking through a monocular in the woods.
The Viking Cygnus Monocular in-field.

Excellent optics combined with a grippy, rubberised armour make this handy monocular the ideal companion this spring. At only 287g, The Viking Cygnus Monocular is a lightweight, showerproof monocular with a small form factor, designed for easy handling for any hand size. Created for quick access and target acquisition, this monocular features a smooth action barrel adjuster for precise focus adjustment and a larger objective lens for high colour imagery.  

For a smaller, even more lightweight alternative weighing only 140g, the 8×25 MK2 magnification monocular is ideal for quick and easy use, where a smaller objective diameter lens is counteracted by its handy size. 

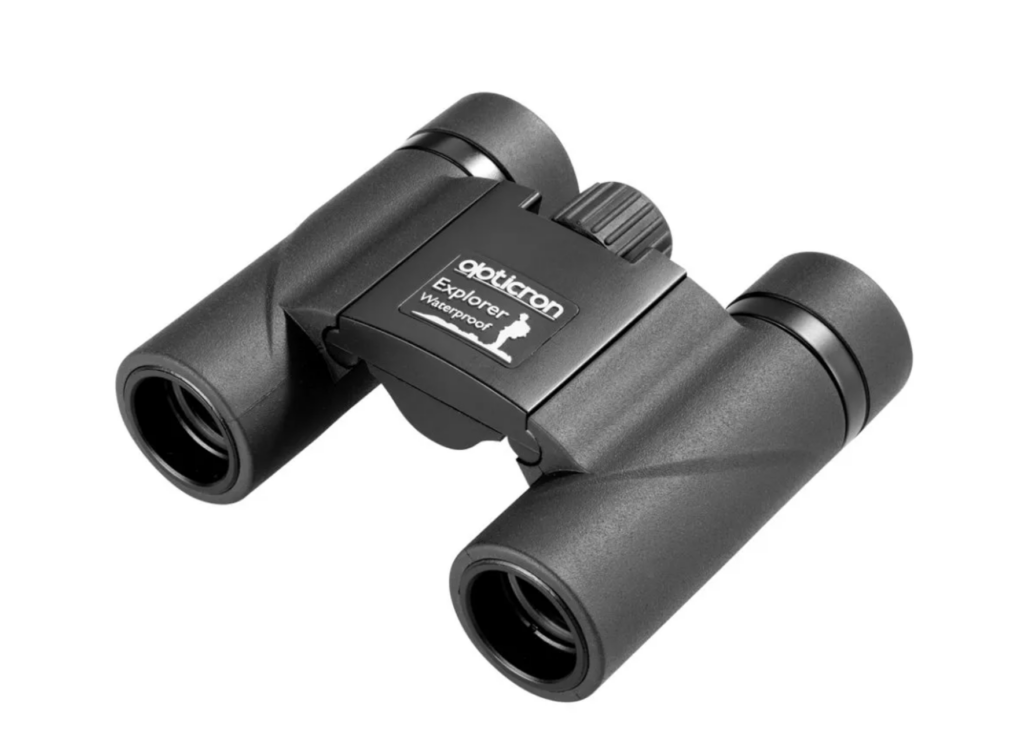
Opticron Explorer Compact Binoculars 

Black binoculars.

The Explorer Compact Binoculars by Opticron would make an excellent addition to any naturalists kit this spring. A fully armoured, roof prism body provides comfort and extra grip for comfortable carrying infield. With a weatherproof, fold-down design, these are ideal for transport, and can be stored easily due to their size and weight (195g). The ribbed focus wheel and twist-type eye cups ensure a good field of view with easy focusing, and the use of multicoloured lens and high reflection coated prisms provide bright, crisp images. Available in 8 x 21 and 10 x 21.  

Nikon Sportstar EX DCF Compact Binoculars 

Black binoculars

Available in 8×25 and 10×25, these high-quality, pocket-sized binoculars are waterproof and fog free. Turn and slide rubber eye cups allow for easy positioning, and multilayer coated lenses deliver a high optical performance with great clarity and well-balanced colour. The field of view is ideal for observing large landscapes, and partnered with a good close focusing distance, these compact binoculars also work great with insects. Weighing only 300g, these ultra-lightweight binoculars are ideal for travelling or working infield.  

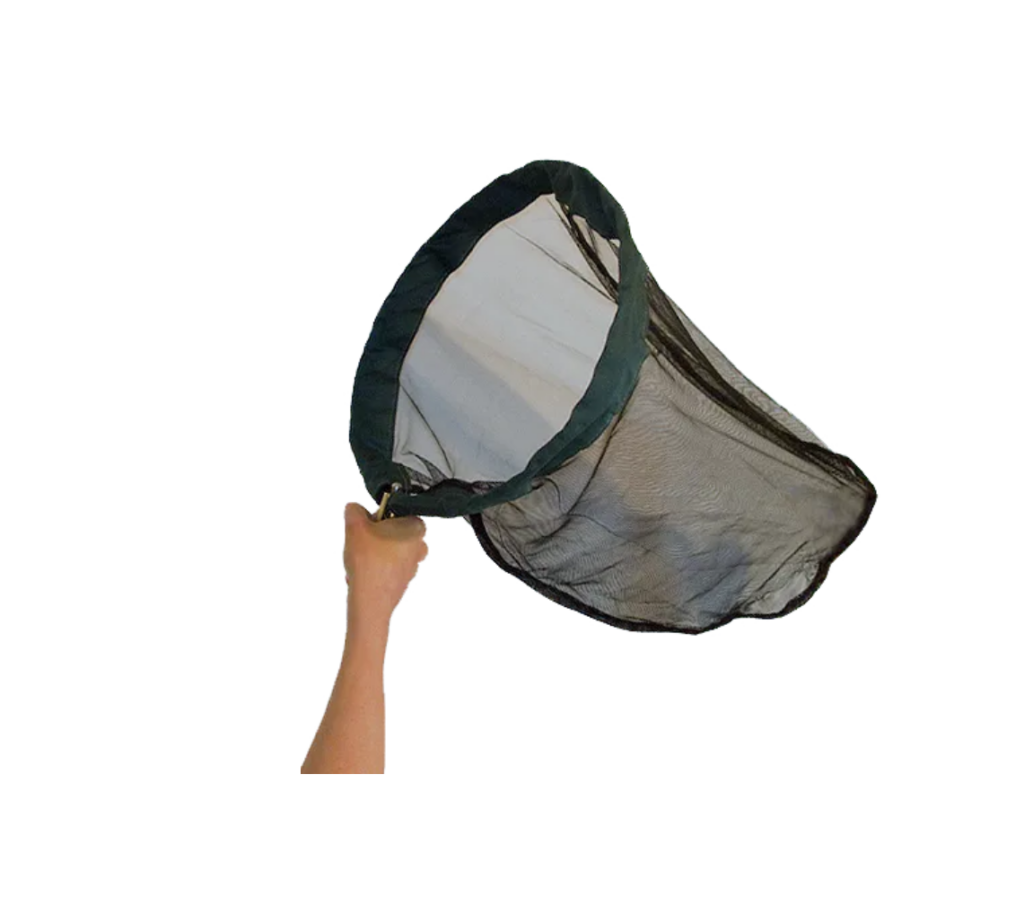
Crushable Pocket Butterfly Net

A hand holding a butterfly net

Designed with a spring steel frame, this Crushable Pocket Butterfly net can twist for an easy collapse and can be folded down to pocket-size. This foldable, yet robust design allows for easy transportation and storage whilst in-field. The net is supplied with a short, brass handle but can also be used with telescopic and push-fit net handles if you wish to extend its reach.  

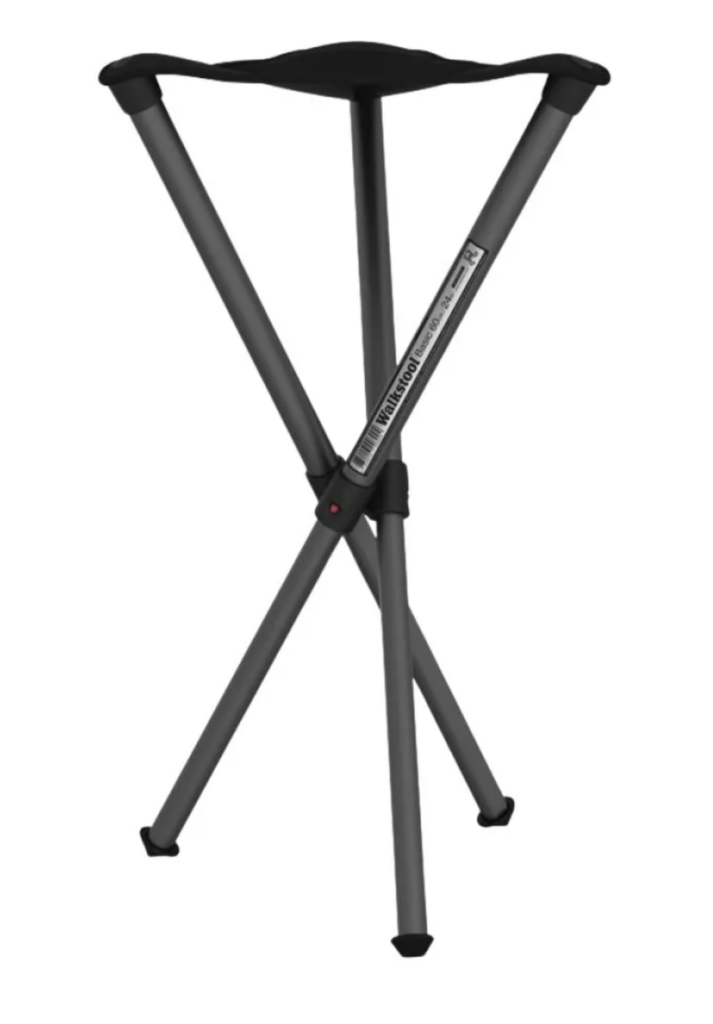
Walkstool Basic 

A black and grey folding stool.

Designed and manufactured in Sweden, the Walkstool Basic is a simple, 3-point stool made for outdoorsmen of any kind. Suitable for home use and in-field work, this compact resting stool weighs only 725g, making it ideal for packing and transporting. Available in 24”, the Walkstool Basic is designed with comfort and sturdy support in mind. This highly portable stool has plastic foot ends and telescopic, extendable legs to account for uneven terrain. The sturdy aluminium frame and durable polyester seat make this stool a worthy addition to any explorers kit this spring.  

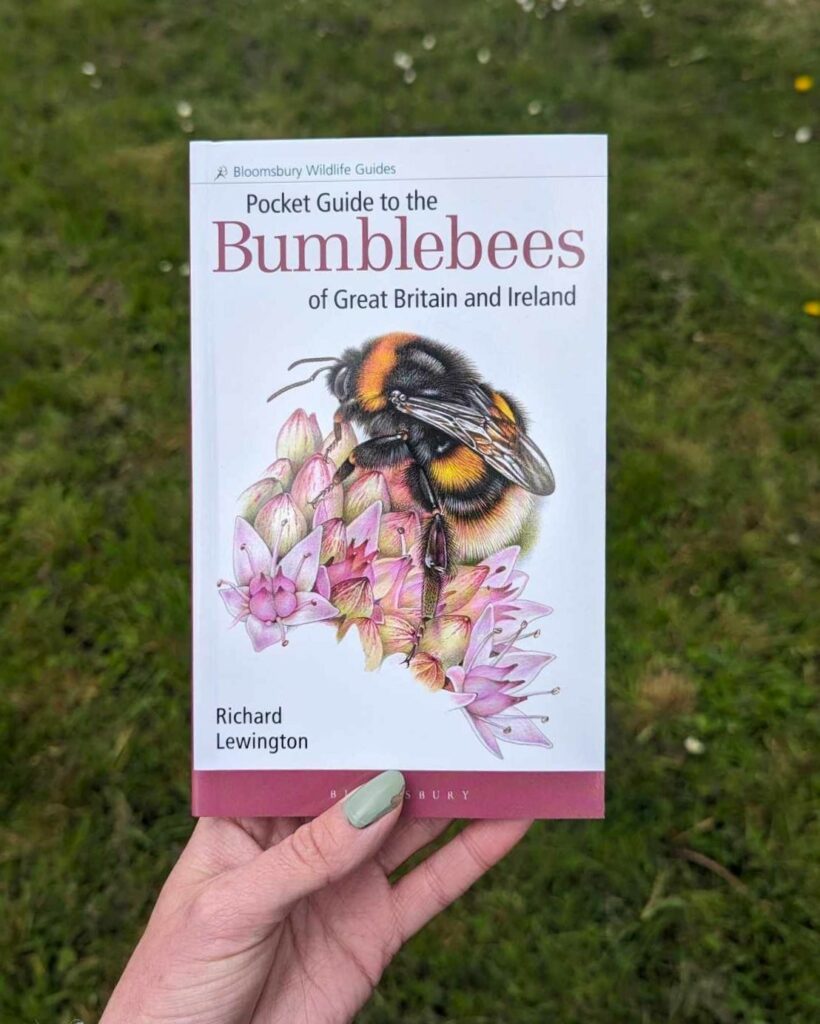
Pocket Guide to the Bumblebees of Great Britain and Ireland 

A hand holding a small book with a bumblebee on the front.

This handy, pocket-sized guide to the naturally occurring bumblebees of Great Britain and Ireland is a richly illustrated work accessible to beginners and more experienced naturalists alike. Each species has a dedicated double page spread, detailing its characteristics, habitat, distribution and sex differentiation, among others. This portable pocket guide provides an ‘at-a-glance’ guide to species. Ideal for exploring this spring, this handy book provides an informative peak into the world of bumblebee identification.  

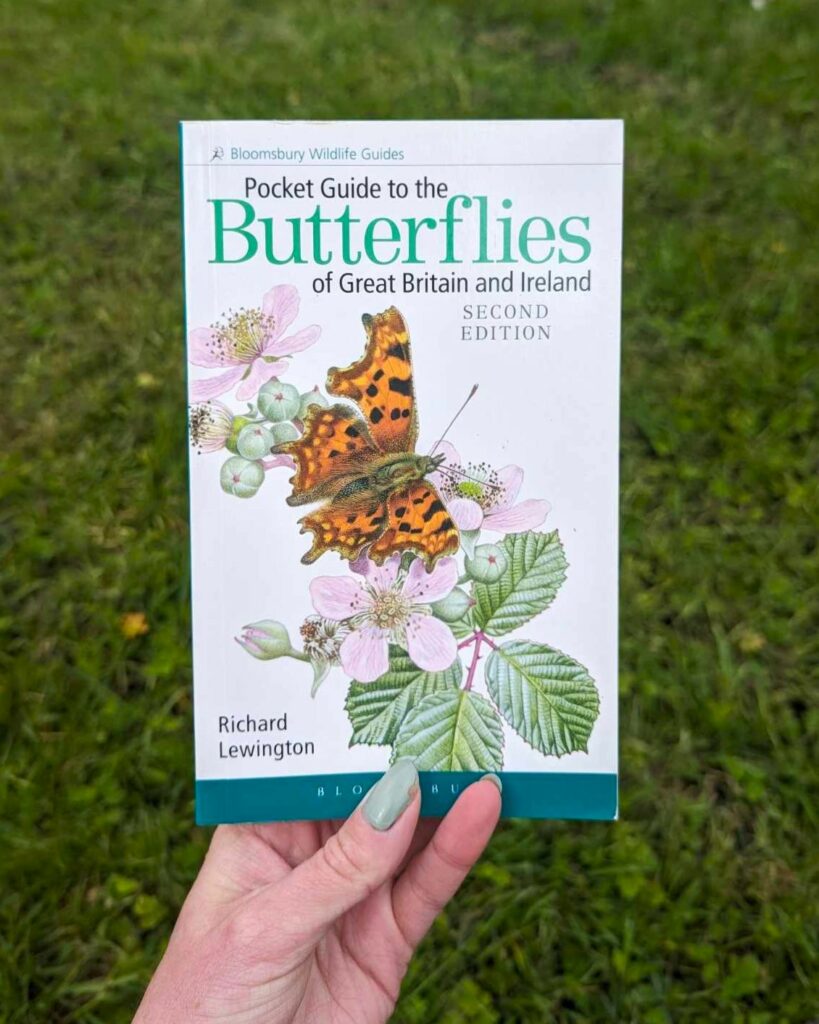
Pocket Guide to the Butterflies of Great Britain and Ireland  

A hand holding a guide to butterflies with a background of grass

Another publication in the Bloomsbury Wildlife Guides collection, the Pocket Guide to the Butterflies of Great Britain and Ireland features over 600 detailed illustrations on each species and their life stages. Detailing species information, distribution and life history, this pocketbook provides an accessible, easytouse guide to butterflies in Britain.   

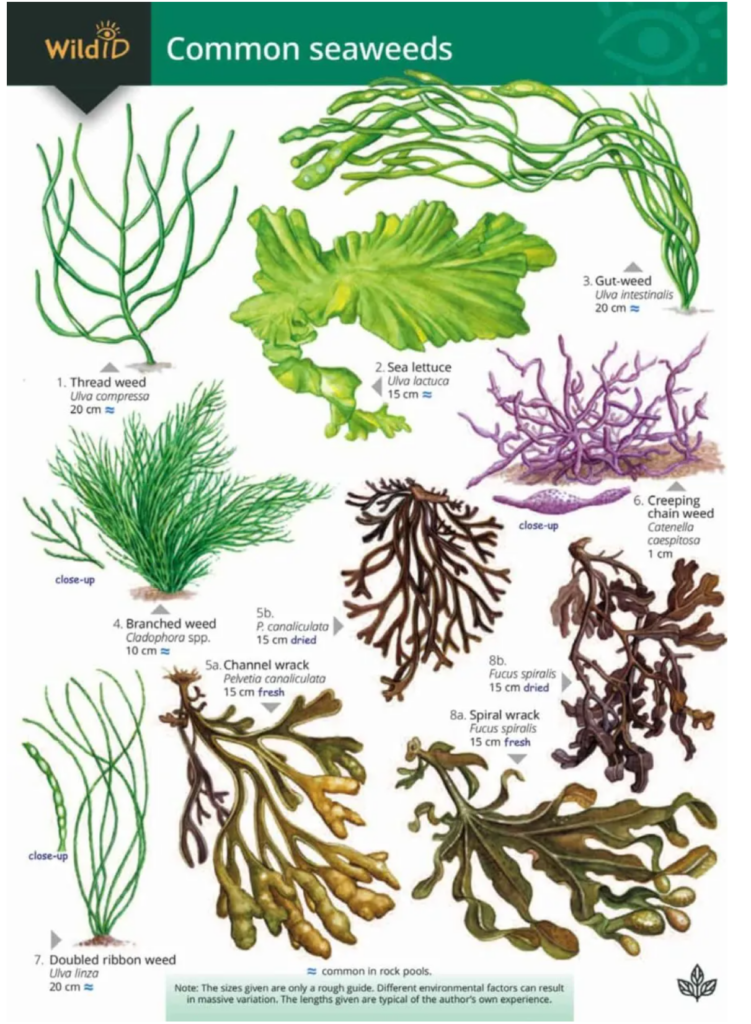
Field Studies Council Fold-out Guides  

Identification guide showing seaweed species

The Field Studies Council Fold-out Guides are ideal for days where full-size field guides are cumbersome. These handy species identification charts cover an eclectic range of themes, from mammal tracks and woodland plants to seashells and jellyfish. These weatherproof guides are a practical accompaniment to a spring stroll, find the full collection here 

Buyers’ Guide: Trail Cameras

Quick links:
Introduction
Key features
Our suggestions
Accessories
Recommended reading

Introduction

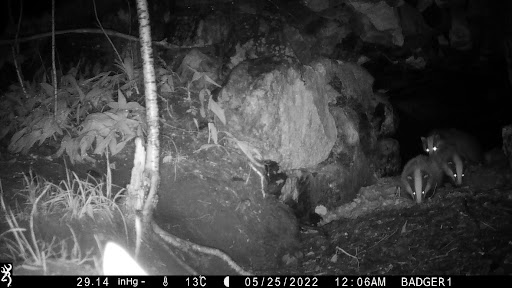
Trail cameras are an invaluable piece of technology allowing users to monitor wildlife without disturbing the animal. The trail cameras in our range can take pictures and video during the day and at night using infrared (IR) imaging technology. Likewise, they can endure tough conditions, surviving harsh winds, rain and extreme temperatures making them suitable for almost all situations.

At NHBS we sell a wide range of trail cameras, and while this does give customers plenty of choice, it can sometimes be difficult to decide which camera will best suit your situation and requirements. The information in this guide will help you to make an informed choice.

Key features

No-glow or low-glow?

There are two main types of IR LEDs that trail cameras use to capture images in low-light conditions: no-glow and low-glow. No-glow LEDs produce a very small amount of visible light which is not visible to the human eye, animals will likely see very little of this light; although, this may well depend on the species. Low-glow LEDs do produce a faint glow, and so are not completely invisible and may alert certain animals. One advantage of low-glow cameras is their capacity to illuminate over a longer range.

Trigger speed and recovery time

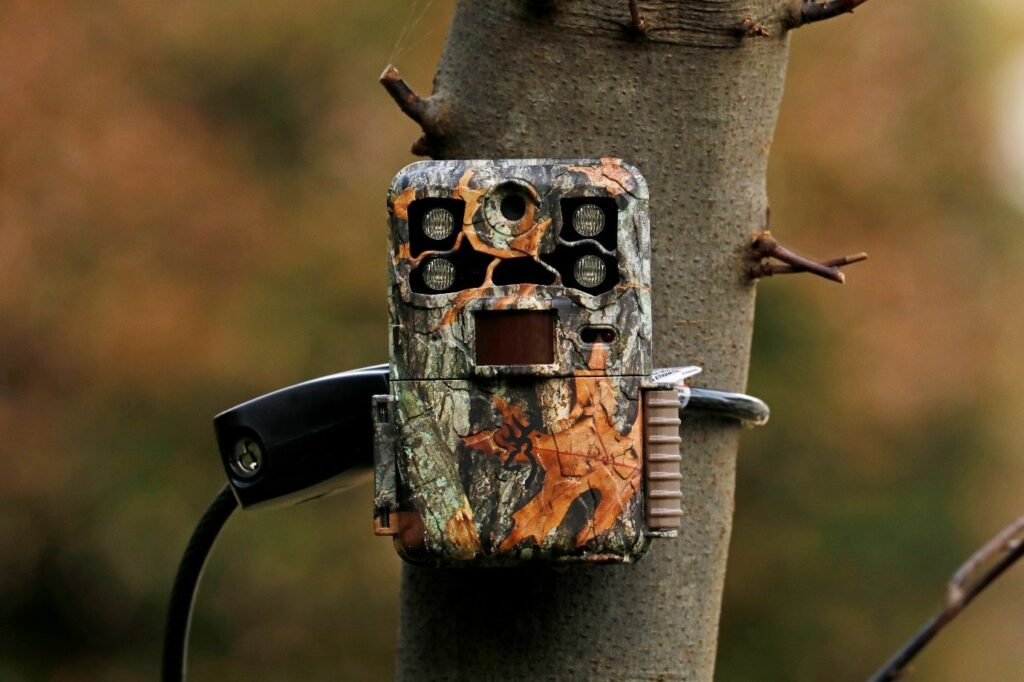
Trigger speed is the time taken for a trail camera to take a photo once movement has been detected. Recovery time is how long it takes for a camera to take a photo and be ready to capture another one. A camera with a rapid trigger speed like the Browning Spec Ops Elite HP5 is ideal for capturing images of fast-moving creatures. Likewise, if you are looking to capture multiple images in a short time frame, a trail camera with a speedy recovery time is the best option. Once more, this is perfect for those quick-moving animals.

Resolution and interpolation

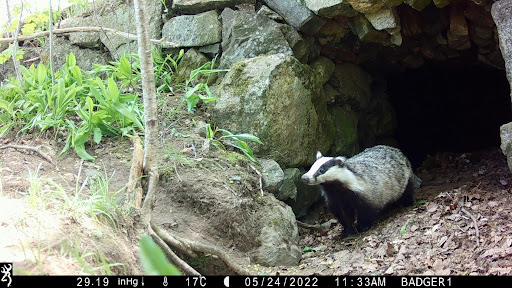
Resolution is a major influence on the quality of your images and videos. It is important to bear in mind, however, that the photograph megapixel ratings offered by manufacturers are often inflated and the result of a process called interpolation. Many trail cameras have the option of adjusting the resolution – increasing it through interpolation or decreasing it through compression. Compression can be useful for saving storage space by reducing the number of pixels. Interpolation digitally adds pixels to an image which eats up storage and generates longer recovery times while doing next to nothing to enhance picture quality. The best way to compare picture quality is to look at sample photographs.

Flash range and motion detection range

If you are planning on monitoring an open area where you expect animals to pass by at a distance, the motion detection range and flash range of a trail camera are worth considering. Motion detection range is the maximum distance a trail camera can register the movement of an animal. The flash range is how far the IR flash will reach. If the flash range is low and an animal is at a distance, you may not see the animal clearly in low-light pictures.

Cellular and solar cameras

Cellular cameras are an excellent choice if you are looking for remote access to your trail camera’s photos and settings without having to regularly interact with your camera in the field. Likewise, the addition of a small solar panel to your trail camera can improve deployment time. This is particularly useful when deploying multiple cameras at the same time or when monitoring inaccessible locations.

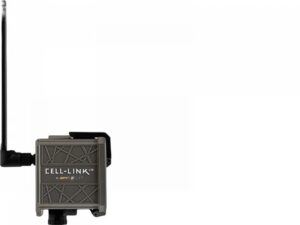
Our range of Spypoint cameras are an excellent choice when considering cellular or solar cameras. The Spypoint CELL-LINK, however, enables cellular functionality for trail cameras from non-Spypoint brands and you can purchase solar panels for Bushnell and Browning cameras.

Our suggestions

Entry-level cameras

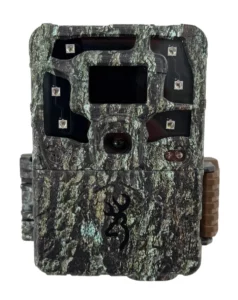
Trail camera viewed from front showing camera lens and IR bulbsThe Browning Strike Force Pro X 1080 is ideal for those looking for high quality at an affordable price. This low-glow Browning camera boasts a rapid 0.22 second trigger speed, a colour screen, and superb picture quality.

Alternatively, if you are looking for an economical no-glow camera, the Browning Dark Ops Pro X 1080 is an excellent choice.


Popular cameras

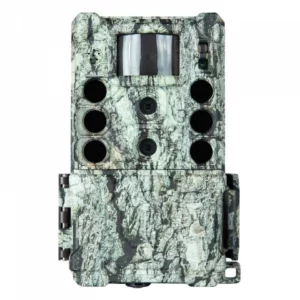
The Bushnell CORE DS-4K is an excellent trail camera featuring top-of-the-range picture quality and no-glow IR LEDs, keeping disturbance to a minimum. Additionally, this camera will last for an extended period out in the field due to its long battery life.

Another trail camera with excellent picture quality, the low-glow Browning Recon Force Elite HP5 is an outstanding all-rounder. One benefit of this camera is its longer IR flash range when compared to the Bushnell CORE DS-4K, allowing for improved low-light imagery when the animal is further away.

If you are monitoring a particularly quick species, the Browning Spec Ops Elite HP5’s trigger speed can be adjusted to a lightning-fast 0.1 seconds. This stealthy no-glow camera also features a rapid 0.5 second recovery time and excellent picture quality both during the day and at night, making it one of the top trail cameras in our range.

Accessories

Powering your trail camera

Lithium batteries are essential for operating your trail camera effectively. One of the most common reasons for why a trail camera is not working properly is the use of non-lithium batteries. Most of our trail cameras can be purchased as part of a bundle which includes lithium batteries and a suitable memory card.

Keeping your trail camera safe

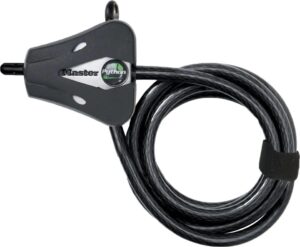
The 180cm long Python Lock is ideal for securing your trail camera to trees and posts and preventing theft.

Our range of security boxes will provide additional protection against theft and damage. Double check that the security box you are purchasing is compatible with your trail camera model.

Recommended reading

For an in-depth comparison of the trail cameras in our range, check out our trail camera comparison blog.

Take a look at our in-the-field analysis of two of our top trail cameras – the Browning Spec Ops Elite HP5 and the Browning Recon Force Elite HP5.


Explore our complete range of trail cameras on our website or if you have any questions about our range or would like some advice on the right product for you then please contact us via email at customer.services@nhbs.com or phone on 01803 865913.

Buyers’ Guide: Bat Boxes

Quick links:
Introduction to bat boxes
Bat box design
Bat box materials
Mounting and installing bat boxes
Further information
Accessories and suggested reading

Introduction to bat boxes

Globally there are over 1,400 different species of bat and the UK inhabits 18 of these bat species. Although UK bat species do not create their own roost sites, they will roost in trees and occupy spaces that are created by other animals or decaying trees. But due to the removal of trees and suitable habitat, bats will now often favour human-made roosting sites. The addition of available roost sites is an important way to help prevent the ever-declining UK bat populations.

When choosing which bat box fits your needs, there are a few things to consider – the design of the bat box, the material, and the mounting and installation method. These features can be determined by identifying the target bat species alongside the location and habitat you wish to situate the bat box.

Bat box design

There are several types of bat box design and these can be split into crevice, cavity and hybrid boxes, as well as hibernation, maternity and heated boxes.

Crevice boxes provide a narrower roost space for species that naturally prefer smaller roosts, such as Brandts, Natterers and Pipistrelles, whereas cavity boxes offer a more spacious roost space favoured in general by the larger bat species such as the Greater and Lesser Horseshoe, Barbastelle and Brown Long-eared. Some boxes are designed to be hybrid boxes, meaning they can accommodate both cavity and crevice bat species.

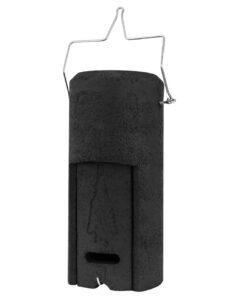
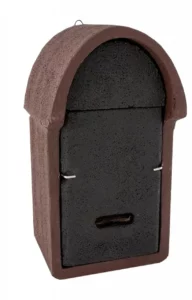
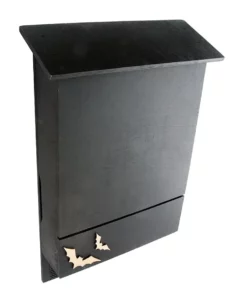
Crevice: Low Profile WoodStone Bat Box

Cavity: Improved Cavity Bat Box 

Hybrid: General Purpose Bat Box 

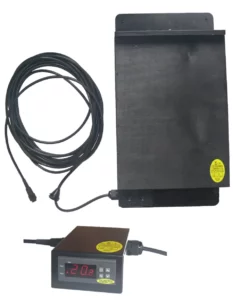
Hibernation and maternity boxes are similar in their design to provide a warm and safe roosting space. Both boxes tend to be well insulated and larger in size with multiple internal chambers, especially important for maternity boxes that accommodate breeding colonies. There are also heated bat boxes; in these, the temperature is controlled by an external thermostat and can aid with mitigation schemes for the loss of bat maternity sites.

Hibernation: Large Multi Chamber WoodStone Bat Box

Maternity: Causa Maternity Bat Box

Heated: Heated Bat Roost Box

Bat box materials

Bat boxes can be made from a number of different materials; these vary in longevity, durability and often price. The most common materials are wood (often timber); a wood and concrete blend, sometimes known as woodstone or woodcrete; eco-plastic; and concrete. Below is a brief description of each alongside one of our best sellers.

Wooden bat boxes 

  • Lightweight
  • Suitable for externally mounting on both trees and buildings
  • Less robust and shorter longevity than woodstone/woodcrete boxes

Double Chamber Bat Box


Woodstone and woodcrete bat boxes

  • Very durable and long-lasting
  • Well insulated
  • Can be built in or externally mounted to buildings
  • Heavier than wooden and eco-plastic boxes

Beaumaris Woodstone Bat Box 


Eco-plastic bat boxes

  • Sustainably sourced recycled plastic
  • Lighter than woodstone/woodcrete and more durable than wooden boxes
  • Although made from recycled plastic, it is still plastic

Integrated Eco Bat Box


Concrete bat boxes

  • Very durable
  • Very heavy and can only be built directly into buildings

Bat Block


Mounting and installing bat boxes

Bat boxes fall into externally mounted or integrated boxes. Mounted boxes can be fixed to trees, fences or buildings, and integrated boxes are built directly into the brickwork of a building.

Externally mounted boxes can vary in size and material, and often they are wooden or woodstone/woodcrete. When choosing an externally mounted bat box, it is important to consider the weight of the box and the surface you are mounting the box to. Some are lighter and ideal for mounting on trees, while some are more durable and can be fixed to buildings.

All bat boxes should be positioned in an open and sunny location (ideally boxes should have 6-8 hours of direct sunlight), around 3-6 metres high (the higher the better). It is important to avoid placing these close to any artificial lights such as streetlamps or security lights. External mounted boxes can be attached via a hanger or fixing bracket and it is best to fix using aluminium nails.

Vivara Pro WoodStone Bat Box

2F Schwegler Bat Box (General Purpose)

Integrated bat boxes are self-contained concrete roosts. They are popular with new housing developments as they are unobtrusive and often aesthetically pleasing. The boxes can be built flush to the wall or beneath a rendered surface, and each box has an entry point that must be left exposed for the bats to access the box. Some boxes are plain for rendering or can be custom faced with a chosen brick type which adds to their discreteness.

Habibat Bat Box 001

Vivara Pro Build-in WoodStone Bat Box


There are also pole-mounted bat boxes (sometimes known as rocket boxes). These bat boxes are helpful alternatives in areas where there is nowhere to mount the bat box. An additional benefit is that they ensure that the bat box gains maximum sunlight in shaded areas.

Pole Mounted Large Colony Bat Box


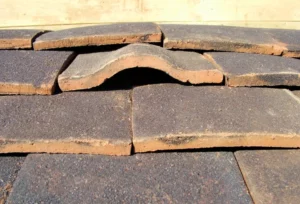
Lastly, there are bat roost access titles and bricks. These are designed to provide bats with access points within roof or ridge tiles. Some bats will roost in the confined spaces beneath the tiles and others will use the open roof space to roost.

Bat Access Tile Set

Further information

We supply a wide range of bat boxes, and we hope this Buyer’s Guide is informative and provides a useful breakdown of the different types available to help you decide which bat boxes best suits your needs.

For further information, please get in contact with us directly and take a look at our blogs including The NHBS Guide to UK Bat Identification and the NHBS Guide: Where to hang and how to maintain your bat box.

Accessories and suggested reading

Heavy Duty Aluminium Nails 

Xtend & Climb Pro Telescopic Ladder

A Miscellany of Bats 

Bat Calls of Britain and Europe: A Guide to Species Identification


  • Our full range of bat boxes can be found here.
    If you have any questions about our range or would like some advice on the right product for you then please contact us via email at customer.services@nhbs.com or phone on 01803 865913.

Buyers’ Guide: Sweep and Butterfly Nets

Quick links:
Introduction
Key features
Entry-level choices
Best sellers
Accessories and suggested reading
More information

Introduction

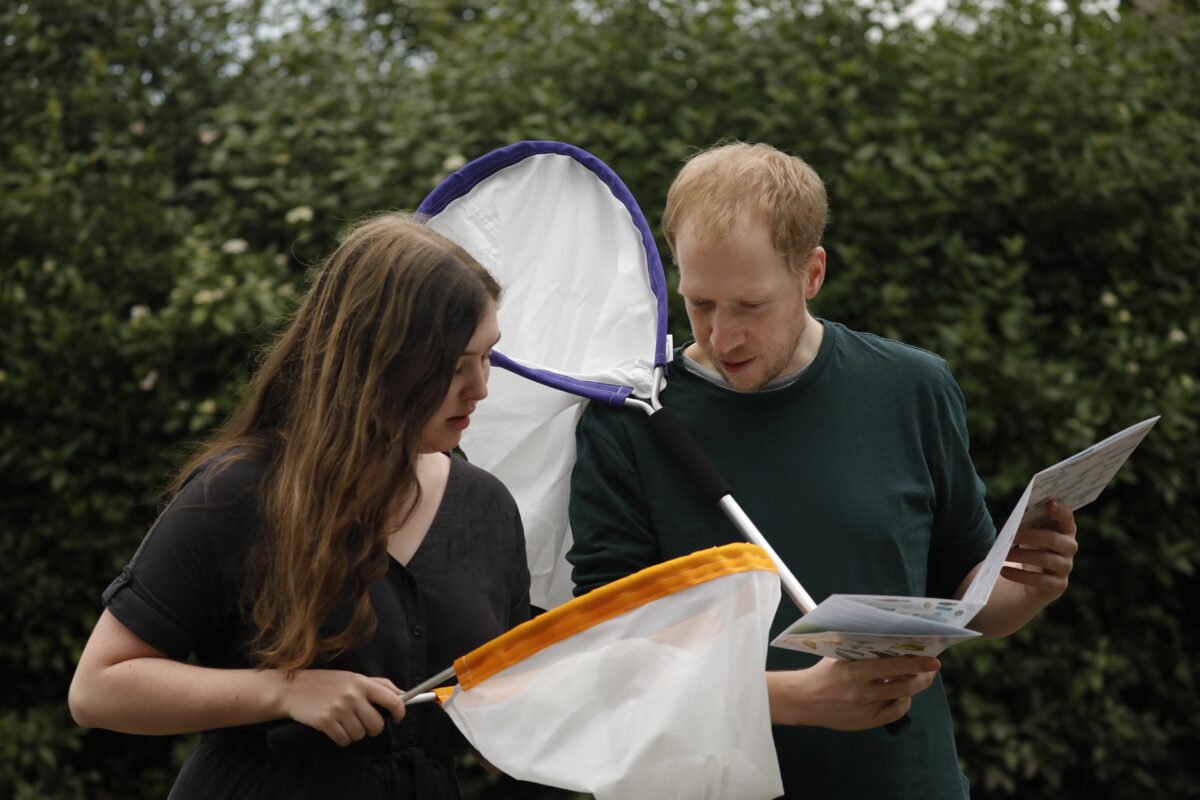
Insect nets are one of the most iconic tools of the entomologist’s kit bag. Around since at least the 1840s, the earliest forms would not have been dissimilar in design or use to those still widely used today. They are, most basically, a deep net bag made of material that is robust but gentle enough not to damage the captured insect, designed to be swept across grass or other vegetation or to catch flying insects as they are spotted. That said, in the last 180 or so years a number of different designs have arisen, making it hard for the aspiring entomologist to choose where to begin.

Sweep nets and butterfly nets – what’s the difference?

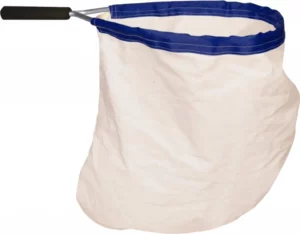
Standard Sweep Net

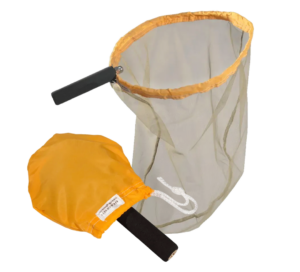
As the name may imply, the main difference between a sweep net and a butterfly net is the group that they are designed to catch, and by extension the way in which they are used. Sweep nets are designed to sample a wide range of insects, from flies to beetles, and are usually swept across the tops of vegetation such as long grass before inspection. Because they often come into contact with woody plants and the like, the frame is reinforced and the net material must be reasonably robust to prevent tearing. This has the drawback of making it a little heavy and coarse, and thereby potentially damaging to the wings of very delicate insects like butterflies.

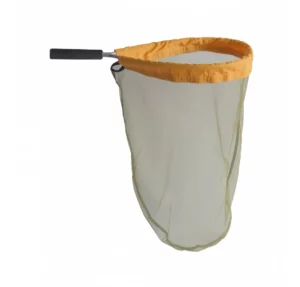
Lightweight Butterfly Net

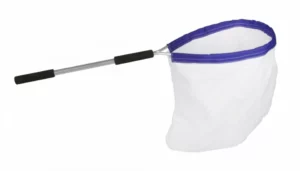
Butterfly nets, on the other hand, have bags that are made from a much lighter, finer material that is less likely to damage delicate invertebrates. This makes them suitable for a few groups, including craneflies, but most notably Lepidoptera (butterflies and moths). Of course, the finer mesh is more delicate and likely to be torn by vegetation or powerful insects such as crickets and large beetles.

For the purpose of this buyer’s guide, the term ‘insect net’ will be used when referring to principles that are true of both butterfly and sweep nets.

Key features

Many entomologists relish the challenge of finding a remote, hitherto unexplored site, far away from the beaten path, with undisturbed habitats where anything might be hiding. The equipment we carry, however, can quickly mount up – an insect net, spare bags, pooter, beating tray, collecting tubes, notebooks, camera, not to mention lunch – and can weigh a lot. Many entomologists, therefore, begin with lightweight, compact gear that can be easily transported.

In our opinion, the qualities that determine a desirable insect net are weight and balance, as these will determine how comfortable the user is during long sampling sessions, and the aperture of the frame, as a larger opening means more air passes through, allowing larger sample sizes. But there is always a trade-off. Lighter frames are easier to carry but are less robust. Telescoping handles are portable but are generally made of metal and therefore heavier than a wooden alternative. Larger apertures, though better for sample size, are much more unwieldy than smaller counterparts. The trick to finding a net that really works for you is finding a balance between all these factors.

Frame shape

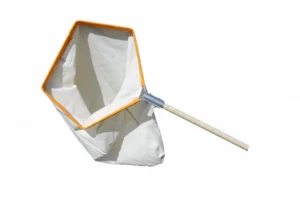
Professional Sweep Net

The ‘head’ of an insect net can be designed in a few different ways; different shapes can maximise the area sampled, and foldable and crushable designs can improve portability. Most entry level nets have a frame that is a simple loop of metal – this keeps them lightweight and cost effective, but limits the size that they can practically be.

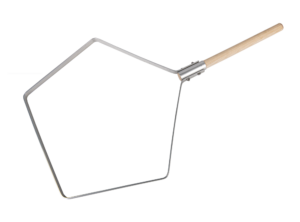
Beyond entry level, sweep and insect nets tend to adopt more complex designs, but they are generally split into three categories: fixed, folding, and crushable frames. Fixed frames are built using the same principle as simpler nets, but often have a pentagonal shape. This increases the overall aperture size without making the net much bigger, allowing for larger samples. Folding frames are usually roughly triangular, and can be folded to make transport easy.

Professional Sweep Net – Frame Only

Finally, some butterfly nets are made with a crushable frame. The loop is made of a thin strip of metal that can be twisted around on itself, allowing the net to be stored in a small stuff bag. These are extremely portable, but over the course of use tend to become a bit warped. Crushable frames are generally only used for butterfly nets, as the metal is too lightweight to be robust enough for sweeping across vegetation.

Handle design

Spring Frame Butterfly Net

When it comes to nets, there are a few considerations to bear in mind. Early insect nets, for example, tended to have quite long handles. But is this necessary? Sweep netting in particular is often carried out at waist height, within easy reach as you walk through a meadow. Not only is it unnecessary in many cases, it is often counterproductive. The longer the handle, the less control you have over the path the end takes, after all. You can extend your arm to reach an insect that is further away, but it is much harder to accurately catch an insect that is too close for your net. A longer handle will also cause wrist strain more quickly, as the weight of the bag and frame cause the net to become poorly balanced. Most basic nets – particularly sweep nets – are therefore given a short handle to stay light, well balanced and portable.

Long-handled Standard Sweep Net

That said, a longer handle can still be of use. You may want to sample from trees above head-height, for example, or target a group that is very visual and likely to flee before you get close enough for a short-handled net. One such group is Lepidoptera, and for this reason some butterfly enthusiasts prefer butterfly nets with a longer handle. You’ll see long-handled nets used for catching flying invertebrates referred to as ‘aerial nets’ in some literature.

A good option for either net type is a telescopic handle. This allows the user to decide what length is best for them, and affords some flexibility for activities, such as sweeping around trees. They tend to be heavier and less well balanced than non-telescopic alternatives though, and can be prone to breaking over longer periods of heavy use.

Entry-level choices:
Bestsellers:
Accessories and suggested reading:
More information:

The NHBS Guide to UK Butterfly Identification

The NHBS Guide to UK Bumblebee Identification

The NHBS Guide to UK Hoverflies: Part 1

The NHBS Guide to UK Hoverflies: Part 2

Equipment in Focus: Spring Frame Butterfly Net


  • Our full range of sweep nets can be found here. Our range of butterfly nets can be found here.
    If you have any questions about our range or would like some advice on the right product for you then please contact us via email at customer.services@nhbs.com or phone on 01803 865913.

Gift Ideas That Support Wildlife

This festive season, why not consider giving a gift that will also support your local wildlife. Wildlife populations in the UK are facing serious threats and many species are in decline, however there are ways in which we can protect and help at-risk species by creating havens for wildlife in our own gardens. At NHBS we sell a range of products, from bird feeders to hedgehog houses, that can both bring joy to the recipient and benefit wildlife at the same time. We also sell a number of books that can help you create a wildlife friendly garden. We’ve put together a selection of some of our favourite items for you to browse below. 


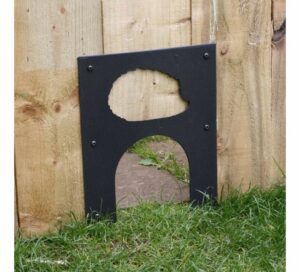
Eco Hedgehog Hole Fence Plate

#242607 

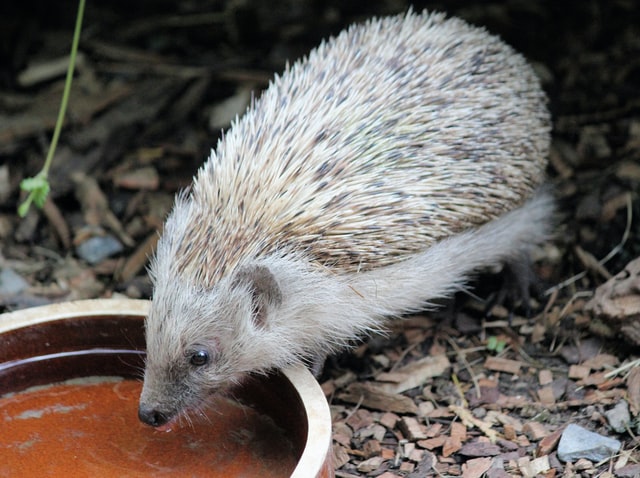
Hedgehog numbers have dramatically declined in recent years. Creating a hole in a garden wall or fence will allow your local hedgehogs to pass through from garden to garden safely.


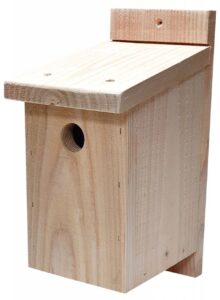
NHBS Wooden Bird Nest Box

#254495

Many bird species are struggling to find enough suitable natural nesting sites in the modern environment, but a bird box will provide a warm, sheltered substitute, with protection from most types of predators, helping to improve the chances of breeding success.


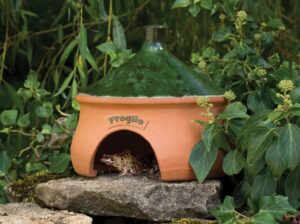
Froglio Frog and Toad House

#216744

The Frogilo Frog and Toad House provides a safe retreat for frogs and toads in any garden and is handmade in frost-resistant ceramic with a decorative glazed roof.


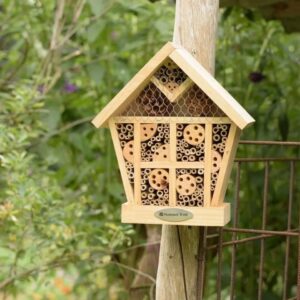
National Trust Apex Insect House

#251682

The National Trust Apex Insect House is an ideal addition to any wildlife friendly garden. With a variety of shelter types, it offers a perfect habitat for important invertebrates such as lacewings, ladybirds, and even some butterflies.


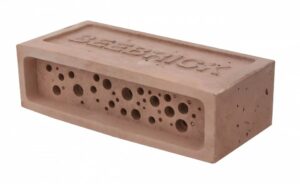
Bee Brick

#244140

Bee Bricks are made in Cornwall in England using the waste material from the Cornish China clay industry.  They provide much needed nesting space for solitary bee species such as red mason bees and leafcutter bees, both of which are non-aggressive.


Echoes Bird Bath

#195520

A large and beautifully coloured and glazed bird bath with a ‘ripple’ step design that is both visually attractive and functional by providing extra footing/grip for wild birds.


Defender Metal Seed Feeder

#238813

The Defender Feeder’s metal construction is tough, long lasting and offers excellent protection from squirrel damage.  The feeder is available with two, four or six feeding ports, each with a perching ring that allows birds to feed in a natural, forward facing position.


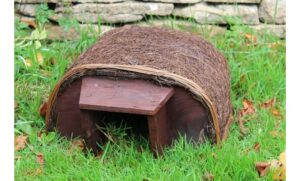
Hedgehog House

#234035

Hedgehog numbers are rapidly declining across the UK and providing a refuge in your garden with the Wildlife World Hedgehog House will help to protect hedgehogs from predators and disturbance.


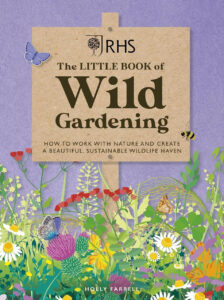
RHS The Little Book of Wild Gardening

#257312

This is a guide for anyone wanting to garden in a more sustainable, natural way. Working with nature benefits not just the garden, but also the gardener, wildlife and the wider environment.


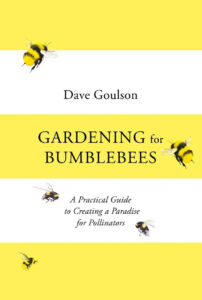
Gardening for Bumblebees

#252488

This shows you how you can provide a refuge for bumblebees to feed, breed and thrive. No matter how large or small your space is, Dave Goulson shows you how you can make a pollinator-friendly haven.


The Wildlife Pond Book

#246688

This offers a fresh and unique perspective on ponds, encouraging readers of any budget to reach for the spade and do something positive to benefit their shared neighbourhood nature.
 

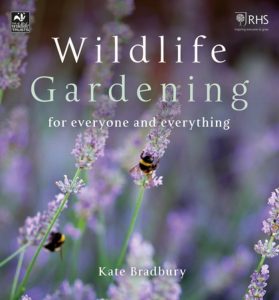
Wildlife Gardening

#244291

If you want to attract more bees, birds, frogs and hedgehogs into your garden, look no further than this. Kate Bradbury offers tips on feeding your local wildlife and explains how you can create the perfect habitats for species you’d like to welcome into your garden.


Discover more great gift ideas on our website. Plus, check out our two blogs on how to attract wildlife to your garden.
NHBS Guide: Where to Hang and How to Maintain your Bat Box

Natural roosting sites for bats are in decline due to changes in building standards and countryside management practices. Installing a bat box is a simple and affordable way of providing much needed roost space for a variety of species and now is the ideal time to install one, before bats fully emerge from hibernation. However, placing your bat boxes in the correct location and at the correct height is essential to encourage bats to occupy them. With this in mind, we have put together some answers to the most frequently asked questions about bat boxes – covering where and when to put up your boxes, cleaning and maintenance, and the legalities of checking whether they are occupied.

Which bat box should I purchase?

Bat boxes can be placed in trees, on walls and on or in the brickwork of buildings. To help you choose the most suitable bat box based on where you want to locate it, take a look at our three-part series designed to help you make the right choice:  

Top 10 Bat Boxes for Trees and Woodland

Top 10 Bat Boxes for Walls and Fences 

Top 10 Bat Boxes for New Builds and Developments

When is the best time to put up a bat box?

Bat boxes can be installed at any time of year, but they are more likely to be used during their first summer if they are put up before the bats emerge from hibernation in the spring. If you are installing bat boxes as part of an exclusion project from a building, it is best to erect the boxes four to six weeks before the exclusion. 

Schwegler 1FF Bat Boxes

Where should I hang my bat box?

All bat boxes should be positioned at a height of 3-6 metres (the higher the better) in an open, sunny position (6-8 hours of direct sunlight, or in a location where it receives the morning sun if this is not possible). Try to install the bat box where it will not be disturbed by bright lights at night such as porch or security lights. 

The most common location to hang a bat box is on a tree using a strong nail that is at least 85 mm in length. It is important to use aluminium nails, as these will not damage a chainsaw (or chainsaw user) should they be left in the tree when it is felled. For more details on how to hang your bat box to a tree, wall or fence, please read our blog on where to hang and how to maintain your nest box, which, although mainly focused on bird boxes, is equally relevant for bat boxes. 

How do I check whether the box is occupied?

Many bat boxes have an opening at the bottom and do not require any maintenance as the droppings will simply fall out of this space. If cleaning is required it is essential that you ensure that the box is not occupied before carrying out any maintenance. Once bats have inhabited a roost site they may only be disturbed by licensed bat workers. If you are unsure whether your bat box is occupied the best way to check for box occupancy is to observe the box at dusk (15 minutes after sunset for around 30 minutes) to watch for any bats leaving. Additionally, you can look under and nearby the box for guano (bat droppings). If there are bats present, wait until later in the season and then check again. It’s also a good opportunity to use a bat detector to identify the bats in your box – take a look at our guide on bat detecting for beginners.

Large Multi Chamber Bat Box

How do I maintain my bat box?

The best time to clean the majority of bat boxes (those suitable for summer roosts) is during the autumn or winter. Once you have ensured the bat box is not occupied you can open the box and clean out any droppings. Whilst you are cleaning the bat box it is a good idea to look for any damage, as this may mean it is unlikely to be used. The most likely damage will be broken seams around the roof, because the constant heating and cooling during the day can warp the wood slightly. To repair this, we would recommend using a roof sealant. 

Head over to the NHBS website to browse our full range of bat boxes. If you have any other questions or would like further advice, please get in touch with our team of Wildlife Equipment Specialists (email: equipment@nhbs.com or phone +44 (0)1803 865913).


Introducing the NHBS Moth Trap

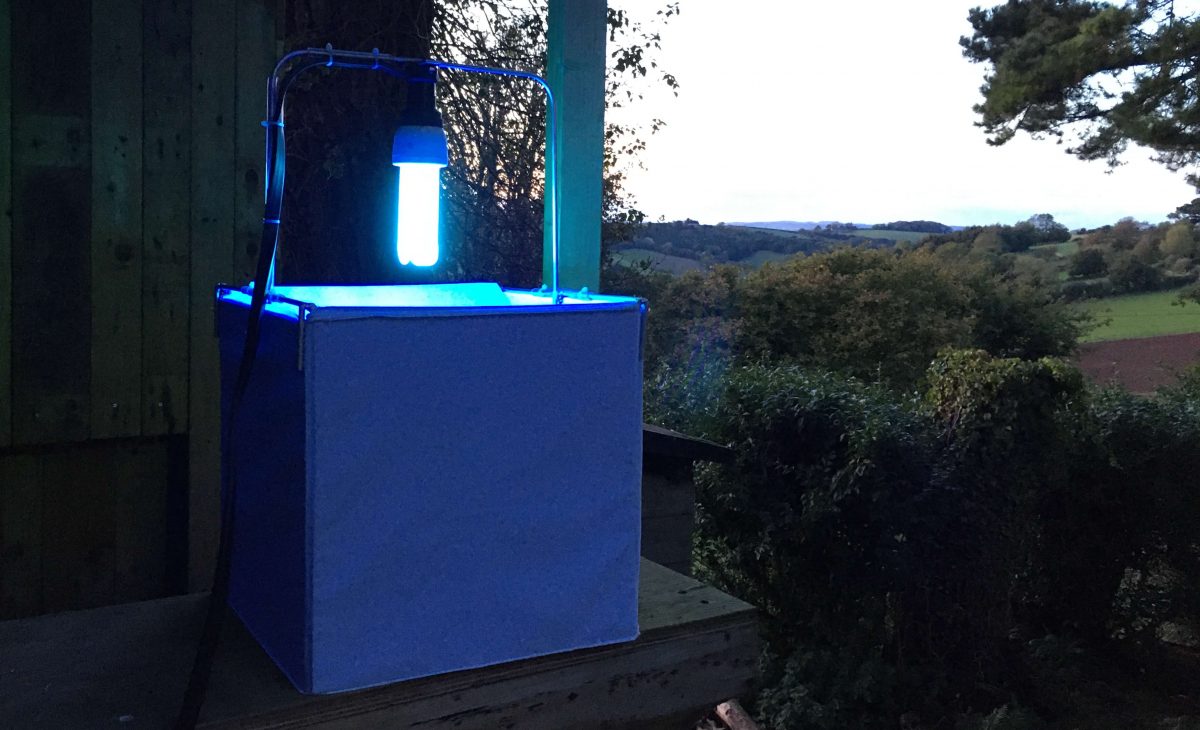
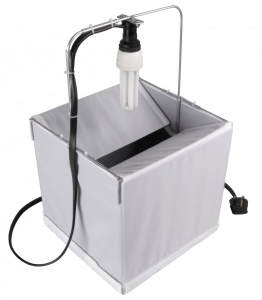
The NHBS Moth Trap is an exciting new lightweight and highly portable Skinner moth trap designed and manufactured onsite at our Devon workshop. It is constructed from lightweight plastic panels covered with a light-coloured nylon material, and is assembled using Velcro. Once assembled the trap container has two panels which help prevent trapped moths escaping. The electrics are added by sliding the light holder into the wall supports.  When fully assembled the trap measures approximately 30cm wide x 30cm deep x 50cm tall, it is mains powered and will run a single 20W Blacklight bulb. A benefit of these bulbs is that they will not shatter in contact with rain, however, like with every moth trap we would advise against using it during adverse weather.

The NHBS Moth Trap is designed with portability in mind. It comes supplied with a lightweight carry bag that you can use to transport and store the trap when not in use. This bag measures approximately 30cm wide and 45cm tall when all trap components are included. The complete trap only weighs around 1.6kg; much lighter than the typical solid plastic assemblies of other Skinner traps.

Butterfly Conservation’s review of the trap

In August 2019 we sent our trap to Phil Sterling, one of Butterfly Conservation’s leading moth scientists and author of the ground-breaking “Field Guide to the Micro-Moths of Great Britain and Ireland”. Phil was kind enough to set out our trap over six different nights and offer his feedback on how it fared.

“The trap is very good, and comparably better in my view than equivalent 20W tube traps on the market currently though I haven’t run comparative studies as such. However, I do regularly run a similar sized black plastic trap with a similar 20W bulb, along with a Robinson 125W mercury vapour trap several metres away, as my standard night time trapping in my garden. Using the NHBS trap in an identical position, the NHBS trap has been surprisingly good, consistently catching more moths than I would expect each time, comparing it with the catches in the black plastic trap.

I like the NHBS Moth trap because it is covered with white nylon, which glows with UV light at night when the light is on. I think this helps attract the moths, and critically, by being fairly light inside the trap itself, the moths readily calm down and rest until morning. I also like the portability of the NHBS trap, and particularly that it doesn’t need a rain shield.

I would definitely recommend this trap.”

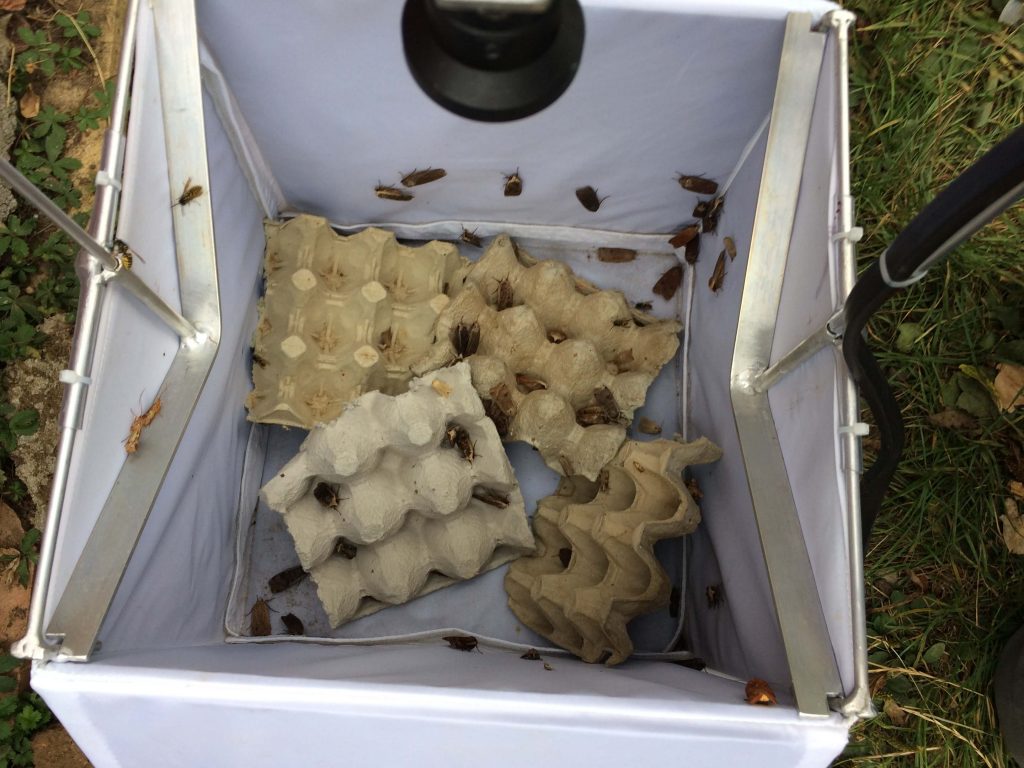
Phil Sterling’s haul from a night’s trapping in August

The NHBS Moth Trap is now available on the NHBS store here. We are grateful to Butterfly Conservation and Phil Sterling for their generosity in reviewing our trap.

To view our full range of entomological equipment please visit www.nhbs.com. If you have any questions on moth traps or would like some advice on the best trap for you then please contact us via email at customer.services@nhbs.com or phone on 01803 865913.