The BSBI has a long and illustrious history as a publisher of books and periodicals aimed at both professional and amateur botanists. Tracing its origins back to 1836, the society was founded as the Botanical Society of London; from its earliest days, the BSBI has welcomed and supported everyone who wants to know more about the British and Irish flora. The society’s training, outreach and research programmes continue to support botanists at all skill levels.
BSBI Publications
The BSBI publishes a range of botanical books; their BSBI handbooks have become standard botanical field guides, containing identification keys, detailed plant descriptions and useful line drawings, together with information on habitat and distribution. They also publish important stand-alone titles, such as Hybrid Flora of the British Isles and Threatened Plants in Britain and Ireland.
The first atlas of the British and Irish flora was published in 1962. It pioneered the use of ‘dot-maps’ aligned to the OS grid which influence the hundreds of natural history grid-based atlases that followed. Work has already started on a third atlas; Atlas 2020 will be published after fieldwork has been completed in 2019. You can find out more, or even get involved by visiting their website.
The BSBI is passionate about the flora of Britain and Ireland and encourages everybody to become involved. If you are a novice and want to get started in botany, their get started page is definitely worth a visit. And if you want to put your botanical knowledge to use, opportunities for volunteers can be found here.
BSBI’s blog often features interviews with authors such as Kevin Walker, author of Threatened Plants in Britain and Ireland and John Poland (The Field Key to Winter Twigs).
British & Irish Botany Journal
British & Irish Botany is a new online journal from the BSBI. The journal aims to provide a new forum for publishing papers and articles relating to the vascular plants and charophytes of Britain and Ireland.
British and Irish Botany will welcome contributions in a number of formats and you can find out more about this forum here.
Providing nesting and roosting spaces for our wildlife is increasingly important as natural habitats and nest spaces are diminishing. Luckily, with the huge range available today, boxes for birds, bats and even bees can be sited almost anywhere from a tree in your garden, to within the walls of a new building and even free-standing. Below we will take a look at some of our newest bird, bat and bee boxes and what they can be used for.
introducing the Integrated Boxes by Green & Blue
The Bat Block
Green & Blue have just released two brand new products ready for this Spring. Designed to be simple and easy to fit within the framework of new builds, the new Swift block and Bat block are sleek and made from recycled materials from the Cornish china clay industry. Both are standard UK block size and have slightly protruding entrances.
The Swift Block
Green & Blue BestSellers
As well as their new swift and bat boxes, Green & Blue also sell a range of blocks for bees. The blocks are made of 75% waste materials from the Cornish china clay industry and features small holes that appeal to a range of solitary bee species. The blocks range from small, brick-shaped blocks that can be built into walls or buildings, to large, stylish posts reaching 2.3m high, to plant pots that have space for you to plant bee-friendly flowers next to the solitary bee nesting holes.
New additions to the Eco Range
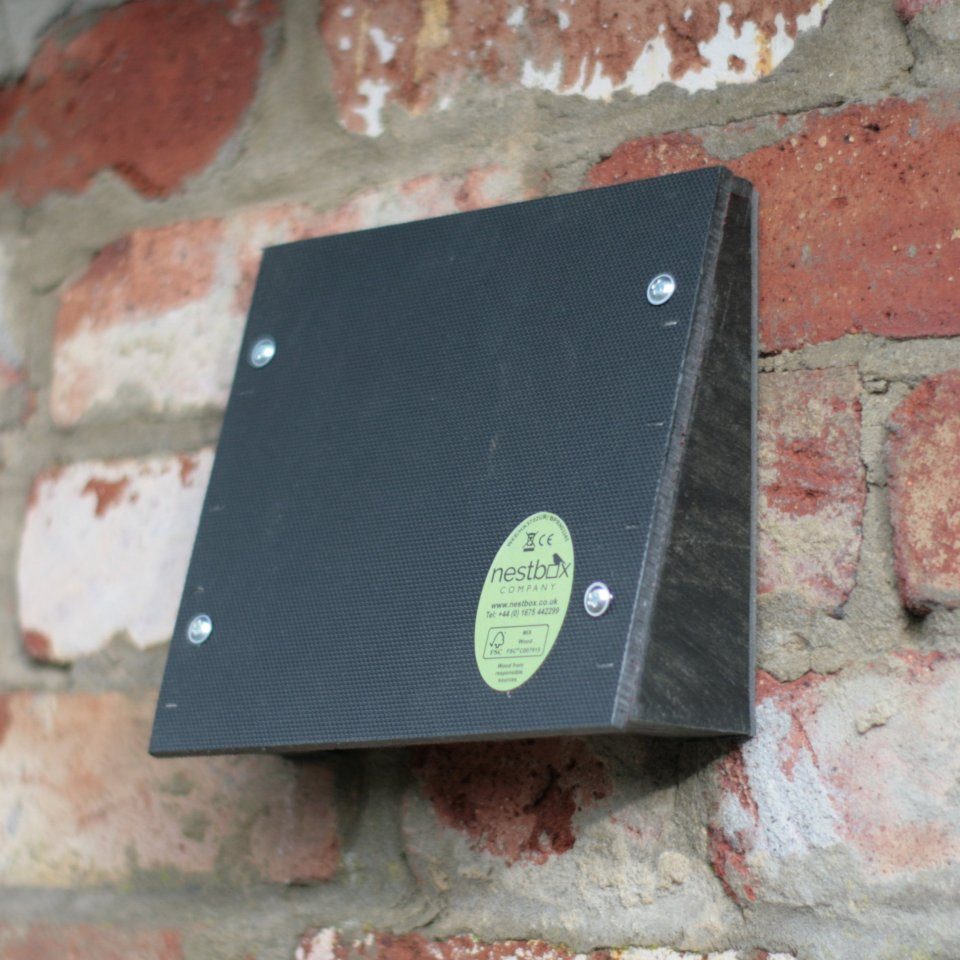
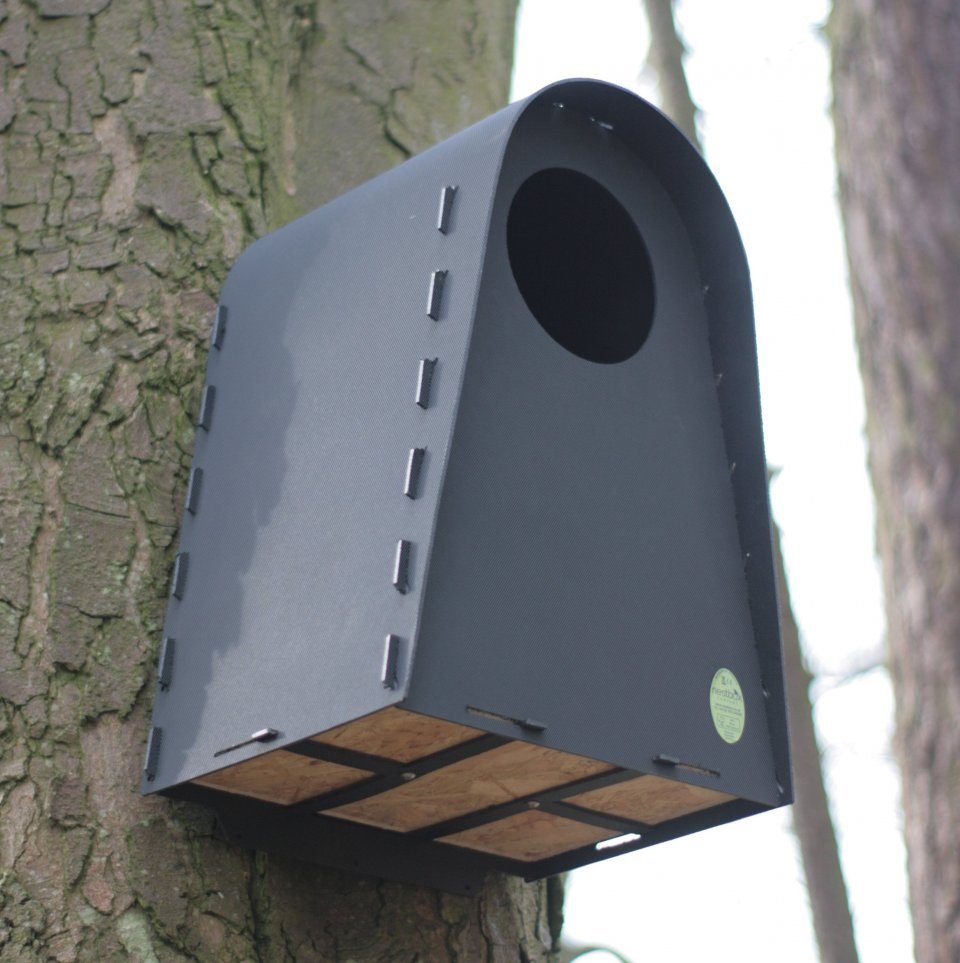
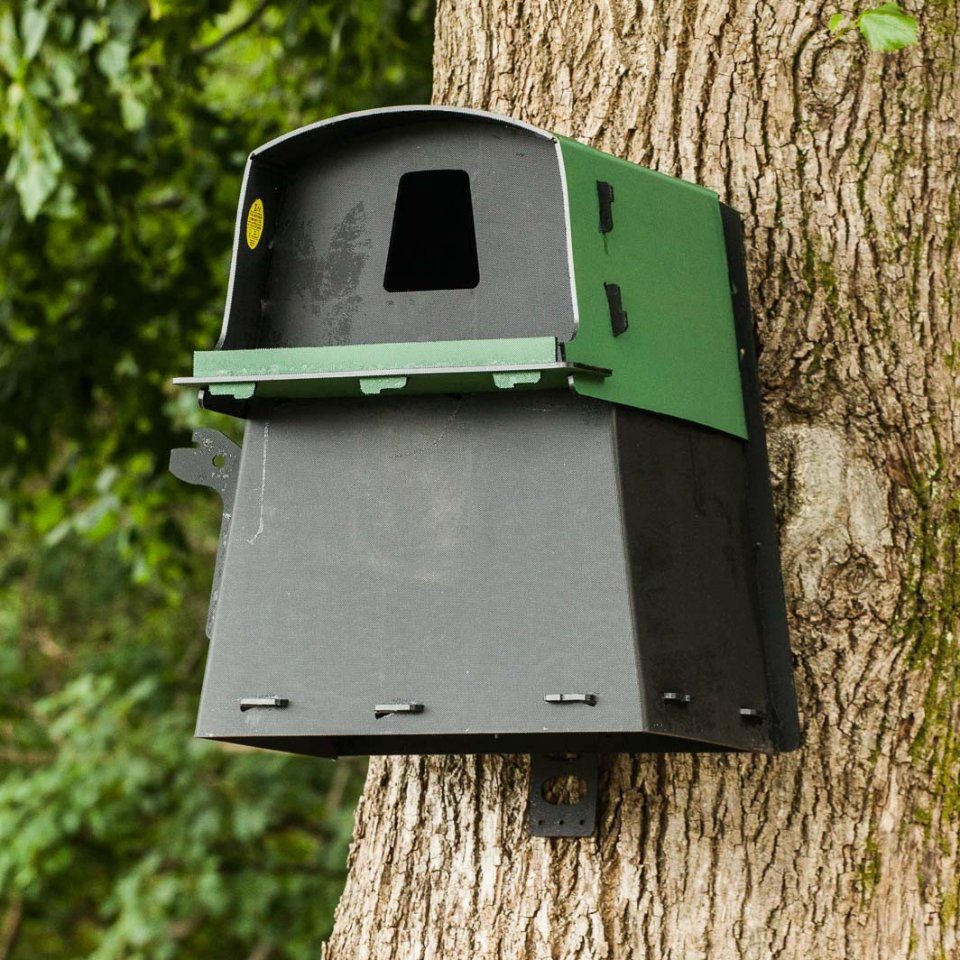
The ‘Eco’ range of boxes has recently expanded to feature a new Eco Bat Shelter and an Eco Tawny Owl Nest Box. These boxes are made of recycled plastic and the bat shelter comes in both a standard black and a brick-red colour. The bat shelter features a ceramic insert that helps to stabilize the internal temperature and is self-cleaning. The tawny owl nest box contains an FSC certified wooden nesting chamber which features built-in drainage holes meaning maintenance can be kept to a minimum.
Aside from the new bat shelter and Tawny Owl nest box, the Eco range also includes a variety of boxes to cater for a wide range of bat and bird species. All of which are made from 100% recycled plastic and FSC certified wood and wood composite internal chambers. Click the images below to find out more.
The Habibat 003 is based upon the original Habibat box but features a blended facing to allow it to fit more seamlessly in building where the brickwork is built using stretcher/blended bond. The box provides the same internal roost space with insulating concrete and comes in a choice of three popular colours: smooth blue, smooth red or buff. If you have a more specific brick requirement or would like the box to match exactly your batch of bricks, the 003 is available with a custom facing where you can send your own bricks to be used or provide your brick code for the manufacturers to use on your box.
more information
If you would like some more advice on choosing bird or bat boxes, take a look at our previous blogs listed below or contact us via email at customer.services@nhbs.com or phone on 01803 865913.
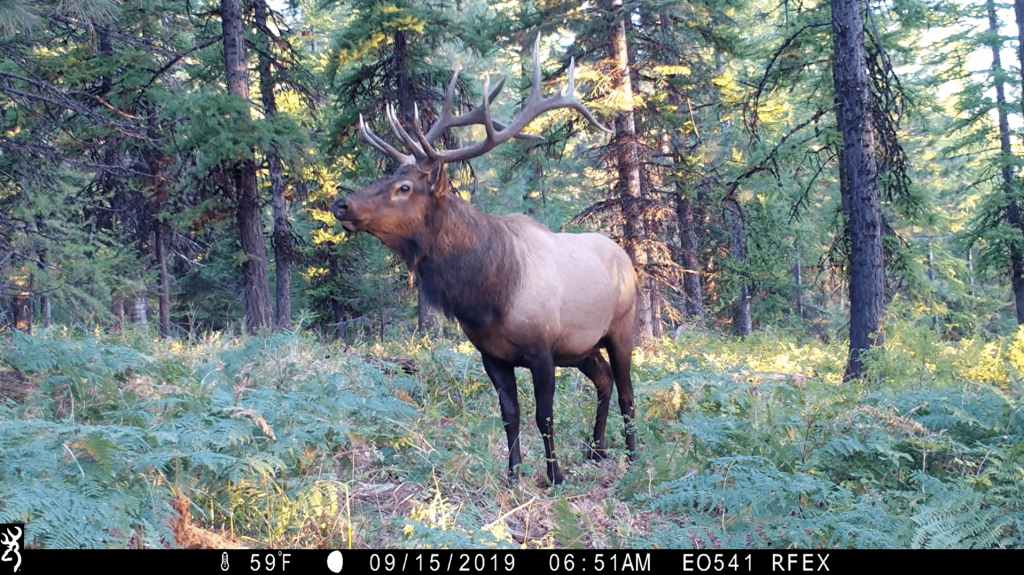
As we enter the warmer spring months many of the UK’s mammals become more active as they establish territories, build nests and find mates. Despite all this activity, observing and surveying these animals is often a challenging task. Trail cameras offer an easy, effective and non-invasive solution in many of these situations, earning their place as an essential kit piece for any ecologist or wildlife enthusiast.
Listed below are a selection of new models and old favourites from each of our trail camera ranges. The primary features we find useful to distinguish between models are:
– whether the camera has a colour viewing screen for reviewing footage in the field
– whether the camera has low glow LEDs (better flash range and video quality) or no glow LEDs (totally invisible to the human eye)
– trigger speed (how quickly the camera takes a still image once the infrared is triggered
– recovery speed (if known, how quickly the camera takes a second picture)
– video quality and framerate (video footage at 60fps is noticeably smoother)
Browning trail cameras
Browning trail cameras boast a fantastic quality of workmanship, designed and developed in the US they are deservedly popular and very reliable. A key feature of this brand is the ‘Smart IR technology’ which automatically adjusts the IR flash, ensuring crisp quality night photos.
The video below demonstrates the fantastic quality of these cameras.
Browning Command Ops Elite Perfect entry level camera with a superb image and video quality with audio recording and and time-lapse features
Command Ops Elite
* 18MP images * 1280 x 720p HD videos with audio * Low glow LEDs * LCD screen with Black Text * 24m Flash range * Good trigger speed of 0.3s
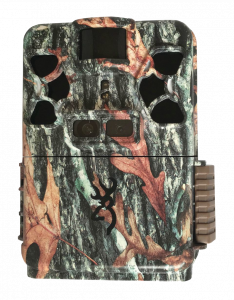
Strike Force HD Pro X This compact mid-range camera has a fast trigger speed and an excellent picture/video quality ensuring you capture every moment in fantastic quality.
Strike Force HD Pro X
* 20MP images * 1600 x 900p HD videos with audio * Low glow LEDs * Full-colour 1.5-inch LCD screen * 37m Flash range * Fast trigger speed of 0.22s
* Programmable stop/start timer to control when the camera triggers
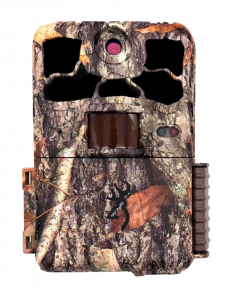
Browning Spec Ops Elite HP4 A high-end camera with excellent images and video quality thanks to a framerate of 60fps.
Spec Ops Elite HP4
*22 MP images * 1920 x 1080p HD videos at 60fps with audio * 4 powerful long range no-glow LEDs * Full-colour 2-inch LCD screen * 27m Flash range
* Adjustable 0.2s – 0.7s trigger speed * Programmable stop/start timer to control when the camera triggers
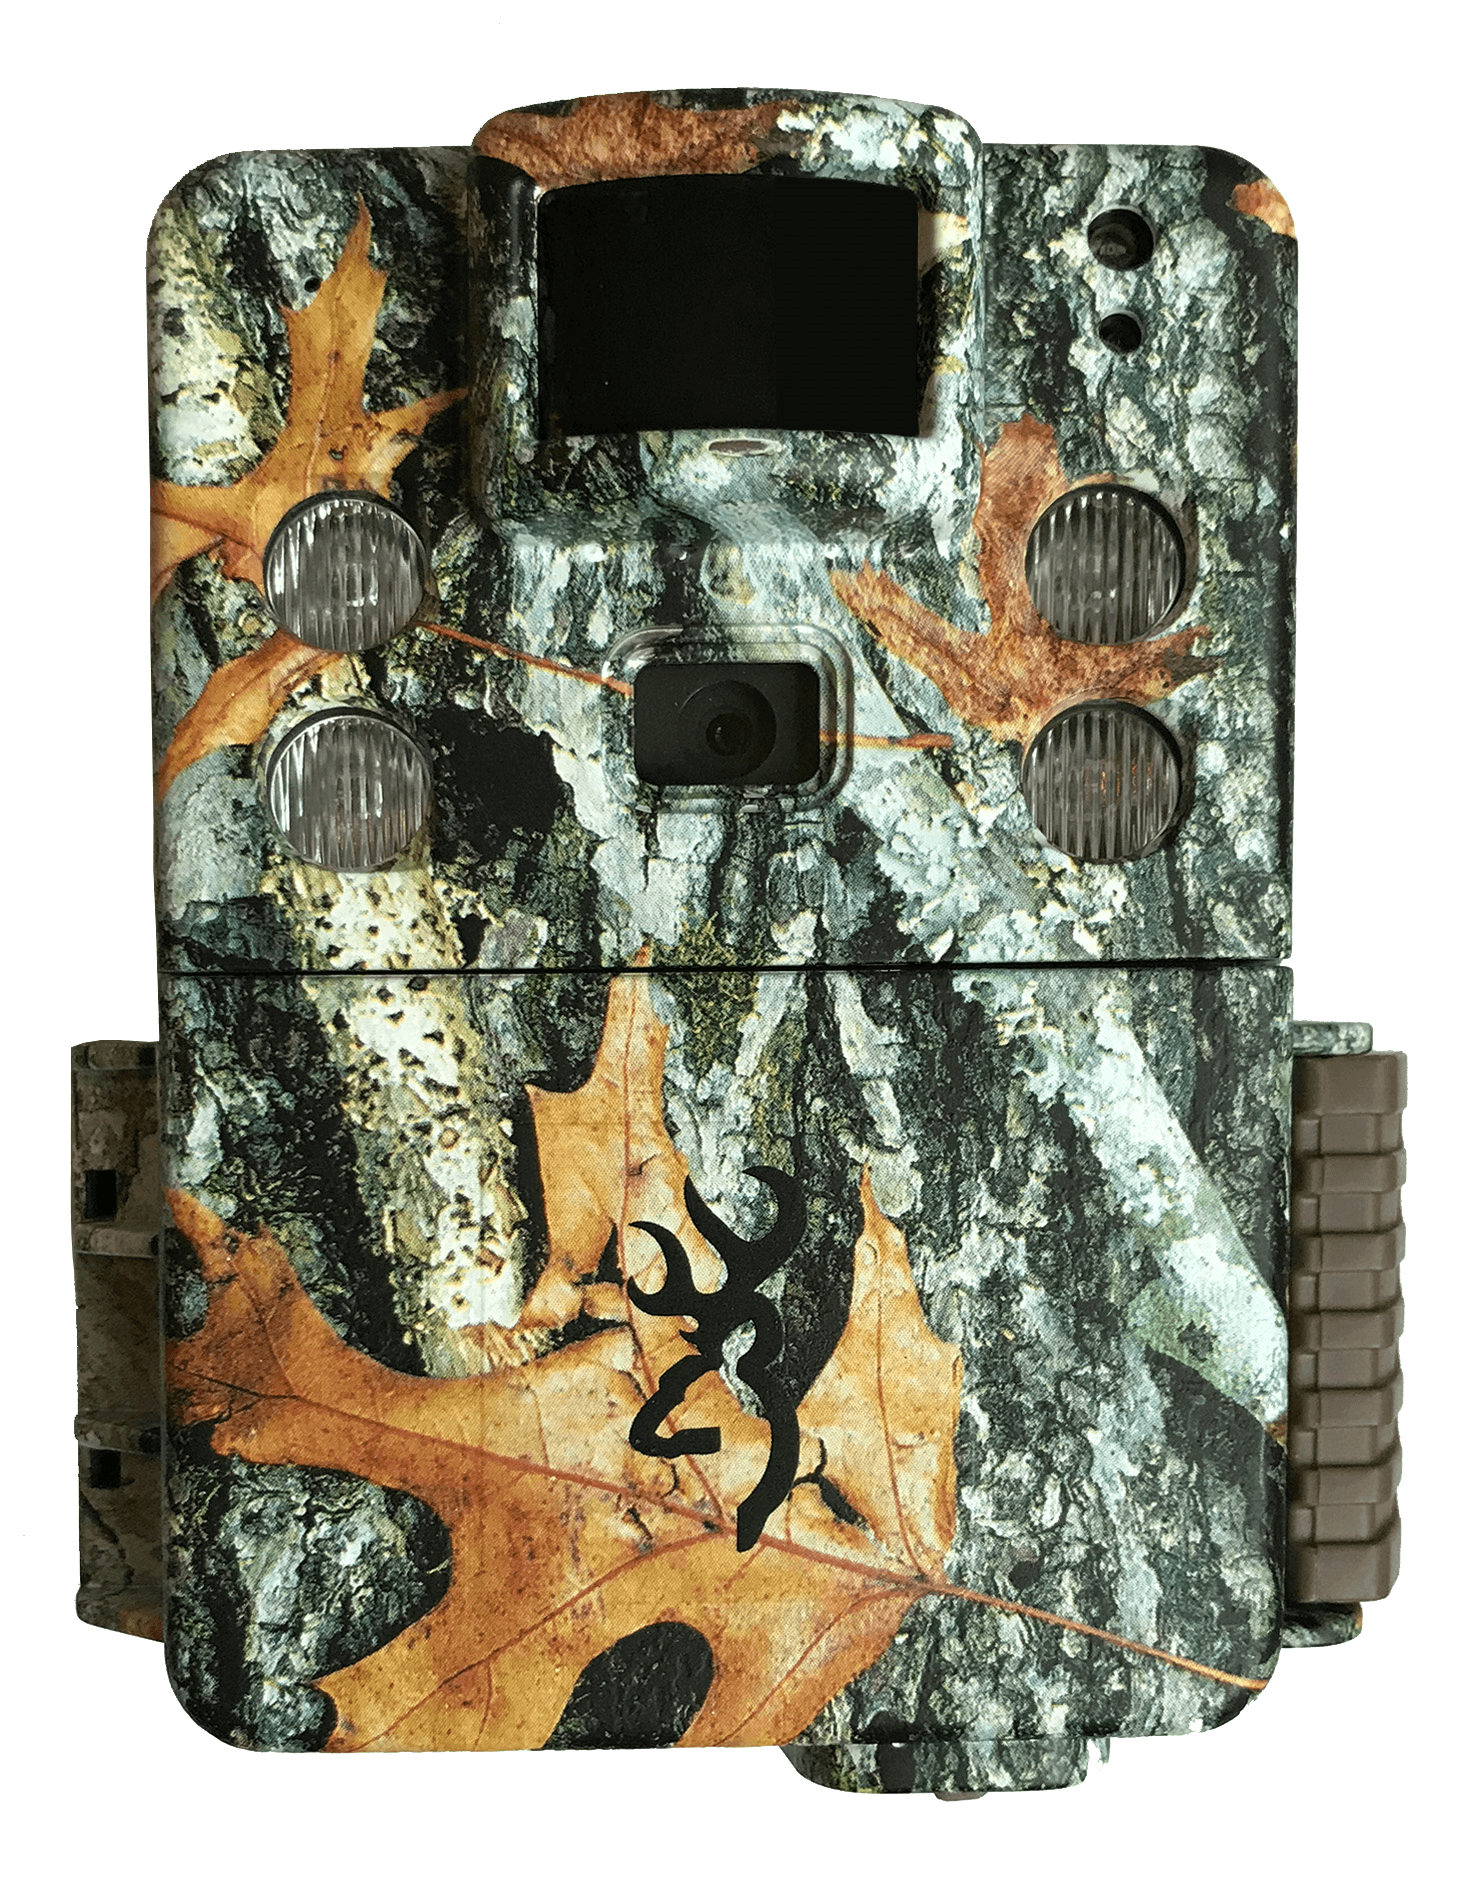
Browning Patriot This high-end model features unique ‘dual lens technology’ which ensures that all of your captured footage is of the highest quality in the day and at night
Browning Patriot
* 24MP images * 1920 x 1080p HD videos at 60fps with audio * No glow LEDs * Full-colour 2-inch LCD screen * 34m Flash range
* Programmable stop/start timer to control when the camera triggers * Adjustable trigger speed and detection range
Bushnell Cameras
With an extensive history and a range of professional and entry-level models available, Bushnell trail cameras offer a reliable choice for quality and durability.
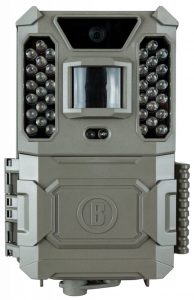
Bushnell Prime
A fantastic entry-camera with an impressive trigger speed.
* 24MP images
* 1280 x 720p HD videos with audio
* Low glow LEDs
* LCD Text display
* 30m Flash range
* Fast trigger speed of 0.3s
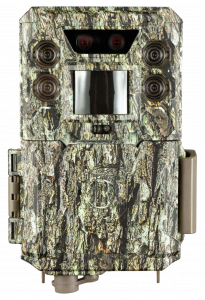
Bushnell CORE DS Low-Glow This high-end camera has a fantastic trigger speed and recovery speed, as well as an extremely high picture and video quality. It uses two sensors, one for day and one for night conditions, which together ensure footage is always sharp.
Bushnell DS CORE Low-Glow
* 30MP images
* 1920×1080p HD video with audio
* Low glow LEDs
* Front-facing Colour display
* 30m Flash range
* Fast trigger speed of 0.2s
* Dual Sensor for day and night recordings
* Also available as a no-glow model
SpyPoint Cameras
Renowned for their lightning fast trigger speeds and recovery speeds, SpyPoint cameras ensure you never miss a wildlife moment.
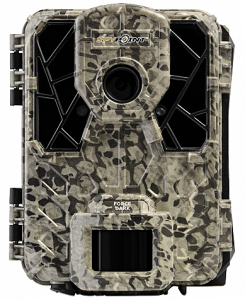
SpyPoint Force-Dark A robust and compact mid-range camera with a wealth of adjustable settings so you can take the best footage possible.
SpyPoint Force-Dark
* 12MP images
* 1280 x 720p HD videos with audio
* No glow LEDs
* Full-colour 2-inch LCD screen
* 27m Flash range
* Fast trigger speed of 0.07s
* 16GB SD card and card reader included
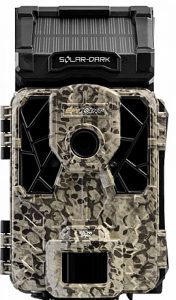
SpyPoint Solar-Dark Builds on the Force-Dark by adding a solar panel which allows you to gather footage indefinitely when placed in sufficient sunlight.
SpyPoint Solar-Dark
* 12MP images
* 1280 x 720p HD videos with audio
* No glow LEDs
* Full-colour 2-inch LCD screen
* 27m Flash range
* Fast trigger speed of 0.07s
* 16GB SD card and card reader included
* Compact solar panel attached to the top
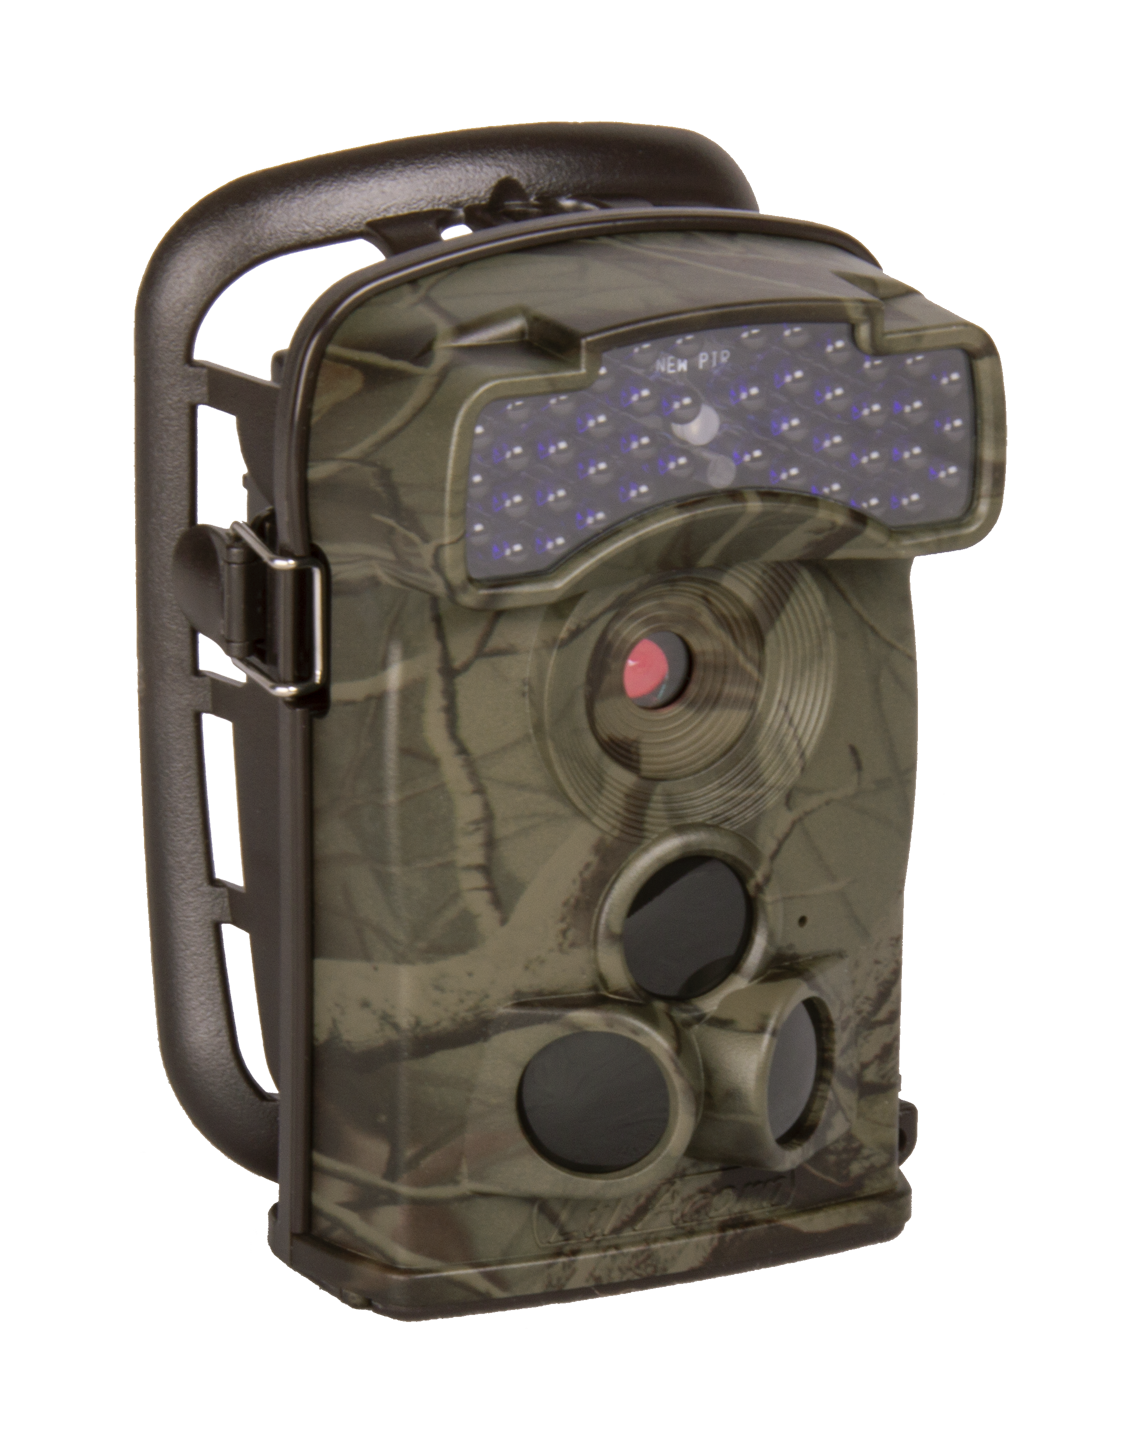
Ltl Acorn Cameras
These compact cameras utilise three different motion sensors to ensure footage is taken at the optimum moment. They also feature a cellular module which when used with a SIM card allows you to receive captured images to a mobile or email address.
Ltl Acorn 5310 A great mid-range camera with excellent picture and video quality
Ltl Acorn 5310
* 12MP images
* 1920 x 1080p HD videos with audio
* No glow LEDs
* 15m Flash range
* Trigger speed 0.6s
* Colour LCD screen
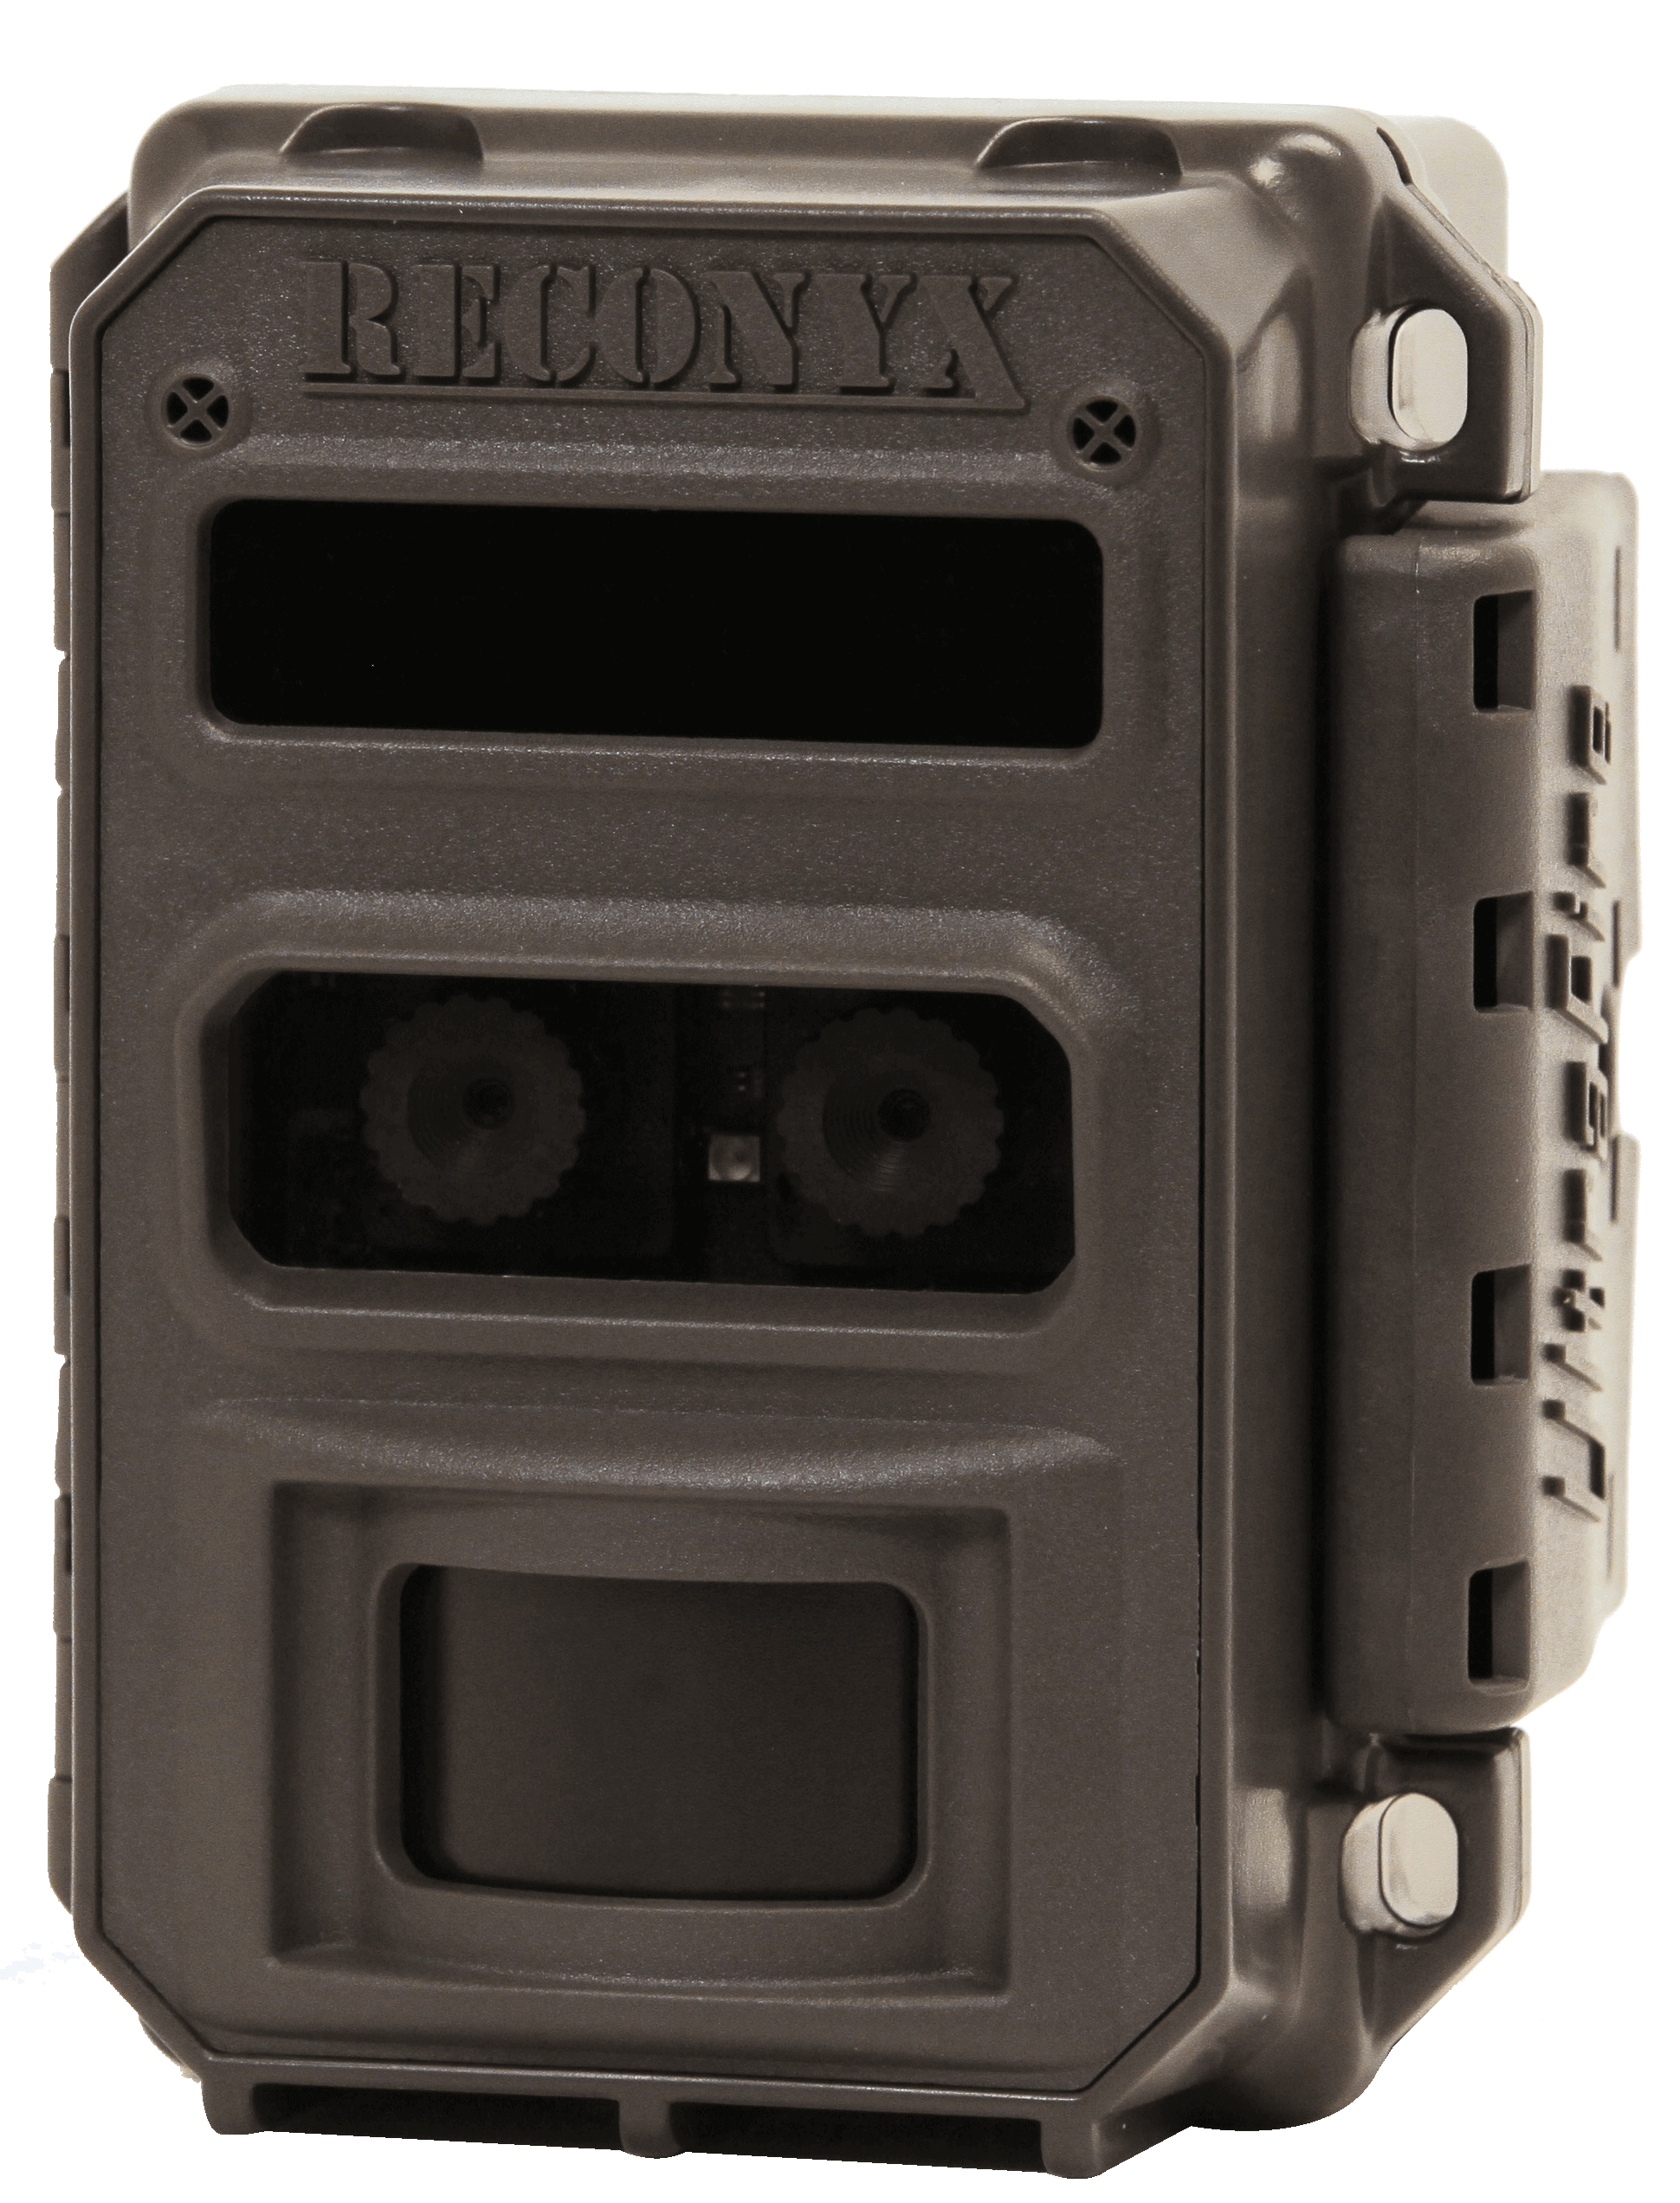
Reconyx Trail Cameras
These high-end trail cameras are a benchmark of high-quality and reliability.
Reconyx UltraFire XR6 Trail Camera A robust camera with excellent video quality and a number of impressive features.
Reconyx UltraFire XR6 Trail Camera
* 8MP images
* 1920 x 1080p HD videos with stereo audio
* No glow LEDs
* Full colour LCD screen
* 25m Flash range
* Compatible with Buckview Advanced Software, to organise and map stored images.
Accessories
A number of accessories can be bought to help mount and secure your trail camera your camera in the perfect position.
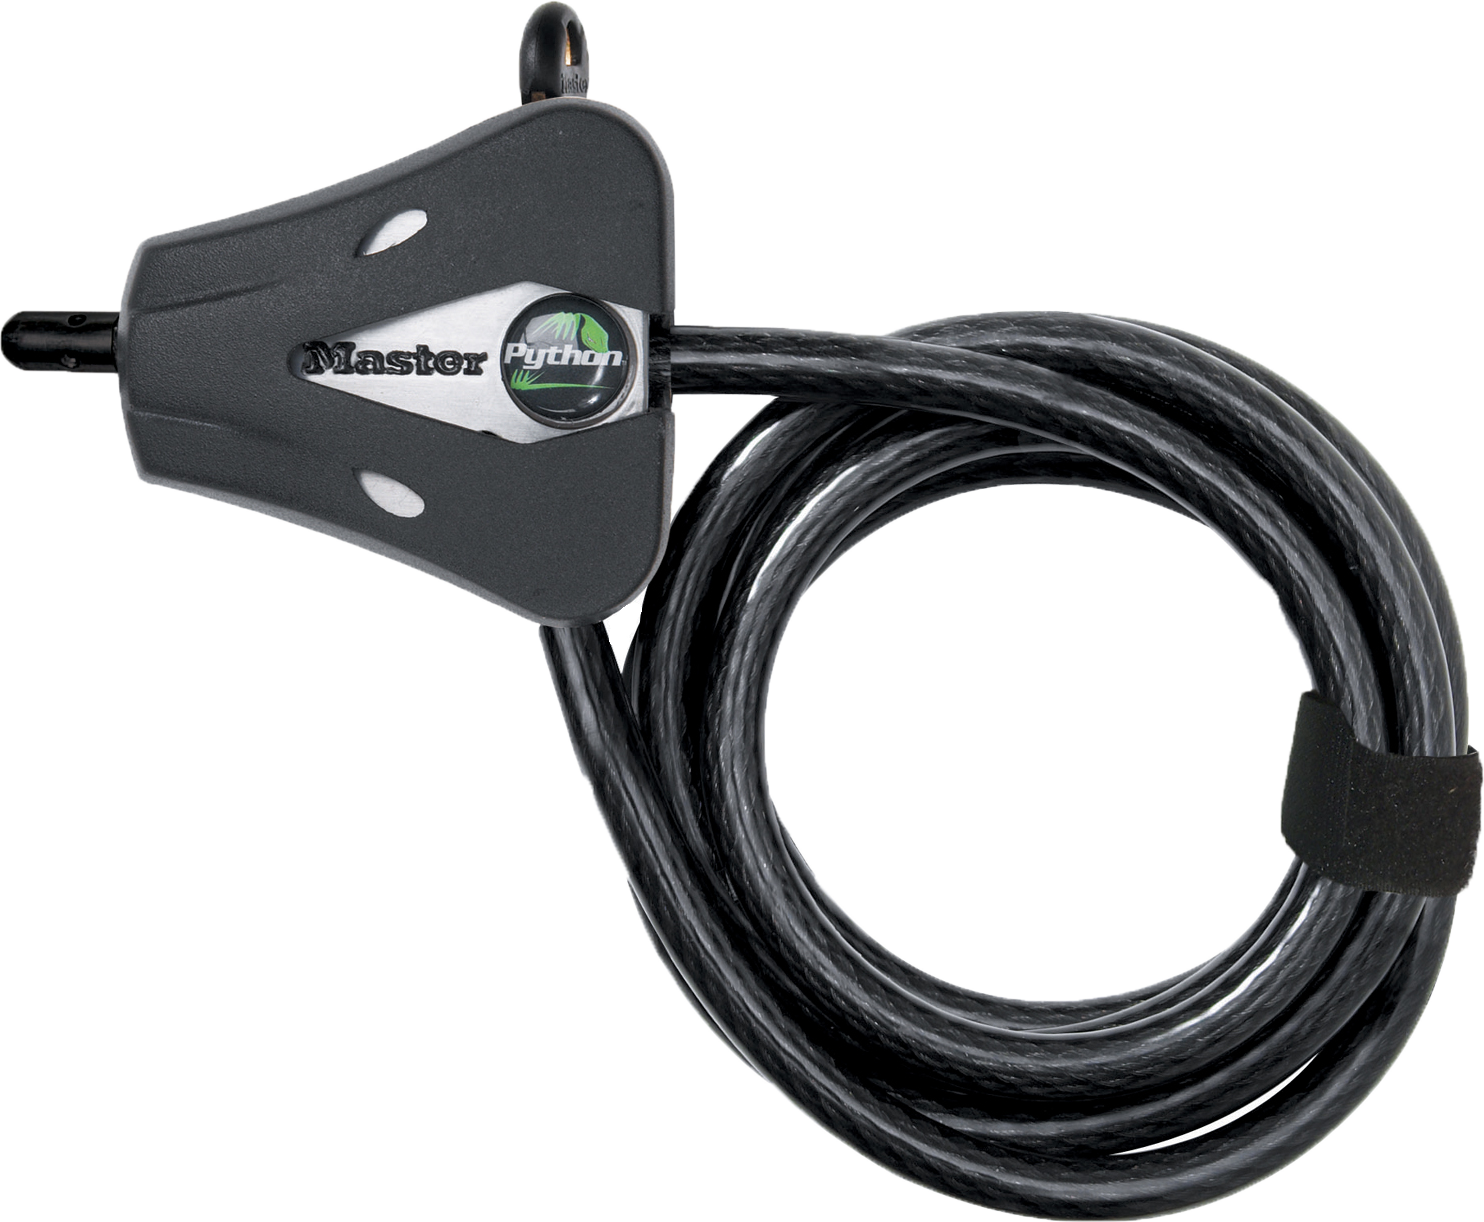
Python Mini Cable Lock
Python Mini Cable Lock Compatible with all of our retailed trail cameras. This versatile lock has been designed to be extremely resilient to damage and picking, protecting your camera from any potential theft.
Security Boxes Many of our trail cameras can be contained within a matching security box which provides maximum protection when in the field. All of our security boxes can be locked using a standard padlock or python cable. Make sure when purchasing a security box that it will fit the intended trail camera.
Batteries The batteries you use in your trail camera can influence its performance in the field. Lithium-ion batteries are one of the most popular choices because they produce a high voltage per cell (1.6v) giving a brighter LED flash and a greater flash range. Rechargeable alkaline batteries offer a more economical and environmentally friendly alternative, however, when in use their voltage decreases over time and they produce proportionately darker LED flashes and consequently, photographs/videos are less illuminated. Standard alkaline batteries are also a suitable economic alternative.
SanDisk Class Cards Ensuring you use a high read-write speed SanDisk Class card is highly advised for all of our trail cameras. Be sure to check the maximum SD or SDXC card capacity for your intended camera as these can vary between models and brands.
Solar panels Where sufficient sun is available, the addition of a solar panel to your trail camera can extend its recording life indefinitely. Browning, Bushnell, SpyPoint and Ltl Acorn all offer compatible solar panels for their trail cameras.
All of our trail cameras can be purchased as starter bundles which include an SD card and all the batteries you need to power the camera. The complete trail camera range can be found at www.nhbs.com
Yale University Press are Publisher of the Month at NHBS, and we are offering 20% off all their UK distributed titles throughout March 2019.
A Little History of Yale University Press
Yale University Press was founded in New Haven, Connecticut in 1908 and established a marketing base in London in 1961. Its mission is to further scholarly investigation, advance interdisciplinary inquiry, stimulate public debate, educate both within and outside the classroom, and enhance cultural life. They publish a diverse selection of specialist and general interest wildlife, ecology and environment titles.
Burn Out: The Endgame for Fossil Fuels
Paperback| April 2018| £10.39 £12.99
An insight of what a radically different energy future may look like and how we can prepare for it.
With all UK distributed Yale University Tress titles 20% off until the end of March, now is a great time to browse their range and pick-up some excellent books at great prices.
You can browse all our Yale University Press titles here. Their publishing output covers a very wide subject range, especially history. So, please let us know if you wish to purchase any Yale titles we don’t list: if they are in-print and available in the UK, we will still be able to offer 20% off during March.
With Spring around the corner and the bat survey season fast approaching, it is a great time to make sure you have everything ready for the busy months ahead. Over the winter we have been busy reviewing our current products and cataloguing new ones. Here, we have picked out some exciting new products as well as some old favourites to take a look at.
The NHBS Harp Trap
Designed and built on-site at our workshop in Totnes, our three-bank Harp Trap features some innovative designs such as a winding line carrier and anti-tangling system that makes assembly and disassembly, easy and efficient. Made mostly from aluminium, the trap is surprisingly lightweight at just 15kg, whilst remaining sturdy and durable during use. The harp trap is 190cm long and has a catch area of about 4m². The catch bag is approximately 60cm deep and its entrance is about 39cm wide. When collapsed, the catch bag wraps around the disassembled frame and is held tightly with Velcro straps so that it can be neatly stored and carried in its bag. Initial feedback on its design and function has been very positive and we are excited to develop our design based upon suggestions from professional bat workers. Our standard trap will be a three bank, but if you would like a bespoke two or four bank trap, please contact us so that we can discuss your requirements.
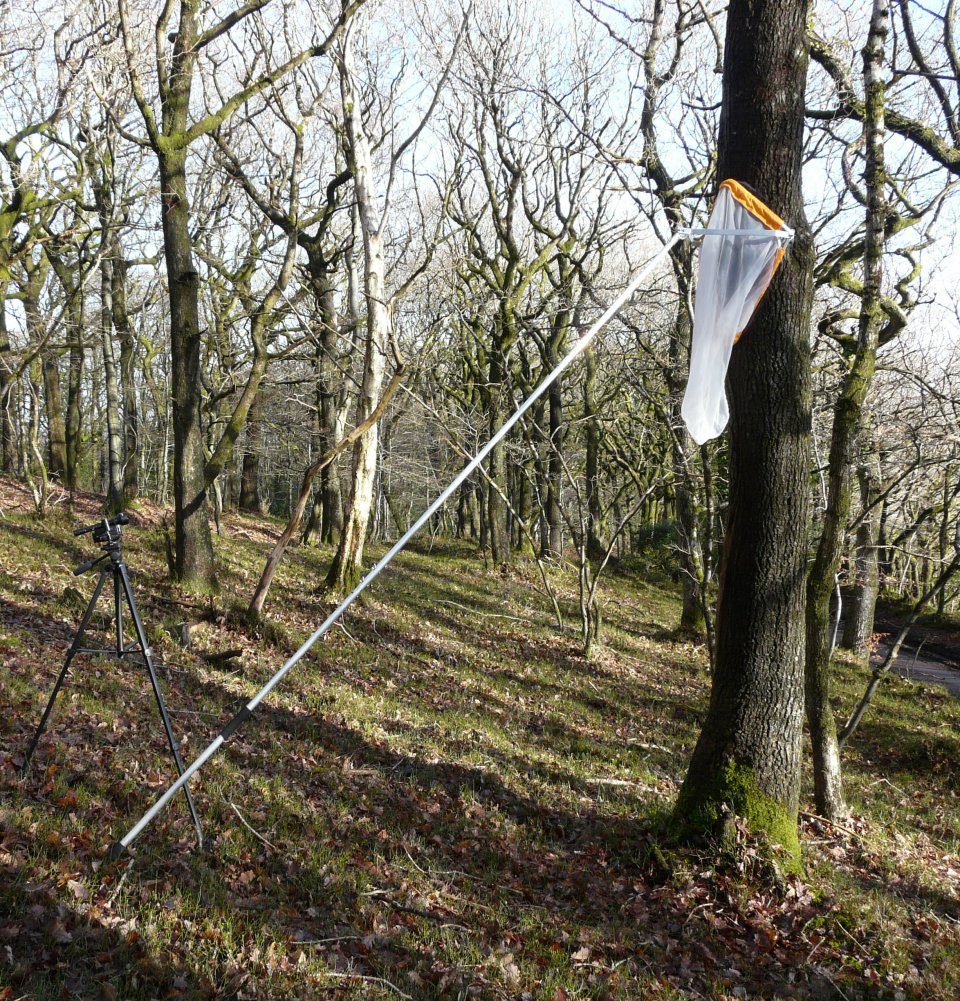
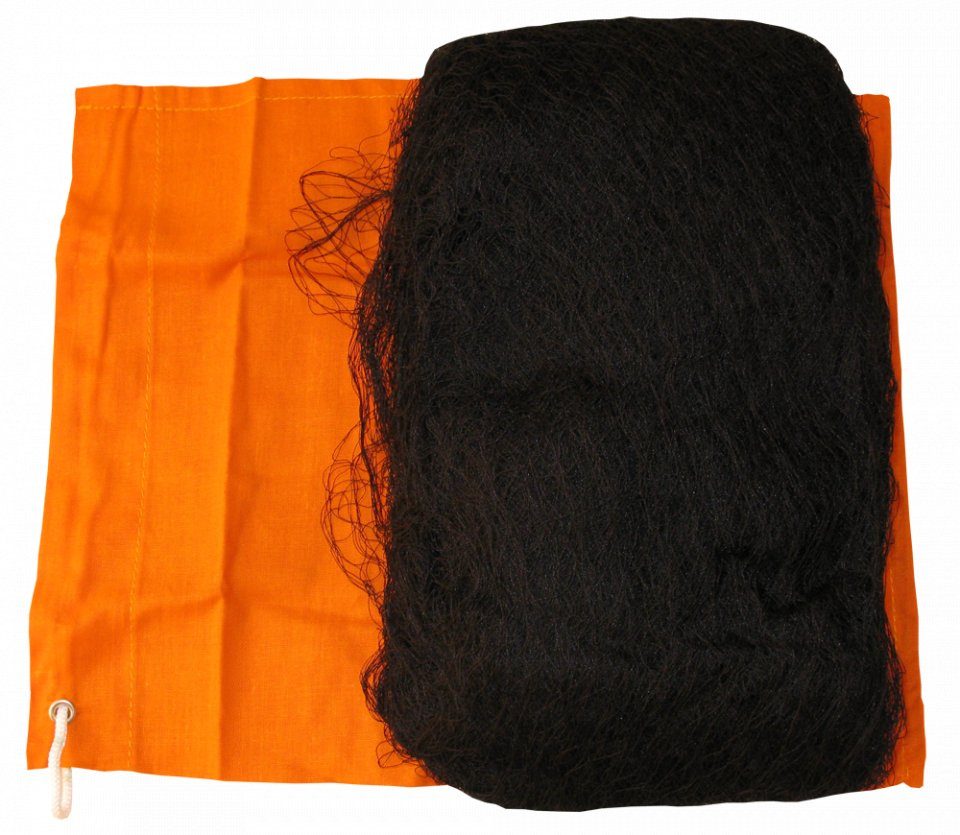
BTHK Tree-Roost Net
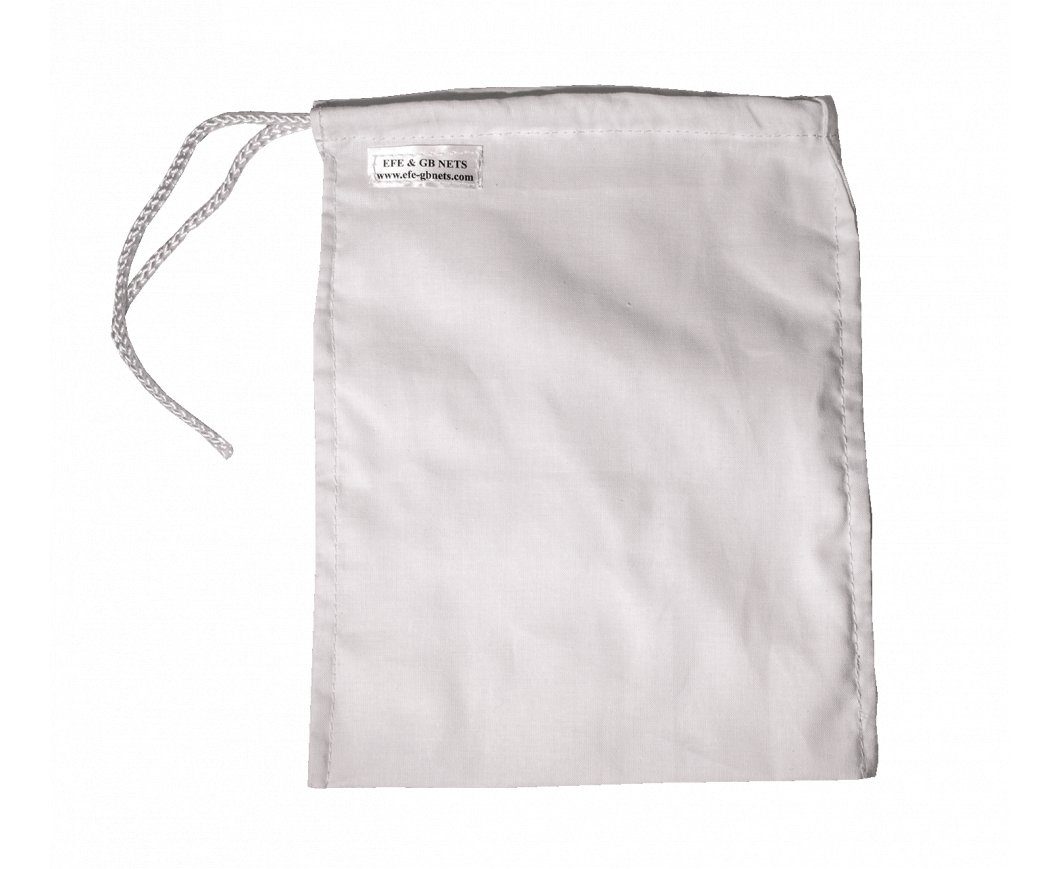
Based on the design by Henry Andrews from the Bat Tree Habitat Key (BTHK) project, the BTHK Tree-Roost net is uniquely designed for trapping bats as they emerge from tree roost sites. The net is set up against a roost site prior to dusk so that it will catch any bats that emerge, keeping them safely in the bag ready for identification, measuring and ringing. The diamond shape of the net head can pivot and collapse inwards to ensure that the net fits flush against any tree, making it safer for bats and easier for surveyors. The net bag is made from fine woven nylon mesh that is soft and will not damage the delicate wings or feet of bats. The net bag can be easily removed for cleaning and features a clear plastic rim that fits around the collar and prevents bats from climbing up and out of the net when it is in place. The length of the handle is 4 meters (breaks down into 3 sections for ease of transport) and the depth of the bag is 1 metre. You may also be interested in the book Bat Roosts in Trees which is a guide to finding tree roosts.
Song Meter Mini Bat Detector
The Song Meter Mini is a more lightweight and affordable alternative to the SM4BAT (see below). This lightweight detector – weighing only 290g including batteries – allows you to set up and schedule your recordings using your mobile device and a free, simple-to-use app. The detector performs full-spectrum and zero-crossing recording and can record for up to 30 nights using four AA batteries. An optional acoustic microphone allows you to record birds and other wildlife when not recording bats. For more details, see our dedicated blog post where we test this new detector in the field.
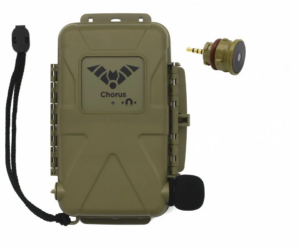
Titley Chorus
The latest static detector from Titley Scientific, capable of functioning as both an acoustic or ultrasonic recorder to suit all acoustic surveying needs. Lightweight (435g without batteries), compact and robust, this weather proof detector can be deployed for up to 40 nights in full spectrum ultrasonic or 300 hours acoustically. Set up and calibration is handled through the internal OLED screen and the internal GPS receiver automatically sets the clock, calculates sunset and sunrise times, and records the location of the device, making deployment incredibly straightforward. As standard, the Chorus comes with an acoustic microphone, and a second can be purchased for stereo recording, please see the chorus ultrasonic options for bat surveys.
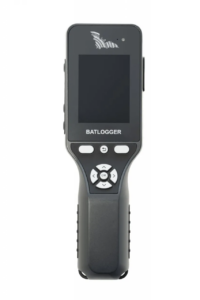
Elekon Batlogger M2
An ergonomic and sophisticated bat detector from Elekon, this is designed as a successor to the ever popular Batlogger M. Featuring an omnidirectional weatherproof microphone which allows for the recording of full spectrum ultrasonic bat calls, the M2 also features real-time heterodyne monitoring capability for the listening in the field.
Files are saved in WAV format onto the external micro SD card along with other useful data including temperature, humidity, light levels and GUANO metadata. An upgraded menu system with preset recording profiles for different survey applications, as well as the ability to build custom ones, makes the M2 a reliable and initiative option for bat work. For more details, see our dedicated blog post, where we tested this bat detector in the field.
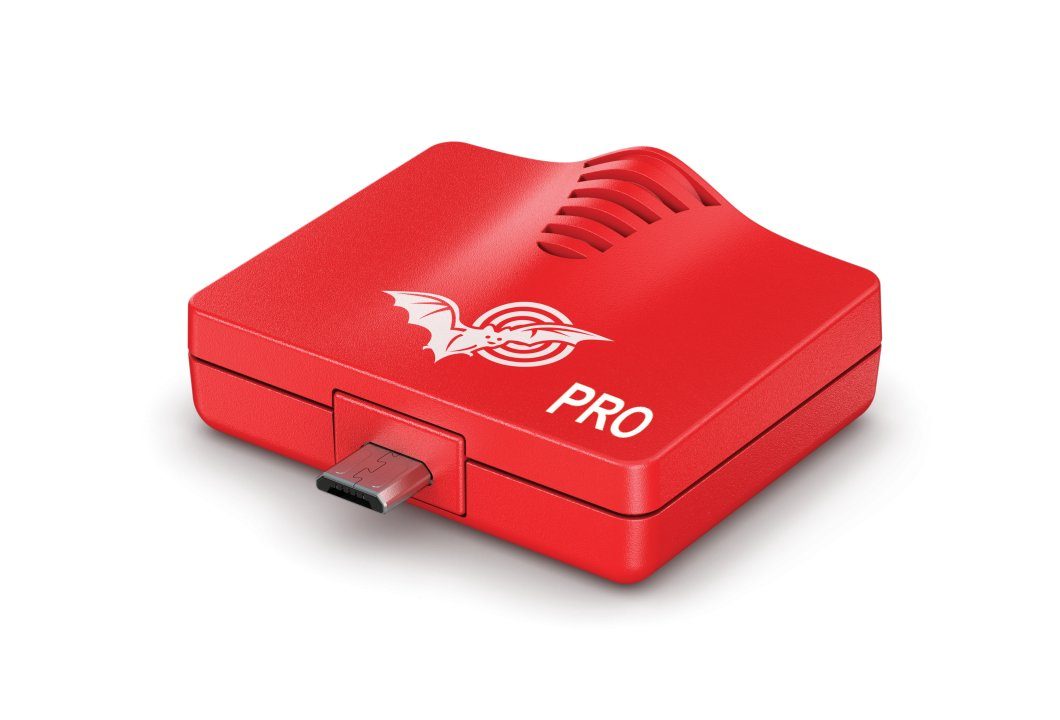
Echo Meter Touch 2 Pro
The Echo Meter Touch 2 Pro lets you record, listen to, and identify bat calls in real-time on Android devices. All you need is your compatible Android device (see the nhbs.com website for compatible models), your Echo Meter Touch 2 Pro, and the Echo Meter Touch App which is free to download. When plugged in, the Echo Meter Touch 2 Pro enables you to listen to bats in real time, view live sonograms in full colour, record onto your device, and identify calls to species level in seconds. If your device has GPS functionality, the Echo Meter Touch 2 Pro will also log the recording location and path of the recording session. In addition to full spectrum recording, the Echo Meter Touch 2 Pro allows playback in real time expansion and heterodyne listening modes. Trigger sensitivity and sample rate are adjustable, and three gain settings allow users to optimise their detector to their target species and ambient conditions.
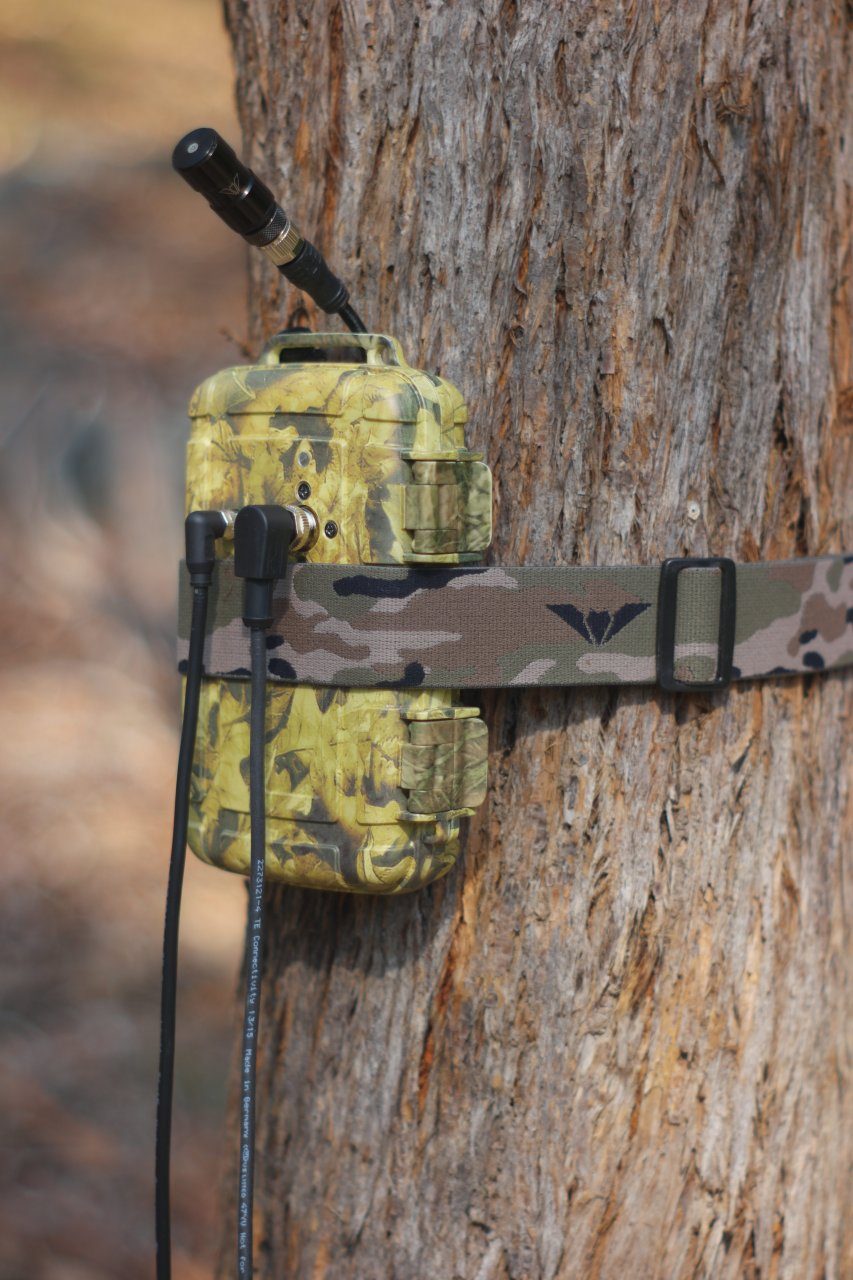
SM4BAT FS
The SM4BAT FS is a full spectrum detector for passive surveying use. Robust and weatherproof, it will record 16-bit full spectrum calls and can store up to 512GB of data. A versatile scheduling function allows you to set when you want to record and the battery can last up to 450 hours. The SM4BAT FS is easy to fit to a tree or post and is compatible with a variety of accessories such as GPS unit and microphone extension cables. The SMM-U2 ultrasonic microphone is available with the SM4BAT FS and is a highly sensitive microphone that produces high quality, low noise bat recordings over long distances. Easy to set up and producing detailed call recordings for analysis, the SM4BAT FS is ideal for unattended use in the field.
Anabat Swift
The Anabat Swift from Titley Scientific is based on the excellent design of the Anabat Express, but has the advantage of recording in full-spectrum, as well as zero crossing. Users can choose between sample rates of 320 or 500kHz and data is saved onto an SD card. Two SD card slots are available, allowing you to save more bat calls without changing cards. The Swift also has a built-in GPS receiver that automatically sets the clock, calculates sunset and sunrise times and records the location of the device. It will also record automatically from sunrise to sunset every night (based on GPS coordinates) as one of the automatic recording settings.
BatLure
The BatLure can be used as a lure to improve catch rates of bats for survey or research, to attract bats to new artificial roosts such as bat boxes or constructed hibernacula, with bat detectors at training events or prior to bat walks and for calibration of bat detectors. The Batlure can playback sounds with frequencies of up to 100kHz and is capable of playing both real time and time expanded recordings of bat vocalisations. It is very compact and robust and has a tripod attachment mount, making it easy to set-up in your desired location. It plays sounds from an SD card which is supplied complete with several pre-loaded recordings. Users can also add their own recordings onto the card.
Ecotone Ultra Thin Series M mist net for bats
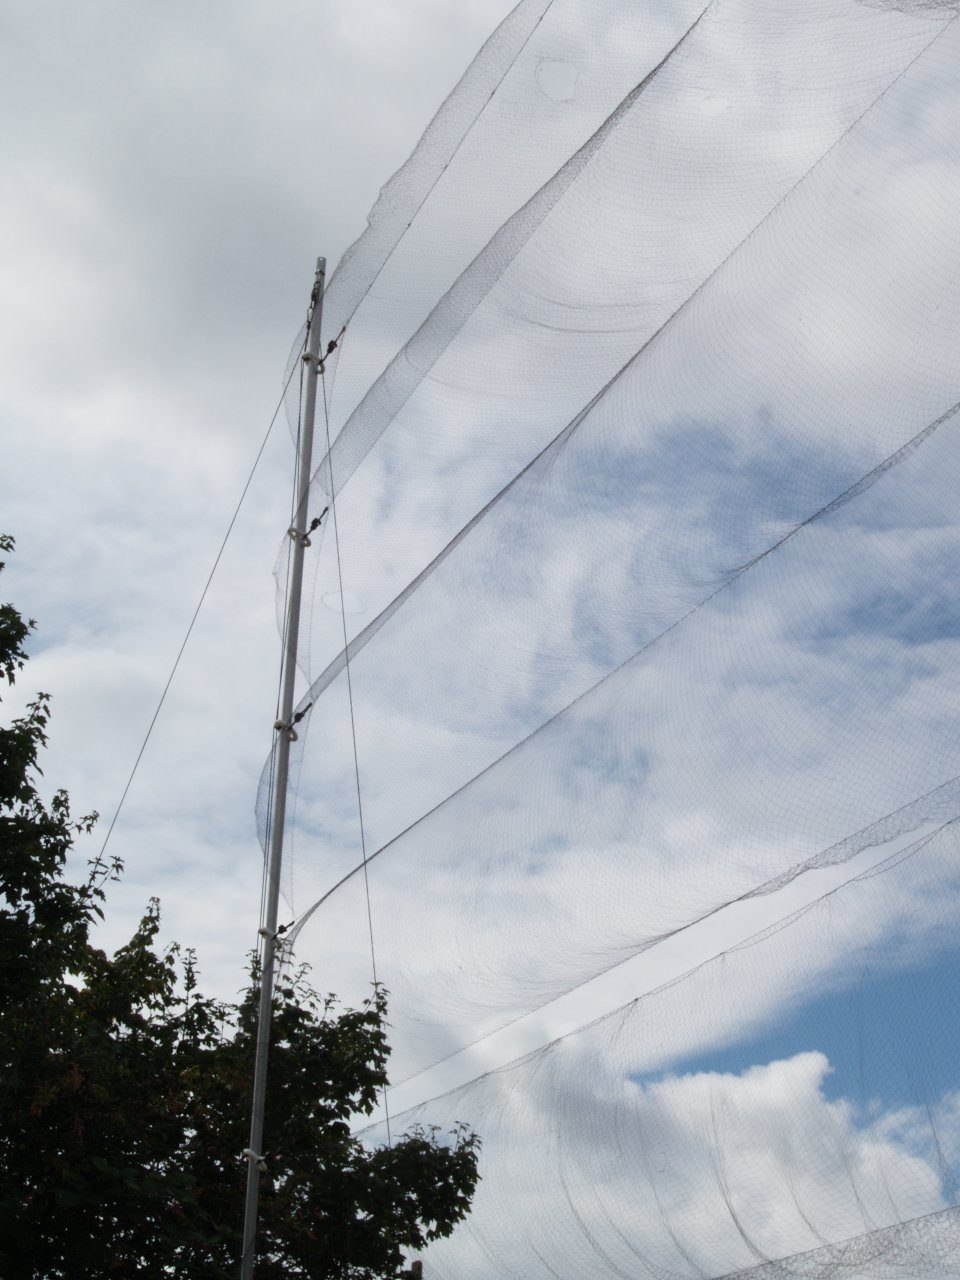
The Ecotone Ultra Thin Series M is ideal for catching bats and is available in 2 mesh sizes. Both are made from nylon (0.8mm monofilament) and have 4 shelves. Available in lengths from 3m to 21m, you can pick the mesh size and length that best suits your survey and situation.
Explorer Premium Digital Endoscope Camera
The Explorer Premium Digital Endoscope is lightweight and easy to operate. It can record still images or video on to a microSD / microSDHC card (not included). The screen can be detached whilst the camera is in operation and viewed up to 10m away. The camera head has a diameter of 9mm and the cable is 91cm long, giving easy access to nest boxes, burrows, nests, crevices etc. Lighting levels can be adjusted to minimise disturbance to animals.
Accessories
Below are some accessories that may come in use when surveying bats:
Please note that in the UK, all bats and their resting or breeding places are protected by law. Any bat survey work must be undertaken by a licensed bat ecologist and when purchasing certain products, we ask you to confirm your license or give an appropriate reference. For more information, please visit https://www.gov.uk/government/collections/bat-licences.
There has been a wealth of climate change-based publications in recent times reflecting the growing urgency of this issue. In this blog post, we present a selection of thought-provoking titles on climate change, from handbooks for how we should proceed into the future, to how climate change has and may impact biodiversity on a more local scale
Climate Change and British Wildlife
Hardback | Oct 2018| £29.99£34.99
A thoroughly researched and timely account of climate change in the British Isles.
Achieving the Paris Climate Agreement Goals
Hardback | Feb 2019| £37.99£44.99
A detailed book presenting the pathways to achieve 100% renewable energy by 2050, globally and across ten geographical regions.
Oceans in Decline
Paperback | March 2019 | £19.99 £22.99
This book identifies and describes the changes occurring in all marine ecosystems, and discusses the long-passed state of equilibrium
All prices in this article are correct at the time of posting (February 2019)
You can also browse our full range of climate change books on our website.
Oxford University Press are NHBS’s Publisher of the Month for February 2019.
Founded in the mid-17th Century, Oxford University Press (OUP) have published some of the most influential environmental books. Nearly 400 years later, OUP continue to release important works as the largest university press in the world. Their diverse repertoire consists of The Selfish Gene, Conservation Drones, Birds in an Ancient World and many more.
Oxford University Press and Natural History Publishing
OUP’s biology and natural history lists can be traced back to the early twentieth century, when a series of classic academic texts from scientific luminaries such as John Haldane and Julian Huxley firmly established OUP as a science publisher. Its reputation grew with classic titles including Richard Dawkins’ The Selfish Gene.
OUP’s current book list covers a whole host of biology topics from a variety of ecosystems and across the entire taxonomic spectrum, from viruses to humans. It has a particular strength in the fields of evolutionary biology and animal biology and a growing presence in the fields of ecology, epidemiology, biostatistics, conservation biology, aquatic biology and plant science.
Great prices on recent bestselling professional and academic titles
Oxford University Press, highlights from 2018 and forthcoming in 2019
2018 was a great year with titles including: Birds in the Ancient World, illustrating the many different roles birds played in culture; Skeletons: The Frame of Life, diving into how the tiniest seed shrimp through to the gigantic dinosaurs evolved; Conservation Drones, looking at the use of drones in mapping and monitoring biodiversity; an excellent introduction to the many solutions organisms have evolved to see their world, with Eyes to See and a fascinating account on how ancient DNA is rewriting most of what we thought we knew about human history with Who We Are and How We Got Here.
2019 looks just as exciting, with the following titles due soon:
Origins of Biodiversity, due Apr 2019Making Eden, due Feb 2019The Smart Neanderthal, due Feb 2019Carnivorous Plants, paperback due Feb 2019
Special Offers on Oxford University Press titles in Backlist Bargains
Discover the numerous OUP titles in our biggest sale of the year – Backlist Bargains, where you can discover great prices on everything from field guides and good reads to monographs and other academic titles.
The Gratis Books Scheme
One of the most rewarding OUP-NHBS collaborations has been in the form of the Gratis Books Scheme. Since 1999, with support and assistance from the British Ecological Society, this scheme has been sending free copies of books to conservationists in developing countries who would otherwise be unable to obtain them.
The exciting environment of the rocky shore receives a space in the limelight with this new volume. The authors guide the reader through all aspects of the rocky shore including geology, ecology and natural history. It would make a fantastic addition to any naturalist’s book shelf.
John Archer-Thomson
John Archer-Thomson and Julian Cremona have spent their lives in environmental education and conservation. They are a former deputy head and head respectively of the Field Studies Council’s Dale Fort Field Centre in Pembrokeshire. John is now a freelance coastal ecologist, photographer, writer and tutor, while Julian is the author of several books on exploration, nature and photography.
Julian Cremona
To introduce the authors and their book, we took the opportunity to talk to them about their inspiration for this volume and ask for tips for how we can get involved with rocky shores. Both authors will be signing copies which are available to pre-order on the NHBS website.
What drew you both to this habitat and inspired the production of this fascinating book?
As we say in Chapter 1, we were both born near the coast and grew up loving the sea and so were always drawn to the intertidal, especially as many of the inhabitants are quite weird. From the earliest days with the Dorset Wildlife Trust John enjoyed communicating his love of the shore and the importance of its conservation and the need to respect the natural world. As a child Julian collected all manner of natural material from the shore and after graduation taught seashore ecology in Dorset. We see Rocky Shores as an extension of this mission.
How did you even begin to write this book on such a wide-ranging topic?Forty years of running inter-tidal field courses tends to focus attention on making shores accessible to newcomers, we approached the book from a similar standpoint. John particularly likes molluscs, seaweeds and lichens; Julian, all types of invertebrates especially insects, and as ecologists we love the way the component parts of the system interact, John is also particularly interested in how humans are affecting the shore while Julian has spent much of his life travelling the coast of the British Isles. Thus certain chapters suggested themselves!
What was your most exciting find on a rocky shore that people should look out for in the future?
For John it has to be echinoderms in general and Julian likes the more microscopic life living amongst seaweeds in rock pools. We don’t quite know why, but the little pseudoscorpion called Neobisium maritimum always causes excitement for both of us. They are tiny, only a few millimetres long, quite uncommon and may be found by observing the Black Lichen Lichina pygmaea in which they sometimes hide.
I recommend this book as a fantastic in-depth overview, but what would you suggest readers do to further their rocky shore learning?
John runs a “Rocky shore invertebrates” course for the Field Studies Council at Dale Fort Field Centre. This looks at the ecology of the shore, zonation patterns, adaptations of organisms to this extreme environment and of course the ‘plant’ (and planktonic) life that supports this biodiversity: come on this. Alternatively, there are fold out (FSC) keys for a more do-it-yourself approach, in fact, two of these have been produced by Julian’s daughter Clare Cremona including the Rocky Shore Trail. In 2014 Julian produced a large book called Seashores: an Ecological Guide, which has a huge number of photos to help with the identification of commonly found species and explains how they interact on the shore. A Complete guide to British Coastal Wildlife by Collins and the excellent A student’s guide to the seashore by Fish & Fish. For a more academic, but still very readable, account try The Biology of Rocky Shores by Little et al, Oxford Press.
Although adaptable, rocky shore inhabitants are not invincible, what do you think is the biggest threat to the rocky shore ecosystem and are some species more at risk than others?
That’s easy: us. There are too many human beings gobbling up habitat, consuming resources, changing the climate, raising sea levels, acidifying the ocean, over-fishing, polluting with plastic, agricultural and industrial chemicals and so on. Stressed ecosystems tend to be species poor but there are often large numbers of a few fast growing, tolerant species that do well. Northern, cold water species are already suffering range contractions as the climate warms, whereas the opposite is true of southern, high temperature tolerant forms, including invasive species from warmer climes.
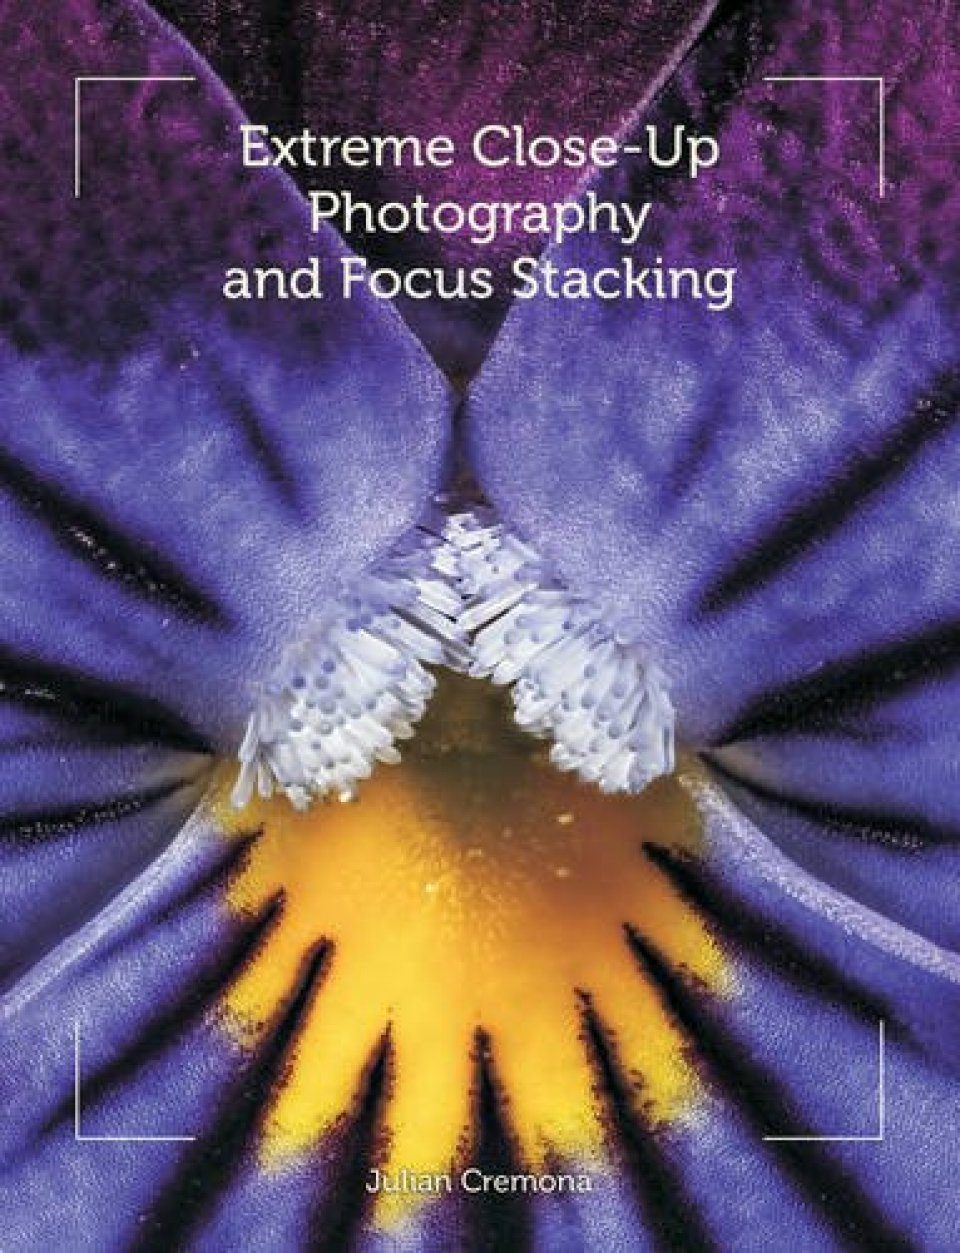
Staying on the theme of the future, what is next for you both – another book perhaps?
For John this would be intertidal and sublittoral monitoring and photography. Running courses for the FSC. Talks for local natural history groups. Magazine articles and an update of “Photographing Pembrokeshire” by John & Sally Archer-Thomson, Apple iBooks. Julian has a trio of specialist photography books being published by Crowood press. The first two on extreme close-up photography have already appeared and the third will be published at the beginning of April. He continues to develop new ways to photograph wildlife, especially the “very small”. Coupled with this 2019 includes running further workshops, lecturing and travel – for the wildlife!
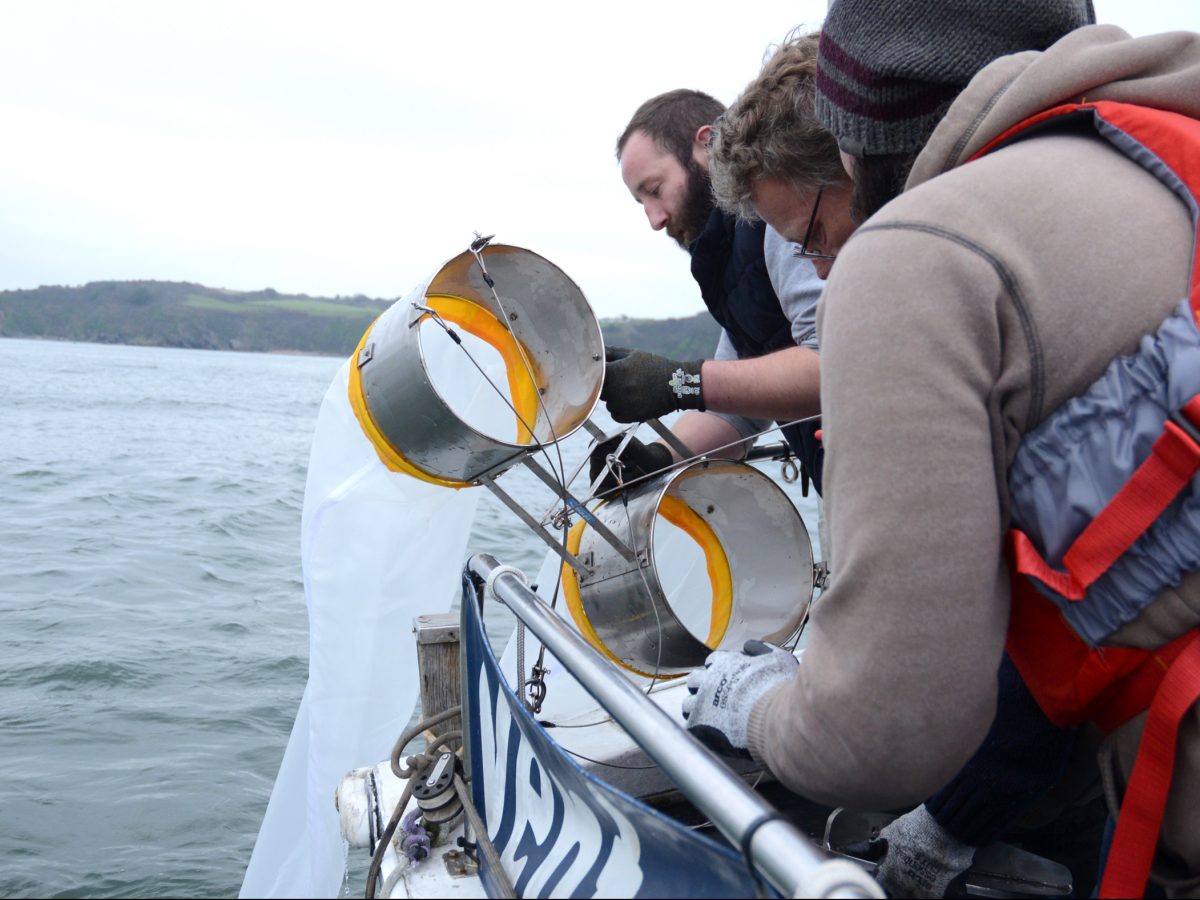
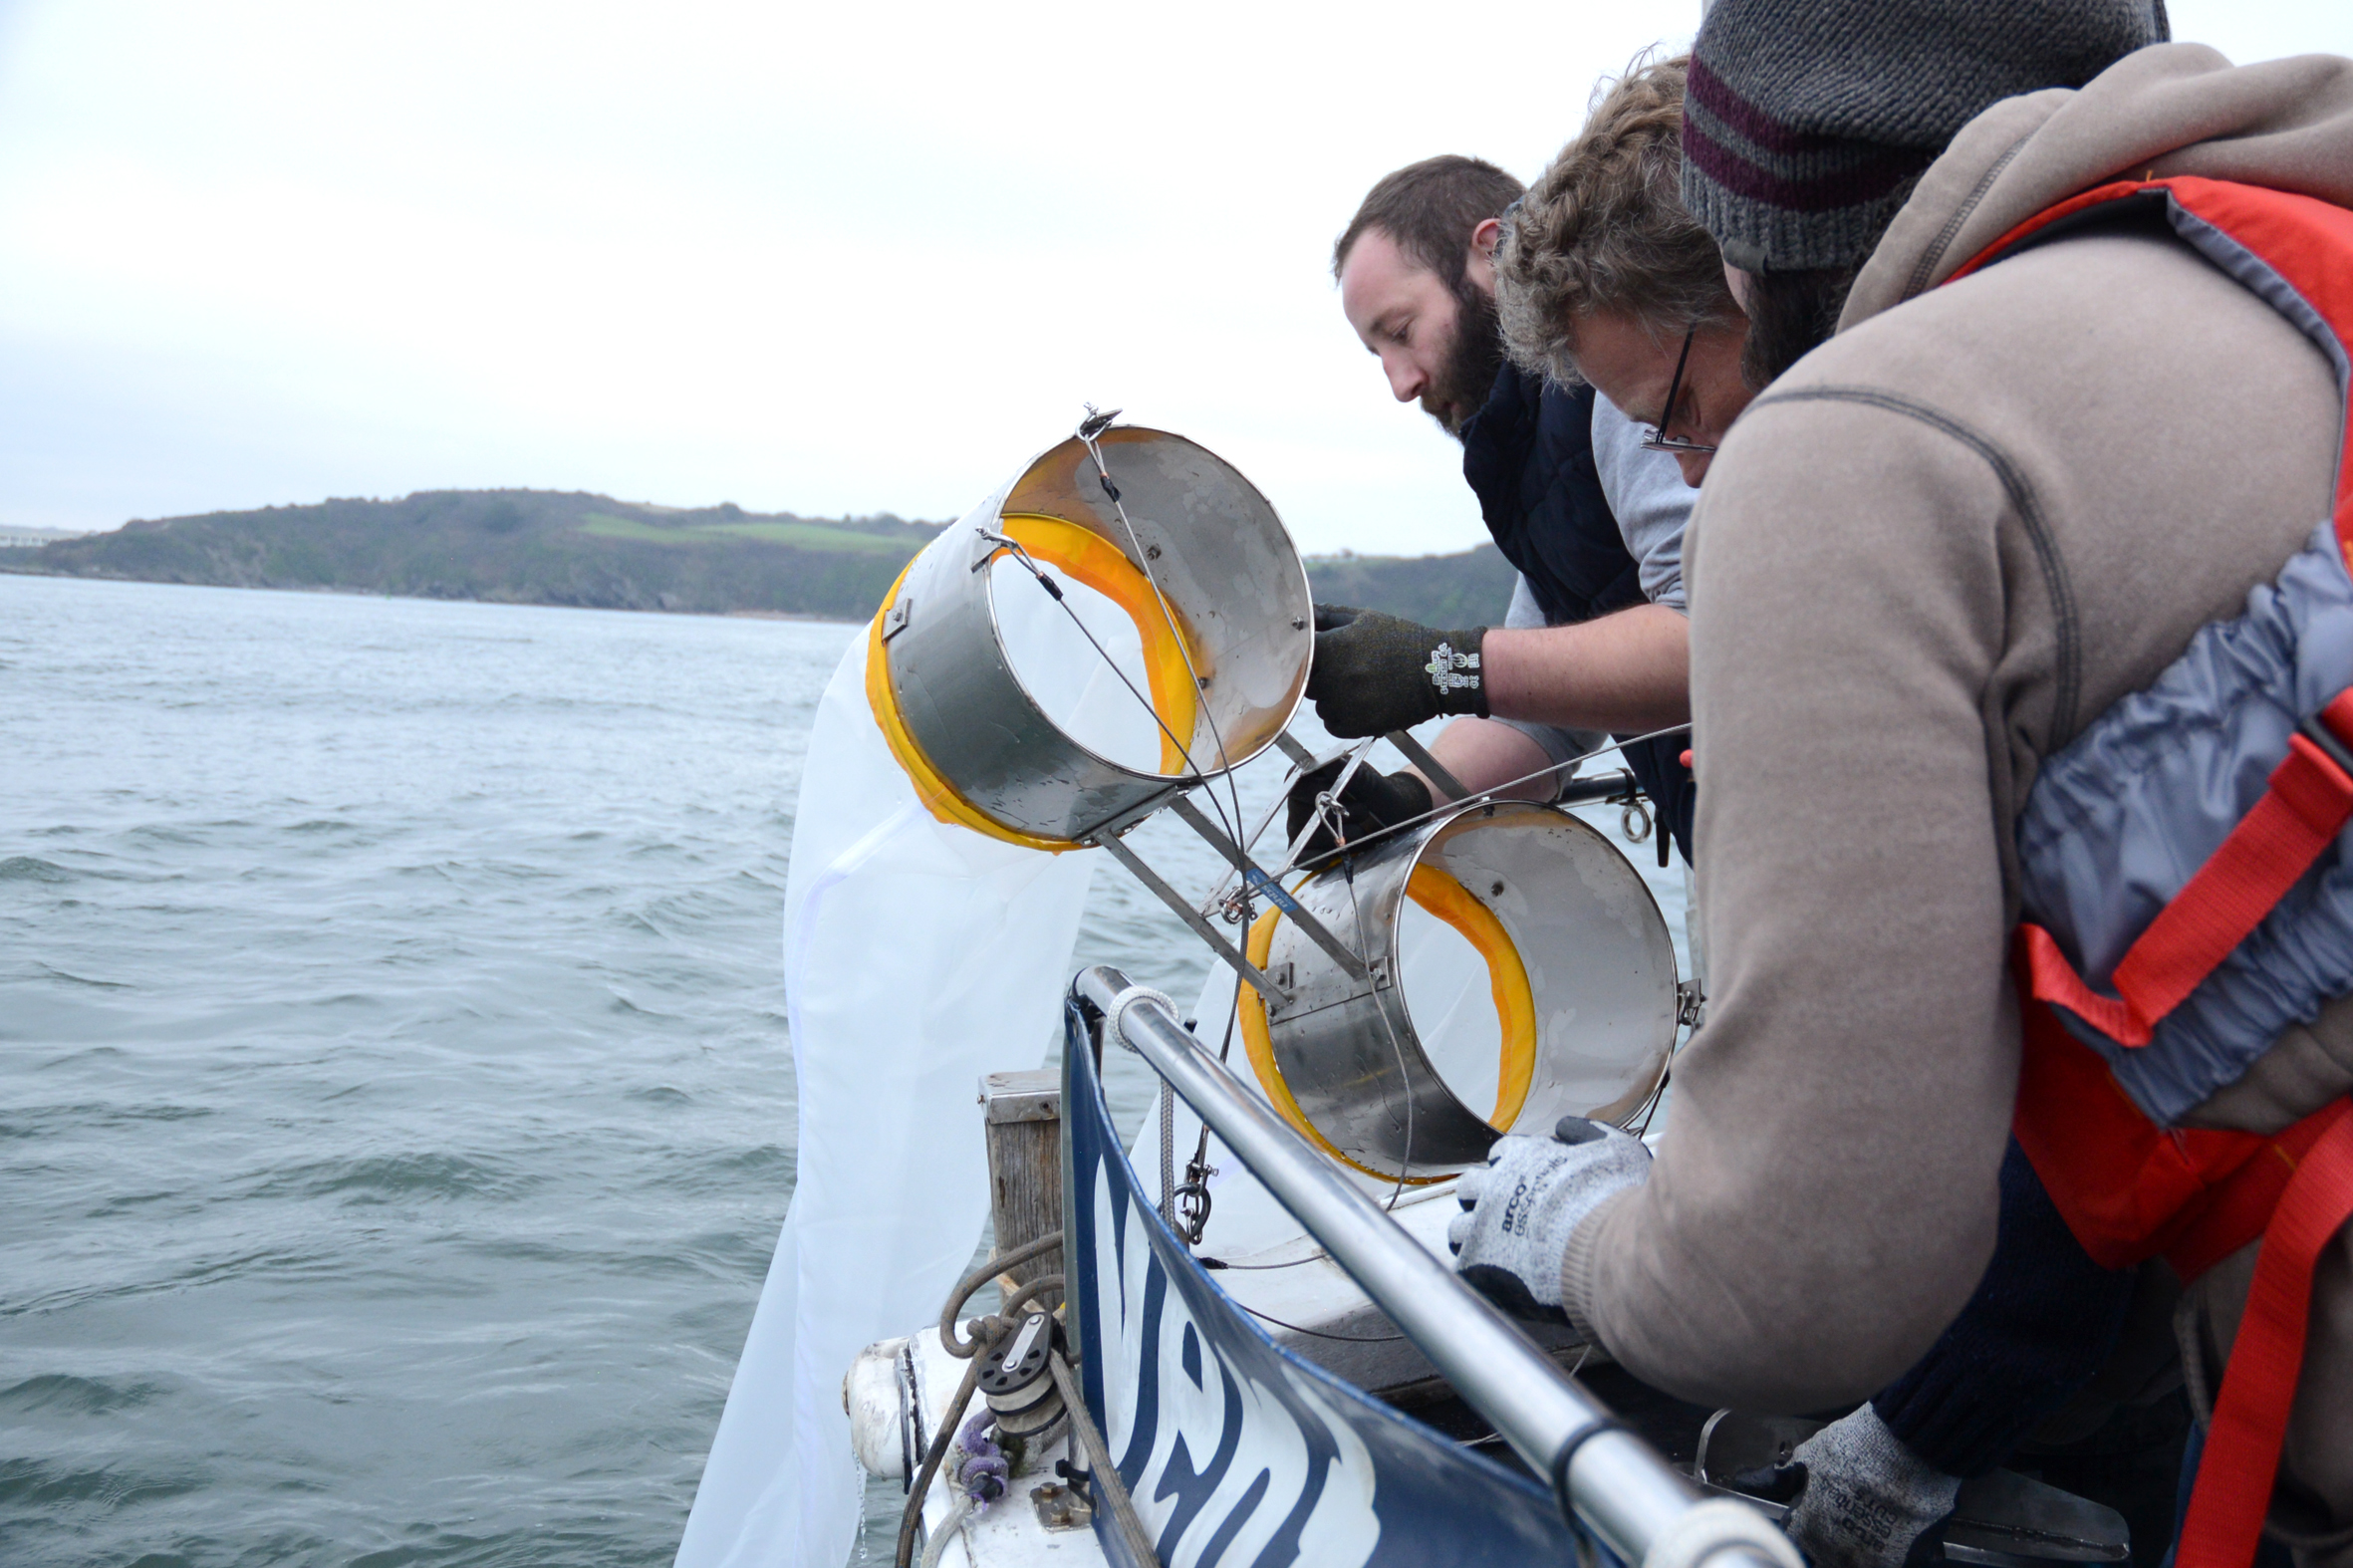
The destruction of aquatic ecosystems is a major issue facing conservationists globally – causes include microplastic pollution, acidification, global warming and over-fishing. The manufacturing team at NHBS have produced a series of new survey nets designed to help researchers gather data on microplastics and to sample plankton more efficiently. This blog describes the sea trials performed using our prototype nets to establish the optimal towing speeds and sea conditions as well as whether the nets worked effectively and were robust enough to withstand exposure to the marine environment.
Three new nets were tested – the Manta Trawl Net, which is designed to sample microplastics in calmer inshore waters and on rivers and lakes. The Avani Trawl Net, which is designed to sample microplastics in rougher, offshore environments and the Bongo Net (a pair of 300mm plankton nets joined in the middle and weighted with a depressor vane) which is designed to allow researchers to use two different mesh nets during a single trawl. Plymouth Sound was an ideal location, as we had both inshore and offshore designs to test and the breakwater provided us with easy access to both sheltered water and the open ocean.
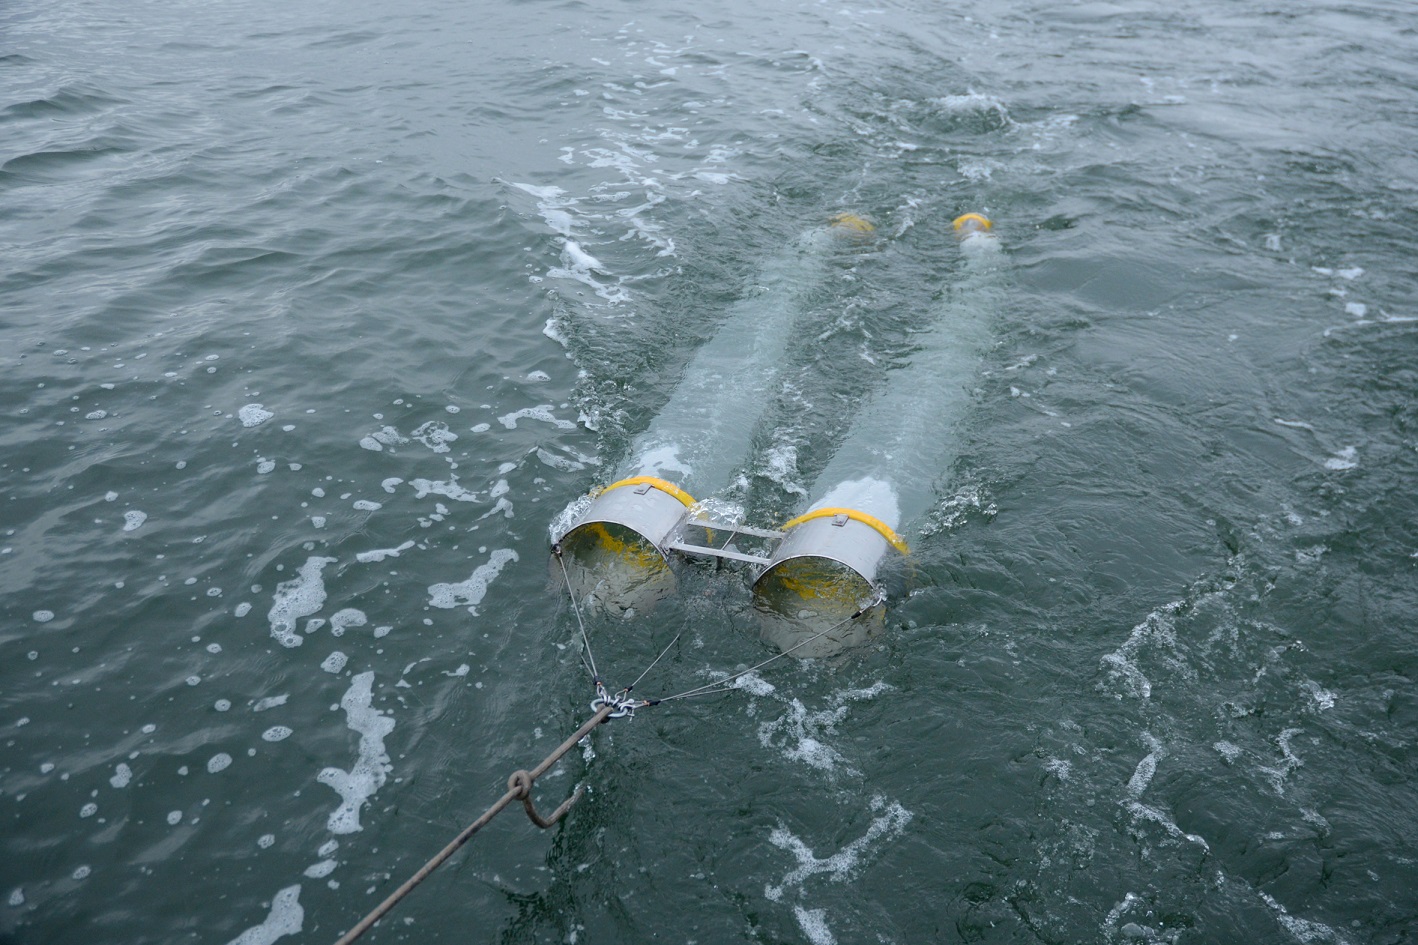
The first design tested was the Bongo Net. The net performed very well. The sampling depth was easily adjusted by modulating the speed of the boat and the depressor vane kept the net level in the water. In our tests the Bongo Net performed best at towing speeds of between two and four knots.
Bongo Net
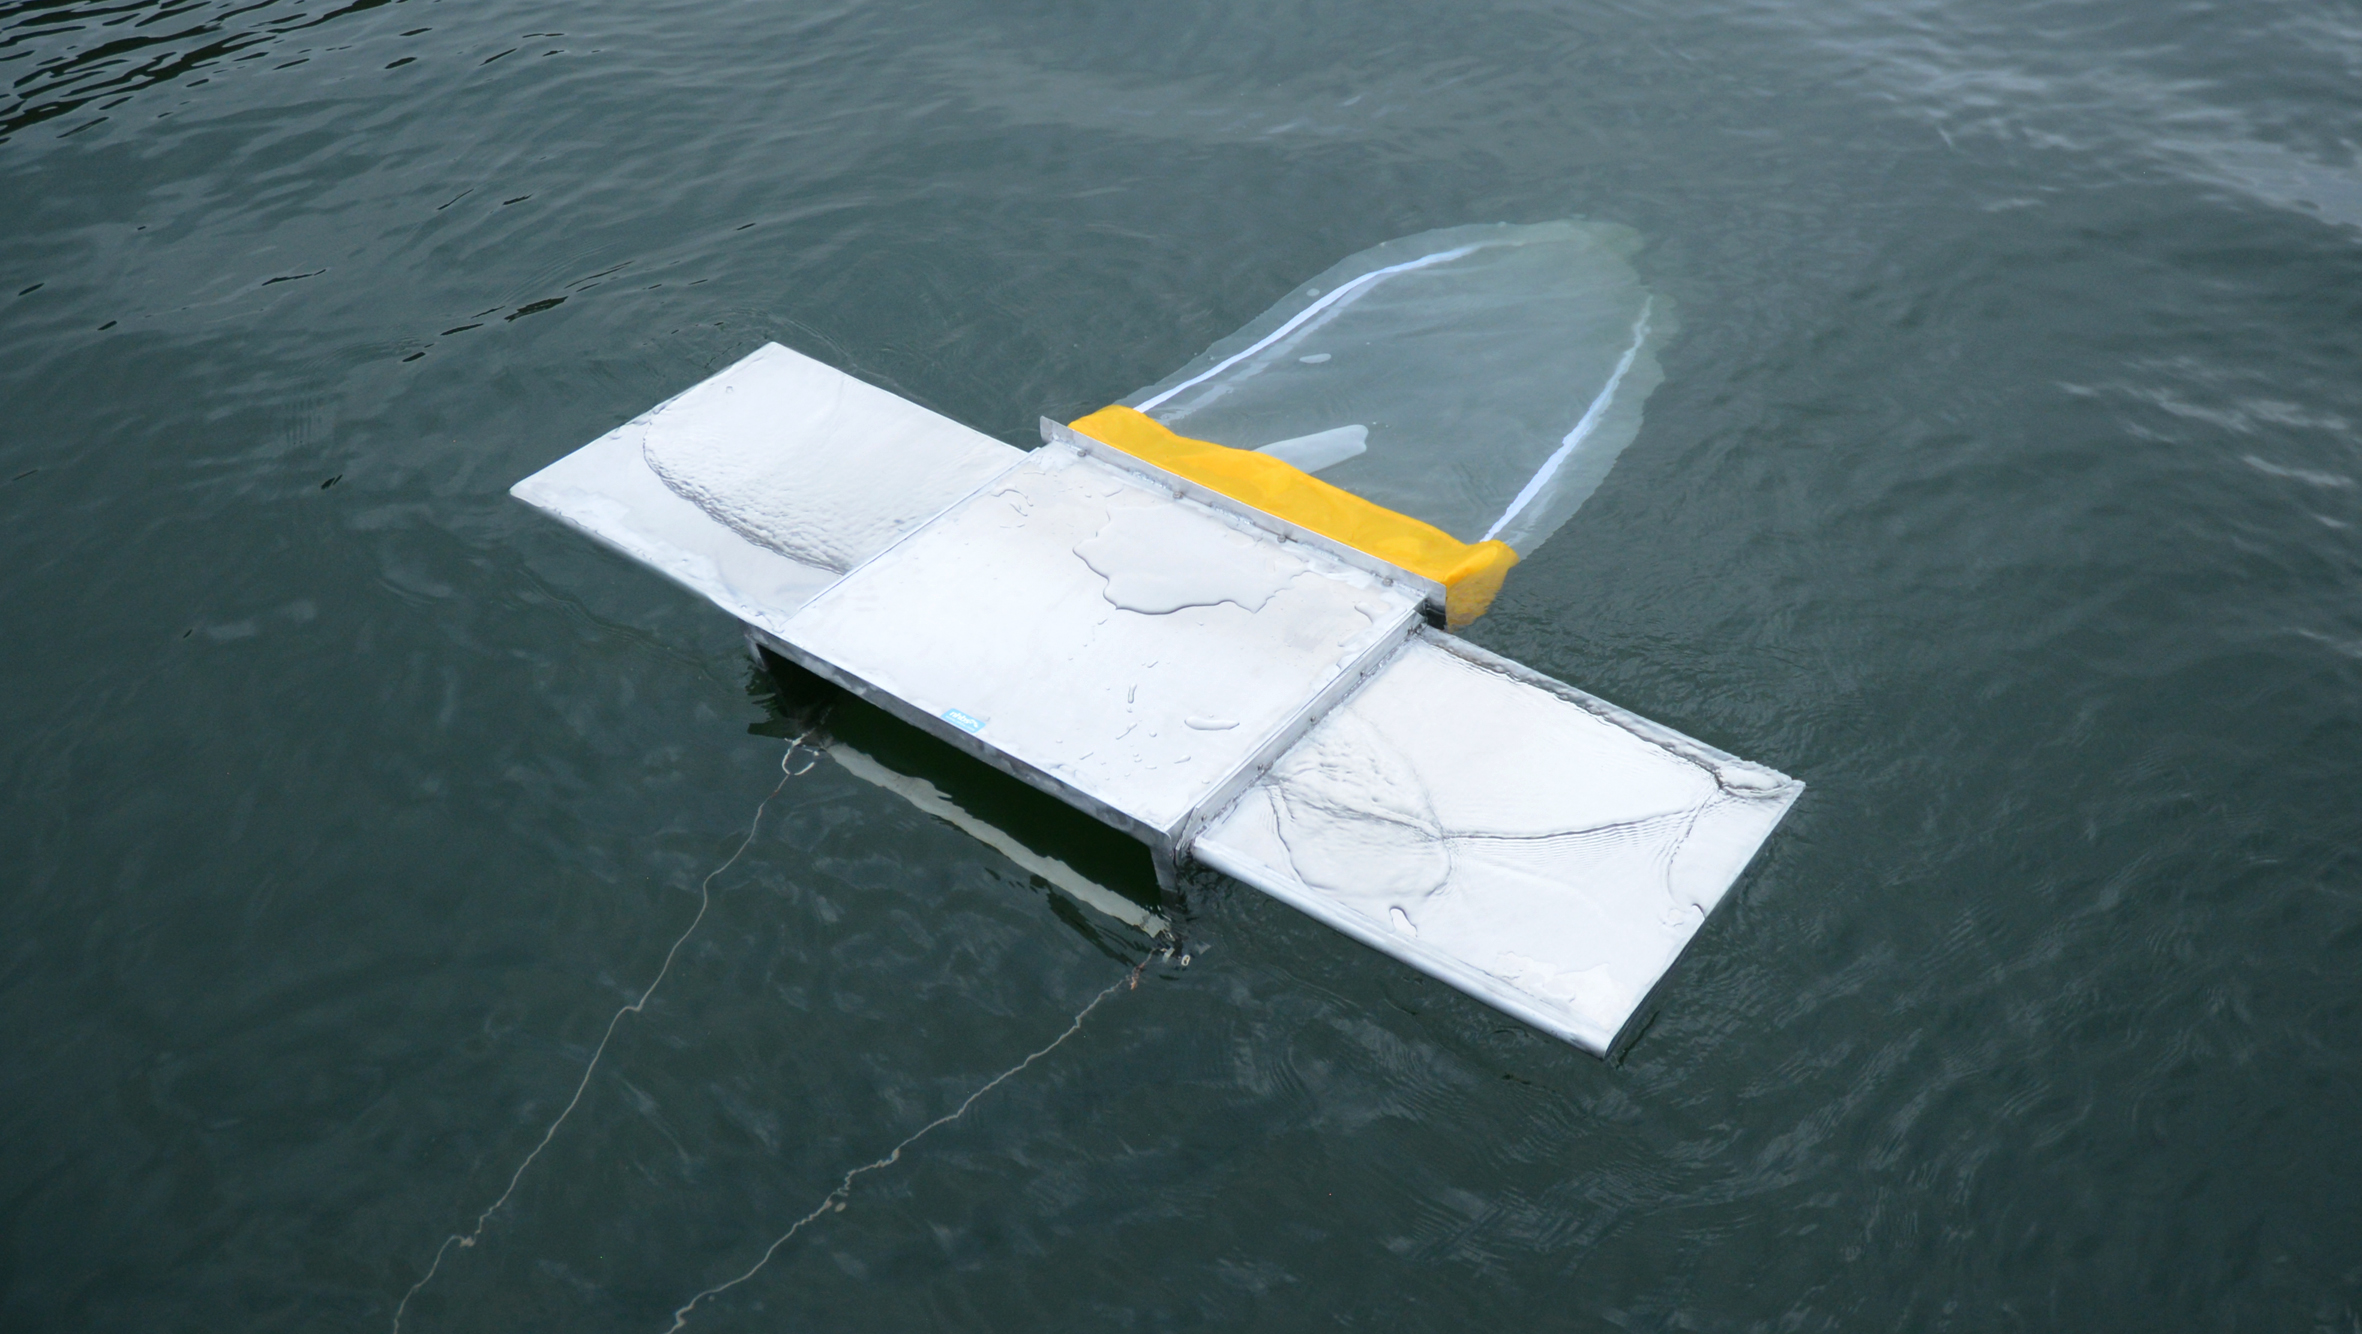
Next, we tested our inshore Manta Trawl Net. The Manta Trawl Net is designed for microplastics sampling in calm inshore waters and on rivers and lakes. The Manta Trawl Net has a post box shaped aperture and twin ‘wings’ (manta wings) mounted onto the frame which serve to lift the net frame so that samples are efficiently collected at the top of the water column. This net was tested at a variety of towing speeds and performed best at speeds of between two and four knots.
Manta Trawl Net
The last net to be tested was The Avani Trawl Net. The Avani Trawl Net is designed for offshore microplastics sampling. The vertical orientation of the aperture of the net ensures that samples are collected from the top few centimetres of the water’s surface in slight to moderate swell conditions. To test this net, we ventured out beyond the breakwater where the swell was approximately 1-2m. The net stood upright and performed as expected at speeds of between four and eight knots when exposed to smaller waves of approximately one metre in height. When approaching larger waves, we found that the net had a slight tendency to cut into the side of the wave at speeds of between six and eight knots and that the net performed best at slightly lower speeds.
Avani Trawl Net
All of the nets functioned properly, and our haul included both microplastics and icthyoplankton (fish eggs and larvae). Both the frames and the nets also withstood the sea conditions well and we could find no faults with their design or build – all told a successful trial.
If you are interested in these nets look out for them in our 2019 catalogue, find them on nhbs.com, or contact us on customer.services@nhbs.com and we will send you more information as soon as it becomes available.
Last year saw the publication of the first comprehensive review of the status of British mammal populations for over 20 years and and the more concise Britain’s Mammals 2018. These works provide vital reference texts for anybody working within UK mammal conservation and both titles express The Mammals Society’s commitment to science-led mammal conservation.
Forty Years of Publishing
To celebrate The Mammal Society, we are offering 20% discount on four of their important titles throughout January.
The Mammal Society aims to continue to publish new and updated titles in 2019 and beyond. We are particularly looking forward to a new edition to the long out-of-print Live Trapping of Small Mammals A Practical Guide which is currently in preparation.
The Mammal Society and NHBS
NHBS are proud to be the official distributor for all The Mammal Society books and are delighted to be able to help them communicate their expertise to passionate naturalists and conservation professionals alike.
Why not enter the Mammal Society’s 2019 Mammal Photographer of the Year competition? The competition is for amateur photographers, it’s free to enter and, as well as the chance of getting some great national coverage, you could win a £50 NHBS voucher or a year’s subscription to British Wildlife magazine, among many other prizes including a holiday! Go to https://www.mammal.org.uk/mpoy/ for more details on how to enter and full terms and conditions. Closing date for entries 1 March 2019.
Mammal Photographer of the Year 2018
2018 Winner: Common Dolphin in Flight by James West2018 Runner Up: Deer Stag by Alastair Marsh


 The BSBI have been instrumental in helping to publish John Poland’s critically acclaimed The Vegetative Key to the British Flora and most recently, after years of work, The Field Key to Winter Twigs – both vital reference for field botanists.
 The first atlas of the British and Irish flora was published in 1962. It pioneered the use of ‘dot-maps’ aligned to the OS grid which influence the hundreds of natural history grid-based atlases that followed. Work has already started on a third atlas; Atlas 2020 will be published after fieldwork has been completed in 2019. You can find out more, or even get involved by visiting their website.
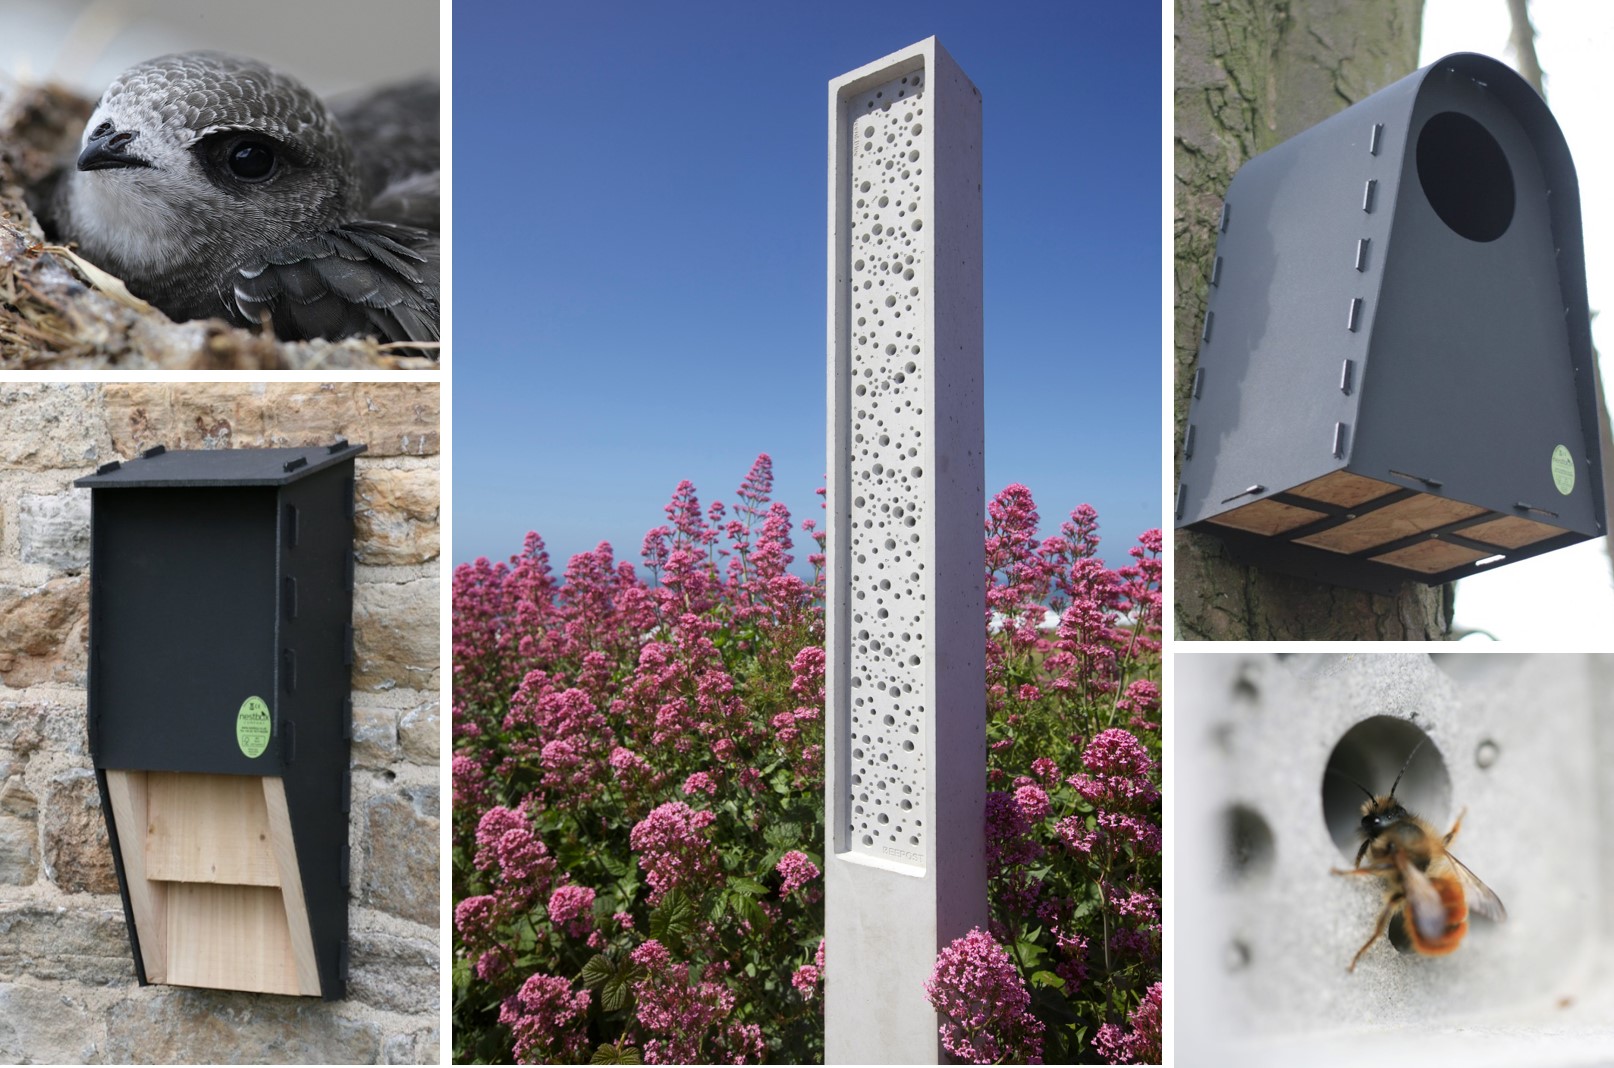


.png)
.png)