The NHBS Guide to Whale and Dolphin Watching

Public sighting records are important for UK cetacean conservation. Atlantic Bottlenose Dolphins by Jo Garbutt is licenced under CC BY 2.0

Catching a glimpse of a whale or dolphin whilst visiting the coast is a uniquely memorable experience and a few hours spent whale and dolphin watching is fun for all age groups. Plus, your sightings can really make a difference and will add to the growing body of survey data collected for the UK coastline.

Keep reading for some tips on when and where to watch whales and dolphins, how to get started and where to report your sightings.

When and where should I watch cetaceans and what am I likely to see?

The best time for spotting cetaceans is between April and October when visitors to our coastal waters are at their highest. Some areas are undoubtedly better than others for catching a glimpse of these elusive animals: Devon, Cornwall and Cardigan Bay in Wales are good places to go, as well as the coasts of northern Scotland.

Twenty-nine species of cetacean have been recorded in UK waters, and some areas of our coastline are home to permanent populations of dolphins. The most commonly reported species are bottlenose dolphins, harbour porpoises and minke whales, although rarer visitors have included killer whales, humpback whales and striped dolphins.

Of course, cetaceans aren’t the only things you will see. Keep your eyes peeled for seals too and enjoy the seabirds and beautiful views at the same time!

How do I get started watching whales and dolphins?

For most people, watching cetaceans from the land (rather than from a boat) will be the most convenient and economical option. Any place where you can sit comfortably with a good view of the sea will suffice, but if you can make your way to a cliff top then this will provide a better vantage point. Calm, overcast days tend to be the best for spotting cetaceans as the combination of swell, choppy waves and surface reflections can make fins all but impossible to see. For the same reason, the hours following dusk and prior to dawn are the best times of day to go.

A watch is conducted by scanning the surface of the water with the naked eye, switching to binoculars periodically or whenever you notice a disturbance at the surface. As soon as you see something that may be a whale or dolphin, concentrate your binoculars in that area, making sure to scan a little way around in case it surfaces again nearby. Another good technique is to look out for seabirds circling or diving as this may indicate cetaceans feeding just below the surface.

Any binoculars (or a scope and tripod) can be used for sea watches. If you are looking for binoculars specifically for this activity, however, make sure to go with a model that has a large objective lens diameter as this will improve the light transmission and will help with viewing in lower light conditions.

For researchers studying marine mammals, items such as thermal imaging scopes and hydrophones are useful additions to the surveying toolbox and will allow them to find and identify cetaceans in a greater range of conditions as well as enabling more detailed investigation of behaviour.

Where do I submit my sightings?

Several organisations in the UK offer online sighting forms where you can submit information about whales, dolphins and porpoises that you have confidently identified during your watch. Take a look at the Sea Watch Foundation, the Whale and Dolphin Conservation, or the Cetacean Research & Rescue Unit websites for sighting forms. Other regional groups such as the Hebridean Whale and Dolphin Trust and Norfolk Cetaceans also collect local sightings so it might be worth finding out if there is an active recording group near to where you live.

Check out the NHBS website for a great range of binoculars and scopes, as well as other handy field kit such as waterproof clipboards and notebooks. Also have a look at these two field guides to help with identifying whales and dolphins.

Guide to the UK Cetaceans and Seals
Whales, Dolphins and Seals: A Field Guide to the Marine Mammals of the World


The Importance of Nest Sites for Birds and Bees

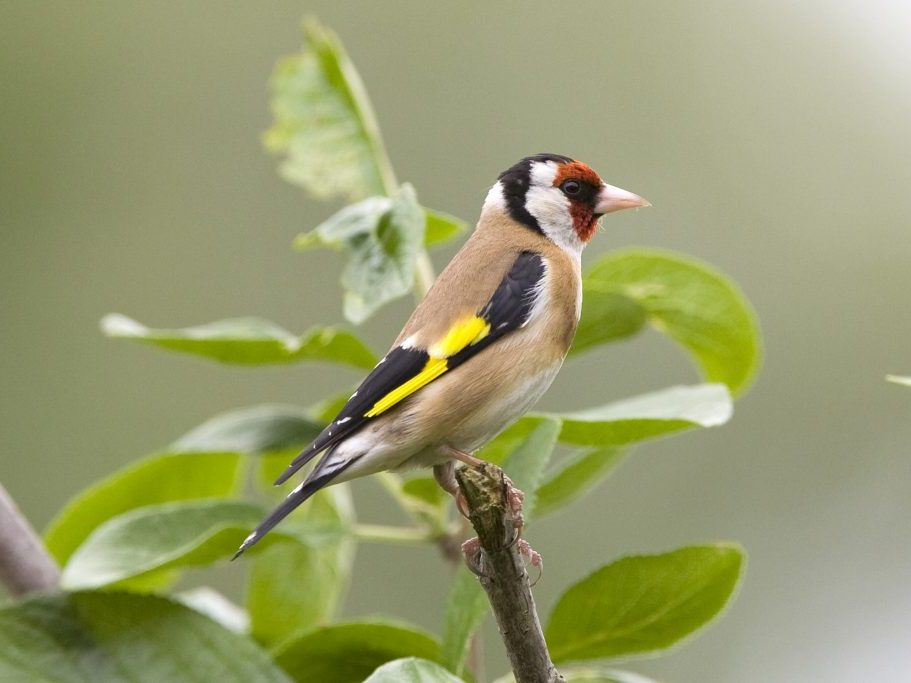
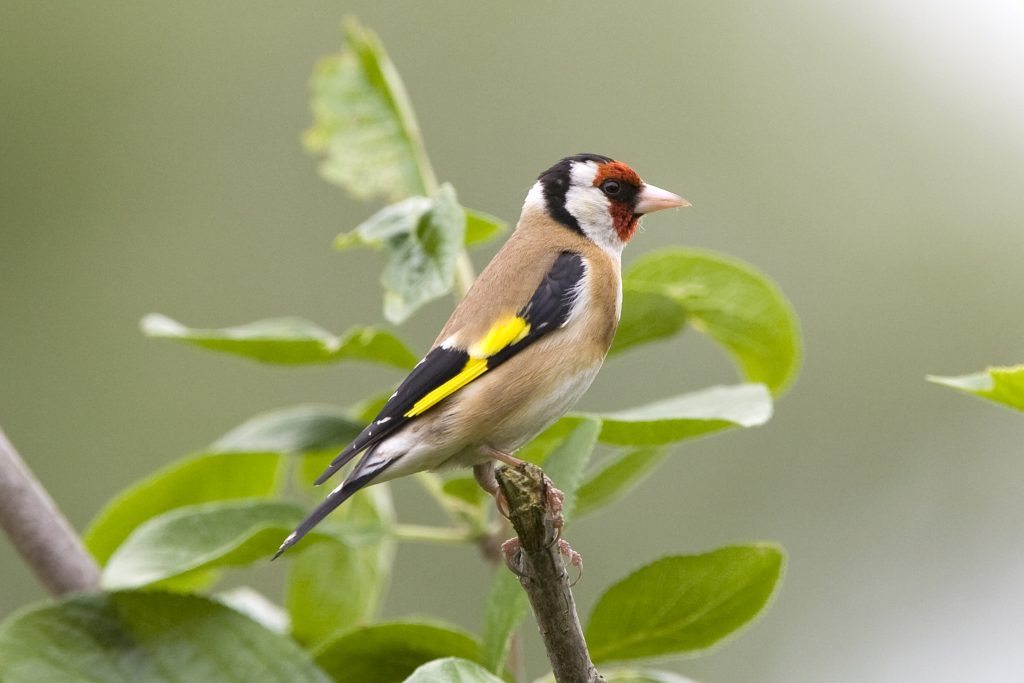
Changes in land use can result in strong competition between species that have historically survived alongside eachother, such as goldfinches and chaffinches. Goldfinch by Tony Smith is licenced under CC BY 2.0.

Over the last century, land use in the UK has changed drastically. Small mixed-crop farms, traditionally separated by lanes, hedgerows and wild meadows have been replaced with larger, more specialised facilities. At the same time, the density of grazing animals such as sheep and cattle has also risen substantially. This combination of land-use change and agricultural intensification has contributed significantly to habitat degradation and biodiversity loss, and has led to huge, often dire, changes for the wildlife that call these places home.

Understanding these processes is of huge importance to conservationists, and a considerable amount of research has been conducted into the broad scale effects of land use changes on biodiversity. It is less well understood, however, why seemingly similar species can be affected to a different extent by local changes in their habitat.

A recent study, conducted by Dr Andrew Higginson at the University of Exeter, suggests that competition for nesting space may be a key factor in the differences observed. His study used a mathematical model to predict the likely outcome when populations of birds and bees are faced with a reduction in suitable nesting sites. Results indicated that larger, earlier-nesting species tend to fare better in these conditions, but at the expense of smaller, later-nesting species who, in the real world, would either fail to find a nesting site or be forced into using a poor quality or risky location.

Dr Higginson’s results illustrate that, whilst two or more similar species can co-exist together very happily when there are sufficient nesting spaces available, as soon as these become limited, competition and conflict become inevitable. In severe situations, species that have historically thrived in the same environment may suddenly find themselves battling for survival.

A key message from the study was that conservation efforts should ensure that priority is given to the creation and maintenance of suitable nesting sites. Conservation practices often focus on provision of food for wildlife, such as planting wildflowers for bees and providing food for our garden birds. Preserving and creating safe and accessible places for these animals to nest, however, is just as critical if we are to ensure their continued survival.

Head over to www.nhbs.com for our full range of bird nest boxes and insect nesting aids, or download our full nest box price list.


A New Home for Old Pallets

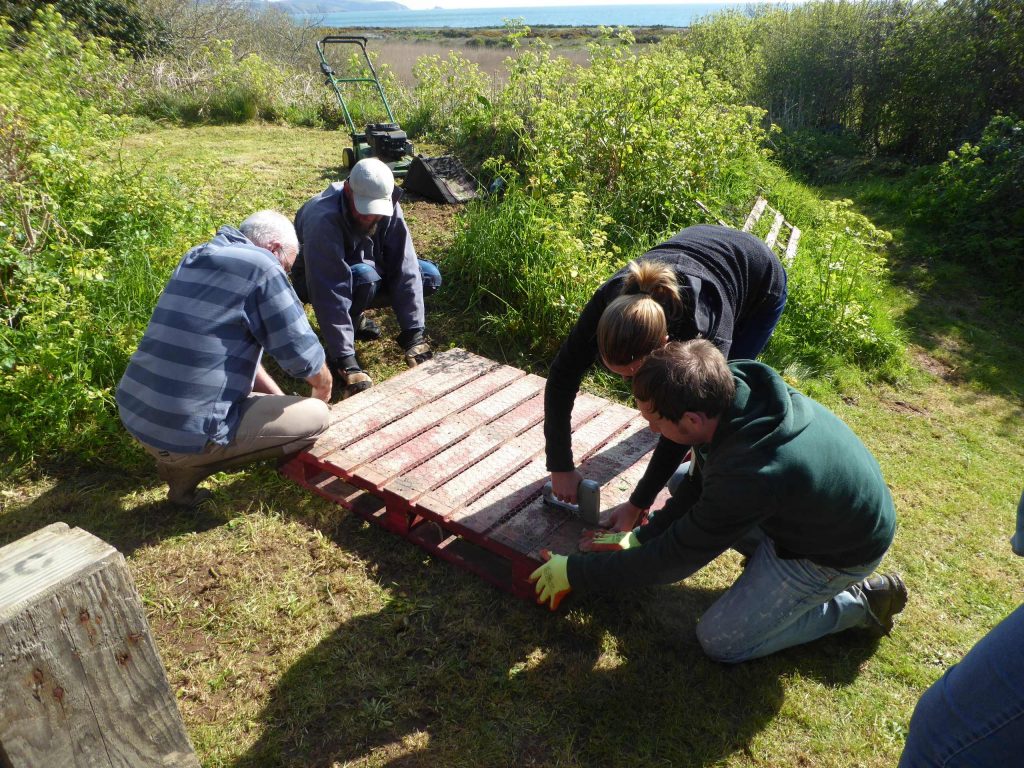
Preparing pallets for the walkway. Photo by David Price.

The accumulation of stacks of pallets is an unavoidable part of working in a fast paced and varied retail environment. So when we were contacted by Keith Grant from the Slapton Ringing Group to ask if they could take some off our hands, we were both delighted to agree and eager to learn about the site where they would be put to use.

The Slapton Ringing Group is based at the Slapton Ley National Nature Reserve. This beautiful site is located on the south coast of Devon and contains the largest lake in the south west, separated from the sea by just a narrow shingle bar. Its location, together with the unique habitat conditions, makes it an extremely important place for local and migrating bird populations.
A job well done. The completed walkway leading to the ride. Photo by David Price.

The Slapton Ringing Group have been surveying birds at Slapton Ley since the 1960s, and for the last six years the site has been designated as a BTO Constant Effort Survey (CES) Site.

A regular rotation of willow cutting is undertaken at the site, which maintains the vegetation and helps to avoid major changes in species composition. A carefully constructed pallet walkway allows access to the ringing rides for the volunteers that meet here regularly throughout the ringing season.

The pallets salvaged from NHBS were used to replace old ones which have an obviously limited lifespan due to the constantly wet conditions. It is a pleasure to know that some of our “waste” is being used to support such a fantastic and long-running project.

For more information about bird ringing in Devon, take a look at the Devon Birds website.

Kaleidoscope 4.3.0 Bioacoustic Software Now Available

The newest version of Kaleidoscope, version 4.3.0, is now available to download from the Wildlife Acoustics website.

See below for details about the new features included in this release, as well as a handy table to see which version of Kaleidoscope is right for you, and some useful tutorial videos.

New features include:

New Bat Auto-ID Classifiers
New bat classifiers for North America, Neotropics, Europe and South Africa as well as updated common names for some species. The default setting for classifiers is now “Balanced” which is a useful compromise between the more sensitive and more accurate options.

New time-saving workflow features
New features in the results viewer window include:
• When opening a saved results spreadsheet, a file browser allows you to easily locate the folder containing the corresponding input files
• Bulk ID multiple selected rows
• Bulk copy files in selected rows to a specified folder

Full support for GUANO metadata (Kaleidoscope Pro only)
Kaleidoscope now reads and write GUANO information alongside Wildlife Acoustics metadata (WAMD).  This will been shown in the file at the end of the metadata notes window.

Bug fixes
Several bugs have also been fixed in the new release, details of which can be found in the Kaleidoscope documentation.

Which version of Kaleidoscope is right for me?

Kaleidscope Tutorial Videos


Kaleidoscope UK, Kaleidoscope Neotropics and Kaleidoscope Pro are all available to purchase from NHBS.


The NHBS Guide to Small Mammal Trapping


Please note we have published an updated guide to small mammal trapping with up to date information on the latest equipment and guides available. Some of the products described in this article may therefore be outdated or unavailable


Field vole (Microtus agrestis)

Small mammals form a vital component of our terrestrial ecosystems, both by contributing to overall biodiversity and providing prey for carnivores such as owls, pine martens and weasels. Survey data for many of our small mammal species is insufficient for them to be assessed as part of the UK BAP process and so supporting our national monitoring programme is incredibly important.

One of the most common ways of monitoring small mammals is through the use of live traps. These allow a range of species to be monitored simultaneously, and also allow biometric data such as weight and sex to be collected. In addition, estimates of population size and structure can be calculated using capture-mark-recapture (CMR) techniques. The use of live traps is also a great way for getting volunteers involved and providing them with an up-close experience of the animals they are passionate about.

Live-catch techniques, however, do have a few disadvantages in that populations can be affected by disturbance or mortality. Live-trapping is also unsuitable in certain areas (such as urban or busy rural regions) and requires a relatively large amount of time and expenditure.

Here we will take a look at some of the most commonly available live-traps used for small mammal survey.

Longworth Trap

Longworth Small Mammal Trap

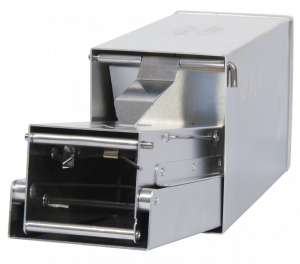
The Longworth trap is made from aluminium which makes it lightweight for field use. This trap has been widely used in the UK for many years.

The trap consists of two parts: a tunnel which contains the door tripping mechanism, and a nest box, which is attached to the back of the tunnel. The nest box provides a large space for food and bedding material to ensure that the trapped animal is comfortable until release.

Advantages
• Widely used for many years; well documented in scientific literature
• Lightweight and durable
• Sensitivity of the trip mechanism can be adjusted
• Door can be locked open for pre-baiting

Disadvantages:
• Expensive
• Replacement parts not available
• Larger species can occasionally trip the trap without being caught
• Pygmy shrews may be too light to trigger the trap mechanism

Sherman Trap

Sherman Trap

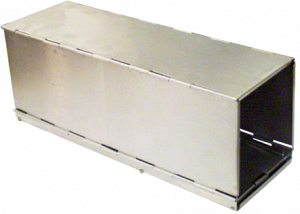
Sherman traps work by use of a triggered platform which causes the door to shut when the animal enters. It folds down to a size and shape which is easy to transport.

Sherman traps are available in a range of different sizes to suit the species that you are hoping to catch. They can be purchased in aluminium or as a galvanised version which is more resistant to rusting.

Advantages:
• Lightweight and foldable – easy to transport and store
• Different sizes available, including long versions
• Easy to clean

Disadvantages:
• Difficult to add bedding/food as this interferes with the trap mechanism
• Traps may distort over time with repeated folding
• Danger of long tails being trapped in the door


Economy Mammal Trip-Trap

Economy Mammal Trip-Trap

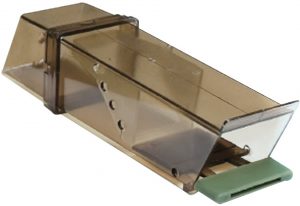
The Economy Trip-Trap provides a cheaper alternative to other mammal traps.  It has a traditional treadle design which closes the door behind the animal when it enters the trap.

This lightweight trap is suitable for short-term or occasional use and is also popular for trapping mice indoors either for surveying or for relocation.

Advantages:
• Cheap and lightweight
• Transparent for easy inspection
• Good for indoor use

Disadvantages:
• Doesn’t work well in wet/humid conditions
• Can’t pre-bait or change trigger sensitivity
• Trapped animals may chew through the trap

Pitfall Traps

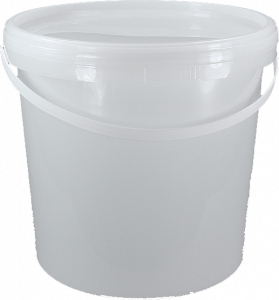
P2.5 litre Plastic Bucketitfall Traps consist of a container which is sunk into the ground, into which small mammals can be caught. Traps can be baited if required and drift fencing can also be used to direct animals into the trap.

Small cans or buckets make ideal pitfall traps. If using buckets, lids can be fitted when not in use, which means that traps can remain in situ for extended periods of time.

Advantages:
• Able to catch multiple individuals
• Low maintenance

Disadvantages:
• More labour intensive than box traps to set up
• Trapped animals may attack eachother or be eaten by predators
• May become waterlogged in damp areas or in bad weather

Other survey methods

Other methods of surveying for small mammals include the analysis of owl pellets for mammal remains and the use of dormouse nest tubes. Hair and footprint tubes are also useful as well as searching for field signs such as tracks and faeces.

A comprehensive monitoring programme will most likely involve a combination of these methods, depending on the availability of participants and volunteers and the type of habitat present locally.

If you are interested in becoming involved in mammal survey in the UK, take a look at the Mammal Society website where you will find information on local recording groups, training opportunities and the latest mammal-related research.

Our full range of mammal traps can be found on our website.


Please note we have published an updated guide to small mammal trapping with up to date information on the latest equipment and guides available. Some of the products described in this article may therefore be outdated or unavailable


What’s new for 2017 – Trail camera news

The days are getting longer and the clocks are set to British summer time here in the U.K. With the arrival of the warmer weather, our local wildlife is also becoming more active and now is a great time to set up a trail camera to see what’s going on in your garden or local outdoor space. If you’re lucky you may even spy young animals emerging from their burrows for the first time.

In this article we will take a look at some of our new and favourite trail cameras for 2017.

Bushnell Trail Cameras

This spring has seen a new range of cameras arrive on our shelves from Bushnell, featuring an exciting selection of brand new features.

The new Trophy Cam Aggressor range is available in four models. All of these share an excellent 0.2 second trigger speed and a recovery time of just 0.5 seconds, ideal for moving animals. A new Dynamic Video function means that the camera will record continuously while there is a subject in the detection range and an Auto Exposure function helps to avoid bleached out images when the subject is too close. Three preset functions allow easy configuration of advanced settings based on the location of the camera (choose from trail/scrape, feeder or food plot). The design of the case has also been improved with a strengthened cable lock channel, stronger latch and illuminated button panel.

The four models differ in their image/video resolution, type of night vision LEDs, screen type and case colour. Take a look at our handy guide below to see which is the right model for you.

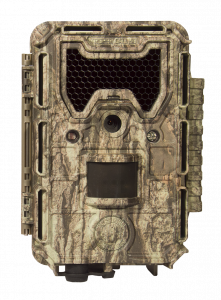
Trophy Cam Aggressor HD No Glow 24MP Camo

Trophy Cam Aggressor HD No Glow 24MP Camo
* Bushnell code: 119877
* 24MP images
* 1920 x 1080p videos
* No glow LEDs
* Colour viewing screen
* Camouflage bodyshell

Find out more


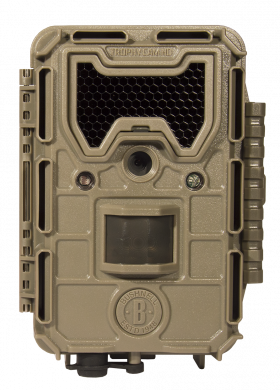
Trophy Cam Aggressor HD No Glow 20MP Tan

Trophy Cam Aggressor HD No Glow 20MP Tan


* Bushnell code: 119876
* 20MP images
* 1920 x 1080p videos
* No glow LEDs
* Text screen
* Tan bodyshell

Find out more


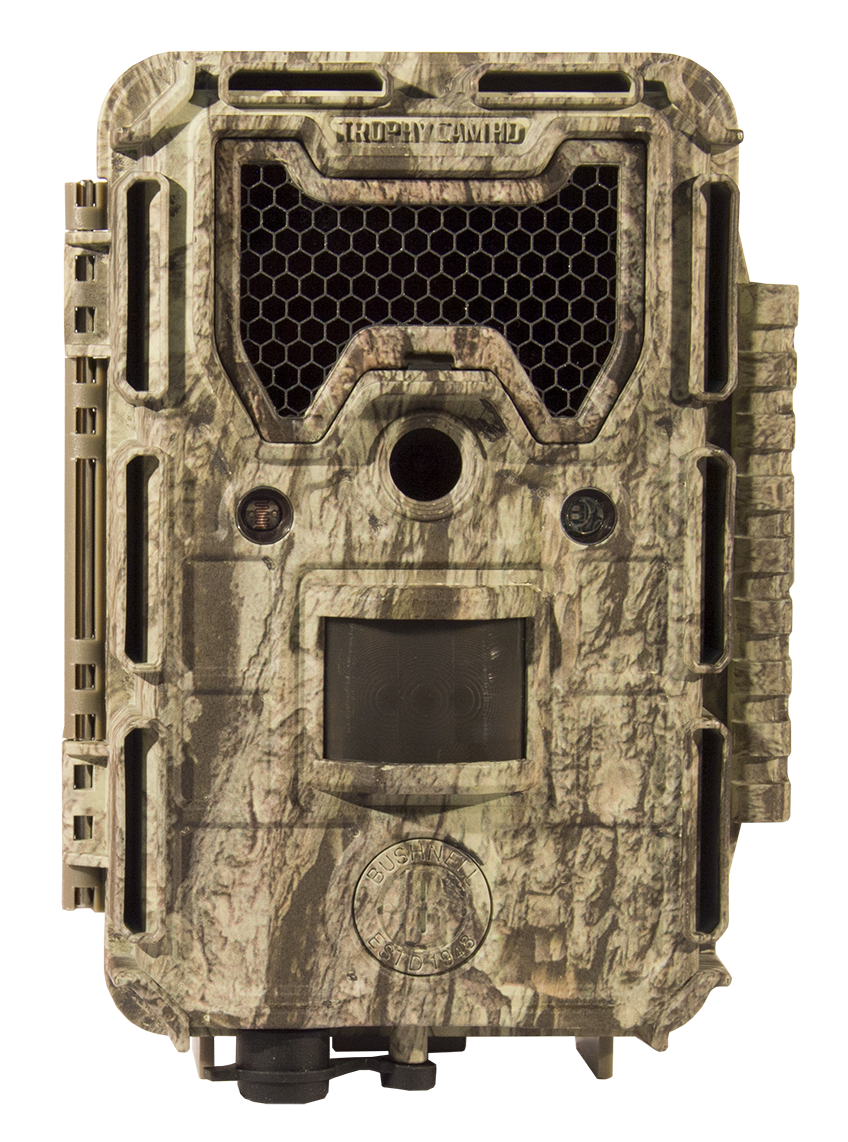
Trophy Cam Aggressor HD Low Glow 24MP Camo

Trophy Cam Aggressor HD Low Glow 24MP Camo


* Bushnell code: 119875
* 24MP images
* 1920 x 1080p videos
* Low glow LEDs
* Colour viewing screen
* Camouflage bodyshell

Find out more


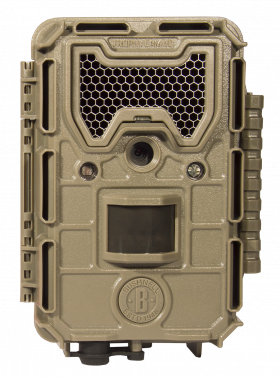
Trophy Cam Aggressor HD Low Glow 20MP Tan

Trophy Cam Aggressor HD Low Glow 20MP Tan


* Bushnell code: 119874
* 20MP images
* 1920 x 1080p videos
* Low glow LEDs
* Text screen
* Tan bodyshell

Find out more


Also new for 2017 is the Trophy Cam Essential E3 which improves on the popular E2 model with the addition of low glow LEDs, an improved flash range and higher resolution images. The fantastic NatureView Live View HD is also still available and features two close-focus lenses and a detachable viewing screen.

Spypoint Trail Cameras

Spypoint produce consistently high quality cameras and their range features several models that are exciting for wildlife enthusiasts.

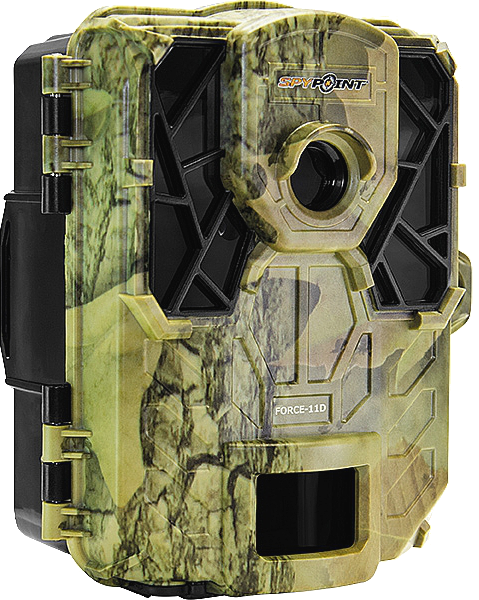
Spypoint Force-11DThe Force-11D has an unbeatable trigger speed of just 0.07 seconds and an adjustable detection range of 1.5m to 24.4m with a curved motion sensor to improve the detection angle. 11MP images and 720p, high definition video can be captured while no glow LEDs make your camera completely inconspicuous.


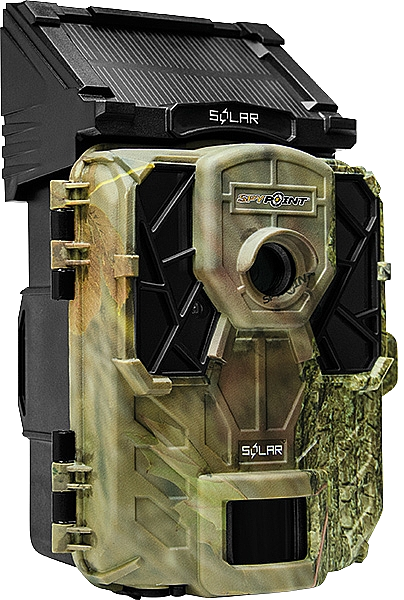
Spypoint SolarThe Spypoint Solar provides another fantastic option, particularly if you want to leave your camera unattended for extended periods of time. The built-in solar panel will power the camera any time that the sun is shining, only switching to battery power at night or when there is insufficient sunlight. A 2″ colour screen lets you preview your images in the field.


All of our trail cameras can be purchased as a starter bundle which include an SD card and all the batteries you need to power the camera. The complete trail camera range can be found at www.nhbs.com

Can’t decide which camera you need? Why not take a look at our guide on choosing the camera that’s right for you.


How to choose a nest box camera


Please note we have published an updated guide to choosing a nestbox camera with up to date information on the latest technology available. Some of the products described in this article may therefore be outdated or unavailable


Nest box cameras provide an excellent way to observe the exciting nest building, egg laying and chick rearing behaviours of your local birds.

Deciding which nest box camera to choose can be confusing and several questions should be considered before you make your choice: Do you need a wired version or would a wireless option be best for you? Do you want a camera that you can fit into an existing box, or would you prefer to buy everything already assembled? Will you be able to view your footage on your PC or laptop? Do you want to stream your footage to a website? In this article we will address all of these FAQs and offer some simple advice to make sure that you get the best out of your camera.

Do you want a wired or wireless system?

Wired systems have a cable running from the nest box back to your house or classroom. This cable carries both the power to the camera and the signal from the camera to your TV. A wired setup offers excellent image quality but may not be ideal if you have children or pets in your garden or if a cable running to your bird box will interfere with the gardening. You will also need to feed the cable into your house, either by drilling a hole in the wall or by feeding it through an open window.

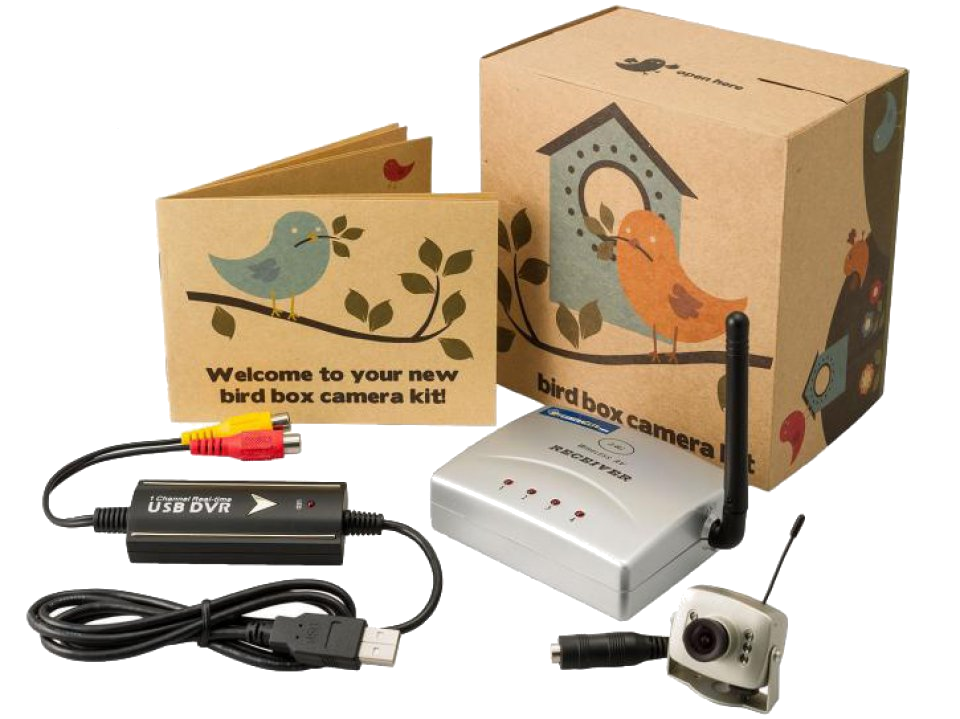
Wireless systems do not require a cable between the bird box and the television but instead transmit images to a small receiver situated inside the house. For some cameras, such as the Wireless Nest Box Camera Kit, a power supply will still be required for the camera (i.e. from a shed or outbuilding). Other cameras, such as the battery powered Wireless Nest Box Camera Kit have solved this problem by adding a battery box, allowing the camera to run off D-cell batteries. An advanced version of this camera system is also available. This includes a solar panel which will power your camera while the sun is shining, only switching to battery power at night or on dull days.

Another thing to consider with a wireless system is that the signal can be compromised by other wireless devices in the area or by trees and other structures between the nest box and the house. In some situations this can severely affect your image quality.

Do you want a complete kit or just the camera?

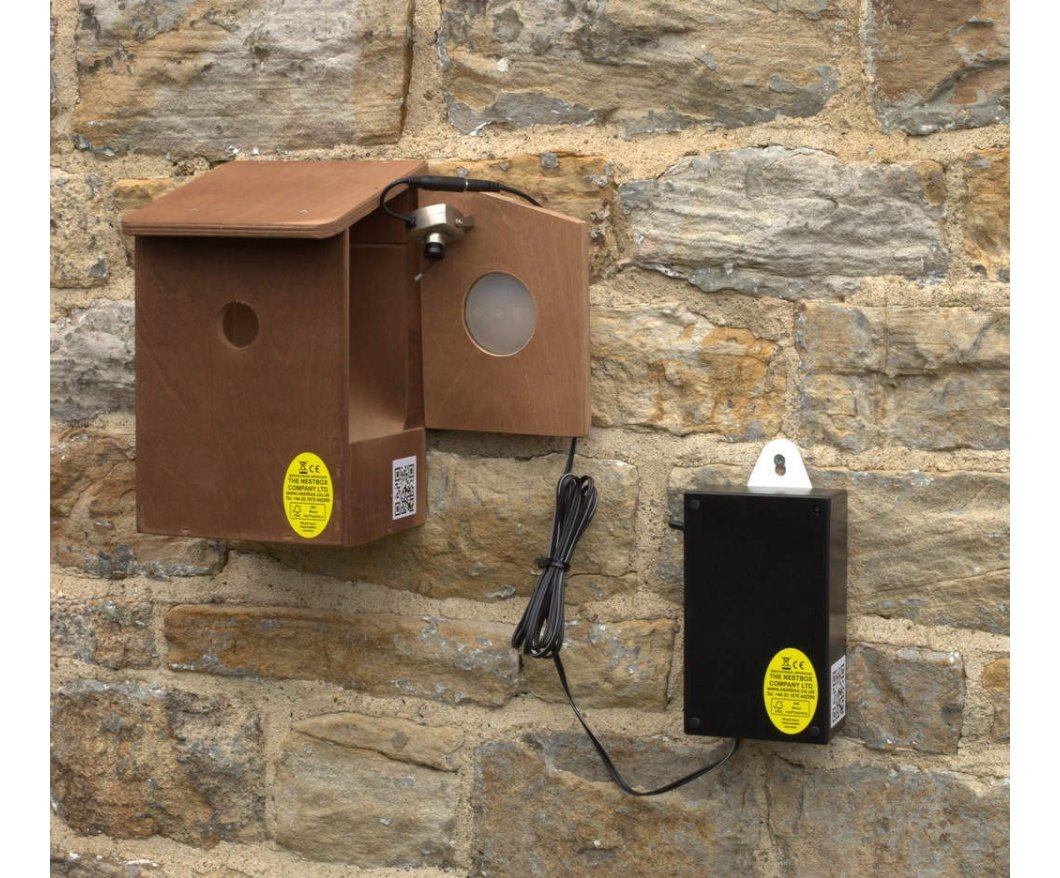
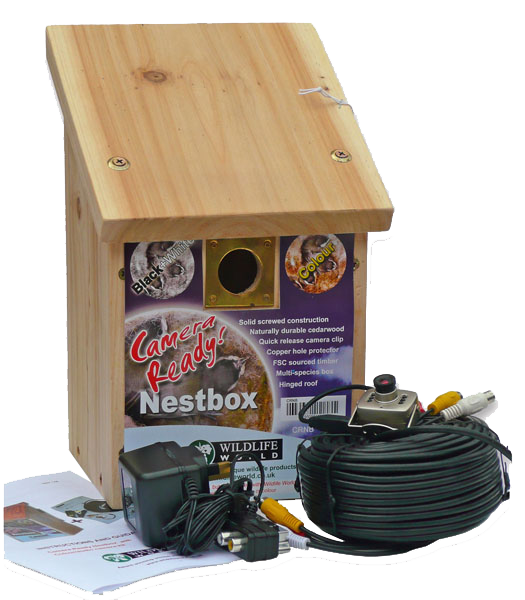
If you are new to this particular aspect of watching and listening to birds, a complete kit, such as the Nest Box Camera Starter Kit or the Wired Camera Bird Box, provide an excellent and economical choice. These kits include a bird box which has a camera ready mounted in the roof. An attached cable plugs into your television and supplies the camera with power. Alternatively, if you want a wireless option, the Wireless Camera Nest Box is a great choice and doesn’t require any complicated assembly processes.

For the handyman or woman who wants to put a system together themselves, either in a bespoke or existing nest box, the Nest Box Camera with Night Vision is a good choice. The camera comes with a 30 ­metre cable and extension cables are available to purchase separately. The Wireless Nest Box Camera Kit or the battery powered Wireless Nest Box Camera Kit are good options if you want to fit a wireless camera into your own bird box.

If you decide to go for one of these options then you will need to attach the camera to the ceiling or inside wall of your box yourself using small screws. A small file can be used to file down a part of the side wall to make a space for the cable to pass through. Alternatively you might consider buying a Camera Ready Nest Box which has a clip inside for attaching a camera, as well as a perspex window in the side which helps to improve the quality of daytime images.

What about watching on your computer?

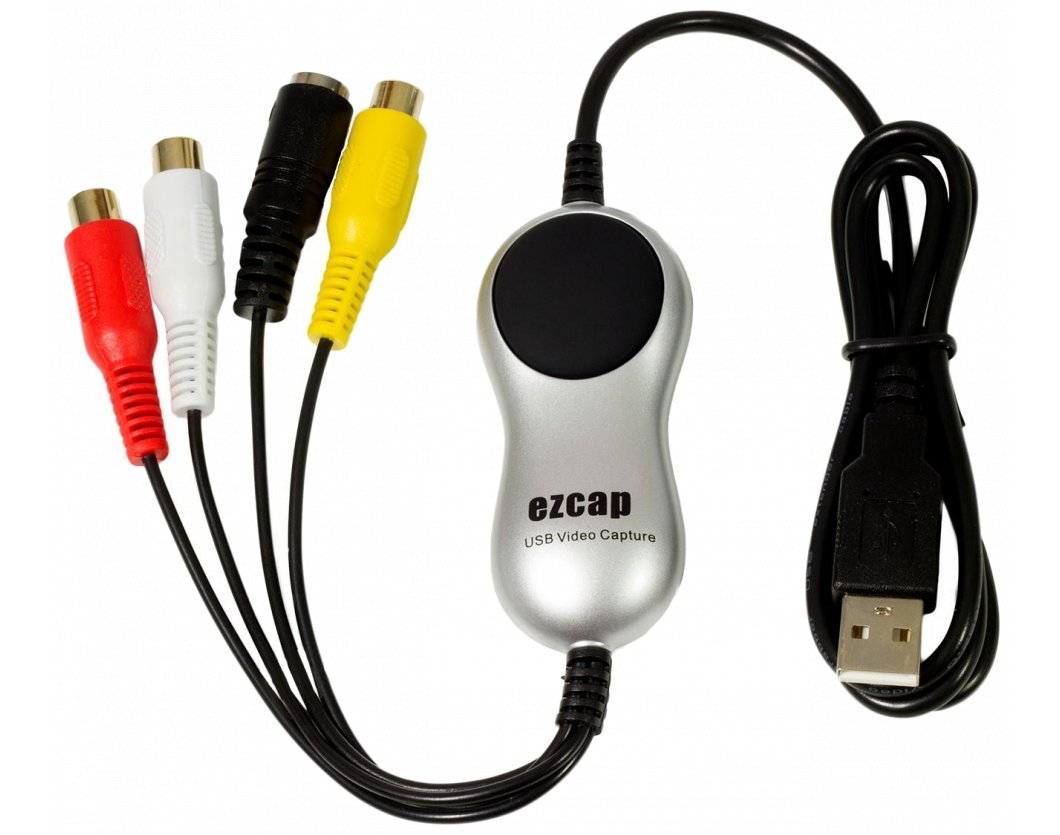
All of the cameras and kits that we sell come with either a cable or wireless receiver that will connect directly to your television. If you want to view or save your footage onto your computer then an additional USB capture device is required. These allow you to connect your camera/receiver to the USB port of your computer and come with viewing software which allows you to watch and record your footage. Available for both Windows and Mac operating systems.

Can I stream my footage to a website?

There are lots of online services which allow you to stream a live feed from your camera online. Many are free if you are happy having adverts on your stream, or you can purchase a monthly or yearly ad-free plan. Our current favourite is Ustream (www.ustream.tv). Take a look at their website for lots of great resources to help get you started.


Please note we have published an updated guide to choosing a nestbox camera with up to date information on the latest technology available. Some of the products described in this article may therefore be outdated or unavailable


New Bat Detectors for Spring 2017

It’s that time of year again. Spring has sprung earlier than ever, and the survey season will very soon be under way. In this post we look at some of the fantastic new bat detectors due for release this spring.

Anabat Swift

The Anabat Swift from Titley Scientific is based on the excellent design of the Anabat Express and records in full spectrum as well as zero crossing. Users can choose between sample rates of 320 or 500kHz and a built-in GPS receiver automatically sets the clock, calculates sunrise and sunset times and records the location of the device.


Echo Meter Touch 2

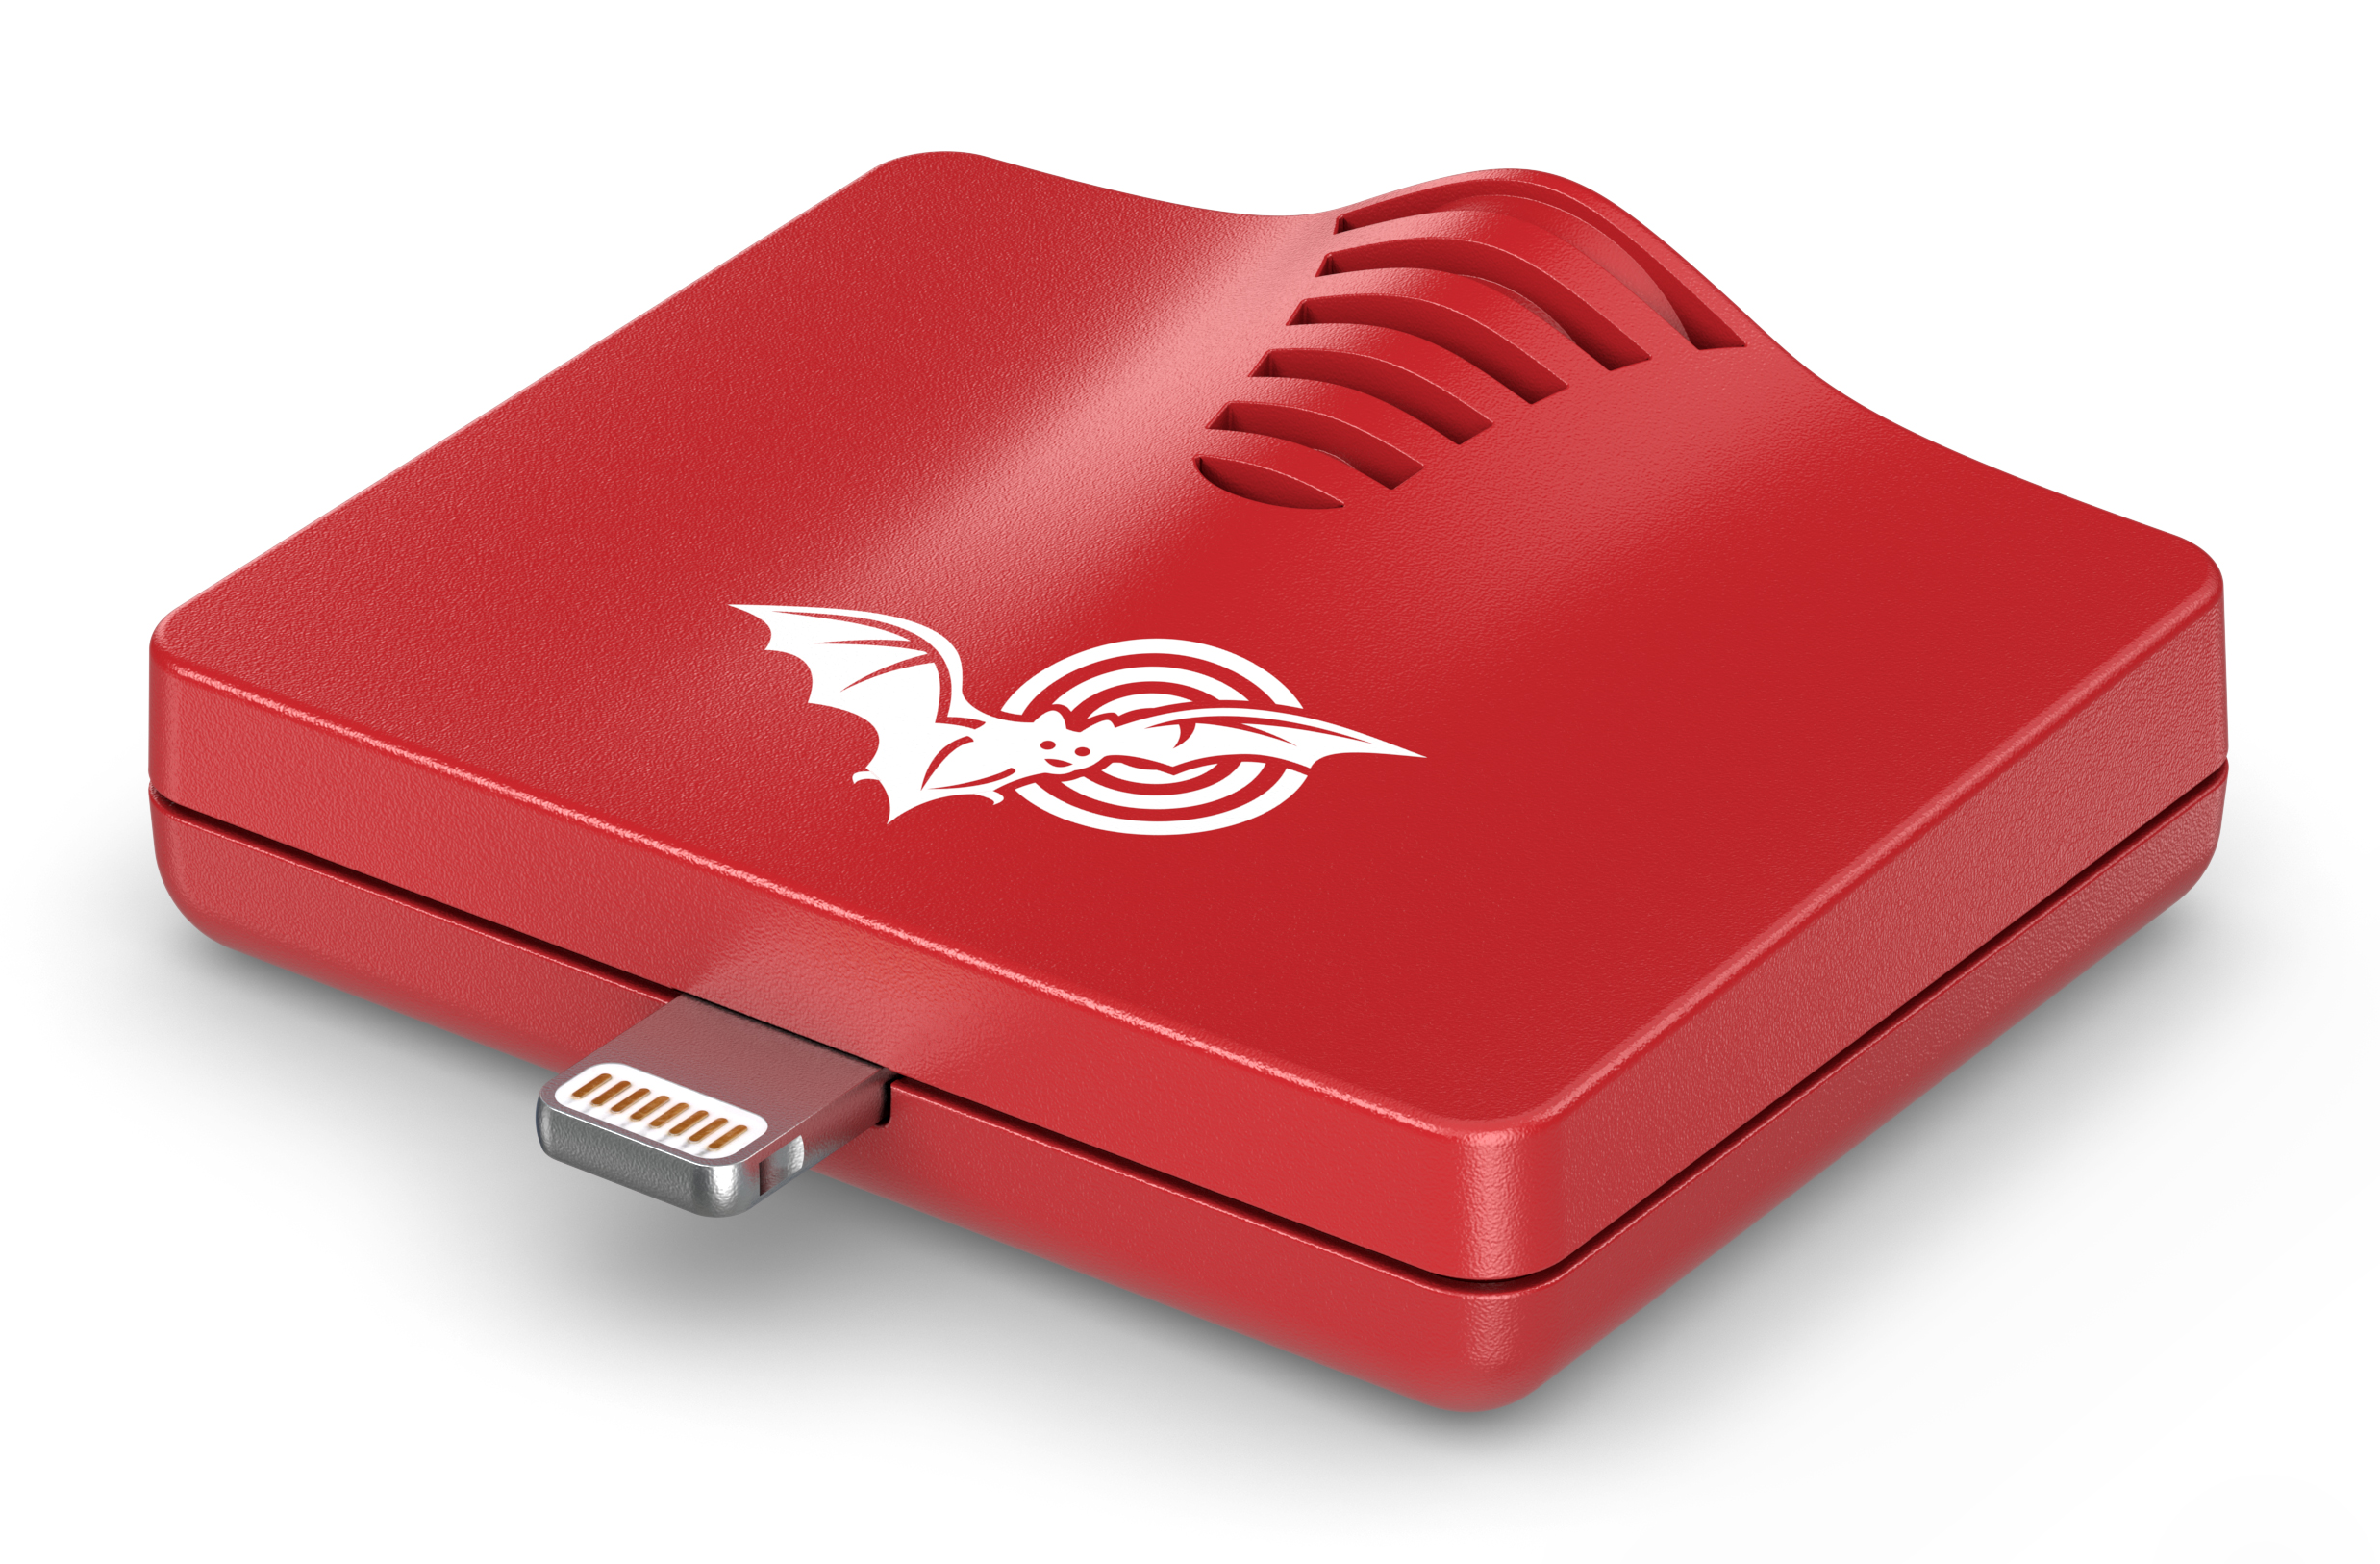
The Echo Meter Touch 2 is perfect for bat enthusiasts and students and will let you record, listen to and identify bat calls in real-time on your iPad, iPhone or iPod Touch. All you need is your iOS device, your Echo Meter Touch 2 and the Echo Meter Touch App which is a free download from the iTunes store.

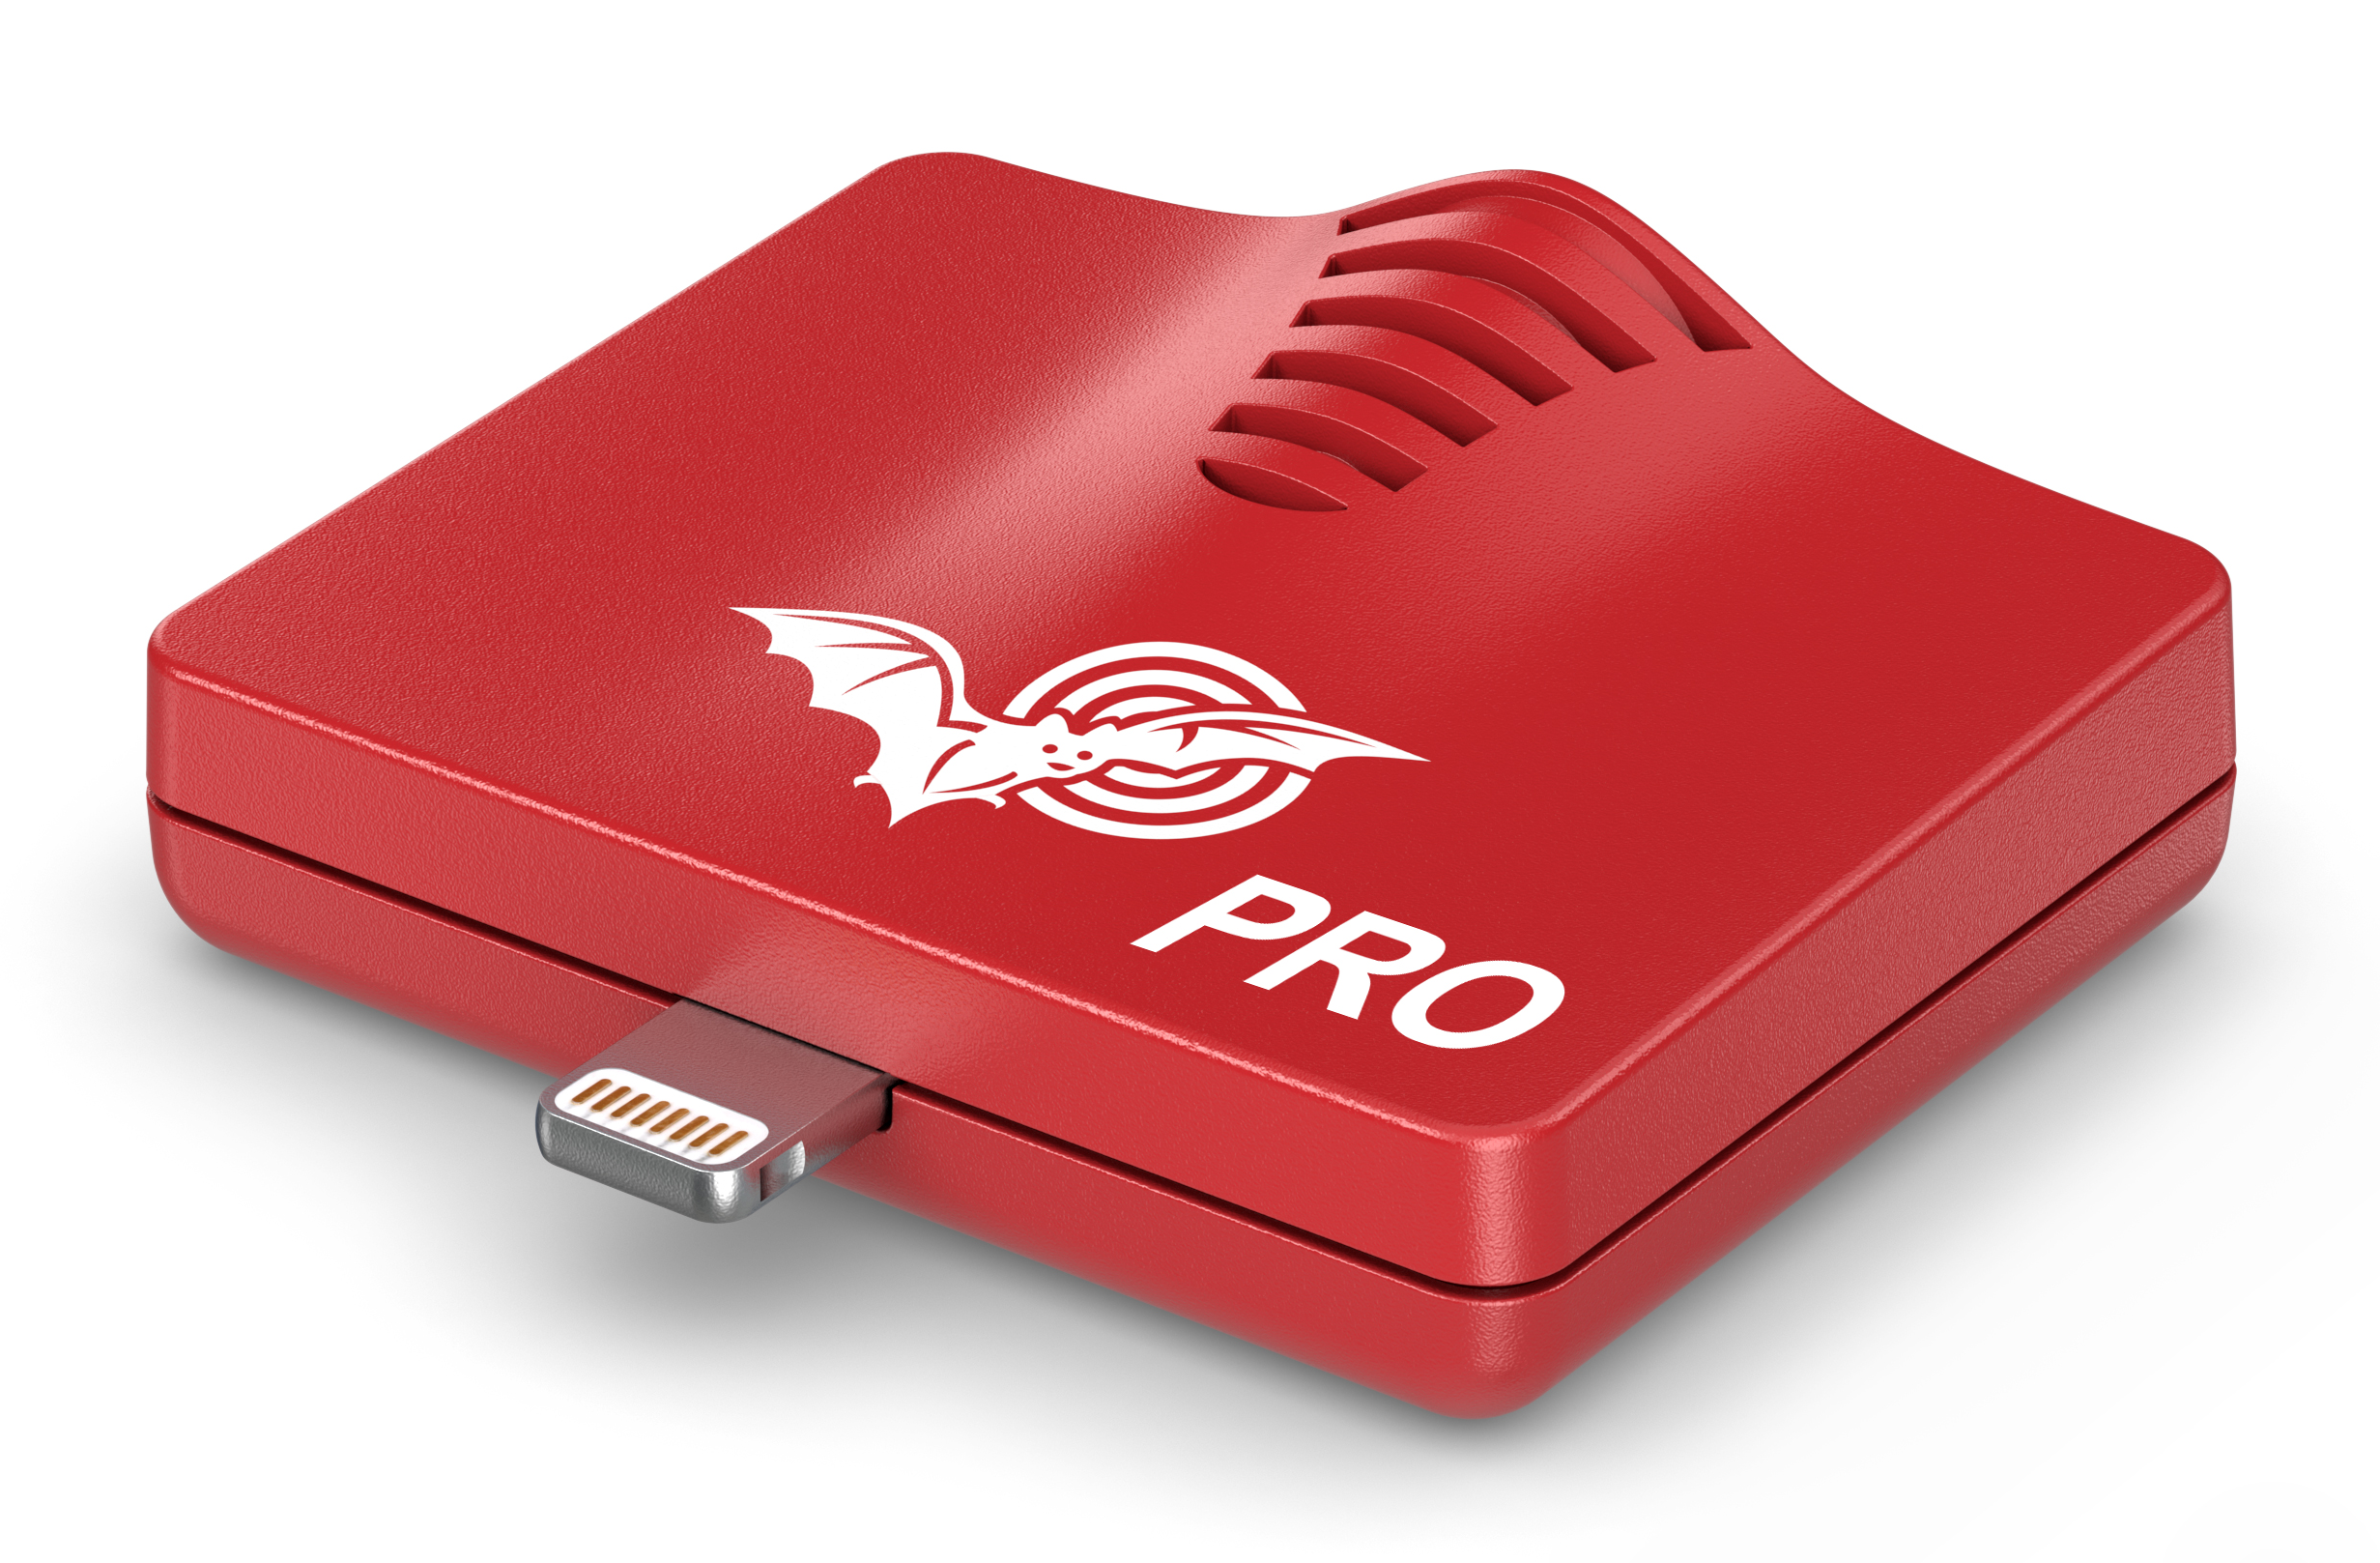
Echo Meter Touch 2 Pro

Designed for consultants and professional bat workers, the Echo Meter Touch 2 Pro has all the great features of the Echo Meter Touch 2 but with additional user options such as an adjustable sample rate (256kHz and 384kHz), adjustable gain and advanced trigger settings.

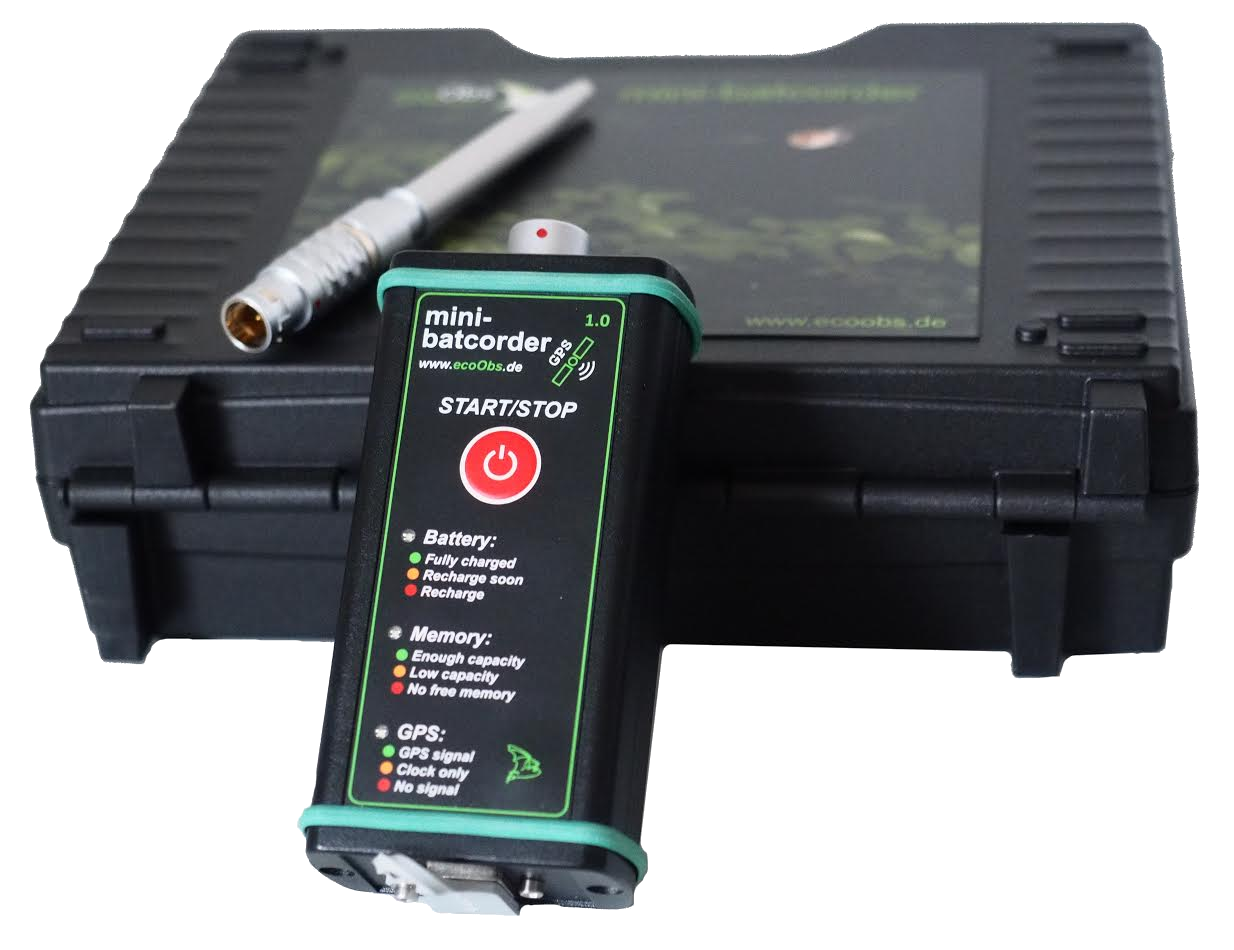
Batcorder Mini

The compact Batcorder Mini has a very simple user interface with just a single button to start and stop recording. Calls are recorded in full spectrum onto the built-in memory (64GB) and the internal lithium-ion battery is chargeable by USB. A built-in GPS receiver sets the time, date and location.

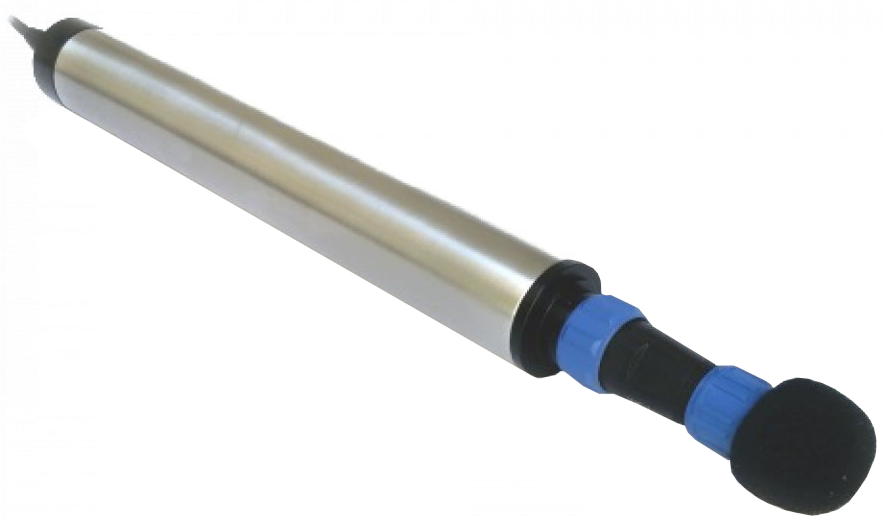
Ultramic384 Ultrasound Microphone

This high performance ultrasound microphone will connect to a USB port for real time listening and can also be used as a stand-alone recorder when used with a USB battery. An internal microSD card slot allows data to be recorded.

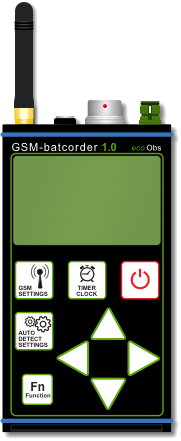
Batcorder GSM

The Batcorder GSM is designed for use at a wind turbine site and includes a microphone disk which is inserted directly into the turbine nacelle. The unit runs off mains power from the turbine and a GSM function lets you receive status messages, reassuring you that everything is recording correctly. A Raspberry Pi setup also lets you backup your files to a memory drive and download data directly or over an internet connection.


Our full range of bat detectors can be found at www.nhbs.com


The NHBS Guide to Pond Dipping

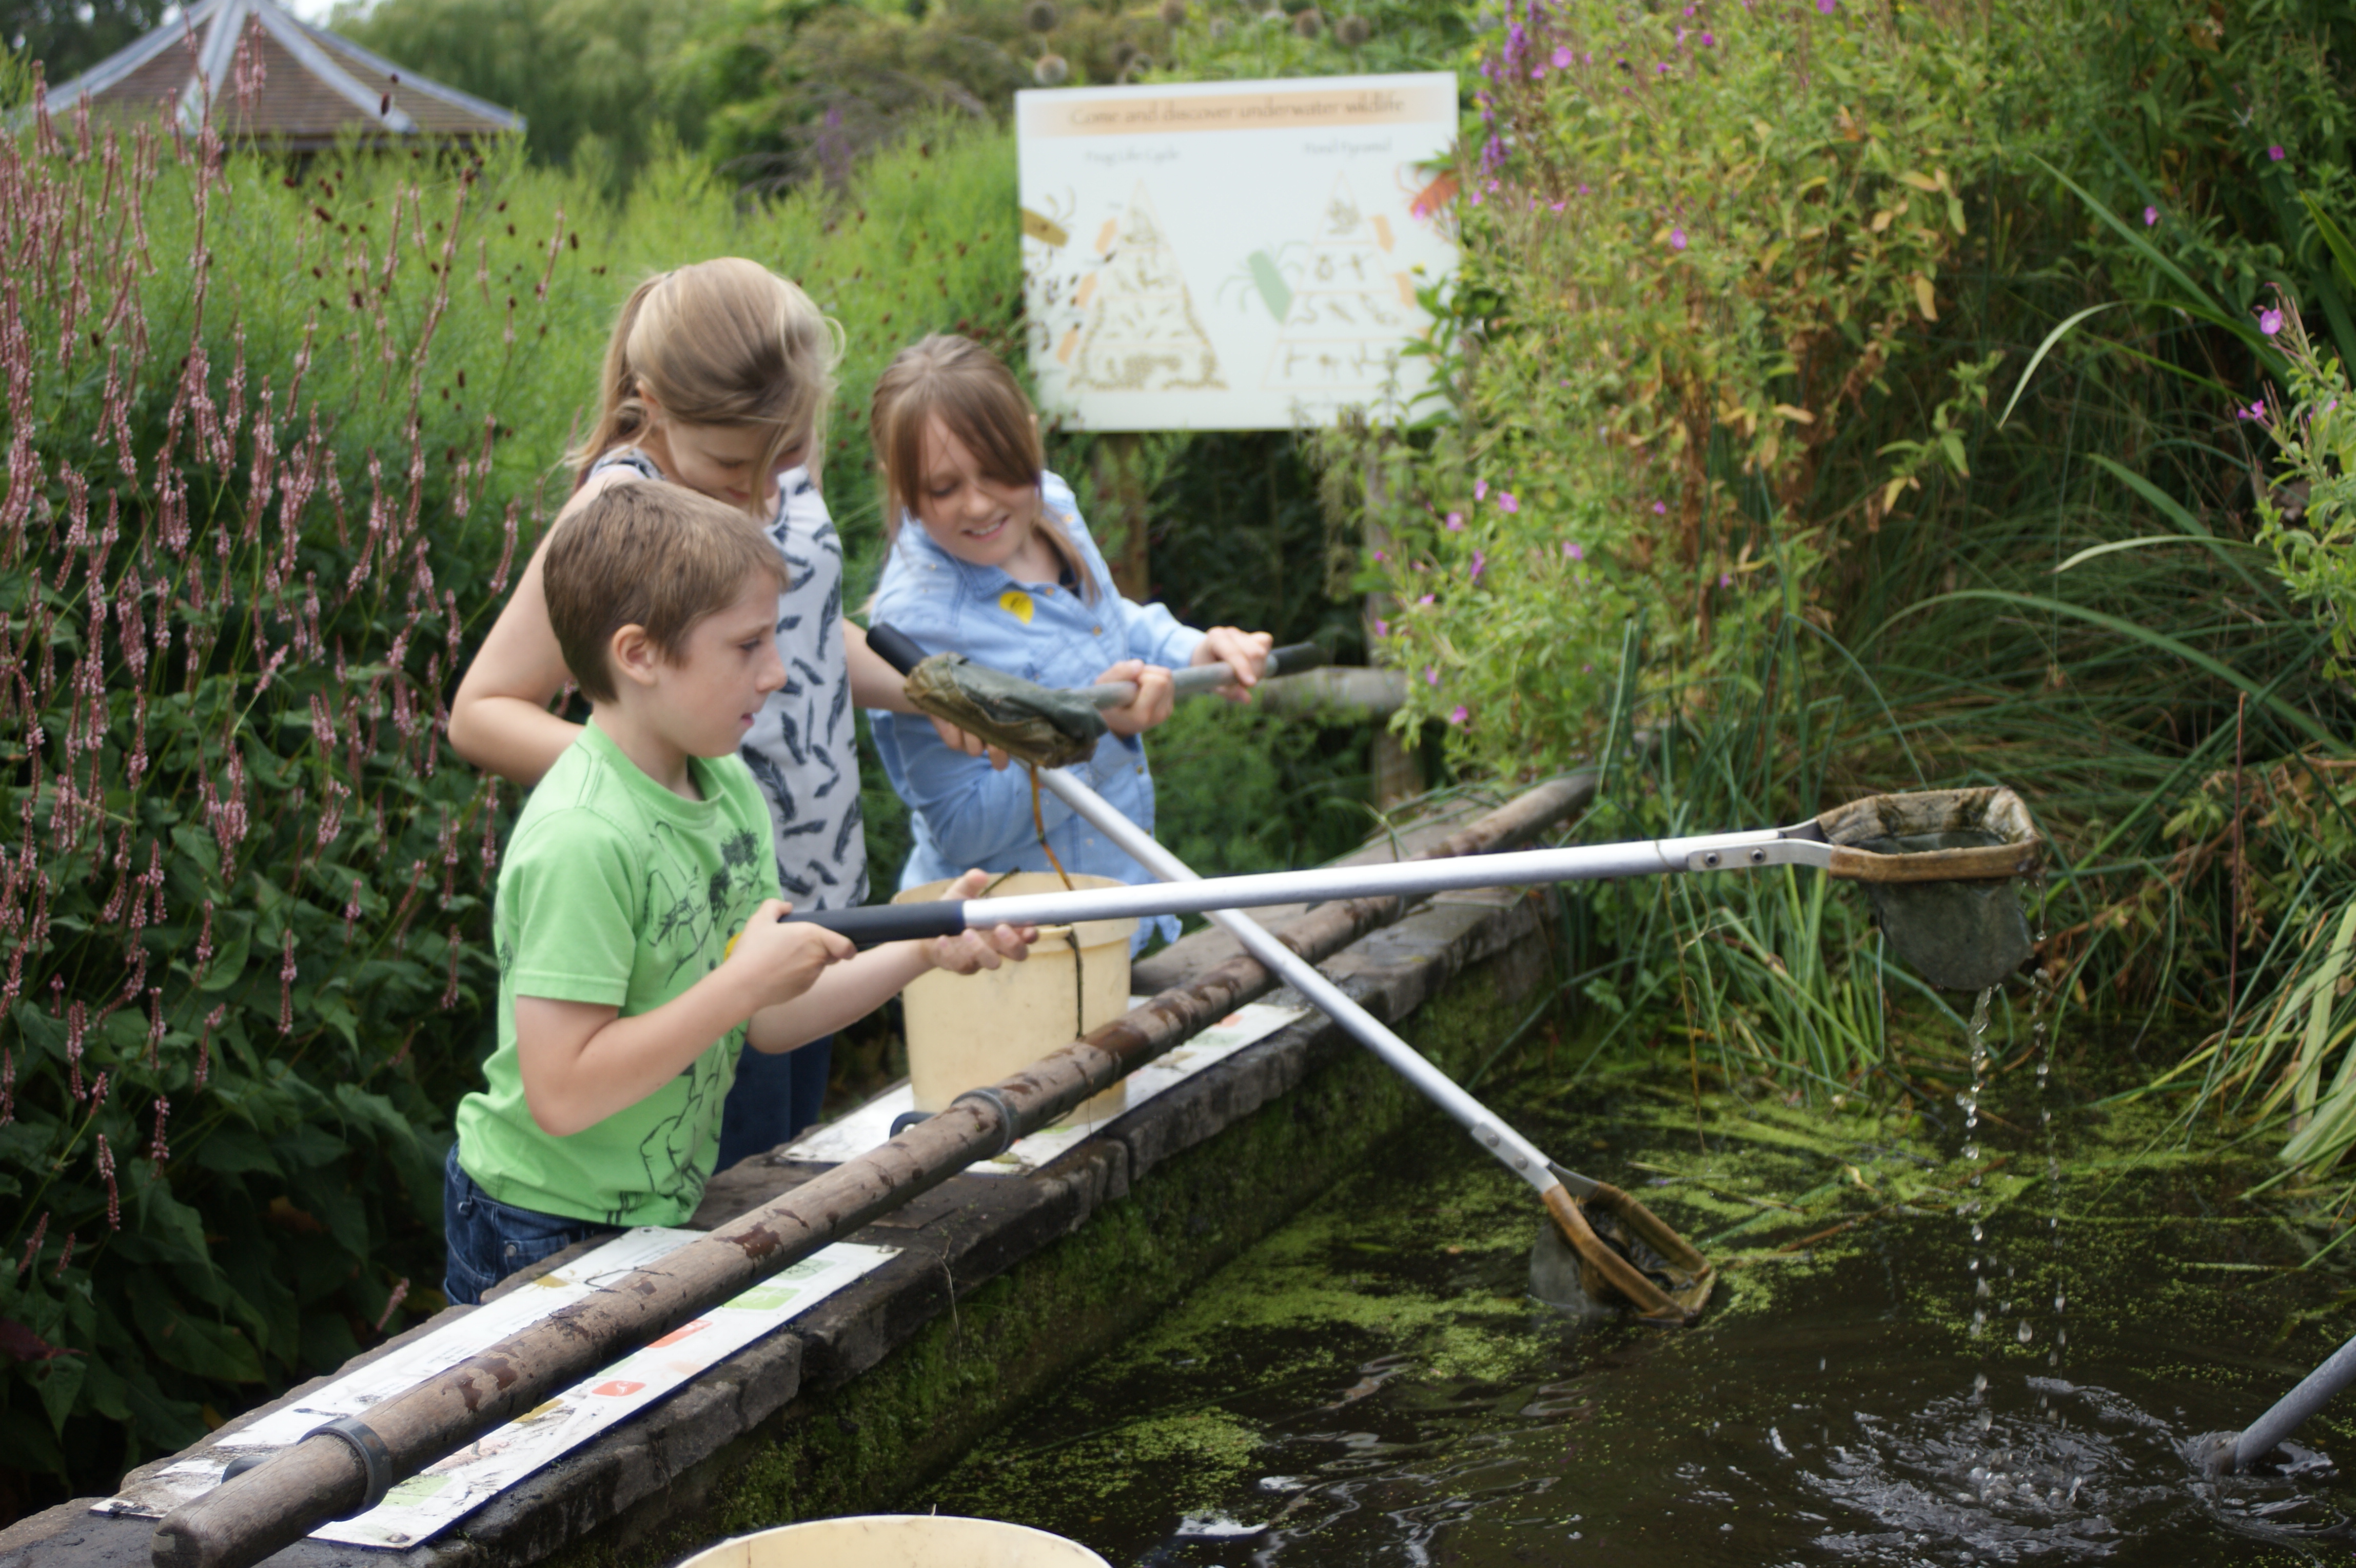
Pond Dipping, Pensthorpe by Spencer Wright
Pond dipping is a fun and educational activity for all ages. Creative Commons “Pond Dipping, Pensthorpe” by Spencer Wright is licenced under CC BY 2.0

Pond dipping is an excellent activity for children of all ages and is a great way to introduce them to a wide range of plants, insects and amphibians. It also offers an opportunity to learn about food chains and food webs as well as discovering variations in lifecycles and the effects of pollution on aquatic life.

For school groups, a pond dipping trip will satisfy many of the criteria for learning about life processes and living things, and it can also be used to provide inspiration for art, maths or English projects. Younger children will enjoy drawing or painting pictures of the creatures they find, as well as writing stories about their experiences.

Don’t forget though that pond dipping isn’t just for children. Ponds, pools and small lakes are an integral part of our ecosystem and surveying the plant and animal diversity within them is an important way of assessing their health. If you are interested in volunteering as a pond surveyor, take a look at the Freshwater Habitats Trust website for more information.

How to pond dip:
  1. Half fill a tray or bucket with water and set aside. Do the same with your collecting pots and/or magnifying pots (if using).
  2. Use a net to dip into the pond. Sweeping in a figure of eight will ensure that you retain the catch in the net. Areas around the edge of the pond, especially near vegetation, tend to be the most productive. Take care not to scoop up mud from the bottom of the pond, as this will clog up your net and make it difficult to see what you have caught.
  3. Gently turn the net inside out into the tray. Once everything has settled, you should be able to view a fascinating selection of pond-dwelling creatures. A pipette can be used to transfer individual specimens to a magnifying pot for a closer look.
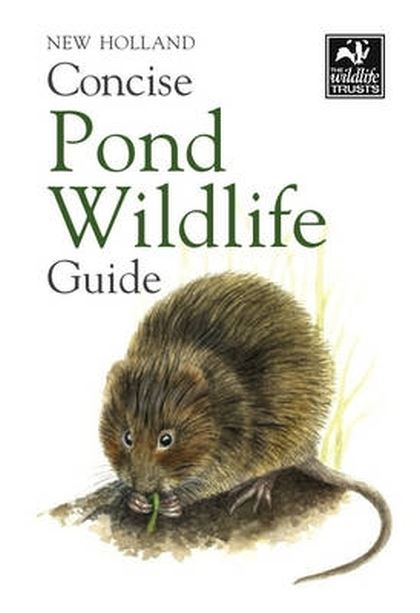
  4. Use a guide such as the Freshwater Name Trail or the FSC “What’s in my Pond” pack to identify the creatures found. For adults or older children a more in depth guide such as Ponds and Small Lakes or the New Holland Concise Pond Wildlife Guide will cover a greater range of species.
  5. When you have finished, make sure to return all water and inhabitants to the pond. Trays, pots and nets should be rinsed and dried thoroughly before storage. If you are going to be using nets in different ponds then sterilising using a broad spectrum disinfectant will help prevent the spread of disease.

Please note: Children should always be well supervised and aware of health and safety rules when working near water. Suitable clothing should be worn; wellington boots or other sturdy footwear are recommended.

Pond dipping equipment:

At NHBS we stock both individual and class sized pond dipping kits. These contain nets, trays, pots, magnifier and pipettes, as well as the excellent (and waterproof!) Freshwater Name Trail which will help you to identify the key animals found in UK ponds. Or why not choose from our top 10 list of equipment and books for pond dipping:

  1. Pond Net

Pond Net

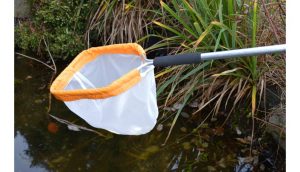
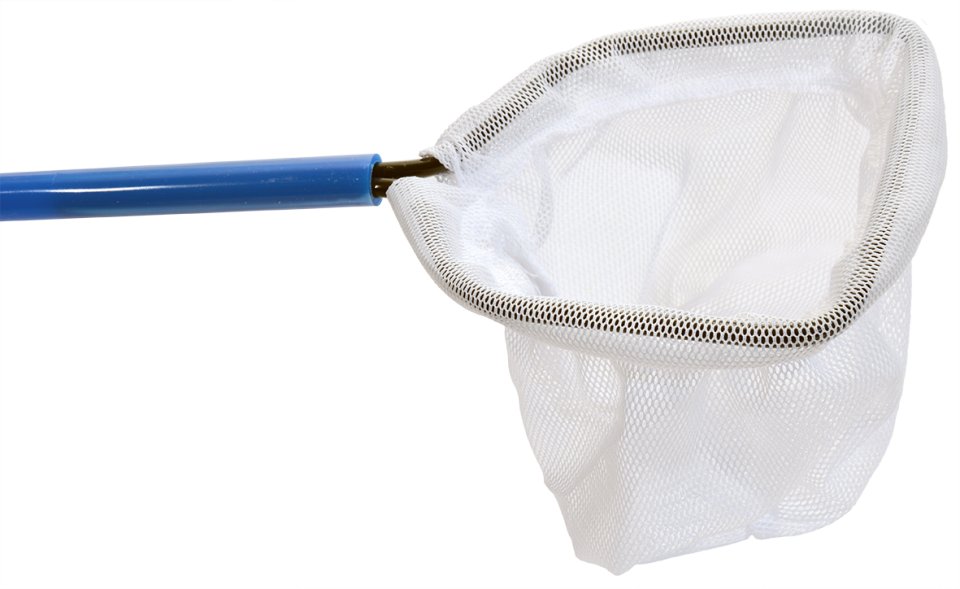
Made at our workshop in Devon, the Pond Net is a high quality, lightweight net with a removable bag for cleaning. The bag is made from woven 1mm mesh which is ideal for pond dipping. Also available in a telescopic version.

2. What’s in your Pond?

Find out the names of the insects, plants, amphibians and repiles that you see. Features three of the FSC’s popular fold-out charts: Reptiles and Amphibians (frogs, toads, newts, slow worms, lizards and snakes), Freshwater Name Trail (classic pond dipping guide) and Commoner Water Plants (from lilypads to water mint). Also includes a card-sized magnifier.

3. Heavy Duty Sampling Trays

These strong white trays are ideal for pond dipping as they are robust and stable enough to be carried when full of water. Available in three sizes.


4. Bug Pots (Set of 10)

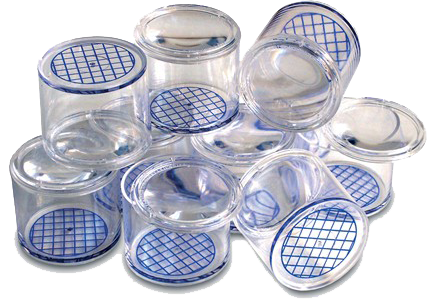
This set of 10 Bug Pots is perfect for pond dipping, as well as general nature studies. Each pot has a 2.5x magnifying lid and a measurement grid of 5mm squares on the base. They are ideal for storing and observing specimens.


5. RSPB First Book of Pond Life

Through beautiful full-page illustrations accompanied by key information about each creature, the First Book of Pond Life will help to encourage young children’s interest in the outside world and the wildlife around them. Covers 35 of the most common pond species. Also includes a spotter’s chart for children to fill in and links to internet-based activities.

6. Economy Pond Net

A simple and affordable pond net. Knotless mesh is guaranteed not to run if holed and, importantly, will not harm specimens which are collected in the net. A plastic handle makes it very lightweight. Available in three sizes.

7. Ponds and Small Lakes: Microorganisms and Freshwater Ecology

Suitable for adults and older children, this books introduces some of the less familiar and microscopic species found in ponds such as diatoms, desmids and rotifers. Along with excellent photographs, the book provides useful identification keys so that readers can identify, explore and study this microscopic world. This book is due for publication March 2017.

8. Pipettes

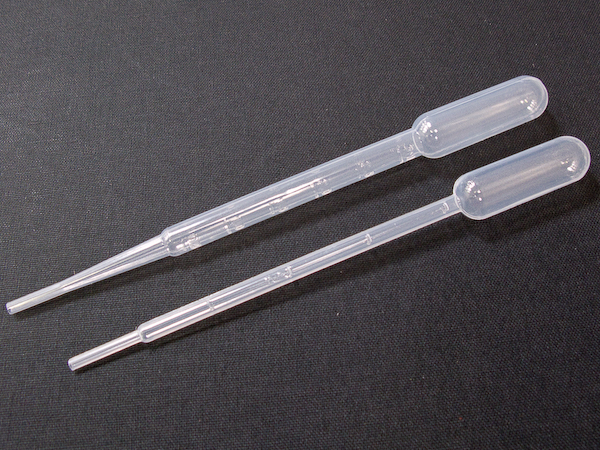
Small pipettes are extremely handy for sorting through and picking up tiny creatures found when pond dipping. They can also be used to transfer samples to microscope slides to look at the microscopic specimens found. These 3ml pipettes are available singly or in packs of 10 or 100.

9. 125ml Collecting Pots

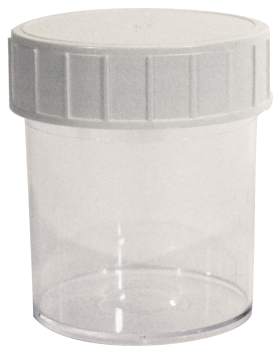
These sampling containers are made from see-through rigid polystyrene and have secure screw-on lids. They are recommended for liquids and so are ideal for keeping specimens when pond dipping or rock pooling. Available either singly or in packs of 10, 30 or 100.  Different sizes of pot can also be purchased.

10. Bloomsbury Concise Pond Wildlife Guide

Packed with information on more than 190 species of animal and plant that inhabit ponds, pools and small lakes in northern Europe. Among the fascinating animals featured are freshwater sponges, hydras, water bears, worms, leeches, water snails, dragonflies and damselflies, frogs and toads, bats, fish, birds, water voles and otter.


The NHBS Guide to Moth Traps

Flatpack Skinner Moth Trap with Electrics
The Flatpack Skinner Moth Trap is made from FSC timber and is easy to assemble.

In this brief guide, we will take a look at the main types and designs of moth traps. We will also address many of our most frequently asked questions, including why you will no longer find Mercury Vapour traps for sale at nhbs.com.

Skinner Moth Traps

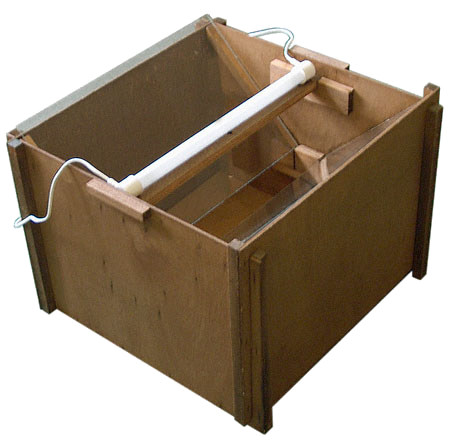
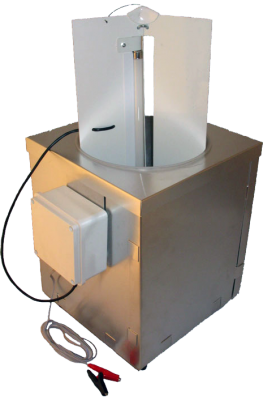
Mobile 15W Actinic Skinner Moth TrapSkinner Moth Traps will attract in excess of 500 moths on a very good night. The main advantages of Skinner Traps are price and portability, and they also let you access your catch whilst the trap is running. Skinner Traps collapse down quickly and easily when not in use, making them very easy to store and transport. They are available with actinic electrics and can be provided with either 240V (mains powered) or 12V (battery-powered) control panels. Lucent traps have a clever design with all components fitting neatly into a suitcase-style case.

Heath Moth Traps

6W 12V Portable Heath Moth TrapThe traditional Heath Moth Trap has a small actinic tube mounted vertically within three vanes that work together to attract and then deflect moths downwards into the holding chamber below. The traps are very lightweight and portable and are usually powered by a 12V battery, although mains powered traps are also available. Variations on the Heath Trap design include the “Plastic Bucket” model which allows the trap to be packed away and carried conveniently. Although catches from Heath Traps tend to be less than for Robinson and Skinner traps due to their lower wattage bulbs, their affordability and portability makes them a great choice for beginners or for use at remote sites.

Moth Collecting Tents

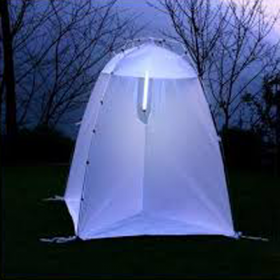
Moth Collecting TentMoth Collecting Tents provide a unique alternative to traditional style moth traps and are ideal for educational use or group trapping events. They consist of a large white fabric structure that is fitted with a UV light source. Moths that are attracted by the light settle on the white fabric and can be observed or collected for study. As the collecting area is large and accessible, it is easy for many individuals to view the specimens at the same time. However, tents and sheets do not have the same retention rates as traditional box-type traps.

Moth Trapping FAQs

What kind of trap is best for garden or educational use?
The design of the Skinner Trap means that you can access the catch without having to switch off the bulb. This is particularly useful if you are looking at your catch over the course of the evening, rather than leaving the trap all night and returning to it in the morning. Skinner Traps also have the added benefit of collapsing down, making them easier to store.

Which trap is best for unattended trapping?
Some moths will escape from both Heath and Skinner trap designs, but Skinner Traps will attract a higher number of moths.

Which trap is most portable?
Heath Traps are the smallest and easiest to transport. They can also run off a 12V battery, allowing them to be used in remote sites. The Safari and Ranger Moth Traps are the smallest and lightest traps we sell, so are ideal for travelling.

Why can I no longer find Mercury Vapour traps on your website?
Mercury Vapour bulbs have recently been phased out as part of the Restriction of Hazardous Substances Directive. Therefore, we have removed the traps from our range and are now focusing on actinic replacements. If you have a Mercury Vapour trap and would like to convert it to run with actinic electrics, please get in touch with us to have a chat about this.

What are actinic bulbs?
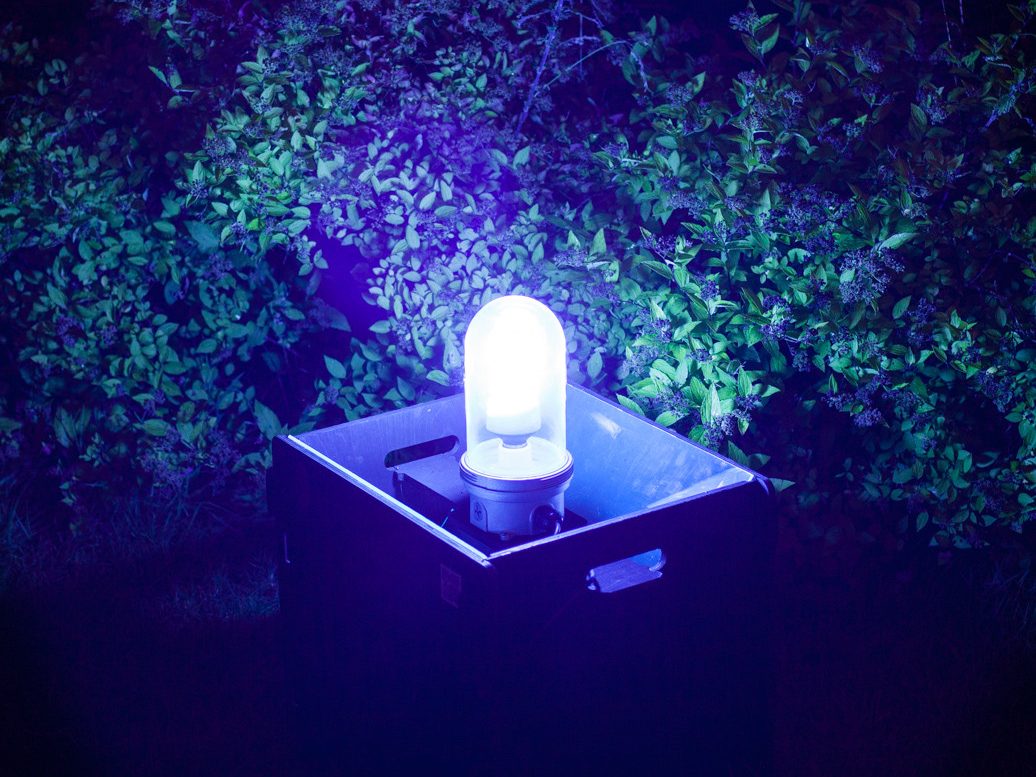
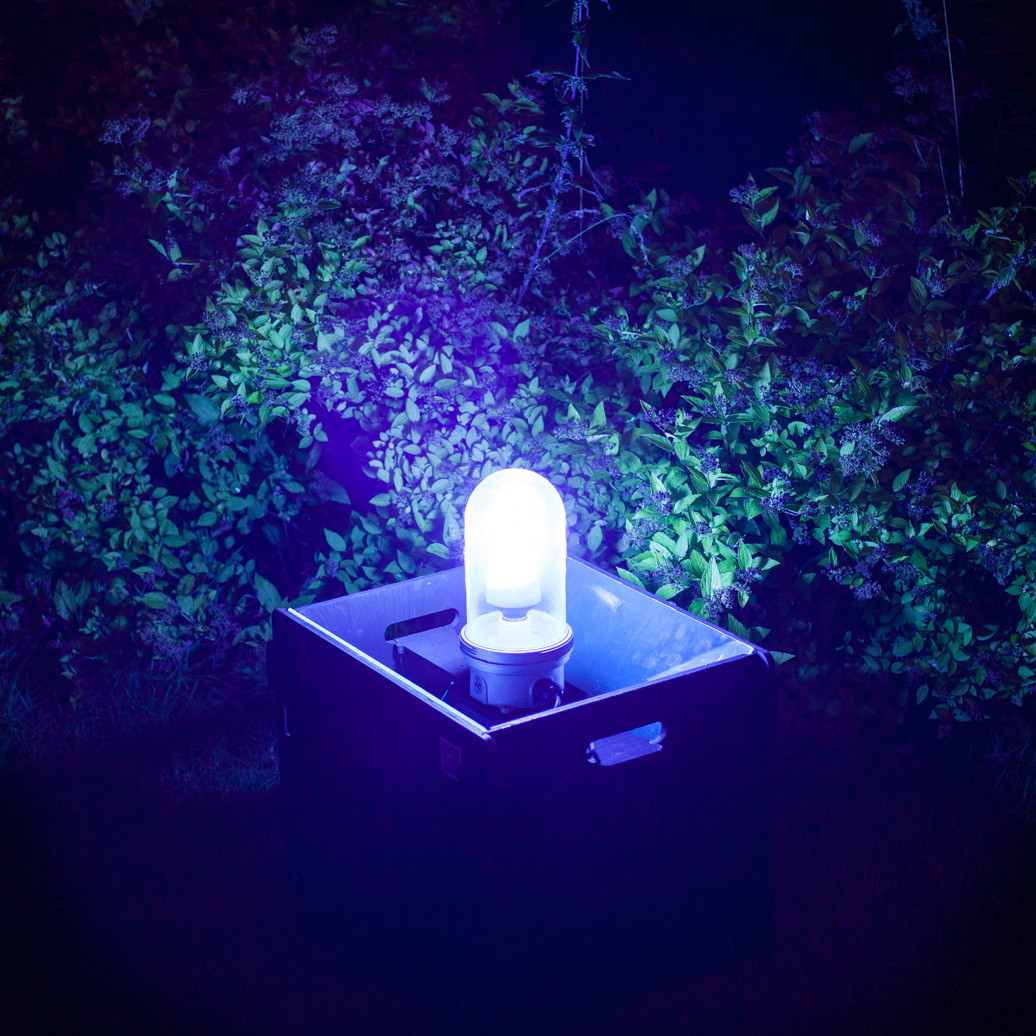
Actinic bulbs produce a small amount of UV light alongside the visible light which makes them more “attractive” to moths. They are not as bright as Mercury Vapour bulbs but because they don’t get as hot they are much safer to use, particularly for public and attended trapping events. They are also much less of a disturbance to neighbours if you are using the trap in your garden.

What is the difference in catch rates between the different traps?
Skinner Trap will attract the highest number of moths. Heath Traps will retain fewer moths but will still attract the same range of species. You can therefore obtain similar results trapping for a longer period or over several nights in the same area.

Do different traps attract different species?
No, all traps using actinic electrics will attract the same range of species. However, species of macro-moth from different families have been shown to vary in the extent to which they are attracted to a light source. This means that care must be taken when estimating local abundance from the relative abundance of species in your trap as some species will be attracted from a wider area than others.

A full range of moth traps and other entomological equipment is available at www.nhbs.com