The SM Mini Bat is the latest addition to the ultrasonic range of acoustic recorders produced by Wildlife Acoustics. This passive bat detector offers comparable versatility and quality to the highly successful SM4 Bat but at a much lower cost and a smaller size of only 12cm x 13cm. These impressive detectors also feature an easy to use configuration mode through your smartphone or tablet over Bluetooth.
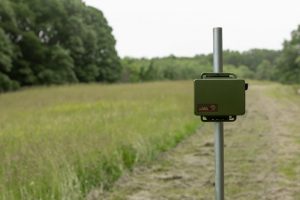
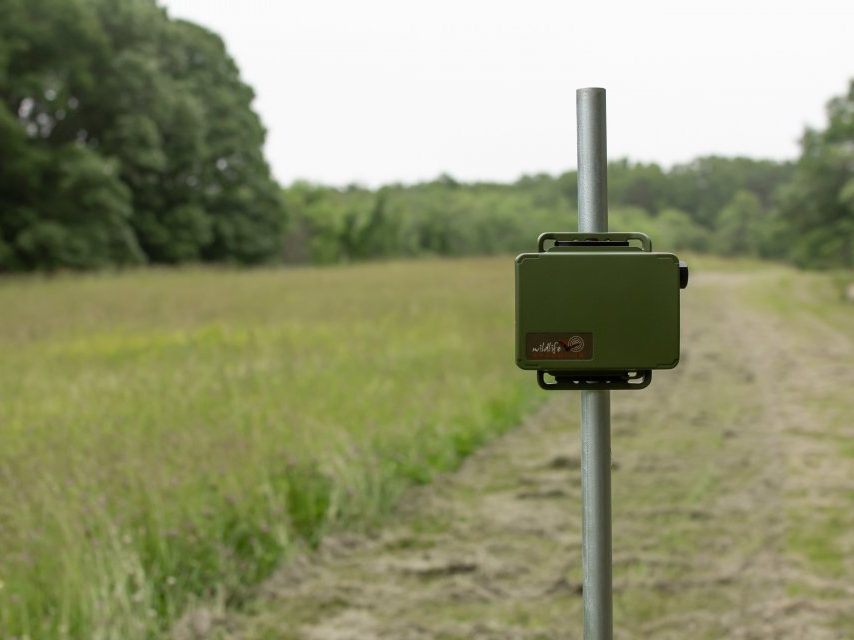
In mid-March we deployed an SM Mini in a rural location in South Devon to record any emerging bats, as the spring season got underway. Our aim was to find out how easy setup is when using the Mini Configurator app and to get an example of its recording quality. Originally our plan was to retrieve the detector after a period of three weeks, however the developments around Covid-19 meant that it was unsafe to do so. Therefore in this blog we will cover our experiences with setting up and deploying an SM Mini. Once social distancing rules are lifted we will provide a follow on update with our recordings.
We used a 32 GB SDHC card, however the SM Mini Bat can support SDXC cards of up to 1TB. The SM Mini Bat comes with a built-in microphone and when powered using 4x lithium-ion AA batteries it will record for up to 30 ten-hour nights. You can add an additional acoustic microphone to record birds, amphibians and other species when not using the ultrasonic microphone.
Setting Up
The SM Mini is designed to be used with a companion app called Mini Configurator. This free app allows you to easily configure the SM Mini’s recording settings before deployment as well as check the status of your detector while it’s in the field.
When powered on the SM Mini Bat emits a constant Bluetooth beacon, and when you are within range of this beacon the Configurator app will automatically detect the recorder and display it in the recorders screen of the app. You can now press the status icon on the app and view the current status of the detector, including SD card capacity, battery life, recording mode and number of recordings taken.
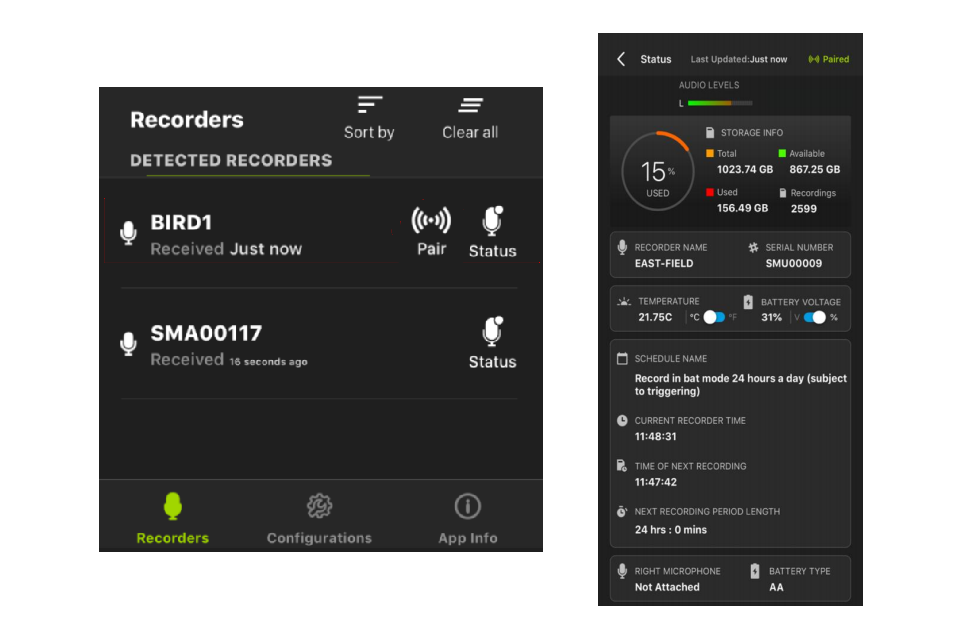
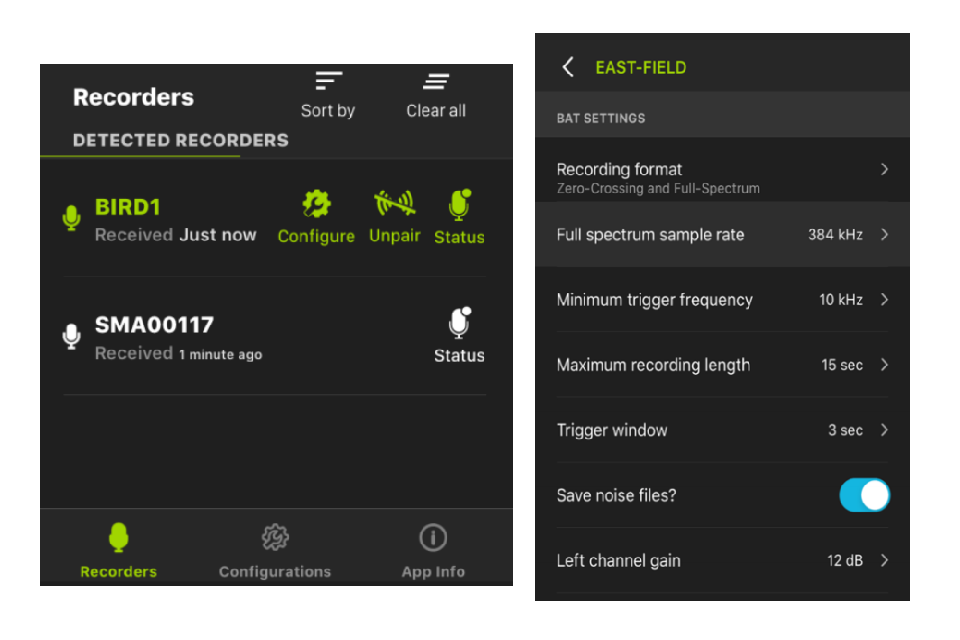
To set up or edit an SM Mini’s recording schedule you must pair the detector with the app. The first step in this process is to hold down the PAIR button on the SM Mini for three seconds, which prepares the device to be paired (indicated by the green flashing Bluetooth light). On the Mini Configurator app a ‘pair’ icon will then appear next to the detector’s name, and once pressed the app will be paired with this detector. Once paired the SM Mini synchronises its time and date to your location and a new ‘configure’ icon will appear next to the detector, which grants access to the SM Mini’s recording settings. These settings include the recording schedule (e.g. an hour before sunset through to sunrise), recording format (zero crossing or full spectrum), minimum trigger frequency and recording length.
What we found
Setting up an SM Mini and getting to grips with the Configurator app can seem daunting at first, but with the quick starter guide and Wildlife Acoustics’ helpful online tutorial videos, we found it to be a relatively straight forward process. The app has a simple user interface with clear graphics and together this really helps make navigating the app easy. This was a welcome change when compared to the issues that new users can have when navigating the older style LCD menus on previous detectors.
The beacon status system has also proved incredibly useful whilst we have had the detector deployed. Since the social distancing restrictions came into place, we have been unable to access the detector. However we were able to guide the owners of the land where the detector is deployed, through the process of installing the app and checking its status for us. This has been incredibly helpful as we can see whether we have recorded any bats in its current location, as well as whether the batteries need to be replaced.
Despite its small size we were still able to run a python lock around the detector, however as our location was a private residential area we were not concerned about theft and so opted for using a few cable ties to secure the detector in place.
Our Opinion….so far
The SM Mini Bat offers a user-friendly passive bat detector building on previous iterations in the Song Meter bat detector range. Its small size means it’s much easier to store and transport, and it is much more discreet when deployed in the field, compared with other detectors. Being unable to add an additional external microphone is a limitation to keep in mind, however for us this wasn’t an issue.
We will post a follow up blog once we are able to retrieve our detector and access our recordings.
The Song Meter Mini Bat Detector is available to order from the NHBS website. For assistance with any queries regarding our range of bat detectors, please do not hesitate to contact our team of Wildlife Equipment Specialists on 01803 865913 or equipment@nhbs.com.
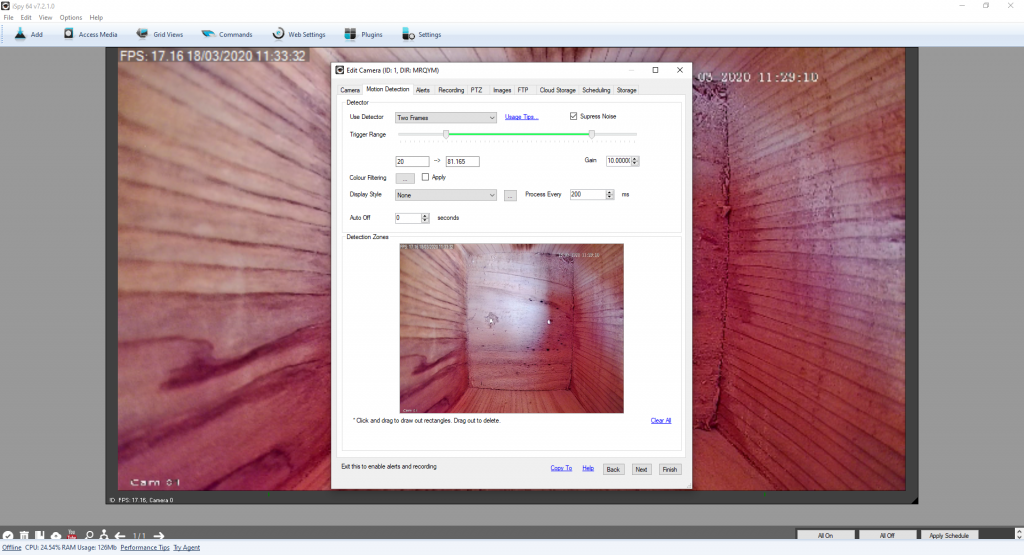
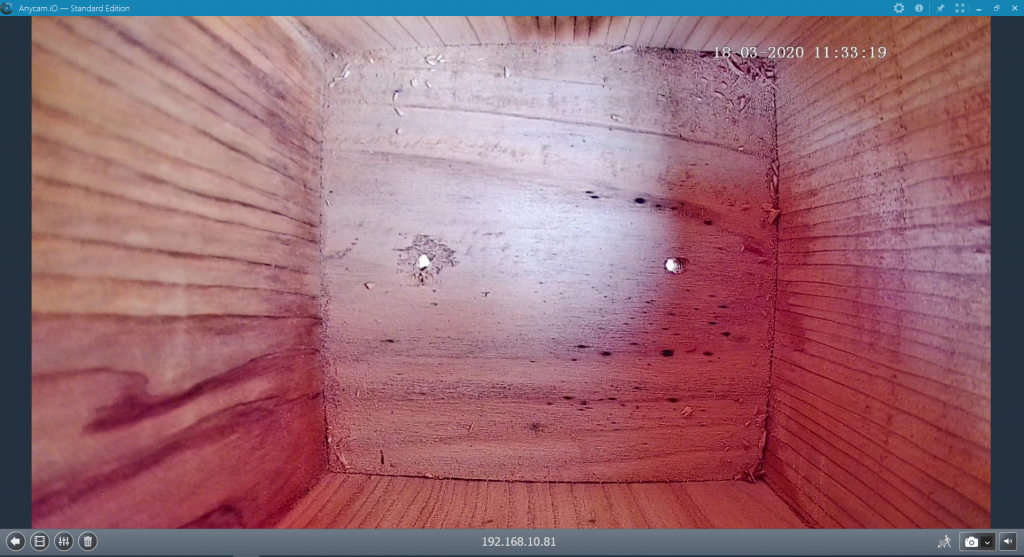
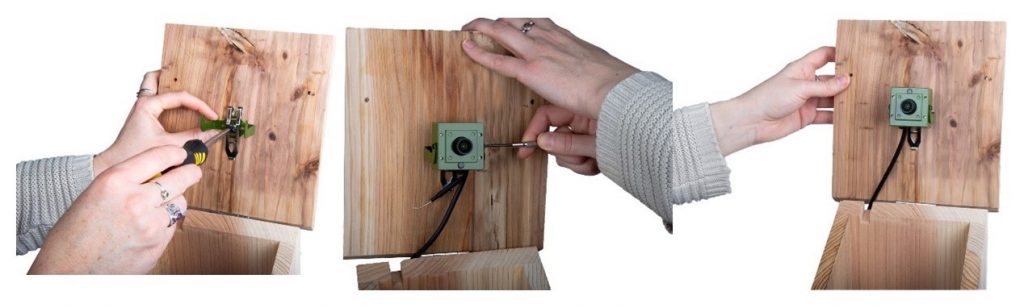 After the box was installed in position, we connected everything up and downloaded software to connect to the camera. We have tried three software programs, all of which are free to download, although additional features may require payment.
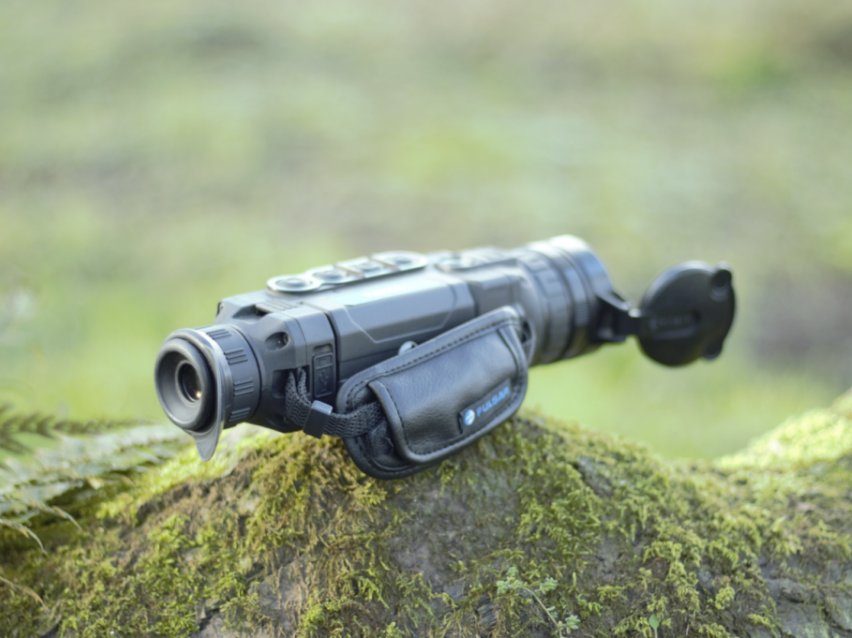
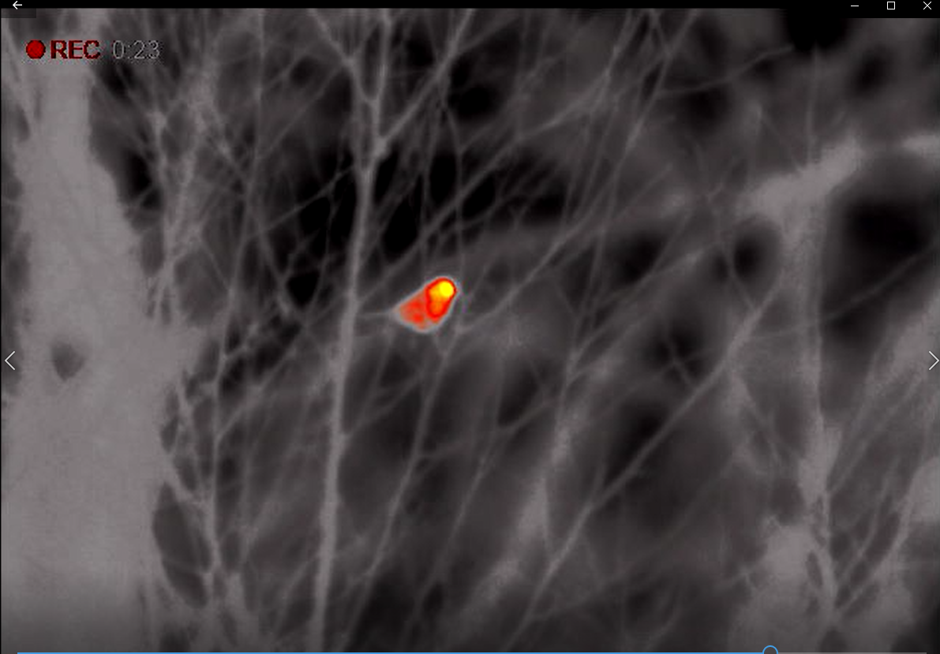
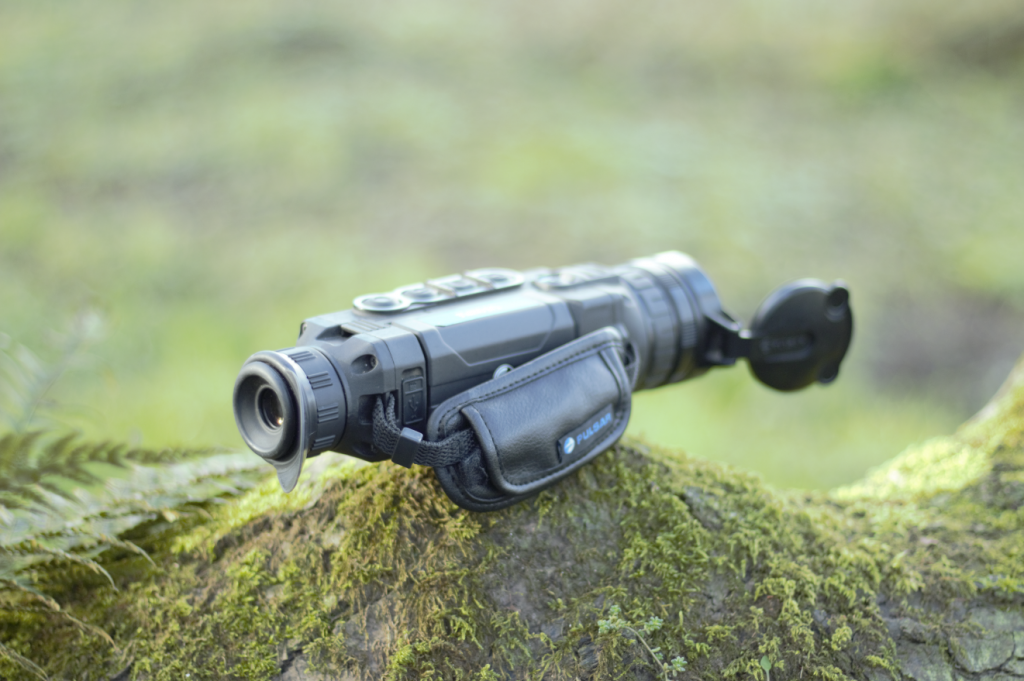

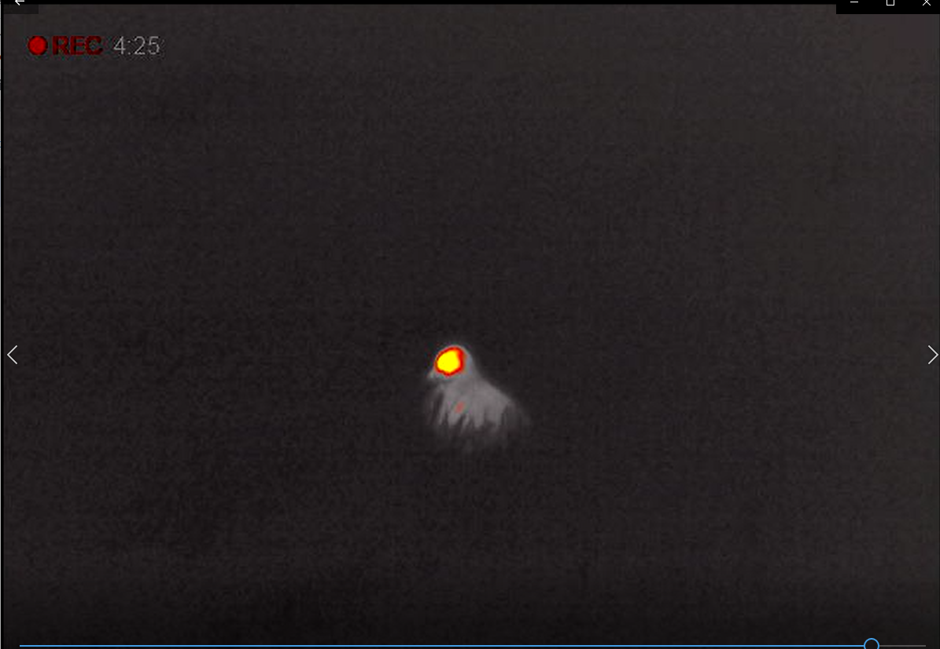
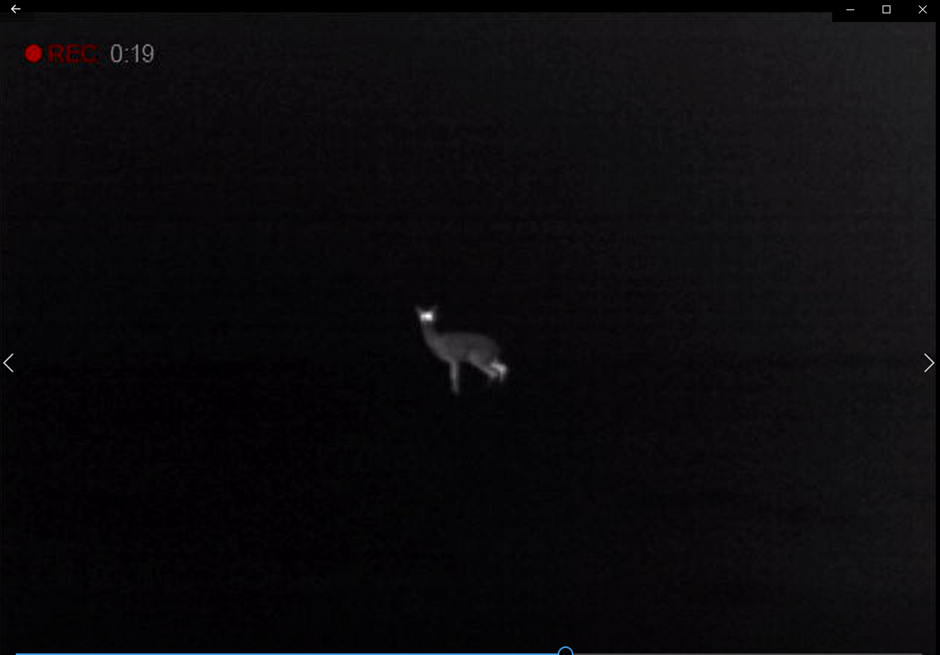

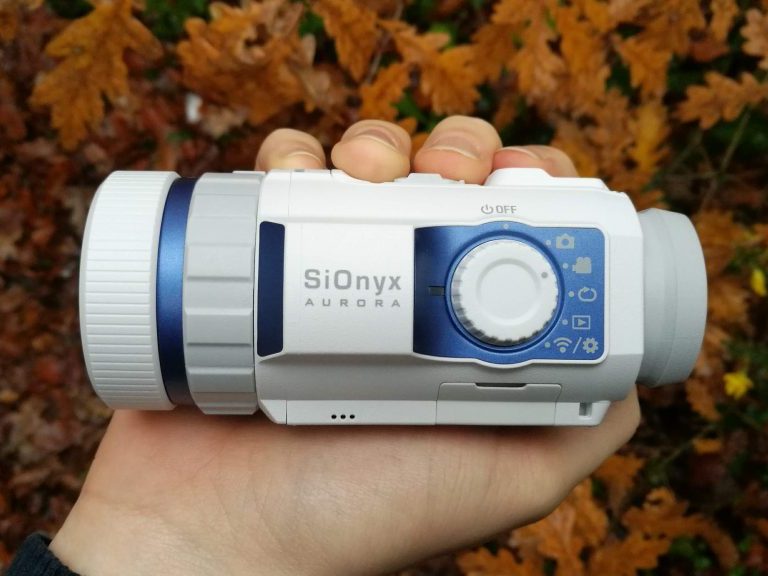

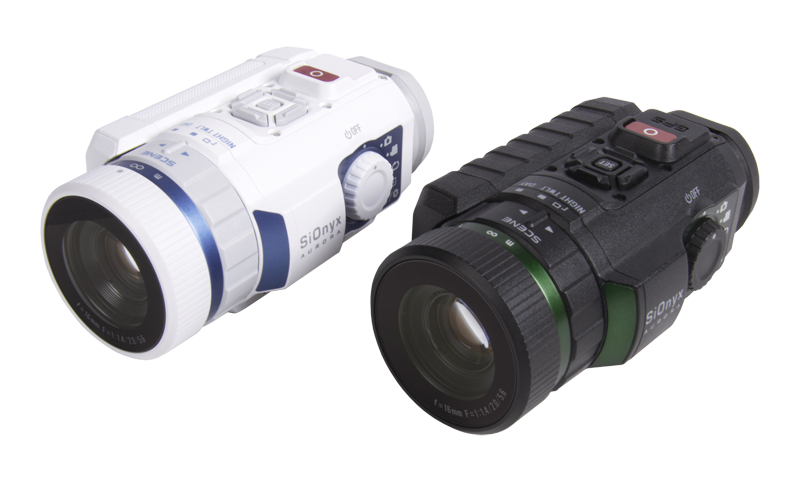
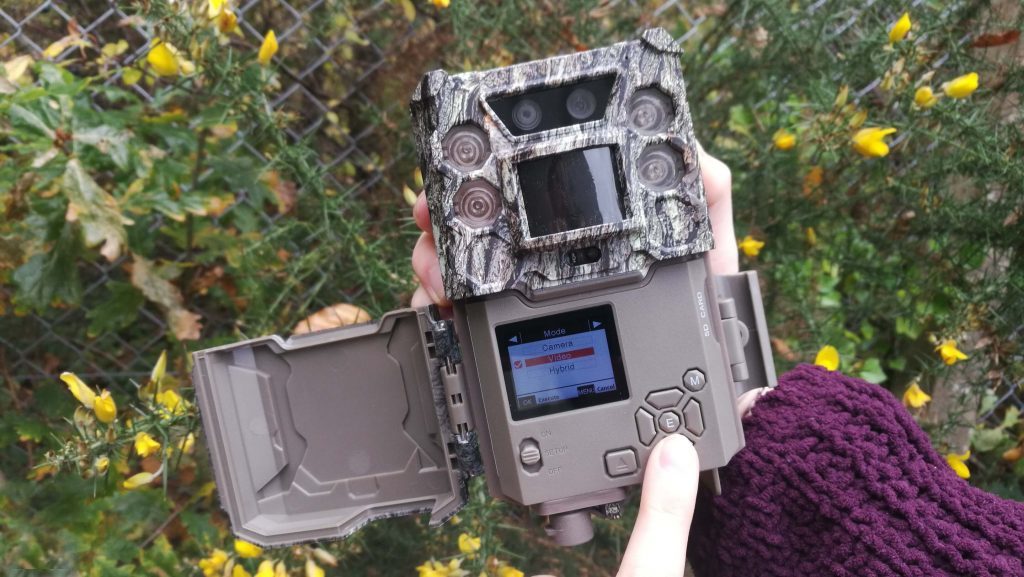
 We ventured out to test the Aurora in daylight, twilight, and night conditions to see how the camera performed. The Aurora was very simple to use with each setting requiring a simple twist of a dial. Even the accompanying smartphone app was intuitive and quick to set up, allowing multiple users to easily view and record footage without needing to look through the device itself. The camera also had a tripod mount thread which was useful when wanting steady shots.