 As spring starts getting into swing, it’s time to begin looking forward to the summer birding season. With the gradual relaxation of international travel rules and things seeming to get safer, many of us are considering birding trips for the first time in years. Whether the venue be the sea cliffs of Anglesey, the wide mud flats of Essex and Suffolk or the dramatic heights of the Pyrenees, having the right kit for the job is at the forefront of every birder’s mind.
Kowa Optics holds an interesting place among birding brands. In the UK, at least, they have seemingly not had the name recognition of other big-brand, high-end optics suppliers until recently, and yet their reputation among serious hobbyists is largely unrivalled. Uniquely, Kowa have pioneered the construction of spotting scope lenses from pure fluorite crystal, a hard-to-work-with material that is peerless in its light dispersing properties. Though this technology comes with a hefty additional price tag, the quality of image that it produces has made waves across the birding sphere.
In addition to their high-end, pure fluorite optics, Kowa offers a range of more entry level equipment for those looking to acquire a quality scope or pair of binoculars at a competitive price. Among their more popular offerings are two compact spotting scopes – the entry level multi-coated TSN-500 series and the high-end, pure fluorite crystal TSN-550 series. The TSN-500 20x-40x range is a veteran of the birding market, having been around in one form or another for years now, but are updated fairly regularly in keeping with new technological advances. Compact, robust, and with a great reputation, they have a strong appeal for travelling birders and outdoor sportspeople. We were thrilled to get our hands on the Kowa TSN-501 – the angled model in the range – to see how it performs.
First Impressions
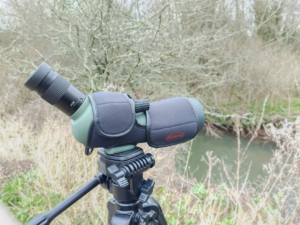
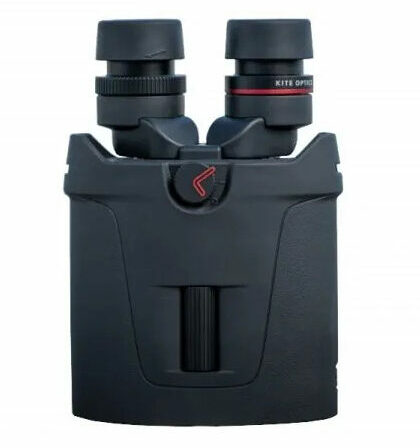
When the box is opened, the first thing you notice about the TSN-501 is how truly compact it is. Somehow, promotional images just don’t do it justice. At less than 25cm long and weighing in at just 400g, portability certainly won’t be an issue. There was much oohing in the NHBS office when it was unboxed.
The plastic casing is good quality and feels pleasant in the hand. The neoprene cover that can be purchased separately is well worth it too, providing that little bit of extra protection that will allow you to carry the TSN-501 around with confidence.
The lens caps are secure, though they don’t have the provision to be attached to the body when not in place. The focus wheel is placed comfortably so that the user can turn it while steadying the scope with their palm. It’s beautifully smooth, with no discernible kickback and minimal resistance. The image can be magnified between 20x and 40x by rotating the eyepiece – this was quite stiff on the model tested, but while this could be frustrating it does ensure that the zoom doesn’t shift during use. There are no click-stops, as is fairly usual among spotting scopes, but two white markers indicate when the magnification is at 25x and 35x respectively.
The extendable eyecup is made from softer rubber and is comfortable on the eye. It is also fine enough that it is possible to use a phone or similar device to take photographs through the lens at a pinch. This can be made easier with Kowa’s extensive range of digiscoping accessories.
How We Tested
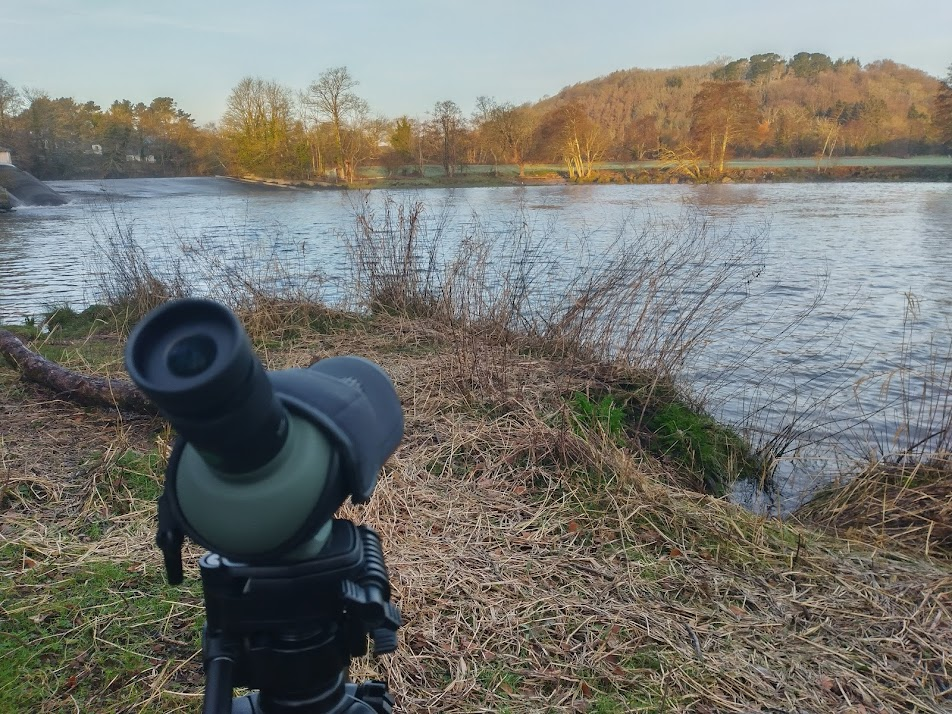
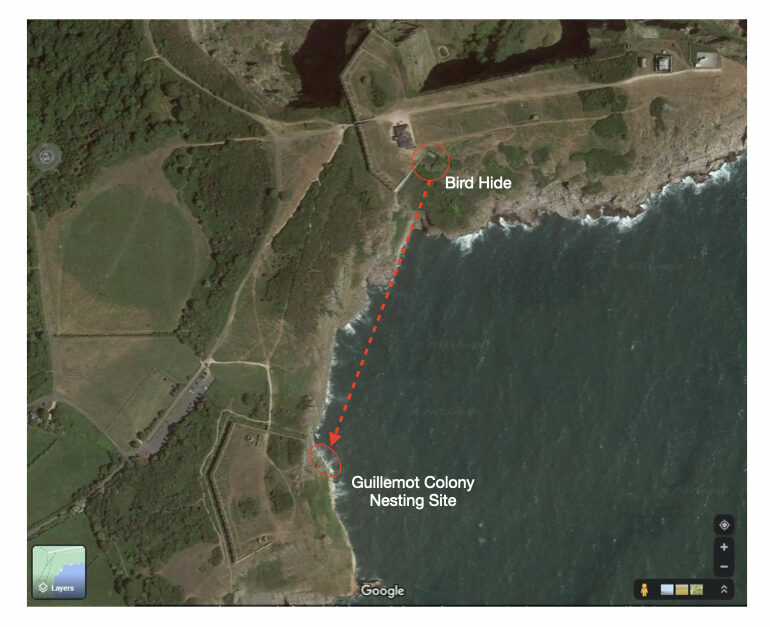
One rather cold day in March we took the Kowa TSN-501 angled scope down to the River Dart that runs alongside NHBS’s offices in Devon. Alongside some casual birding while we had the chance, we set up a more formal test of its capabilities, with natural markers chosen at intervals to see how the optics perform at different ranges. We also made sure to note how performance differed when the objects viewed were backed by the bright sky, reflective water and darker ground. Effects such as chromatic aberration – the fringing of a dark object with a faint halo of colour – can be particularly pronounced against bright backgrounds, so it was important to test the unit in a range of conditions.
We used a Velbon CX 444 tripod – a rather heavy model that felt like overkill for such a light scope! Still, it attached painlessly and securely, thanks to Kowa’s universal tripod mount, and helped offset any shaking that the wind might have caused.
 What We Found
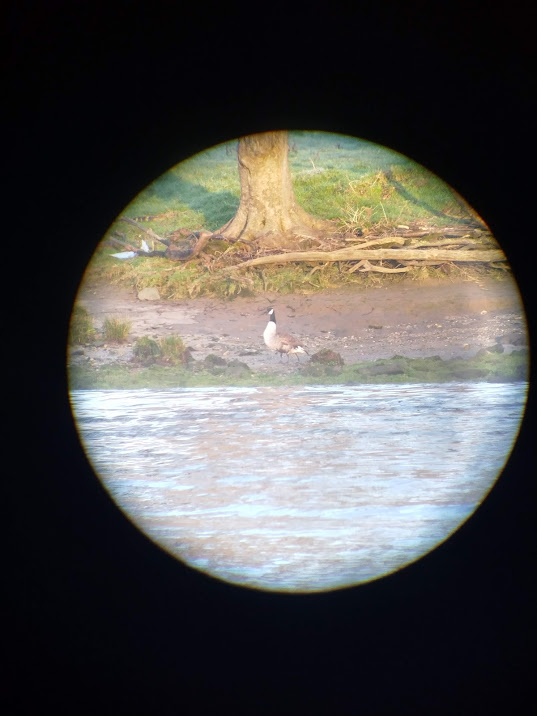
The Kowa TSN-501 performed well for us, providing a consistently clear, bright and fairly aberration-free viewing experience across all conditions tested. Unavoidably, it does have a small field of view, especially when zoomed in to 40x, so it’s best used in conjunction with a pair of binoculars.
That said, the quality of the image really can’t be overstated for a scope of this price. I found it to be easily comparable with full-size scopes of a similar price and probably rivalling those of higher price brackets too. It doesn’t quite measure up to the quality of ED (extra-low dispersal) glass but is about as good an image as you’ll find in non-ED optics. The colours are well represented, and the image is clear and bright with excellent contrast. You’d struggle to follow a bird in flight, and there is noticeable distortion around the periphery of the image, but for observing stationary or slower moving subjects, it makes an ideal tool. I had no trouble following mergansers as they moved across the surface of the water, or wagtails hopping across the weir. During the trial, I wondered whether it might especially suit ornithological surveyors or other professionals who need to identify species rather than make detailed observations at the highest image quality possible.
It is waterproofed and nitrogen-filled, so regular use in adverse conditions shouldn’t be an issue, and its compact nature makes it ideal for carrying in a kit bag. As stated earlier, it really makes a difference to have the neoprene case, providing an extra level of protection when travelling over rougher ground.
 Our opinion
The Kowa TSN-501 is a really quite remarkable little piece of kit. For a reasonably priced, compact travel scope, it provides a clear, bright image, despite the small lens aperture. Although it struggles at long range and in conditions where a wide field of view is necessary, it represents an excellent choice for the travelling birder on a budget.
It’s easy to see why Kowa have built such a reputation among birders. Above all else, the little TSN-501 represents impressive value for the money spent. Plenty of much larger scopes for the same price or higher would struggle to offer the same image quality, and few compact scopes come anywhere close. It will never be a substitute for a good-quality, full-sized spotting scope with ED optics, but among non-ED optics, it stands head-and-shoulders above the crowd. If you are looking for something reasonably priced to put in hand luggage, transport in the glove compartment during a long trip or just to offer a bit more power than a pair of binoculars while remaining portable, there aren’t many better choices out there.
Kowa TSN-501 can be found here. Our full range of spotting and field scopes can be found here.
If you have any questions about our range or would like some advice on the right product for you then please contact us via email at customer.services@nhbs.com or phone on 01803 865913.

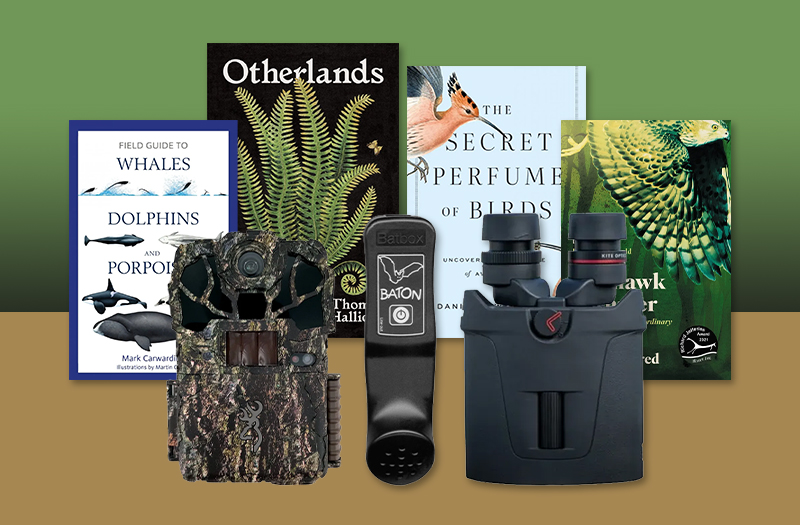
 The Secret Perfume of Birds with Danielle Whittaker
 Otherlands with Thomas Halliday
 Field Guide to Whales, Dolphins and Porpoises with Mark Carwardine
 Why Sharks Matter with David Shiffman
 Wildlife Photography Fieldcraft with Susan Young
 The Fragmented World of the Mongoose Lemur with Michael Stephen Clark
 • Fen, Bog & Swamp: A Short History of Peatland Destruction and its Role in the Climate Crisis by Annie Proulx


 Our nylon