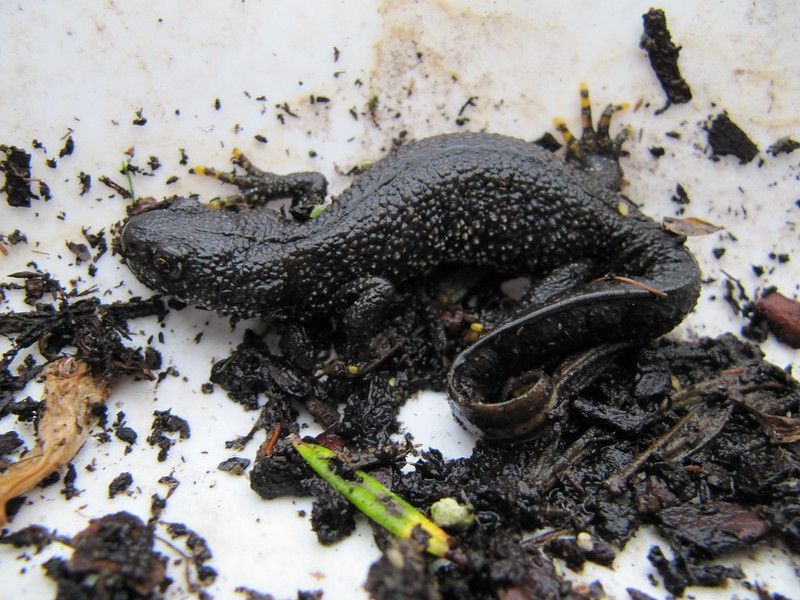
Great Crested Newts are the UK’s most strictly protected amphibian, requiring licensed ecological surveys if a development may affect them. As the first signs of spring emerge, ecologists are preparing for the start of this year’s newt survey season. Below, we have compiled a list of the most common newt survey methods and the equipment needed for each, so that you can ensure you have everything you need as the survey season approaches.
Netting
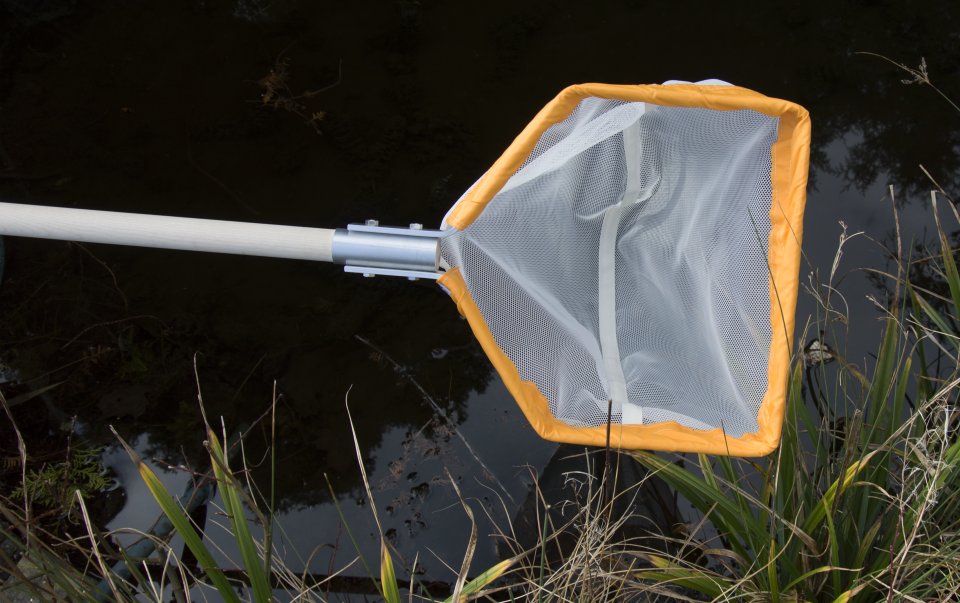
Netting for adult and larval newts can be a useful tool in both survey and relocation. Here at NHBS, we have designed an amphibian net specifically for the safe and efficient capture of newts. The net bag is attached by a wide velcro collar which prevents newts from becoming caught between the frame and the bag. The bag can also be removed from the frame to be disinfected between sites. The seams have been carefully placed so that they do not come into contact with the front edge of the net, and the material of the bag is a soft 2mm mesh. The net head is 300mm wide and comes with a sturdy, wooden 1.2m handle. We also sell a diamond-shaped amphibian net that comes in either standard depth or deep. Its shape is ideal for easy and safe capture for amphibians and is also available in a collapsible frame for easy transport between sites.
Dewsbury Trapping
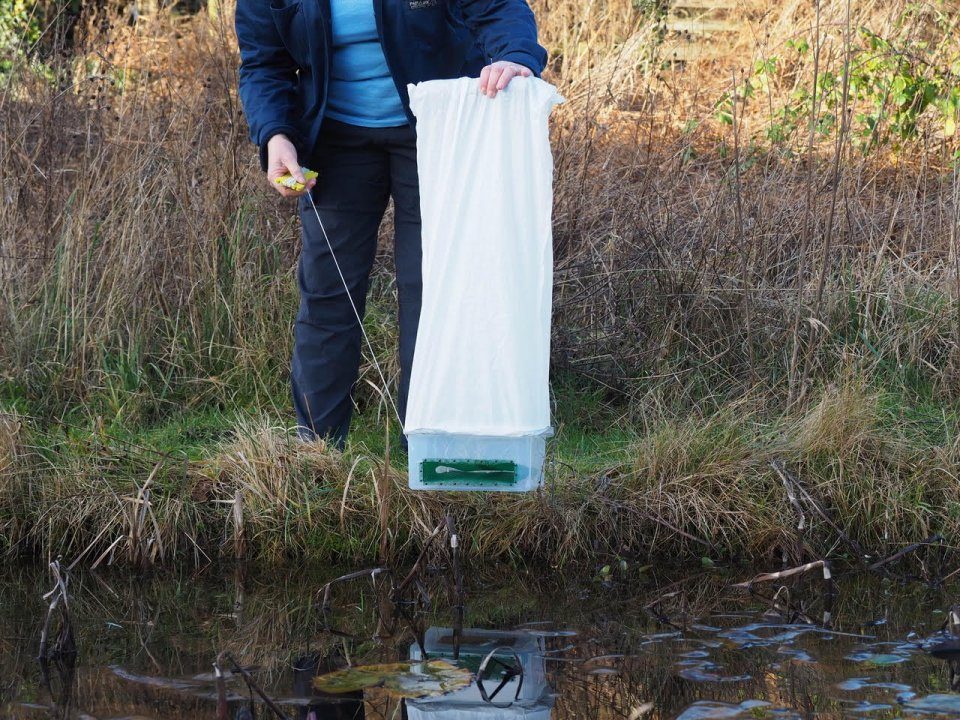
The Dewsbury trap is an innovative design of newt refuge trap that is exclusive to NHBS. The clever design of this trap ensures that any trapped newts have access to both fresh air at the top of the trap and a thermally stable refuge at the bottom of the pond. They can be easily deployed from the edge of the pond meaning that not only is this trap safer for newts, but it is also safer and more convenient for surveyors too. In preliminary trials the Dewsbury trap was found to be more effective at catching newts than traditional bottle trapping methods and can be left unattended for up to 24 hours meaning night visits are not necessarily required.
Please note: we recommend that you contact your national licensing authority (Natural England, Natural Resources Wales, Scottish Natural Heritage, etc) before you purchase this trap. The Dewsbury Newt Trap is not included within either the Level 1 or Level 2 Natural England Class Survey Licence and a separate licence is required
Bottle Trapping
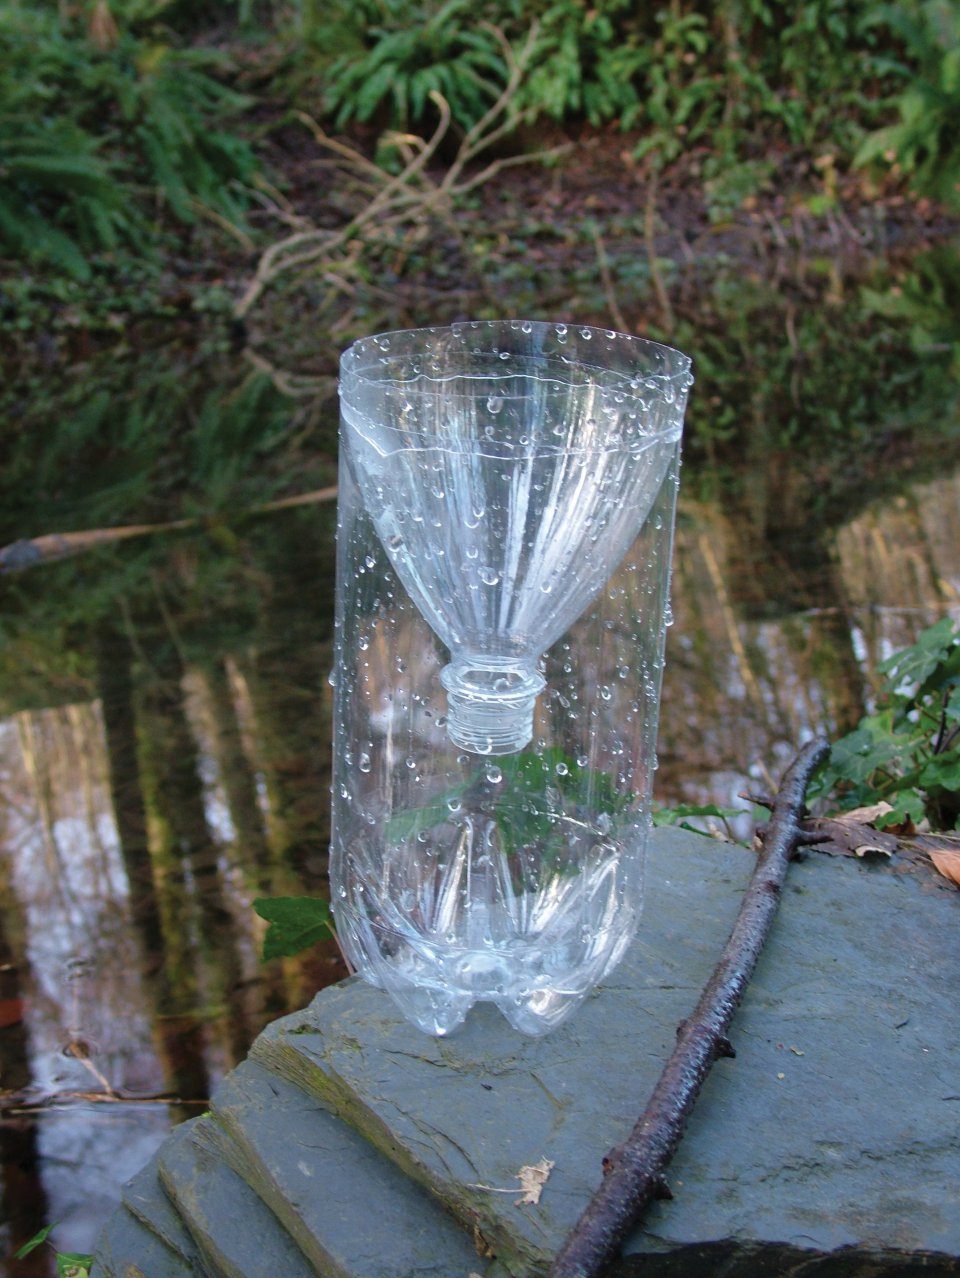
Bottle trapping is a popular method of surveying for both detecting and assessing populations. It can, however, become quite labour intensive, especially if you are looking to cut bottles into traps yourself. To save yourself some valuable time, we sell pre-cut bottle traps with the head inverted and ready to deploy. These can be bought in packs of 40 or 120 and are cut from 2L PET bottles with a 28mm neck diameter. Alternatively, we sell the whole bottles if you would rather cut the traps yourself.
Torching
Torching is a less invasive and effective method of counting/observing newts without the need for capturing them. Torches are recommended to be between 500,000 and one million candlepower and need to ideally last several hours at a time. The Cluson CB2 range is very popular among ecologists and provides 1 million candlepower with long lasting battery life and an easy-to-use pistol type grip.
Drift Fencing
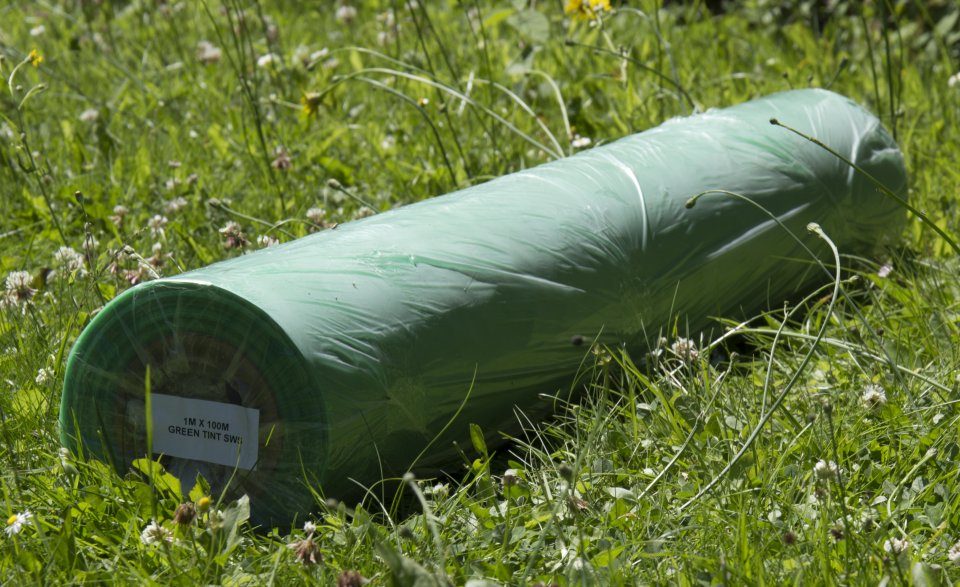
Fencing can either be used to temporarily exclude or contain newts in mitigation projects. It can also be used to aid the capture of newts for relocation and is typically a short barrier with the base buried underground. Our Tristar Newt Fencing comes in rolls of 100m, is made of UV stabilised polythene sheeting and tinted green. It is designed to resist weather damage and has a life expectancy of 5 years, making it ideal for temporary mitigation projects during development works. It is easy and simple to put up and can be fixed into place with our soft wood stakes.
Pitfall Traps
Often, pitfall traps are used alongside drift fencing in order to trap and translocate newts in relocation projects. They consist of a container that is buried underground often flush with the edge of drift fencing. Both rectangular buckets and round buckets have been shown to be effective and we supply several options depending on your preferences.
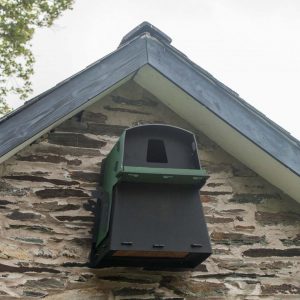
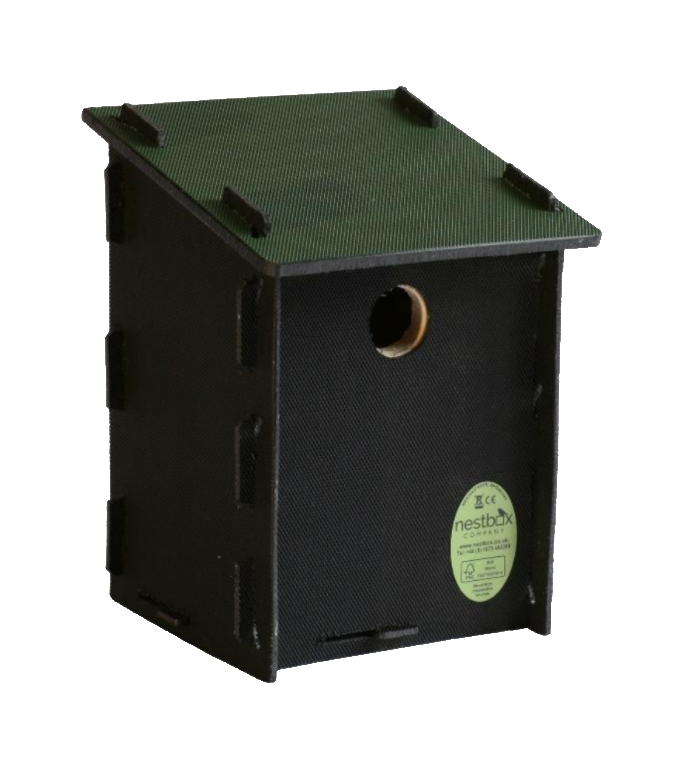
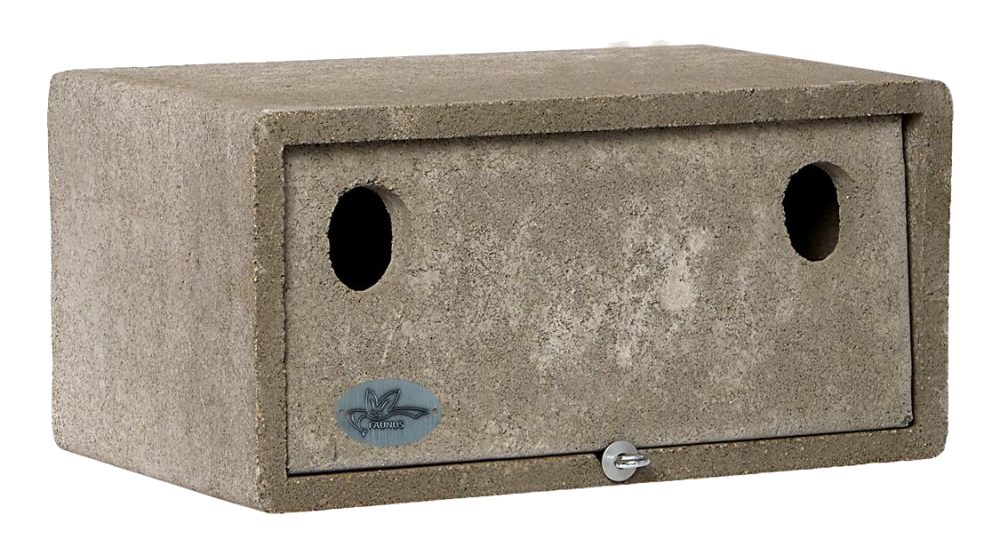
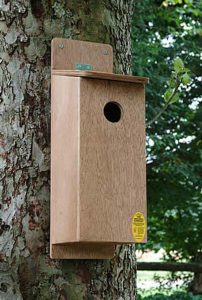
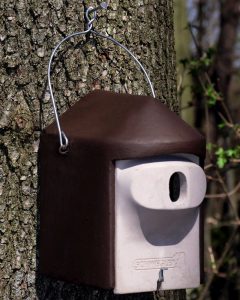
For each box we have provided a quick guide to the material that it is made from, the dimensions, and the species that the box is suitable for. Follow the links provided for more information about the box, including pricing and availability, or contact our customer services team for more advice.
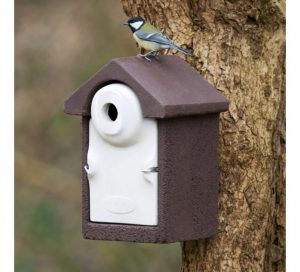
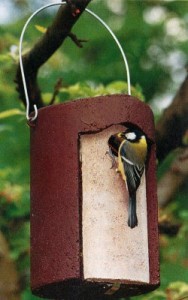
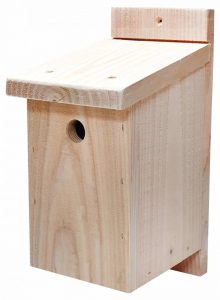
• Made from: Recycled plastic and FSC oriented strand board
• Dimensions: 260 x 170 x 170mm
• Blue Tits, Coal Tits, Marsh Tits, Great Tits, Crested Tits, Tree Sparrows, House Sparrows, Nuthatches and Pied Flycatchers (species depend on entrance hole size).
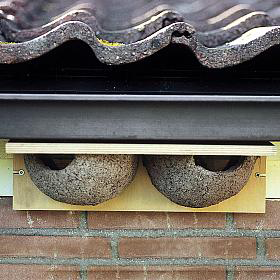
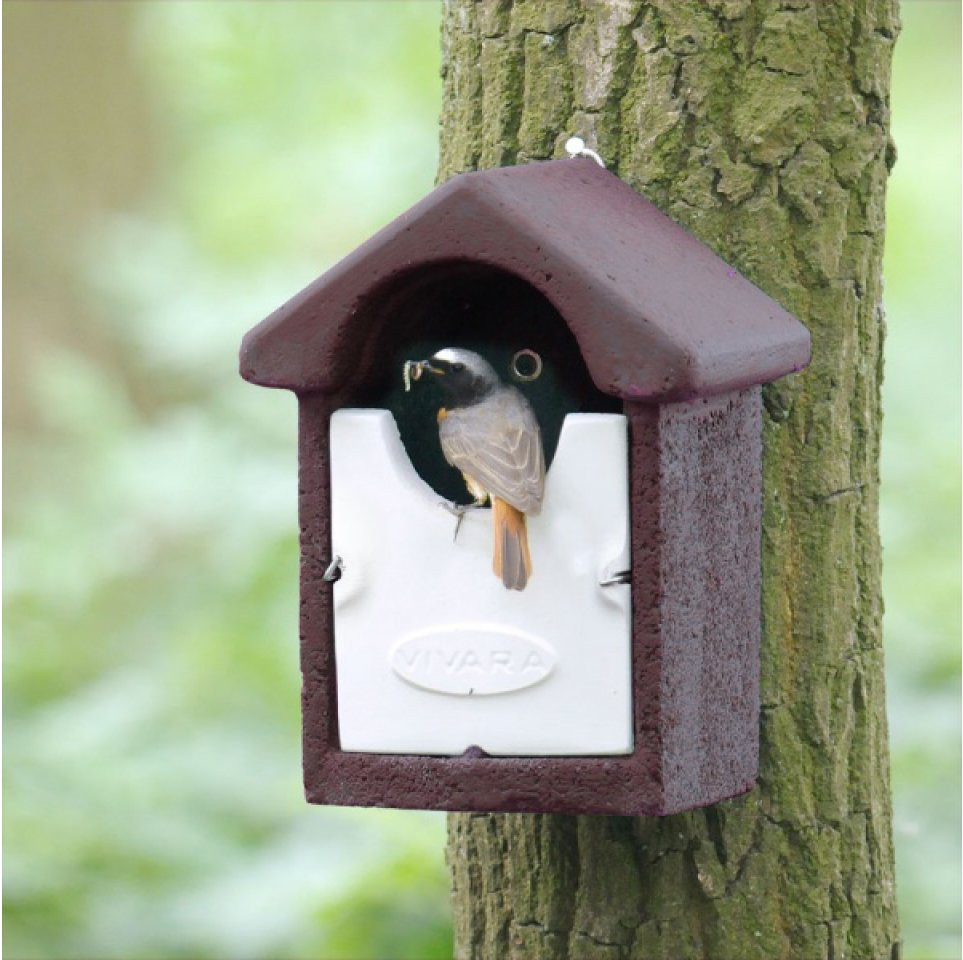
• Made from: Woodstone
• Dimensions: 310 x 200 x 200mm
• Suitable for: Coal Tits, Blue Tits, Marsh Tits, Crested Tits, Redstart, Nuthatches, Pied Flycatchers, House Sparrows, Tree Sparrows
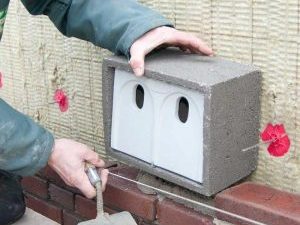
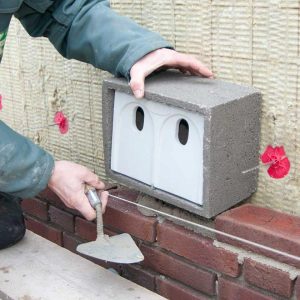
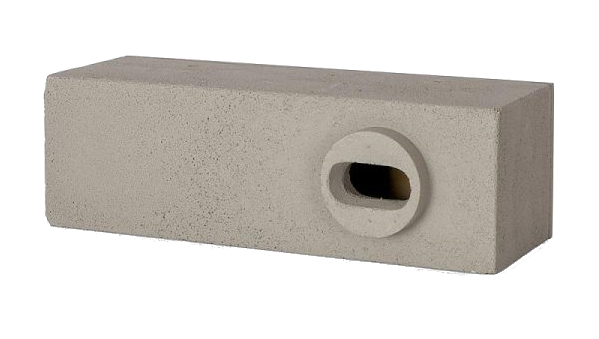
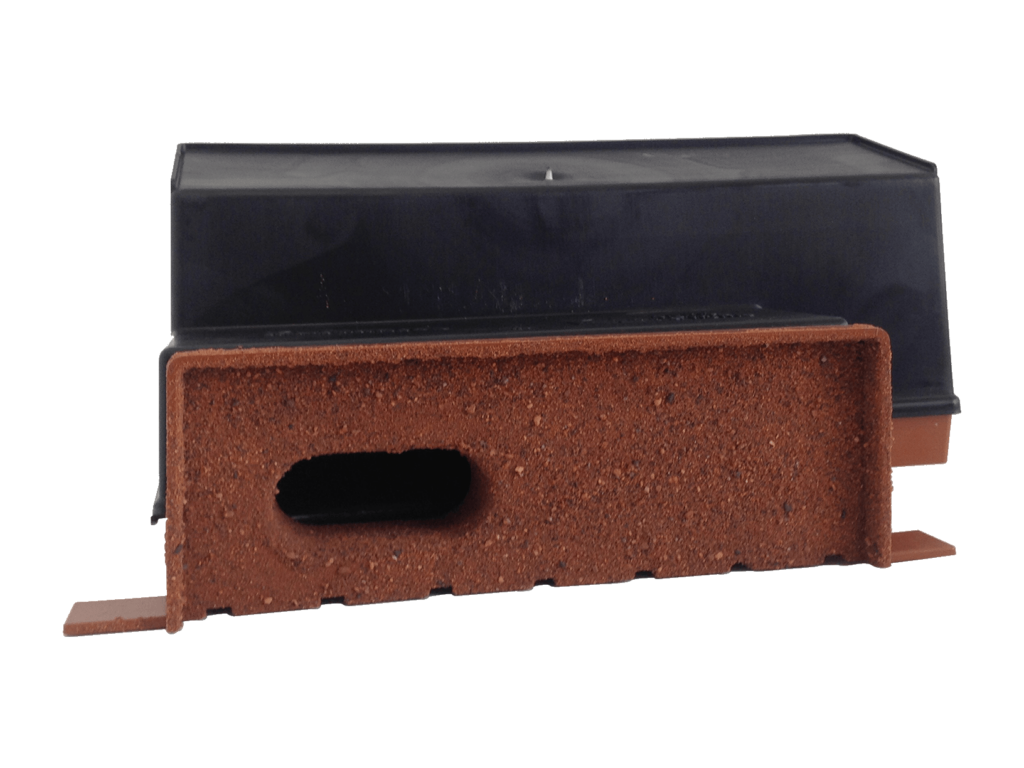
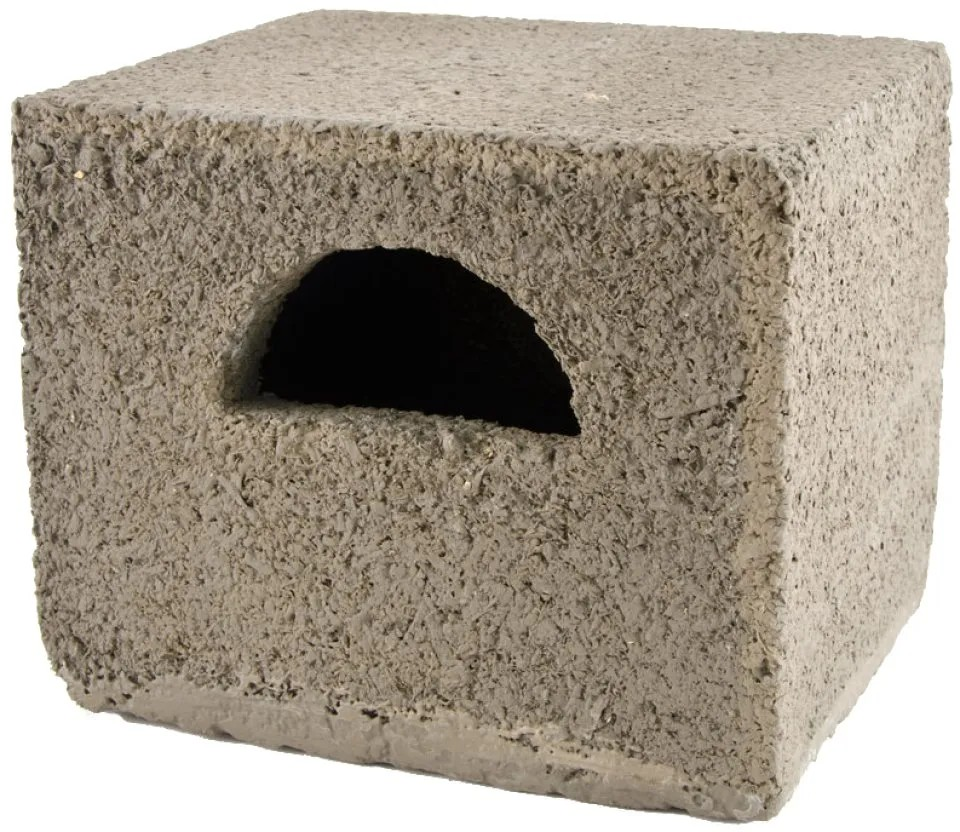
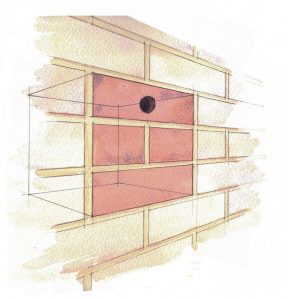
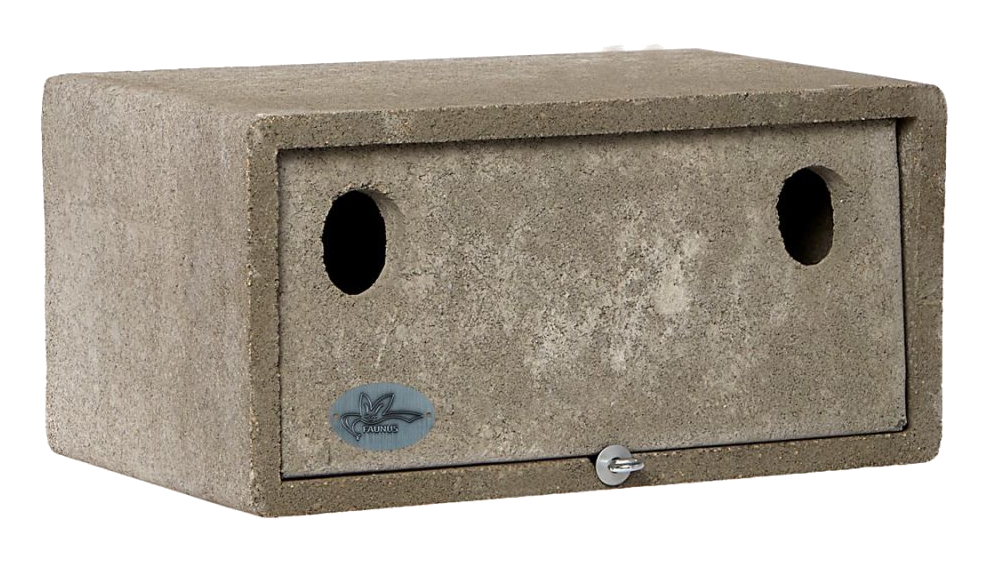
This is the final post in a three part series, designed to help you choose from our bestselling bird boxes. All of the boxes listed below are suitable for building into the masonry of a new build or development.
For each box we have provided a quick guide to the material that it is made from, the box dimensions and the species that it is suitable for. Follow the links provided for full descriptions, pricing and availability, or contact our customer services team to chat about finding the box that’s right for your needs.
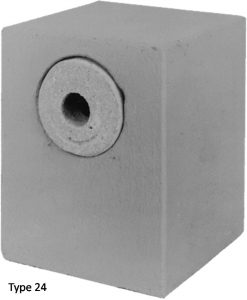
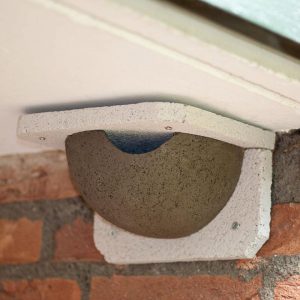
• Made from: Woodcrete
• Dimensions: 235 x 180 x 180mm
• Suitable for: Great Tits, Blue Tits, Marsh Tits, Coal Tits, Crested Tits, Redstart, Nuthatches, Tree Sparrows and House Sparrows
So, you have the perfect space in mind for a bird box but don’t know which one to buy? No problem – this is the first in a series of three posts designed to help you make the right choice.
This article includes a list of our top 10 bird boxes for positioning on a tree in a garden, park or woodland. The following two articles will cover the best bird boxes for positioning on a wall or fence and for building into a new build or development.
For each box we have provided a quick guide to the material that it is made from, the dimensions of the box and the species that it is suitable for. Follow the links for more information about each item, or contact us to speak to one of our customer services advisors who can provide you with help in choosing the right product.
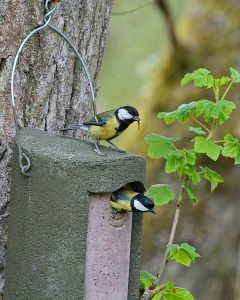
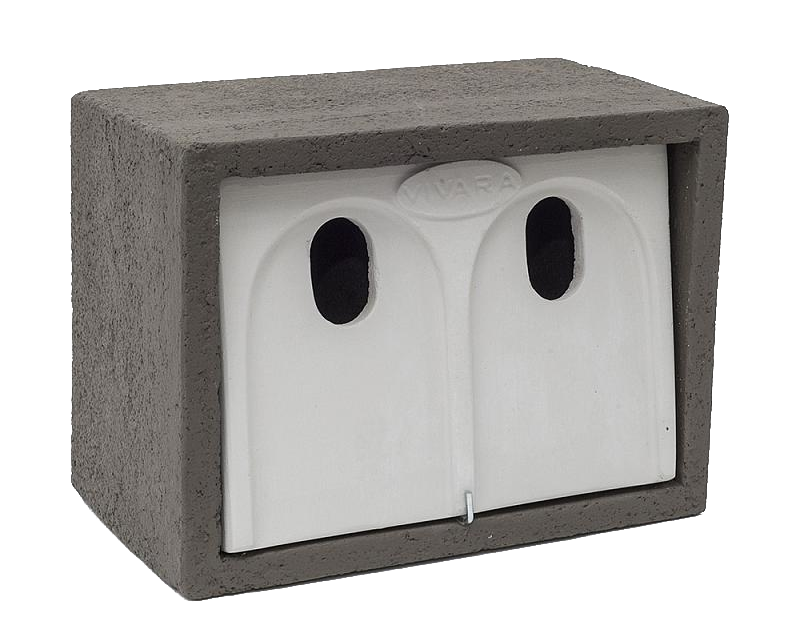
• Made from: Woodcrete
• Dimensions: 230 x 160 x 160mm
• Suitable for: Blue Tits, Coal Tits, Marsh Tits, Crested Tits, Great Tits, Nuthatches, Tree Sparrows, House Sparrows, Redstart (species depend on entrance size and shape).
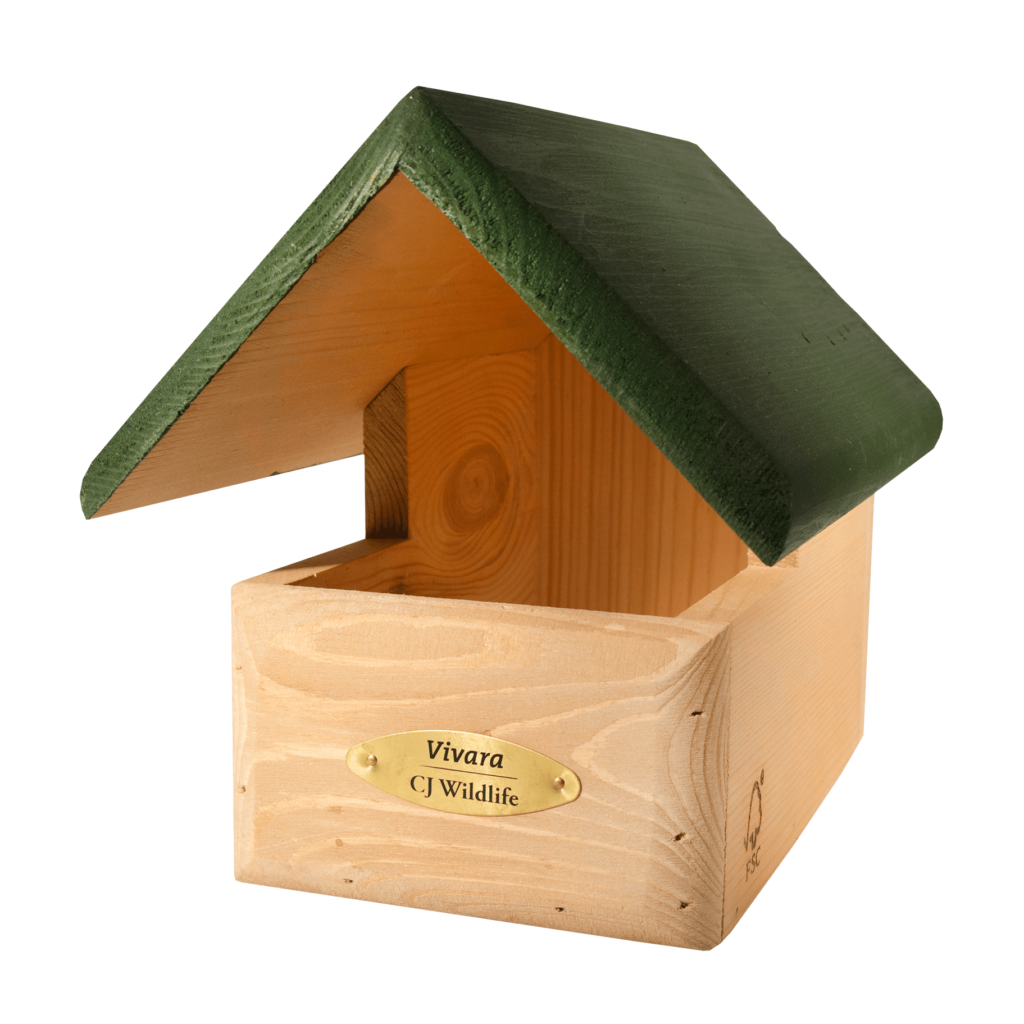
• Made from: Woodstone
• Dimensions: 240 x 190 x 175mm
• Suitable for: Wrens, Robins, Spotted Flycatchers, Pied and Grey Wagtails, Song Thrushes and Blackbirds.
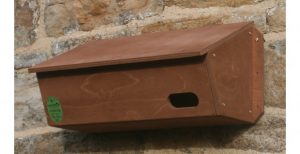
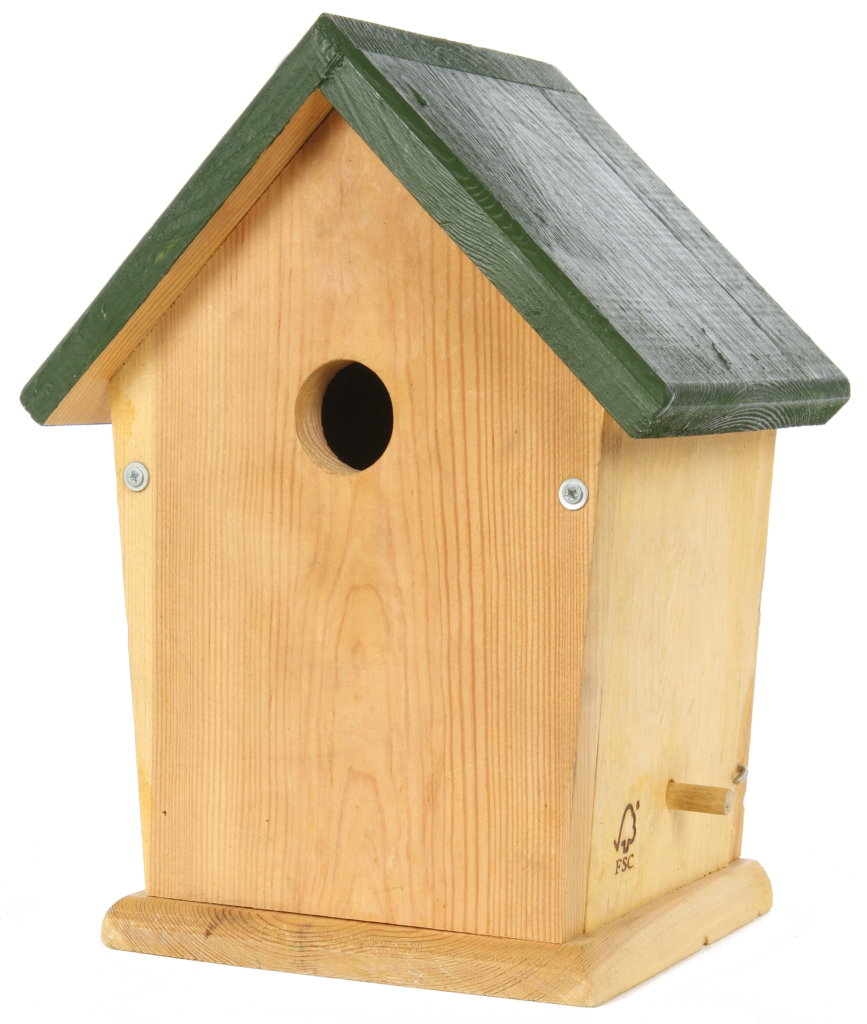
• Made from: Plywood
• Dimensions: 300 x 130 x 150mm
• Suitable for: Blue Tits, Coal Tits, Marsh Tits, Treecreepers, Tree Sparrows, Great Tits, Crested Tits, Nuthatches and Pied Flycatchers (species depends on entrance size).
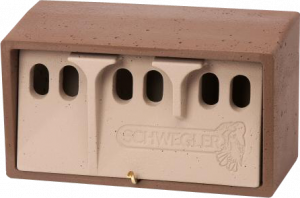
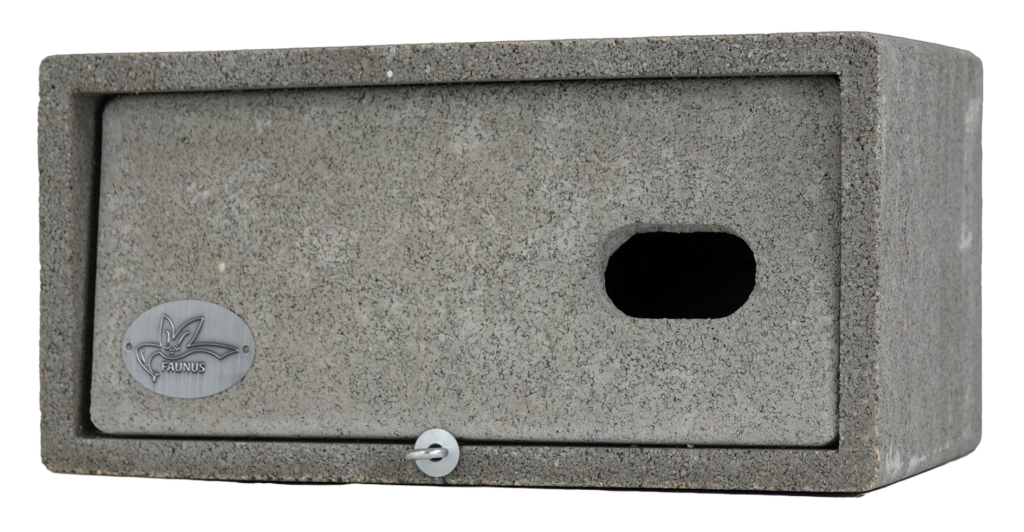
• Made from: Woodcrete
• Dimensions: 510 x 160 x 180mm
• Suitable for: Nuthatches, Redstart, Tree Sparrows, House Sparrows, Pied Flycatchers, Blue Tits, Marsh Tits, Great Tits (species depends on entrance size).
Choosing the right gift for friends and loved ones can be a tricky affair, but for any keen wildlife watcher, and particularly one with a fondness for photography, a trail camera could be the perfect option. Here’s just a few reasons why we’re fans:
1. Catch a glimpse of wildlife that you wouldn’t otherwise be able to see
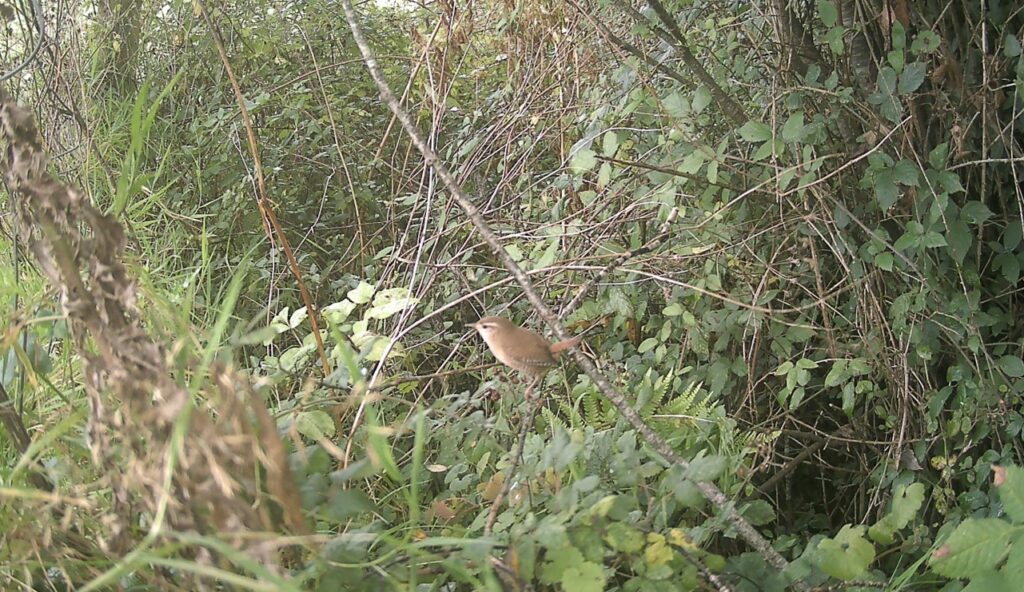
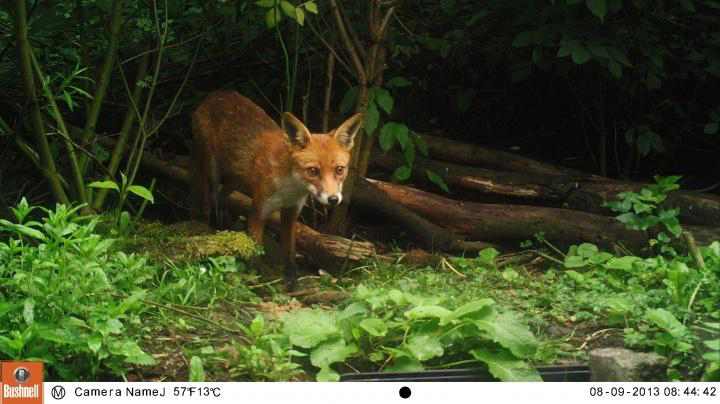
An obvious one perhaps, but trail cameras give you a wonderful opportunity to see and capture footage of all sorts of wildlife, particularly species that are easily startled or those that are active at times when we’d prefer not to be out and about (such as in the middle of the night) – a trail camera will allow you to observe the hidden lives all around you. The video below, recorded with the Browning Recon Force Elite HP5, is a wonderful example of what you can achieve right outside your back door.
2. See what animals are up to at times when you wouldn’t usually be watching
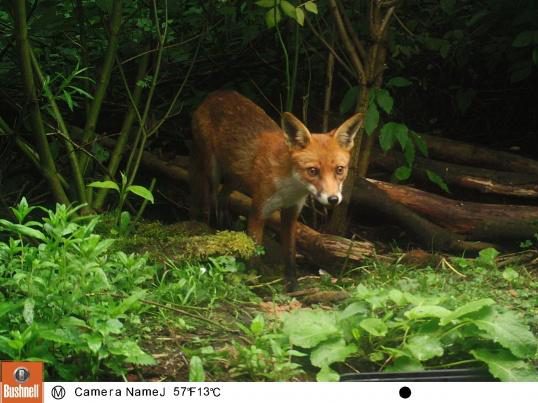
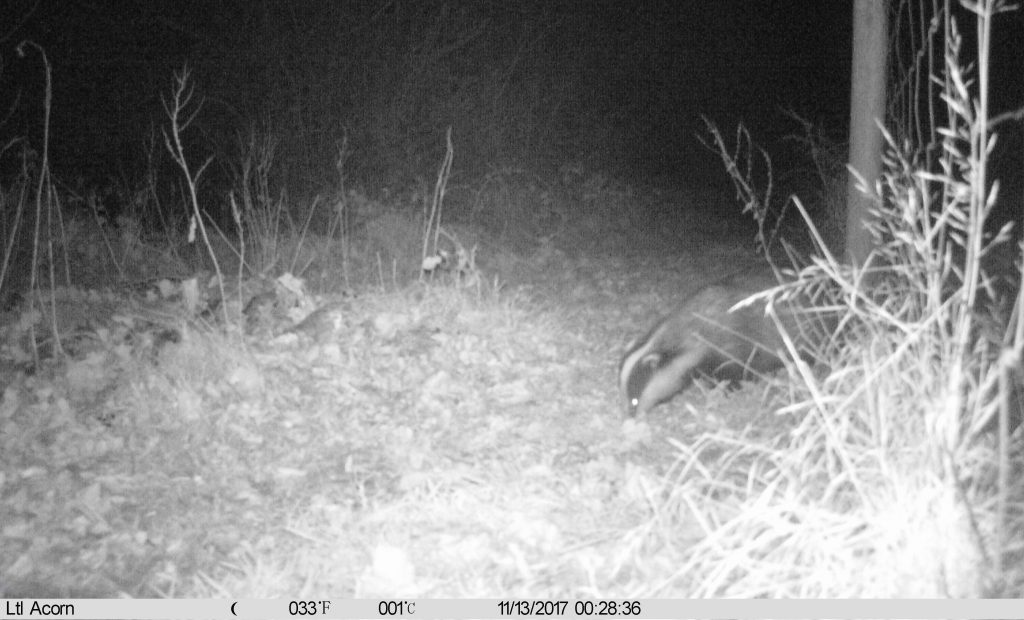
A perfect example of this is observing nocturnal animals. While the hardiest wildlife watcher might not be averse to wandering the fields and woods in the middle of the night equipped with the latest night vision gear, most of us would prefer to be tucked up in our beds. Trail cameras, with their night vision technology, can take images and videos of all the action so you can view it later at a time that’s more convenient. The video below shows a young fox passing through at night, recorded using a Browning Recon Force Elite HP5 by Two J’s Wildlife Camera Set in Cornwall.
3. View behaviours and interactions that are usually unseen
While nothing beats an in-person encounter with a wild animal, such experiences are often brief and offer us limited insight into their life. Trail cameras, particularly those equipped with no-glow night vision technology (which means there is no tell-tale red flash when they take a photograph), are inconspicuous and will record footage for as long as there is movement within their capture range. This means that they are great for letting us experience a much broader range of behaviours and interactions. The video of the squabbling squirrels below was recorded by Two J’s Wildlife Camera Set in Cornwall.
4. Create stunning time-lapse videos
Almost all trail cameras can be programmed to capture images at a time interval of your choice, regardless of whether there is any movement detected. Using this function makes it possible to capture the subtle and gradual changes in the environment that would be difficult to observe in real time. Similarly, they can also be used to record behaviours that take place over longer periods, allowing you to view them at an accelerated speed.
5. Share your findings with others
Whether you’re conducting research or simply want to know what’s happening in your back garden, the images and videos from a trail camera are perfect for sharing your findings with friends, family and colleagues. The quality of the photos/videos can be impressive, particularly when using models with high resolution lenses.
Browse the full range of cameras available from NHBS at nhbs.com.
For more advice about choosing a camera to suit your needs and budget, why not take a look at our Trail Camera Buyer’s Guide or contact us to chat with one of our experienced Wildlife Equipment Specialists.
Trail cameras are an invaluable piece of equipment for those seeking to monitor wildlife as it is when there are no humans around. Unlike typical cameras, trail cameras are designed to be left in a particular location to capture photographs or video footage of passing animals. Thanks to infrared imaging technology, most modern trail cameras will also allow you to capture images of nocturnal animals under low light conditions.
The best trail cameras can endure a range of tough weather conditions and extreme temperatures due to weatherproof casing and a robust design. Their small size and camouflaged casing allow these cameras to blend into their surroundings and remain relatively inconspicuous. Most trail cameras can also be fitted with a python lock or security box to protect against damage or theft.
At NHBS, we sell a wide range of trail cameras and, like all products, there are advantages and disadvantages depending on the model and brand. To compare the trail cameras in our range we have prepared categories based on several of the key factors to consider when buying a trail camera. All recommendations found here are our opinions and views may differ on which cameras are best for each category.
Beginner Camera
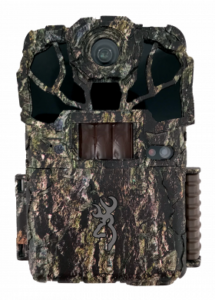
Browning Strike Force Pro X 1080
With a fast trigger speed, strong picture quality and robust design the Browning Strike Force Pro X 1080 performs well across all major categories. While not quite reaching to heights of some of our more advanced cameras in terms of picture quality, this economic camera is perfect for those looking for a starter camera or for high quality at an affordable price.
Picture Quality
When considering image quality, keep in mind that manufacturers sometimes inflate megapixel ratings through interpolation, a process by which pixels are digitally added to the image. While on paper photos have a higher megapixel count, the image quality is not improved. This is a marketing gimmick which eats up storage and generates longer recovery times.
While our top picks for picture quality both use interpolation, it is the quality of the photographs and footage produced by the camera which we base our opinion on.
Browning Recon Force Elite HP5
With crisp and clear daytime pictures and excellent night-time imagery, the Browning Recon Force Elite HP5 wins the top spot for picture quality. Video footage produced by this camera is of equally high quality as shown by recordings from our own team:
This camera is significantly cheaper than its close competitor, the Bushnell Core DS-4K. Another factor in this camera’s favour.
Bushnell Core DS-4K
A closer runner up, the Bushnell Core DS-4K likewise demonstrates superb picture quality. An advantage of this camera is the longer battery life when using the video capture setting, permitting longer deployment in the field, together with a world-beating 4K video resolution.
Night Footage
The nighttime capabilities of modern trail cameras are a key draw for many users. Using infrared technology, most trail cameras can capture photographs and videos of elusive nocturnal animals whose movements are normally challenging to monitor.
Browning Spec Ops Elite HP5
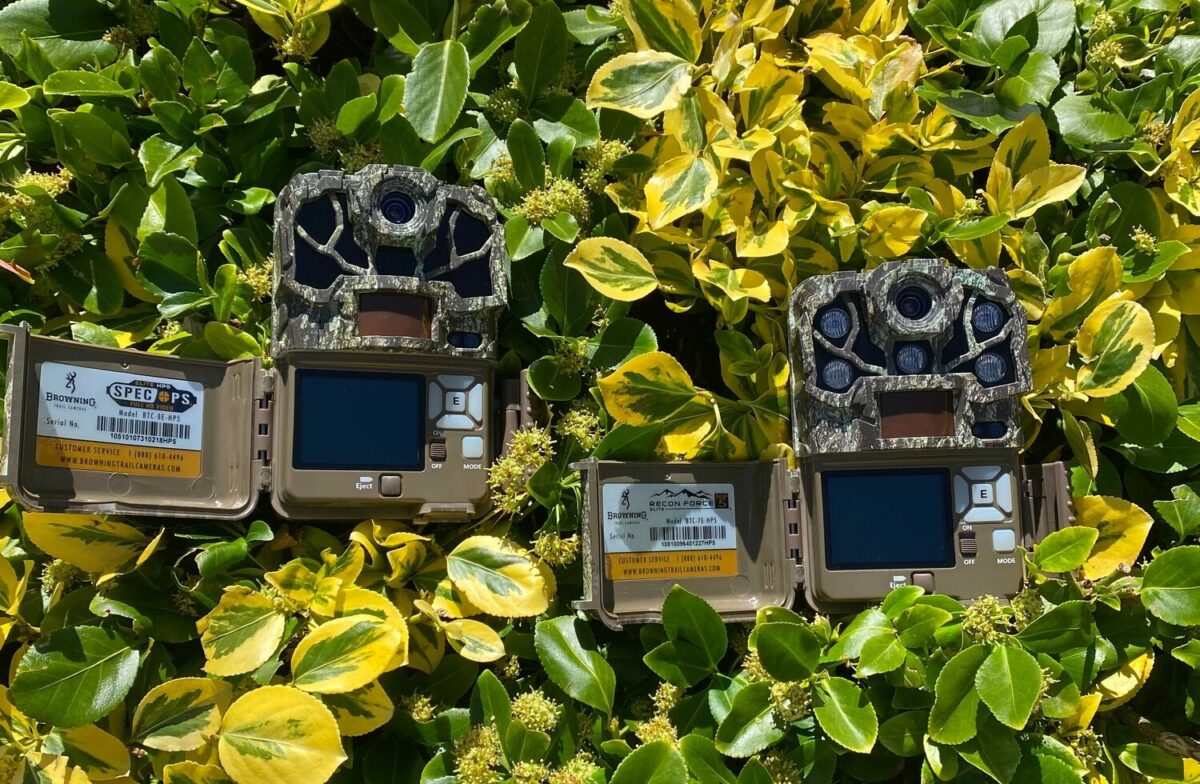
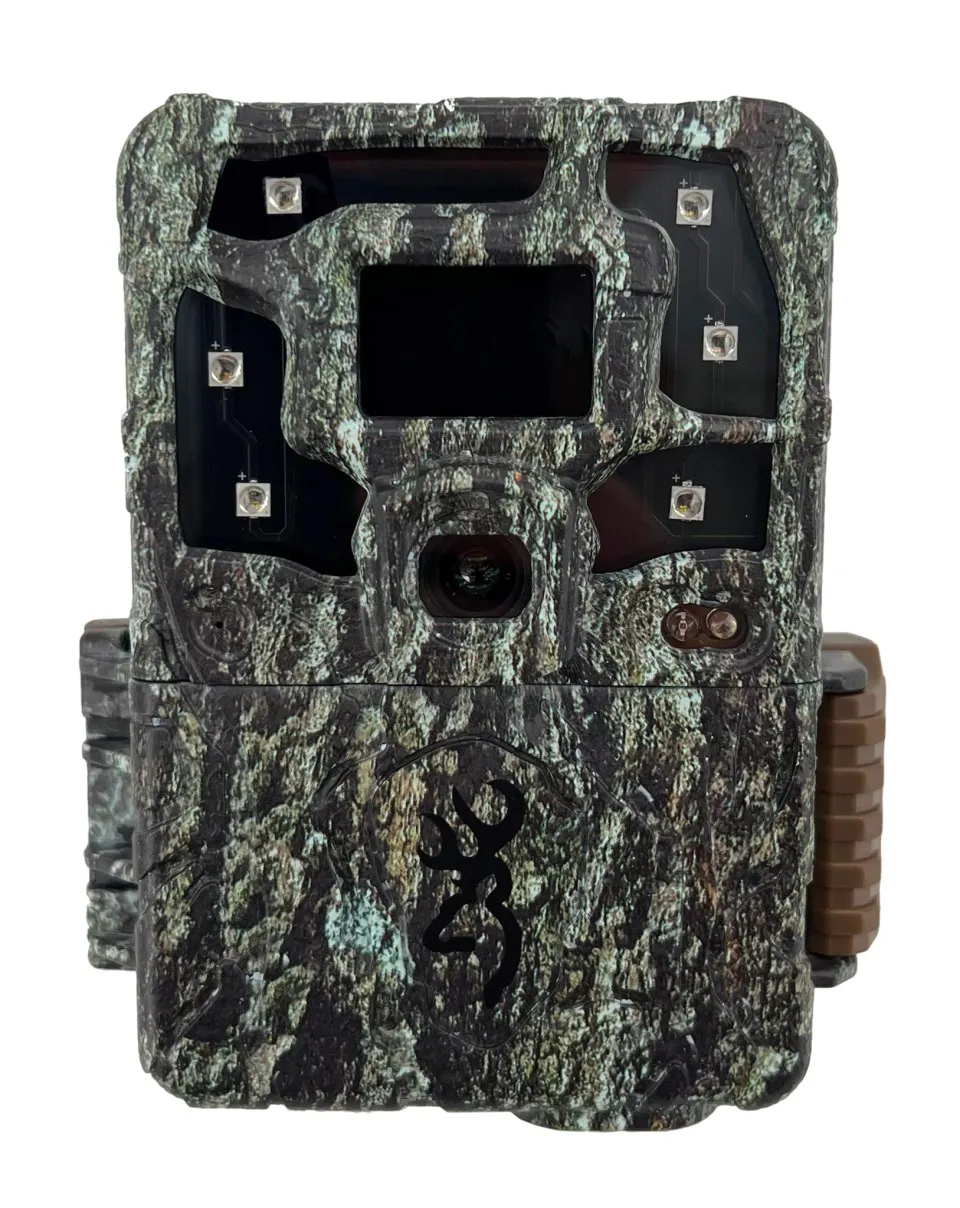
While the Browning Recon Force Elite HP5 and the Bushnell Core DS-4K perform well at night, if you are looking for a trail camera specifically designed to excel in low light conditions, the Browning Spec Ops Elite HP5 is a safe bet. This camera displays superb nighttime video and photographs with excellent clarity and contrast. A stealthy camera with top of the range trigger and recovery speeds, the Spec Ops Elite HP5 benefits from a no glow IR flash which allows it to remain inconspicuous in the presence of easily startled nocturnal animals.
Browning Dark Ops Pro DCL
Equipped with Radiant 6 Night Illumination Technology and a longer flash range than the Spec Ops Elite HP5, the Browning Dark Ops Pro DCL produces outstanding nighttime footage; the trade-off is a significantly reduced battery life and inferior daytime picture quality compared to the Spec Ops.
Trigger Speed
The trigger speed is the amount of time between the camera detecting movement and a photograph being taken. For those looking to monitor larger animals a quick trigger speed is of secondary importance; however, trigger speed is very important when monitoring small fast-moving animals where a small difference in trigger speed might mean the difference between capturing a picture of the animal or not.
Browning Spec Ops Elite HP5
Here the Spec Ops Elite HP5 stands out from the crowd yet again. One of the top cameras in our range, its lightning-fast trigger speed of 0.1 seconds makes this camera a perfect choice for those monitoring even the quickest creatures. The Spec Ops Elite HP5 also boasts a swift recovery speed of 0.5 seconds, granting the ability to rapidly capture multiple pictures of an animal in the camera’s detection range.
Battery Life
Browning Patriot
The Browning Patriot is not only one of our best all-rounders, performing well in all categories, but also the camera in our range with the longest battery life. Depending on the settings used (videos use up more battery power), this camera can last for over a year in the field without changing batteries.
Browning Strike Force HD Pro X
Another well-rounded camera, the Strike Force is also a strong performer when it comes to battery life.
Durability
Durability – Reconyx HyperFire 2 HF2X
A strong favourite amongst researchers operating in extreme environments, the Reconyx HyperFire 2 HF2X offers unparalleled resilience and longevity. We tend to recommend this camera for use in tough conditions as it can operate in temperatures of -29° to +50°C and comes with an impressive 5-year warranty. The more expensive Reconyx UltraFire XR6 has the benefit of improved picture quality; however, this trail camera carries a shorter 2-year warranty and slower trigger speed.
Cellular and Solar Cameras
Needing to go out to your trail camera when you want to change batteries, check photos or change settings can be time consuming, especially if your camera is in a remote location or if you have multiple cameras set up in different areas. Cellular and solar functionality save valuable time by reducing the frequency with which you need to physically interact with your trail camera. The trade-off is reduced image quality when compared to cameras without these features in a comparable price range.
Cellular – Spypoint LINK-MICRO-LTE
The Spypoint LINK-MICRO-LTE enables remote access to photos and settings by utilising cellular networks. It comes with a pre-activated SIM card, the free Spypoint app and a free monthly data plan allowing you to transfer up to 100 images per month. If you need to transfer more photos, choose from Spypoint’s affordable monthly payment plans.
While excellent for those wishing to leave their trail cameras in remote locations, remember the cellular features of the camera require a network connection to function, so ensure that you place the camera in a location with signal.
Please note, we cannot guarantee that cellular functions of the link series cameras will work outside of the UK.
Solar – Num’axes PIE1060 Solar Wi-Fi Trail Camera
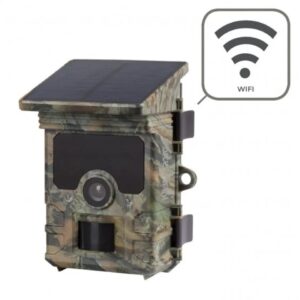
The Num’axes PIE1060 Solar Wi-Fi Trail Camera comes with a compact solar panel attached to the top of the unit which provides the camera’s lithium battery with an indefinite power supply when placed in sufficient sunlight. This negates the need to regularly replace the trail camera’s batteries, saving valuable time. The Num’axes camera likewise features WiFi technology, allowing photos to be remotely downloaded when inside the camera’s WiFi signal range.
Cellular and Solar – Spypoint LINK-MICRO-S
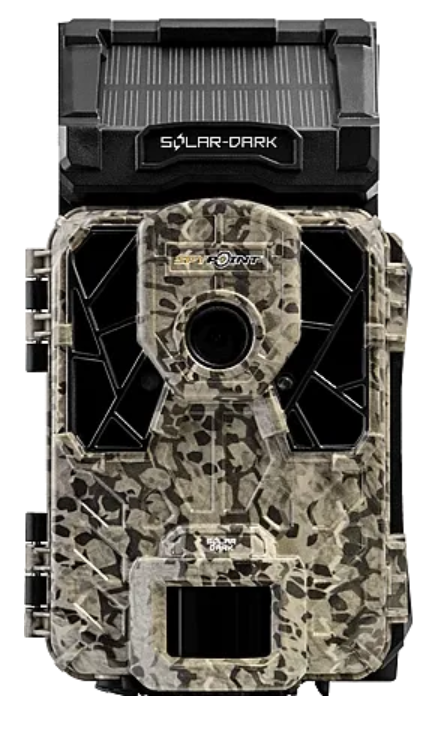
You can even combine features with the Spypoint LINK-MICRO-S. The built-in solar panel and cellular function allows you to leave the trail camera in the field for longer periods of time with minimal physical interaction.
Please note, we cannot guarantee that cellular functions of the link series cameras will work outside of the UK.
Recommendations and Accessories
A few important tips and accessories can go a long way to getting the best experience out of using your trail camera.
Use lithium batteries
Many new users elect to use alkaline or standard rechargeable batteries in their trail cameras and find that their camera is not working as expected. Lithium batteries are capable of giving off a stronger surge of energy. Most trail cameras are therefore designed to be used with lithium batteries; accordingly, we offer a bundle when purchasing a trail camera which normally includes eight lithium batteries. Using the wrong type of batteries is among the most common reasons for why a trail camera is not functioning correctly.
The versatile Python Lock with an 8mm diameter and length of 180cm is ideal for securing equipment and can be used with almost all our trail cameras.
Security Boxes
These tough and sturdy security boxes will help protect your trail camera from theft and damage. Double check that the security box you are purchasing is compatible with your trail camera model.
When thinking of the varied toolkit of the enterprising naturalist, a microscope is perhaps not the first thing that springs to mind. Nevertheless, for many entomologists, botanists and comparative zoologists, the ever-reliable 10× hand lens eventually proves insufficient. Indeed, many species of insect, lichen and fungi (among many others) are difficult to identify past genus or even subfamily without the use of more powerful optics. Animal scat, small mammal dentition and hair fibres can be likewise difficult to evaluate without suitable magnification. But researching the best optical equipment for your purpose can be a disheartening task, especially for naturalists who are likely to come across a wide range of resources for the engineer and medical professional, but sparse pickings tailored to their own specific needs.
For most naturalists, the 3D image and relatively low magnification of the stereo microscope (also called the low-powered dissection microscope) fits the bill nicely. However, with several big-name brands, a wide range of price points and numerous specifications available for uses across a plethora of fields, it’s useful to be armed with some background knowledge when choosing your own microscope.
Stereo Microscopes
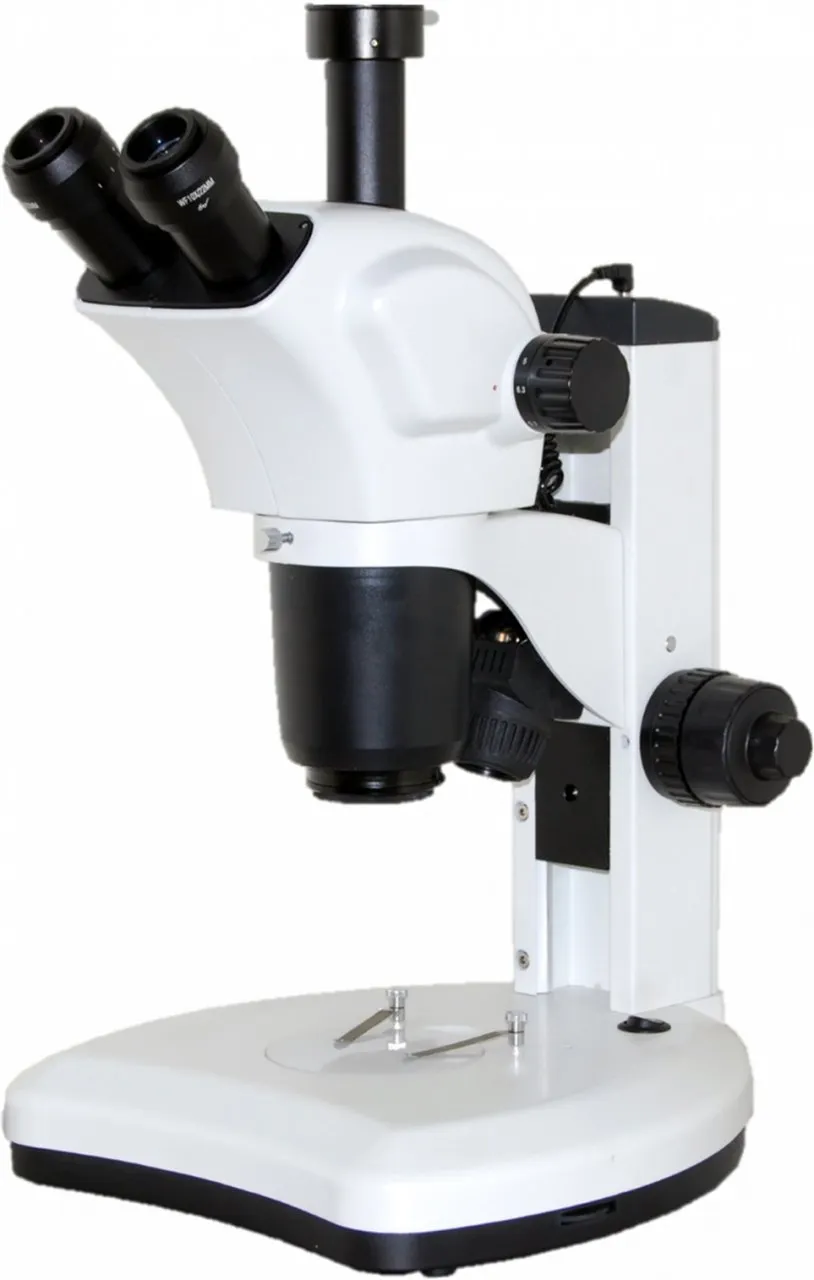
Stereo microscopes are made up of several parts: most include a base with or without illumination, a pillar with an adjustable bracket for the head and a head comprising of two eyepieces and one or two objective lenses, depending on whether the microscope uses the Greenough or Common Mains Objective design (discussed below). Some also include a third eyepiece or ‘photo tube’.
Specifics regarding the different parts of the microscope will be discussed later, but for now, it is important to understand how magnification is calculated. The optics of a stereo microscope consist of two eyepiece lenses and one or two objective lenses with which they are paired. Each provides its own zoom – typically 10× for a standard eyepiece and 2× or 4× for the objective (although many objectives provide a range of magnifications between 2× and 4×, see below). The overall magnification is calculated by multiplying the objective and eyepiece lenses together, for example a system with 10× eyepieces and a 2× objective will provide a zoom of 20×. Some objectives have a dynamic zoom lens, as we’ll discuss later.
Optical Systems: Greenough vs Common Mains Objective
Stereo microscopes are grouped by the optical system that they use – Greenough or Common Mains Objective (CMO). Both systems have distinct advantages and disadvantages, so knowing the difference is vital.
A staple since its original conception in the 1890s, the Greenough Optical System works by angling two objective lenses towards each other to create a 3D image. The objectives have wide apertures for good light-gathering potential, providing a crisp, clear image. It is also cheap to produce, meaning that most entry- to mid-level stereo microscopes utilise this design. However, as the lenses are slightly tilted, the focus is not constant across the image – the outer left and right portions of the view are always slightly over-focused while the centre is clear. This is known as the ‘keystone effect’, and while it is often unconsciously corrected for by the human eye, it does cause the viewer to experience eye fatigue more rapidly than the alternative.
Introduced in the middle of the 20th century, the Common Mains Objective (CMO) system uses one objective lens that is shared by both eye pieces, allowing for exceptional light-gathering potential, and eliminating the keystone effect. However, the single objective leads to a problem known as ‘perspective distortion’, in which the centre of the image appears to be elevated like a fish-eye lens. Models that correct this can cost thousands of pounds, so for many naturalists, a high-end Greenough system is likely to be a better investment than a low-end CMO microscope.
Magnification
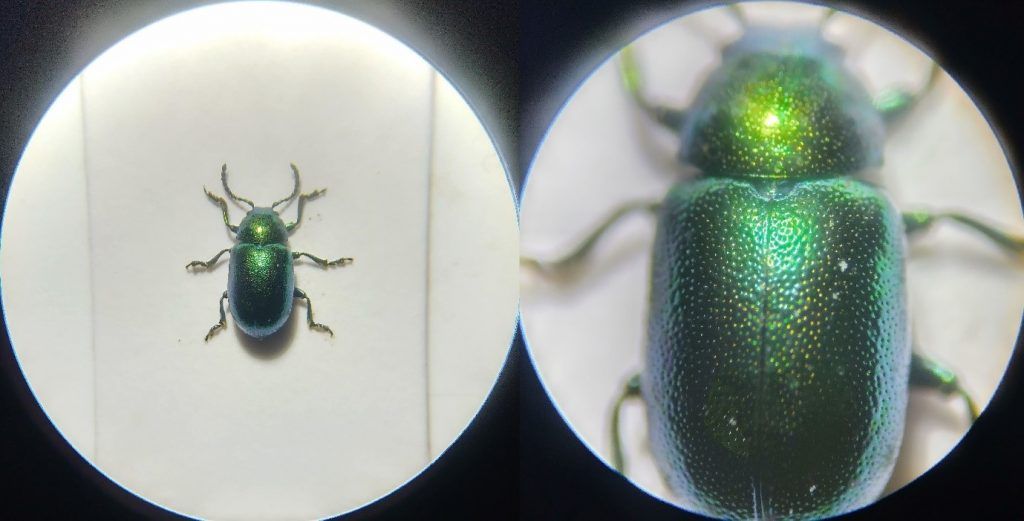
Once you’ve decided which system you would like to go for, consider the magnification. Most microscopes under £1,000 fall into the 20-40/45× range. Occasionally 60× models are offered in this bracket, but it’s definitely worth testing these before purchase as the extra range can come at the cost of features such as lens quality. Remember too that as zoom increases, the aperture of the lens decreases, making the image worse. For most insects above 2mm, a 20×-40× microscope should do the job. Groups that rely on minuscule features or genitalia dissections may require higher magnifications, but this often requires a better-quality microscope that uses high-quality parts to maintain a clear, bright image.
The cheapest stereo microscopes use a ‘fixed’ zoom system, with a single pair of objective lenses that provide one magnification, normally 20×. The objective (and sometimes the eyepieces) can be removed and replaced manually with a higher magnification alternative.
Models above the £150 mark generally use a rotating ‘turret’ system shared with compound microscopes. Two pairs of objective lenses are included and can be rotated into place, generally 2× and 4× allowing for 20× and 40× magnification. For the serious amateur naturalist looking to invest in a ‘workhorse’ style system, this is often the design to choose, and many professional entomologists and botanists spend years learning with such an optic.
Finally, stereo microscopes above around £300 generally use a dynamic zoom system. This allows the magnification to be altered across a range (normally 20-40×). The default 10× eyepiece can be swapped for a greater magnification if desired. Many also include a ‘click stop’ system for easy reading of the magnification without having to look up. The flexibility of these microscopes makes them the most popular choice among many naturalists.
The Head: Binocular vs Trinocular
This is simple but important to consider. While the binocular head is generally considered to be the default for stereo microscopes, the trinocular variant is extremely popular among researchers and anyone who seeks to document their microscopy: the addition of the third eyepiece (phototube) allows for a camera to be attached and images or video to be captured while the user is viewing the image. Many microscope cameras are designed to be used specifically with a phototube and will not function when used with a binocular head. Some, like the Moticam X3, can be used with either.
The Stand: Base, Stage Plate and Illumination
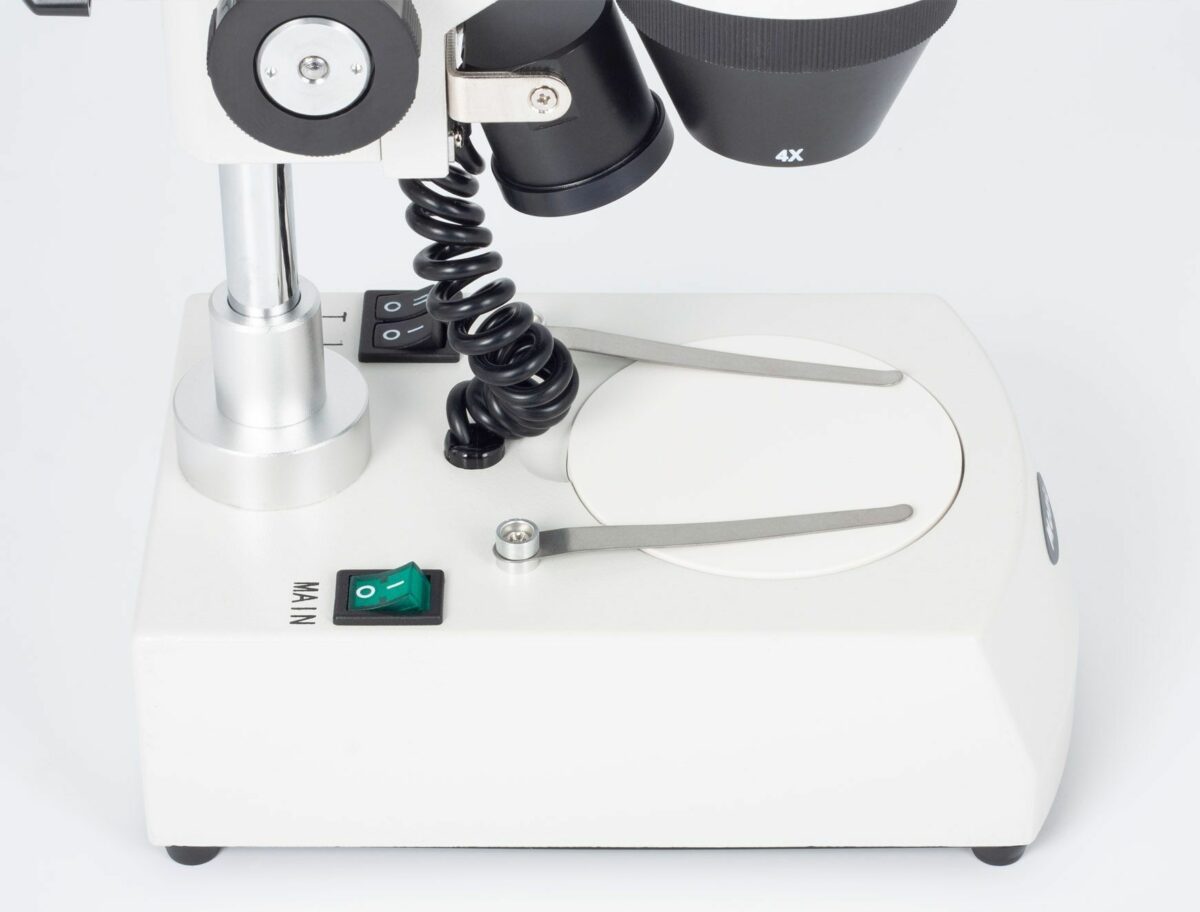
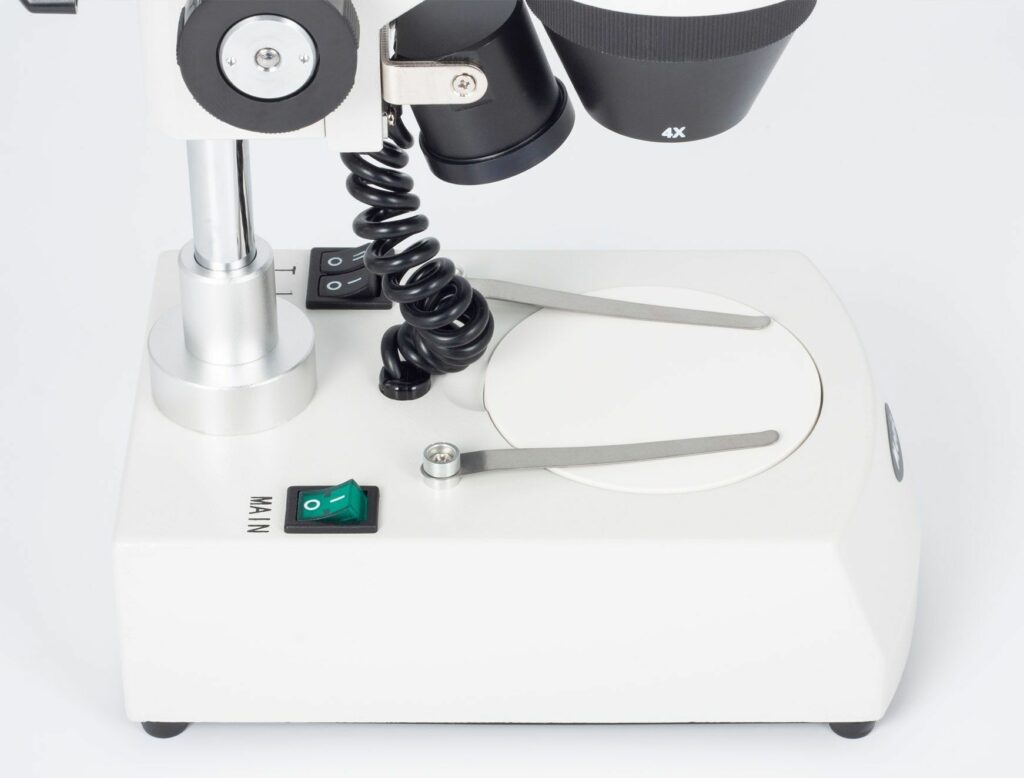
When choosing an illumination system, it is important to consider what you’ll be using your microscope for. You’ll often see plain (no illumination), halogen, or LED bases offered, with the plain option being the cheapest and LED the most expensive. Most illuminated bases offer both transmitted and reflected illumination, referring to the way in which light reaches the eye. The reflected system utilizes a light that shines straight down on the subject, reflecting the light off of the subject and into the user’s eye. This is the most commonly used design among naturalists, as the examination of opaque objects such as insects, plant material and mammal hairs requires the user to observe the sample’s upper surface.
Transmitted illumination utilizes a bulb beneath the sample, projecting light directly to the user’s eye, similar to a compound microscope. This is used in the examination of translucent samples such as aquatic invertebrates and some macroalgae.
This is also where stage plates come in. Sitting below the subject as the ‘background’ of the image, most microscopes come with opaque black and white options for use with the reflected illumination setting and a frosted glass option that light will shine through for use with transmitted illumination.
Don’t immediately discount a plain base. Many naturalists prefer not to use built-in illumination that sits directly above the subject, as specimens that require the examination of fine details on the sample’s surface, such as many beetle species, can be difficult to ID under such a light. The best solution is to purchase a dedicated microscope illumination unit, a handy tool that usually includes two swan neck LEDs that can illuminate the subject from whichever angle is most auspicious. These aren’t cheap, but the cost of one is often covered by the money saved in purchasing a base without a built-in light.
Finally, consider the difference between halogen and LED illumination. For many purposes, such as the examination of bones, animal hair or water samples, this is irrelevant and largely comes down to a matter of taste. However, some materials are prone to desiccation under the heat of a halogen lamp. Therefore, particularly for entomological work and work involving live samples, LED illumination is often preferred.
More Information
The array of options that go alongside buying your first microscope can be daunting, but with a little consideration, you should be well set to explore the wonderful world of the tiny. Keep in mind your budget, and the microscope’s intended function, and you won’t go wrong. The information in this blog should be a strong starting point, but if you should want any more advice, feel free to get in touch with our friendly team of Wildlife Equipment Specialists via customer.services@nhbs.com or phone on 01803 865913. Our full range of stereo microscopes can be found here.
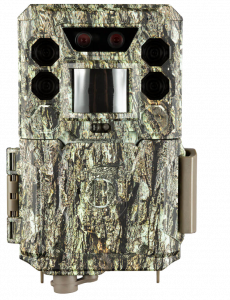
This is part one of a two-part series that will look into different ways of filming wildlife in your back garden. In this part, we will take a look at trail cameras and what to look out for when buying one.
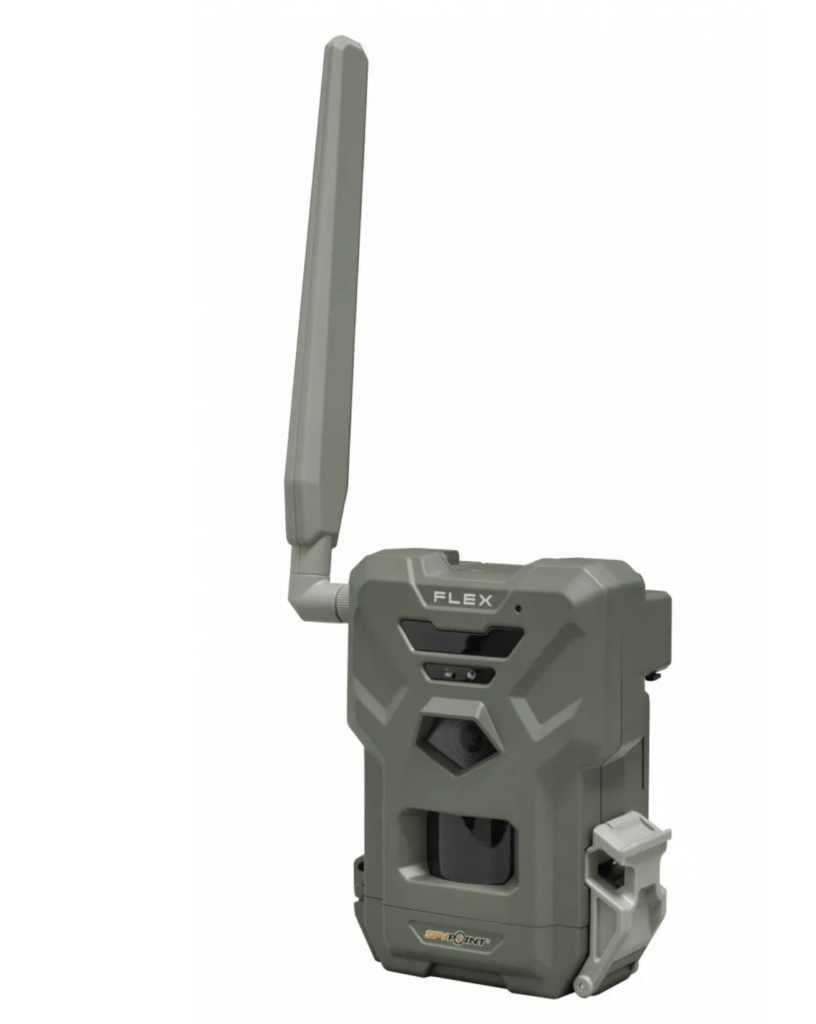
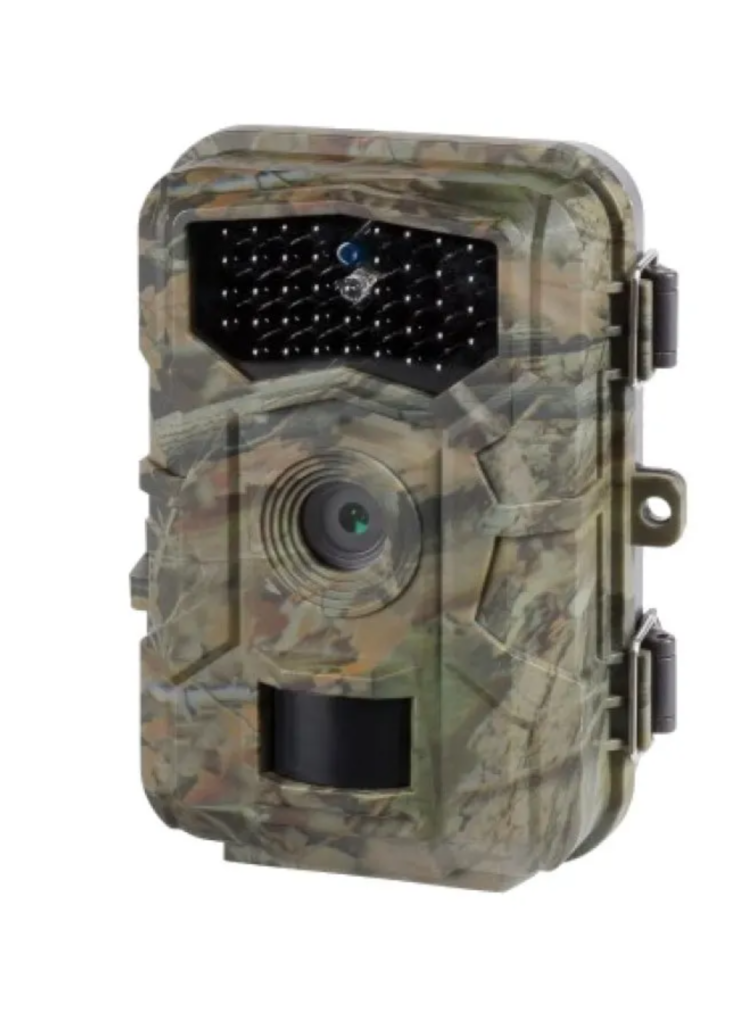
The variety of trail cameras on offer can be overwhelming, here are a few key things to look out for:
Type of LEDs
In order to capture videos or images in the dark, camera traps use infrared LEDs to illuminate the subject with little to no visible light used. There are two main types of LED flash systems that trail cameras use. These are No Glow and Low Glow. No Glow LEDs produce very little visible light and so are almost completely undetectable by the subject. Low Glow LEDs produce a faint red glow and so are not completely invisible, which can sometimes alert animals such as deer and foxes. However, they do have the benefit of being able to illuminate better over a longer distance.
Trigger Speed
Trigger speed is the time taken for the camera to take a photo once it has detected movement. If you are aiming to capture a fast-moving subject, then a quicker trigger speed (below 0.3 seconds) will enable you to achieve these photos before your subject has moved out of frame.
Recovery Time
Recovery time is the time taken for the camera to process an image and become ready to take a second photo. If you want to capture multiple images of a subject as it comes into view of your camera, then a shorter recovery time will allow for this.
Hybrid Mode
Hybrid mode allows the camera to take videos and photos simultaneously. A camera with this capability may be useful if you want to get as much footage as possible of anything that falls into frame of the camera. If you are more interested in capturing only photographs or only videos, this mode may not be an important feature.
Resolution and Interpolation
The quality of the images and videos that your trail camera can take will depend on its resolution. Most cameras have settings that can alter the resolution either, decreasing it through compression, or increasing it through interpolation. Compression is useful if you want to deploy your camera for a long time and memory card capacity may become an issue, whereas interpolation can produce a larger image by adding pixels. The best way to compare the quality of images between cameras is to look at sample photos and videos. The displayed megapixel value is often resolution as a result of interpolation. The true resolution of the image sensor can usually be found in the specifications as the true sensor resolution.
Screen
Many trail cameras come with built-in viewing screens allowing you to view your photos and videos in the field. This is particularly useful if you want to take a few test shots to check the positioning of the camera.
Our Suggestions
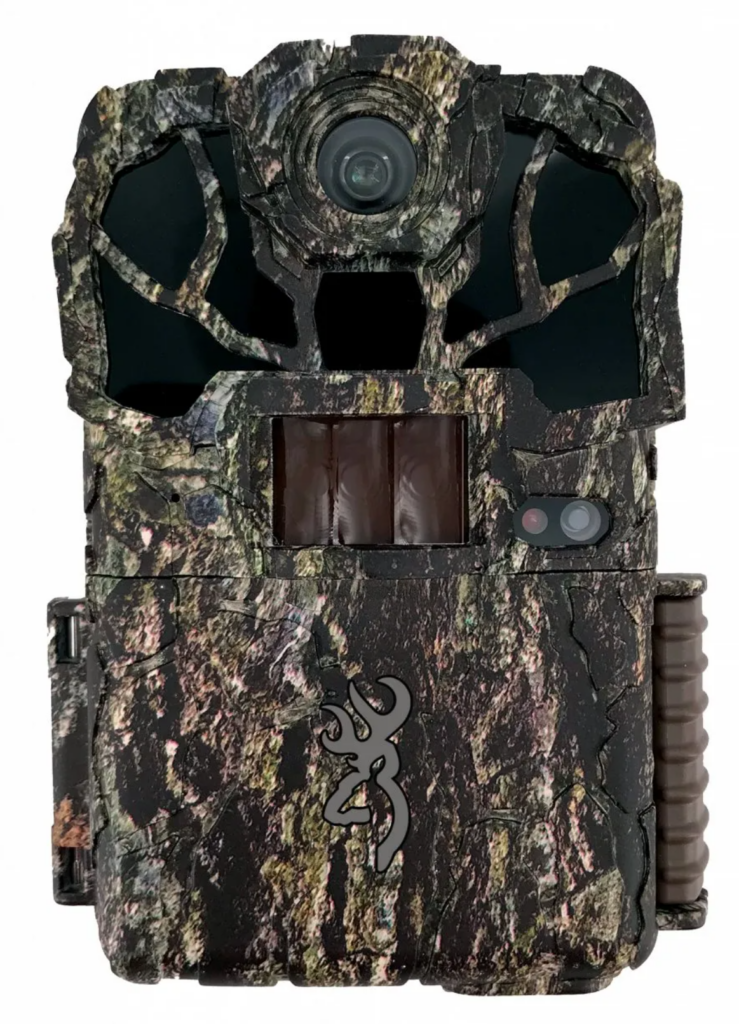
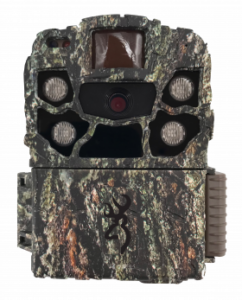
If you’re looking for a good entry-level camera, then take a look at the Browning Strike Force Full HD. It takes high quality images and videos for a very affordable price. LED type: Low Glow Trigger speed: 0.135-0.7s Recovery time: 0.5s Hybrid: No Resolution: 22MP Viewing Screen: Small screen showing text only
For the next step up, the mid-range Browning Dark Ops HD Pro X is one of our most popular trail cameras. With No Glow LEDs and a impressively quick trigger speed, this is a great all-round option. LED type: No Glow Trigger speed: 0.22s Recovery time: 0.6s Hybrid: No Resolution: 20MP Viewing Screen: 3.8cm colour screen
If the hybrid mode is an important feature for your work, a Bushnell Core DS No Glow may be the one for you. Dual sensors target day and night in order to provide the best quality images, no matter the light conditions. LED type: No Glow Trigger speed: 0.2s Recovery time: 0.7s Hybrid: Yes Resolution: 30MP Viewing Screen: 5.08cm colour screen
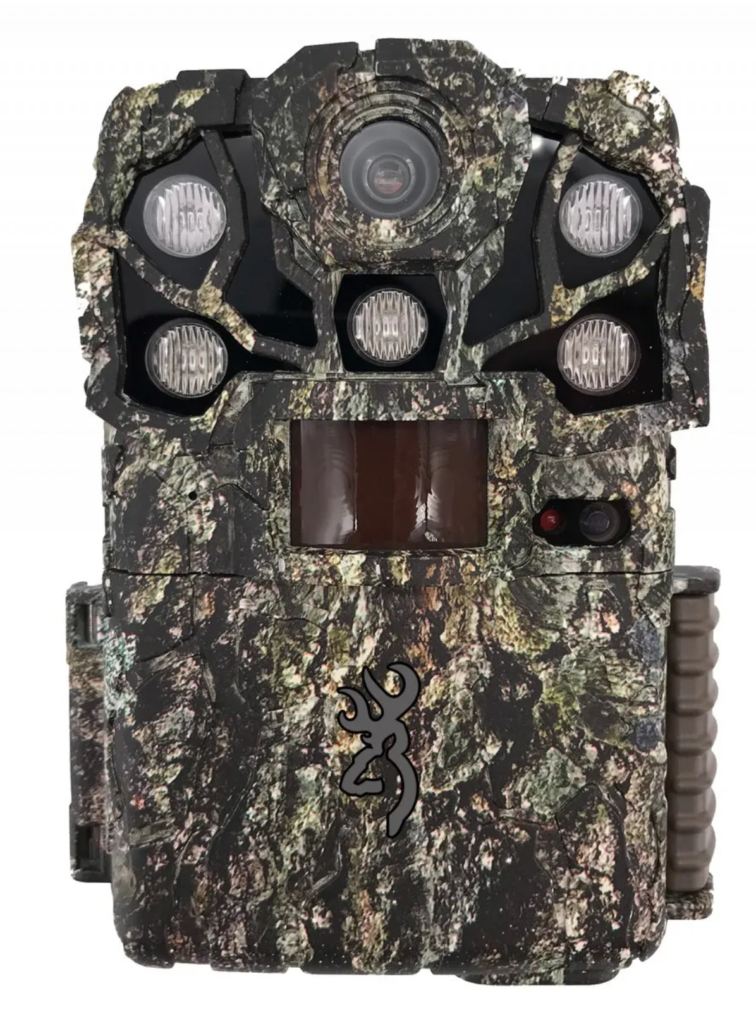
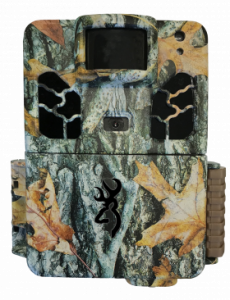
If the subject of your trail camera photos or videos is particularly fast, it may be worth taking a look at the Browning Spec Ops Elite HP5 whose adjustable trigger speed starts from 0.1 seconds is one of the fastest on the market. LED type: No Glow Trigger speed: 0.1-0.7s Recovery time: 0.5s Hybrid: No Resolution: 24MP Viewing Screen: 5cm colour screen
Accessories
There are a selection of accessories that you may want pair with your camera to get the best out of your camera-trapping experience. If you are worried about leaving an expensive piece of kit outside and unattended, then you may want to invest in a Python Lock. This cable lock will fit most trail cameras and and will give you piece of mind that your camera is secured in place. Here you can watch how to set up this lock with your own trail camera. You also may be interested in a security case that is compatible with your trail camera. These cases house your camera and secure with a padlock, which helps prevent vandalism and theft.
SD Cards
All cameras need a memory card to store your photos and videos on. Make sure to check what SD card capacity your camera needs, this is usually found in the specifications section. Browse our selection of SD cards to order alongside your camera so that you can get snapping as soon as possible.
Power Options
Most cameras are powered by batteries. We recommend you use Lithium Ion batteries with your trail camera to ensure maximum trigger speeds and longer battery life.Make sure to check how many batteries your camera needs. Some trail cameras are also compatible with solar panels which will allow you to extend the battery life of your camera. This is especially useful if you want to leave your camera outside for extended periods of time.
Starter Bundles
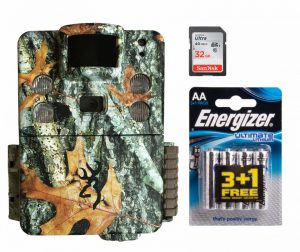
If you are looking to buy a trail camera and want to make sure you will be able to get out and start capturing as soon as it arrives, then you may want to take a look at our starter bundle options. These bundles come with a memory card and batteries that are right for your camera to ensure you have everything you need to get started.
To see more trail cameras available, take a look at our range here.
Would you like some more advice on which trail camera or nest box camera is most suitable for you? Contact us on +44 (0)1803 865913 or email customer.services@nhbs.com .
Reptiles play an important role in the functioning of ecosystems, whether as predators controlling prey populations, or as a source of prey for both birds and mammals. There are eleven species of reptile in the UK, of which six are native. All are protected under UK legislation, with the extremely rare Smooth Snake and Sand Lizard protected by additional EU legislation.
At this time of year, reptiles are emerging from hibernation and ecologists are beginning to prepare for the survey season. They are generally active between March and October and surveys are carried out in April, May and September when the reptiles are at their most visible. In the main summer months (June – August) reptiles tend to bask less and are unlikely to use any artificial refugia, meaning that surveys are less effective during this time .
The most common survey methods for reptiles include searching for basking animals on banks, piles of wood and on the edges of woodland, or laying out artificial refuges such as corrugated sheets, carpet tiles or roofing felt, which are bedded down well into the vegetation.
A wide range of reptile survey equipment is available to buy on the NHBS website. For any advice, please contact our Wildlife Equipment Specialist team who would be happy to help.
Corrugated reptile refugia are often used in reptile surveys as they absorb heat and provide shelter from predators, making them an ideal basking spot, especially for Slow Worms or Smooth Snakes. The refugia available from NHBS are made from corrugated roofing material (bitumen soaked organic fibres) which is lightweight and waterproof. The material is free from asbestos, non-toxic and is both waterproof and long lasting. The sheets are 2.6mm thick and measure either 500mm x 500mm or 500mm x 1000mm, both with a corrugation depth of 40mm.
As with the corrugated refugia above, felt squares also create favourable conditions beneath them for reptiles and are commonly used for surveys, as they are light and will roll up for transport. These tiles are made from bitumen felt and are available in two sizes: 50 x 50cm or 100 x 50cm.
A snake hook is useful for catching and managing snakes for inspection or translocation. There are two snake hooks available, both made from aluminium which is both strong and lightweight. The standard snake hook comes in two sizes: 100cm or 130cm and has a wooden handle. The telescopic snake hook can be extended from 95cm to a total length of 140cm and the end of the handle has a comfortable rubber grip.
Snake tongs are also useful for handling snakes for inspection or translocation. There are two lengths of tongs available: 91cm or 120cm. They are made from an anodized aluminum shaft with a pistol grip handle to provide a lightweight yet strong tool enabling maximum holding pressure with minimal risk to the handler or the snake.
HexArmor’s patented Venom Defender range utilises layers of hexagonal armour plating to provide excellent protection against biting snakes such as adders while retaining some flexibility. While no equipment can be considered entirely bite proof and there is no substitute for safe practice, the additional safety afforded has made this brand the industry leader among professionals who work with venomous reptiles. Arm guards are available to assist with reptile handling, while leg guards are useful for anybody who works in areas with biting or venomous animals.
Native reptile species in the UK range on average from 5 to 100g. Pesola scales are universally acclaimed precision scales which are reliable and durable. The Light-Line range features a transparent tube for panoramic reading and a long, clear double display with coloured marker ring. They are adjusted by hand with a guaranteed accuracy of +/- 0.3% the precision spring is made of corrosion-free, fatigue-resistant alloy, and the scales are impervious to humidity.
Please note that many reptiles in the UK are protected by law. Any reptile survey work should be undertaken by a trained professional. Different levels of licence are required for different survey and mitigation methods. For more information, please visit: https://www.gov.uk/guidance/reptiles-protection-surveys-and-licences
If you have any queries you can contact our Wildlife Equipment Specialist team on 01803 865913 or via email at customer.services@nhbs.com.
Watching bats can be a fascinating and rewarding hobby. If you want to go out and watch bats yourself, you may not have to travel as far as you think. Bats live all over the UK in the countryside, towns and cities. Head down to your local patch of woodland, park or even your own back garden around sunset and watch the sky. Some bats fly quite high in the sky around the tops of trees, others fly lower, even at eye level. If you have a large pond, river or lake nearby, watch the surface of the water and you might see a Daubenton’s bat skim across the surface catching insects. Warm, dry and relatively still nights are best when it comes to bat watching. You are more likely to see bats around sunset and sunrise and they can be seen between March and October.
An Introduction to Bat Detectors
To really immerse yourself in the world of bats, it is worth using a bat detector.
Bats use calls for communication, navigation and hunting but these are at frequencies above that of most human hearing. So even if you’re watching dozens of bats above you, you’re unlikely to be able to hear their calls. Bat detectors are devices that convert these ultrasonic calls into audible sounds and because different bat species call at different frequencies, bat detectors can even help you identify which bat is calling. Bat detectors are great fun to use and can help you learn a lot about bats. There are several different types of bat detectors on the market, at varying prices and with varying features. We’ve highlighted some of our favourite, entry-level bat detectors below.
Our most popular range of beginner detectors are the Magentas. The Magentas are incredibly easy to use with a frequency dial to allow you to tune to a certain frequency, a front-facing speaker so that you can hear the converted bat calls, and a volume dial. They use a method of call processing called Heterodyne which works by tuning to one frequency at a time. The only difference between the Magenta 4 and the Magenta 5 is that the 5 has a digital display of the frequency that you are tuned to whereas the 4 has the frequencies on the tuning wheel which is lit by a small light. You can use Magentas with headphones and even record the outputted calls with a recorder (available separately).
The Batscanner is one of the easiest detectors to use, automatically scanning the whole frequency range and adjusting accordingly when it detects a bat, displaying the peak frequency on the digital display. This means you don’t have to tune anything and you won’t miss a bat because you’re tuned to the wrong frequency. The call output is clear and the Batscanner intelligently filters out non-bat low frequency calls giving you a clean, noise-free output.
The BatBox Baton is perhaps even more simple to use than the Magentas, with just 1 button operation – the on/off button. You do not need to tune this detector – it will automatically detect all frequencies simultaneously as it works through ‘frequency division’, where all ultrasonic calls are divided by a factor of 10, pushing them into the human hearing range. Audio is played through the front facing speaker and when the Baton is plugged into a computer, you can see sonograms (visual representation of bat call) on the software included with the Baton.
The BatBox Duet is a similar but more sophisticated detector that is great if you want to take your bat detecting to the next level. It uses two modes of call processing: with heterodyne, you can tune the detector with the frequency dial and this is displayed on the backlit screen, much like a Magenta, but the detector also processes the ultrasonic sounds in frequency division mode and this can be captured using an audio recorder (available separately).
The Echo Meter is a completely different type of bat detector but one that is very popular and has many amazing features, ideal for all levels of bat enthusiasts. It plugs into a compatible phone or tablet and with the help of a free app, turns your phone/tablet into a fully functional bat detector. The app displays live sonograms of bats and an intelligent algorithm identifies the most likely bat species based on the calls, all in real-time. The app can GPS tag your sightings and you can record, replay and download bat calls.
How can I help bats?
It is easy to encourage bats into your garden and there are many things you can do to help your neighbourhood bats. Have a read of our guide to helping your local bats for some ideas and inspiration. Things like putting up a bat box can help tremendously. It is often recommended to use wood concrete boxes which are made from a mixture of wood fibres and concrete. They are durable and they provide improved thermal insulation which benefits roosting bats. You can choose between cavity and crevice bat boxes based on the species you are trying to attract, for example, common pipistrelles prefer to roost in crevices.
The Lela Bat Box and the Gabriella Bat Box are wood concrete bat boxes designed to provide roosting space for a variety of crevice dwelling species. The Lela has two internal crevice chambers and the Gabriella contains one extensive single compartment.
The Isabella Bat Box is perfect for those cavity dwelling spcies you may want to encourage.
Other useful equipment and books
Listed below is some great kit and books to get you started or develop your knowledge on bat detecting and bat watching:
This DIY Bat Detector Kit has everything you need to build your own heterodyne bat detector. It is easy to assemble and does not require any soldering skills, simply follow the 34-page manual, available in both English and German.
This small, handheld audio recorder is ideal for plugging into your bat detector and recording the bat calls you are hearing. Recordings are stored on an SD card and can then be viewed on a computer to analyze further.
This handy rechargeable headtorch will help to keep your hands free when you’re trying to change settings or navigate in the dark. The Nebo Mycro has a bright, clean 150 lumen beam with easy-to-use mode and power buttons.
The Bat Detective: A Field Guide to Bat Detection This field guide is perfect for beginners wanting to start learning how to identify bats from their calls. As each topic is explained references are given to the relevant tracks on the CD. The 48 tracks found here are the first ever compilation of British bat recordings on CD.