Winter is the toughest time of year for wildlife – cold temperatures and short days mean that finding enough food and staying warm become a challenging job. At this time of year, some animals enter a period of hibernation or torpor to preserve energy for when conditions improve, while others rely on stashes of food or body fat, stored away during the more abundant summer and autumn.
Much of our vegetation has entered a period of dormancy; growth has slowed right down and most trees and shrubs will remain bare until the spring. It would be easy to assume that nothing much is happening in the wild, but there are still amazing sights to be seen for the intrepid wildlife watcher who isn’t afraid to venture outside.
This is the fourth and final installment in our seasonal phenology series where you can explore a carefully chosen collection of ID blogs, books, equipment and events, all designed to help you make the most of a winter outside. Check out our spring, summer and autumn blogs for inspiration during the rest of the year.
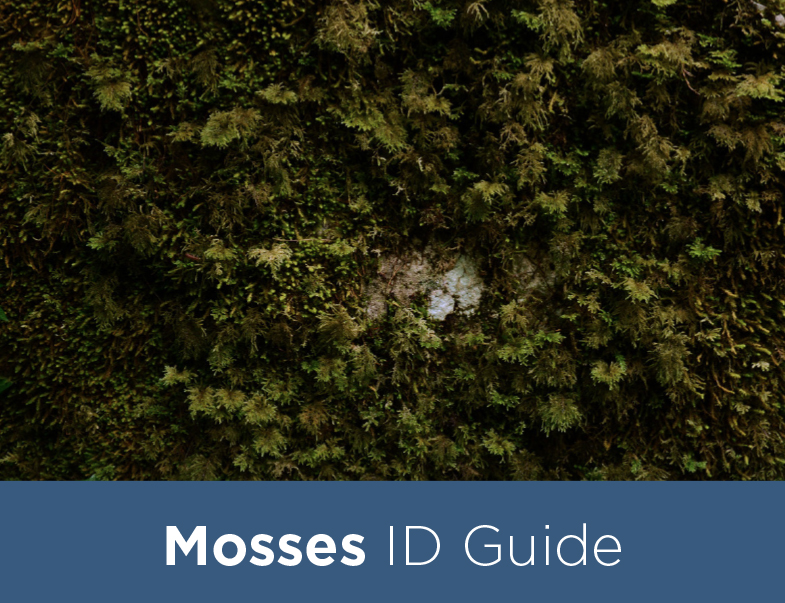
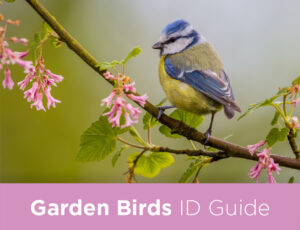
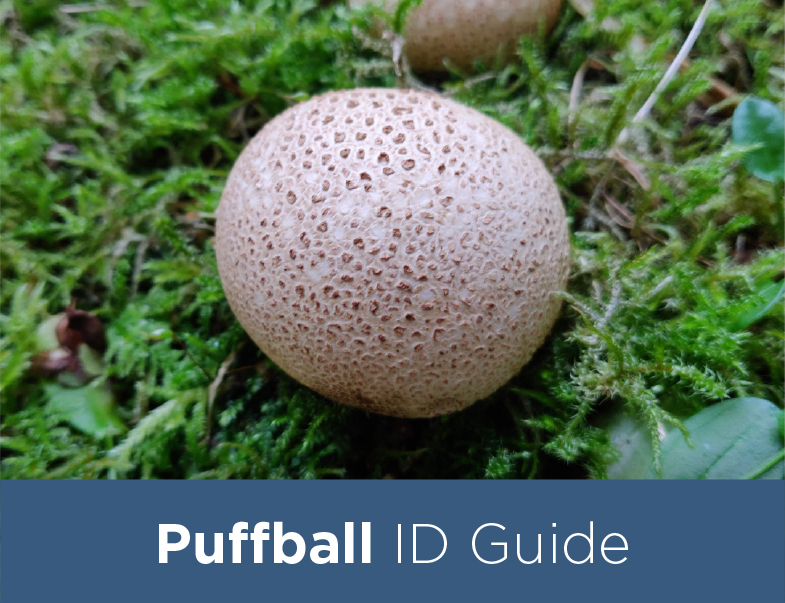
Identification guides:

What you might see:
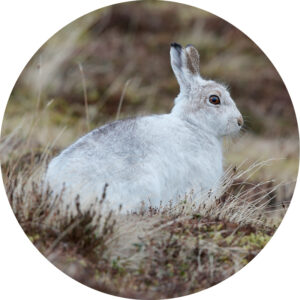
• During the colder months, Mountain Hares turn white to blend in with the snow that would historically have blanketed the uplands for much of the winter. For keen wildlife watchers, this makes November to April the best time to see them, as they stand out clearly from a snow-free landscape. Also known as the blue hare, they are present in Scotland and the north of England and Wales, and are most commonly found on heathland where they can be seen bounding across the landscape.
• As wild food sources become scarce throughout the colder months, elusive Red Squirrels may be increasingly tempted by garden peanut feeders, providing us with a perfect chance for a close-up viewing. Where they are present in the wild, bare trees can make winter a great time to spot these delightful mammals.
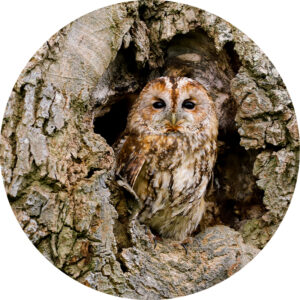
• Tawny Owls breed very early in the year, meaning that their loud mating calls can be heard from late autumn and through the winter months. Their territorial calls are very easy to recognise and provide a wonderful accompaniment to an early morning winter walk.
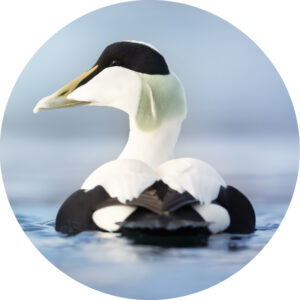
• Ducks and other wildfowl flock together in huge numbers during the winter for their nesting season, and are often responsible for a cacophony of sound around lakes and ponds. The appearance of winter plumage in male ducks also makes them a spectacular sight, and it is now that the differences between male and female birds become most apparent.
• At the same time as we say goodbye to many of our summer migrants, we also welcome to our shores a number of species which arrive to spend the winter away from colder regions. Geese, swans and ducks flock here from as far away as Canada, Russia and Iceland. The numbers of some of our resident species, such as Starlings, Chaffinches and Robins, may also be boosted by additional migrants.
Activities:

Upcoming events:
Big Schools Birdwatch – 8th January – 19th February
Big Garden Birdwatch – 26th to 28th January
World Wetlands Day – 2nd February
Global Recycling Day – 18th March
First Day of Spring – 20th March
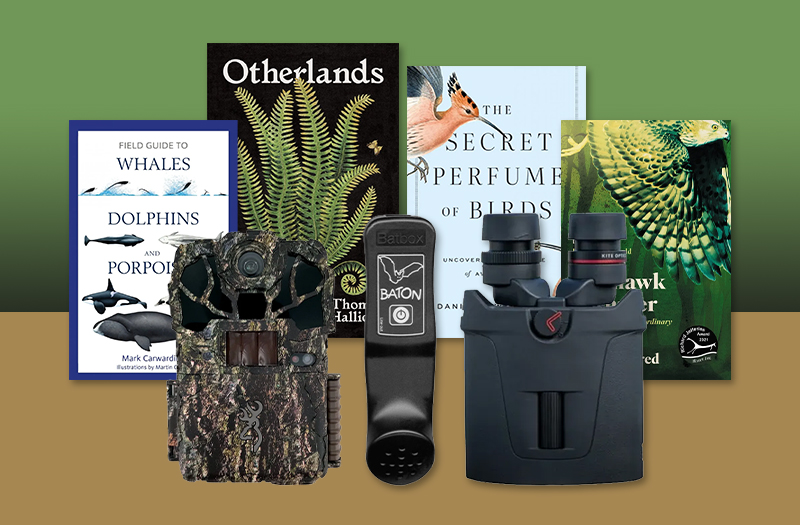
Essential books and equipment:
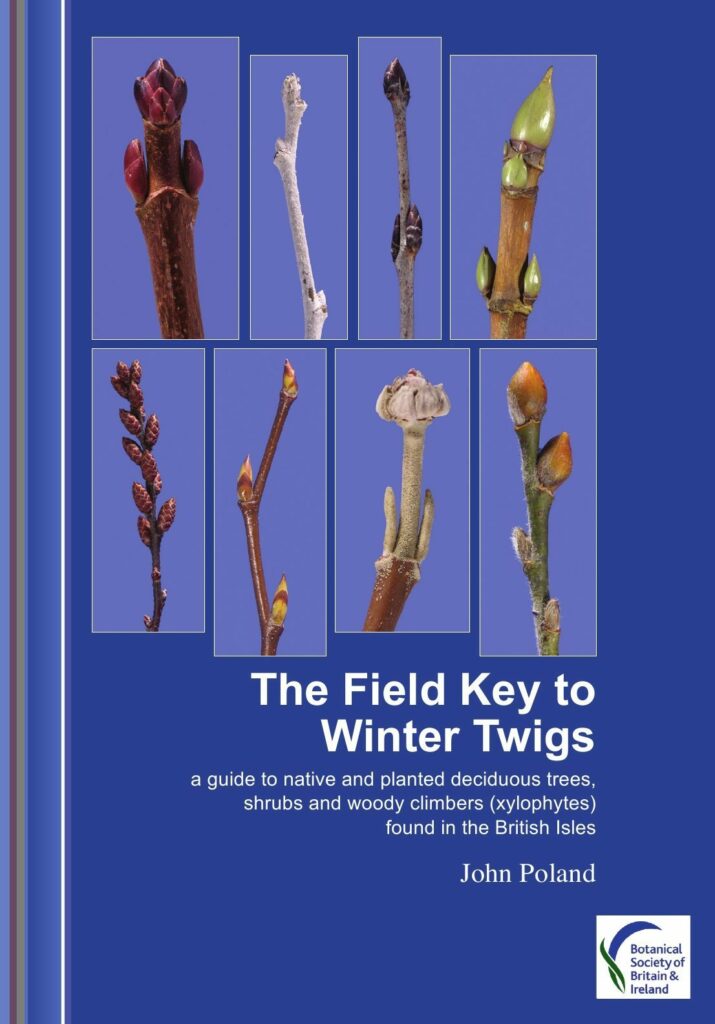 The Field Key to Winter Twigs
The Field Key to Winter Twigs offers a striking new approach to the identification of over 400 wild or planted trees, shrubs and woody climbers found in the British Isles. It allows any diligent enthusiast to reliably name a woody plant, normally within three turns of a page.
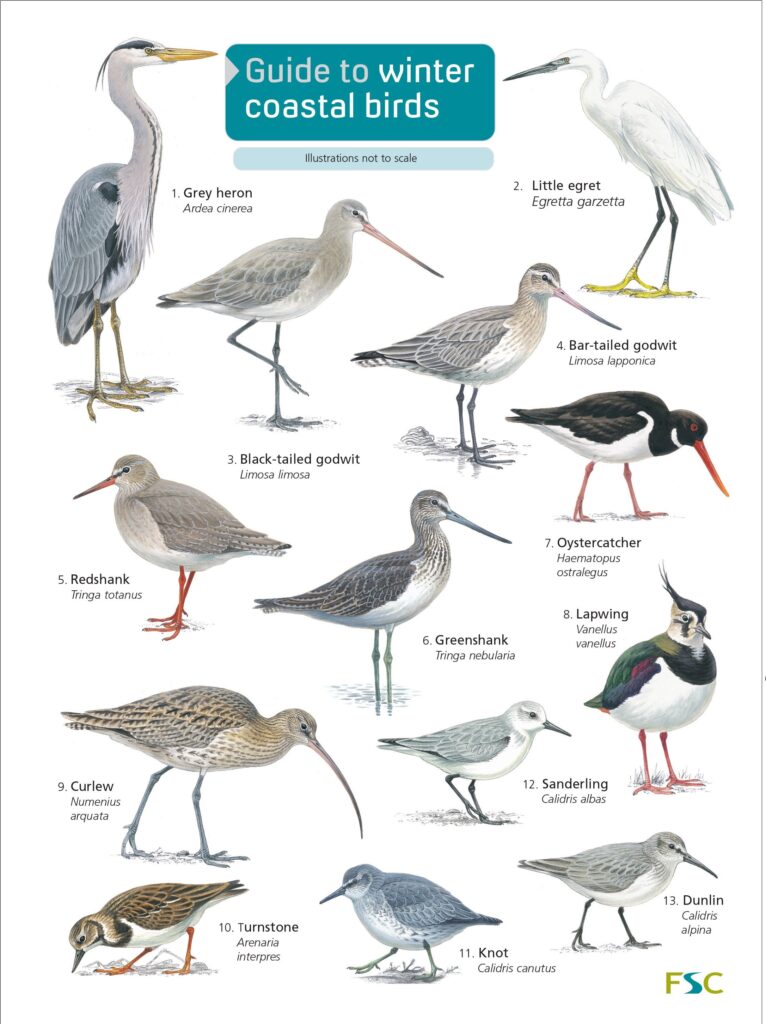 Guide to Winter Coastal Birds
This laminated fold-out chart features 44 of the bird species you can see along the coastline of the UK in the winter. From long-legged waders to gulls, geese and shore ducks, all birds are shown in the adult winter plumage with separate images for males, females and juveniles.
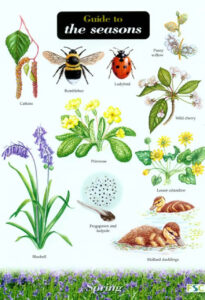 Guide to the Seasons
This fold-out FSC chart aids the identification of different species of flora and fauna through each season, including winter. From catkins in spring to Redwing in winter, this portable guide is essential for exploring wildlife and nature throughout the year. Especially suitable for younger children.
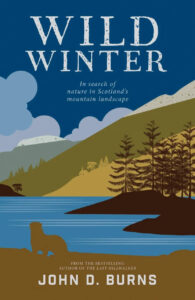 Wild Winter
John D. Burns sets out to rediscover Scotland’s mountains, remote places and wildlife in the darkest and stormiest months. In Wild Winter, he traverses the country from the mouth of the River Ness to the Isle of Mull, from remote Sutherland to the Caingorns, in search of rutting Red Deer, pupping seals, Minke Whales, beavers, Pine Martens, Mountain Hares and otters.
 A Field Guide to Bryophytes
This field guide covers 133 species of moss and liverwort encountered in most UK habitats, using non-specialist terms to help identify them. Twelve flow-charts help identify species by the habitat they occur in. All proceeds from sales of this book go to The Species Recovery Trust.
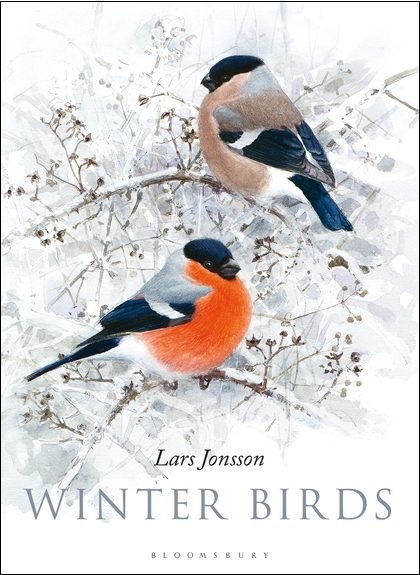 Winter Birds
In this stunning book, Lars Jonsson celebrates and explores the beauty of the birds that surround him during the Swedish winter months. Inspired by the desolate, wintry landscapes, the dazzling light and the stark contrast of colours he observes against the snow, Jonsson has created an unparalleled collection.
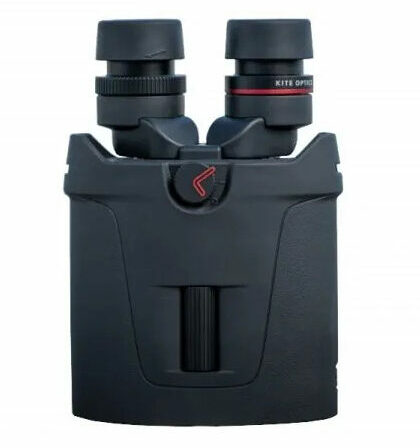
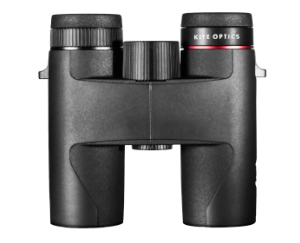 Kite Lynx HD+ Binoculars
Lynx HD+ binoculars have unique, class-leading optical characteristics in an exceptionally lightweight and compact body. They are perfect for surveying as it is easy to locate even fast moving animals and features in large landscapes.
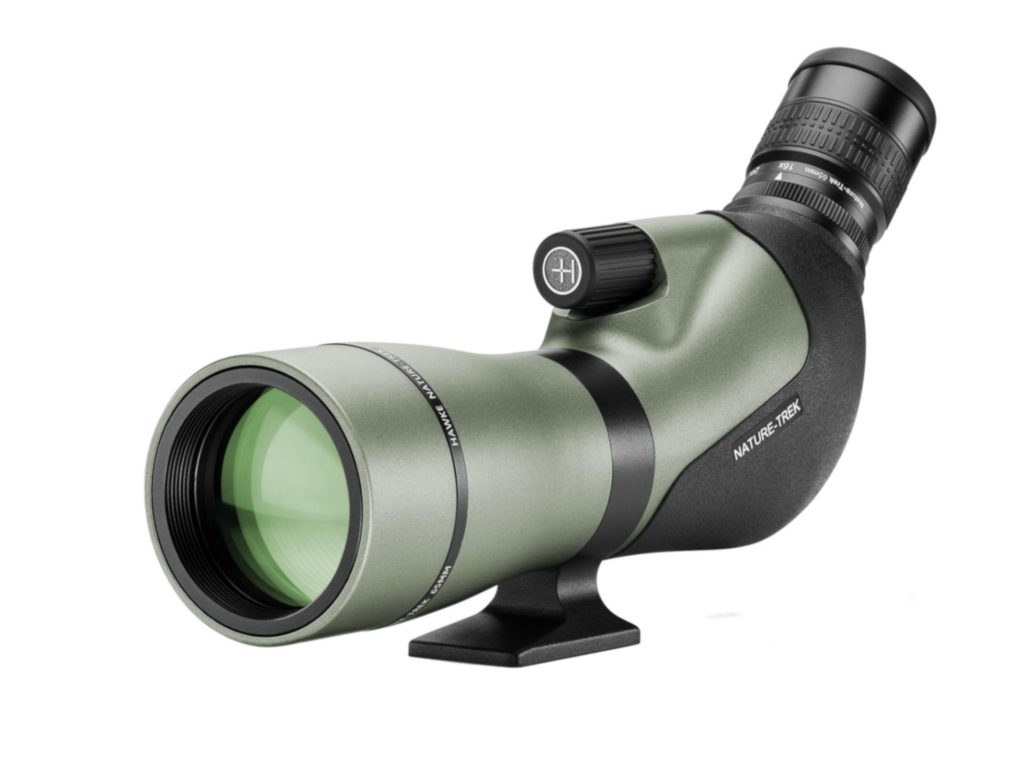 Hawke Optics Nature-Trek Spotting Scope
A high quality yet economical choice for the keen wildlife watcher. Housed in a tough polycarbonate body, fully multi-coated optics help to produce sharp images whilst BAK-4 porro prisms ensure intense colour and contrast.
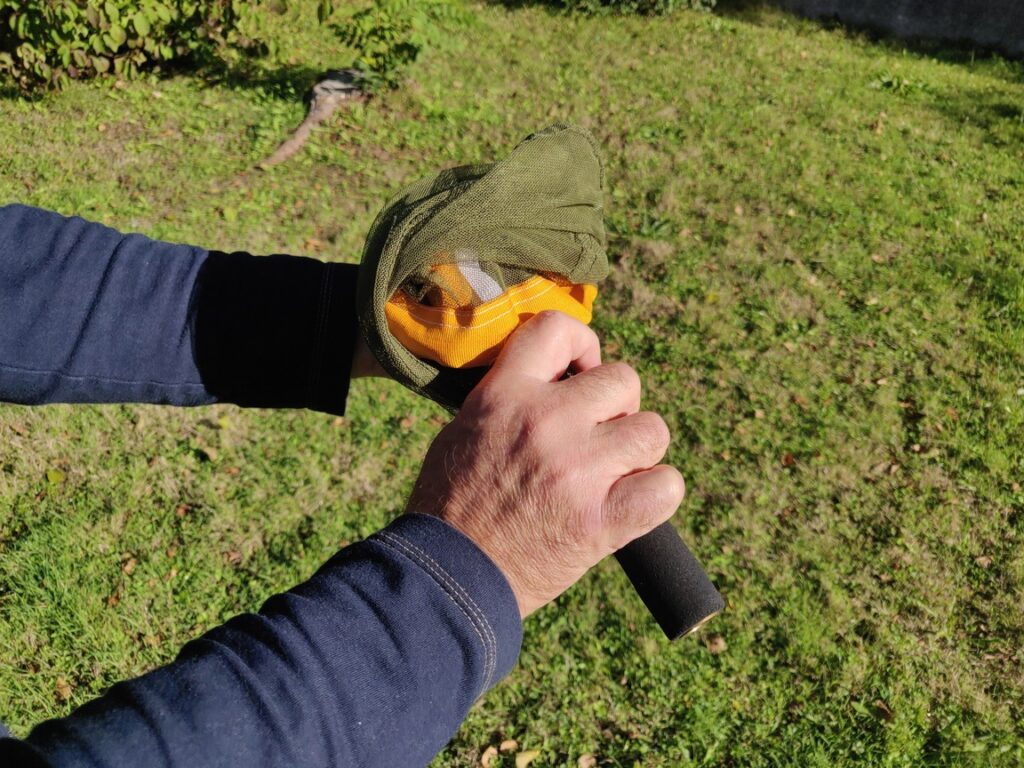
 Petzl Actik Core Headtorch
The Petzl Actik Core is a carefully designed professional headtorch with both white and red light options.
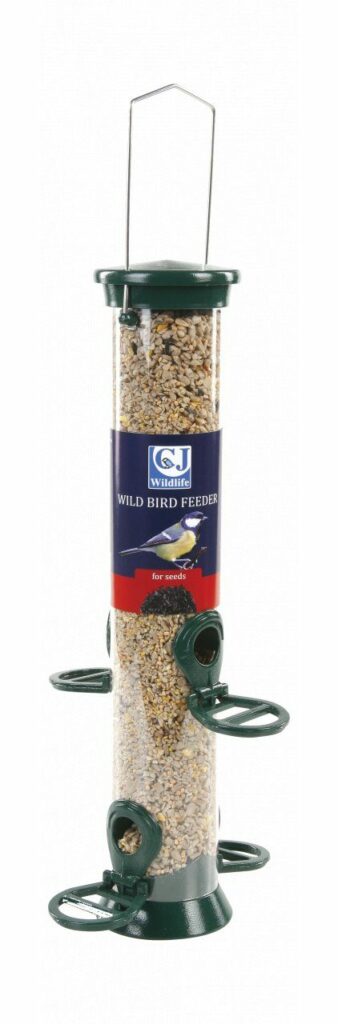
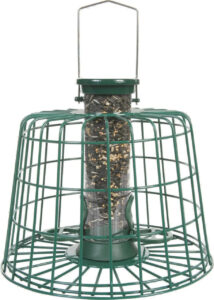 Guardian Seed Feeder
This feeder includes a plastic seed feeder and an exterior cage designed to keep out squirrels and larger birds. The feeder is constructed from plastic with a metal lid and has plastic perching rings, which enable birds to feed in a natural forward facing position.


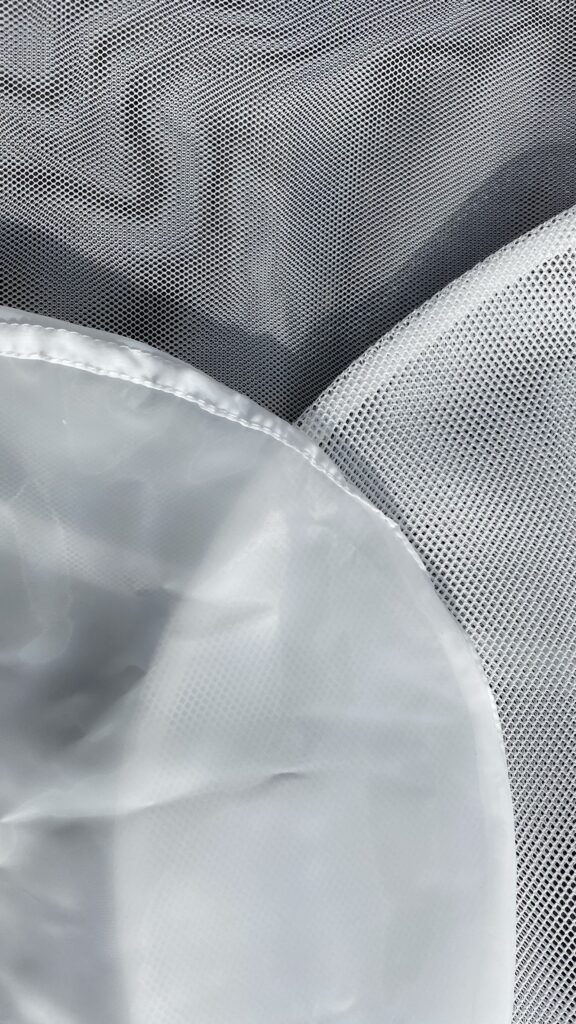
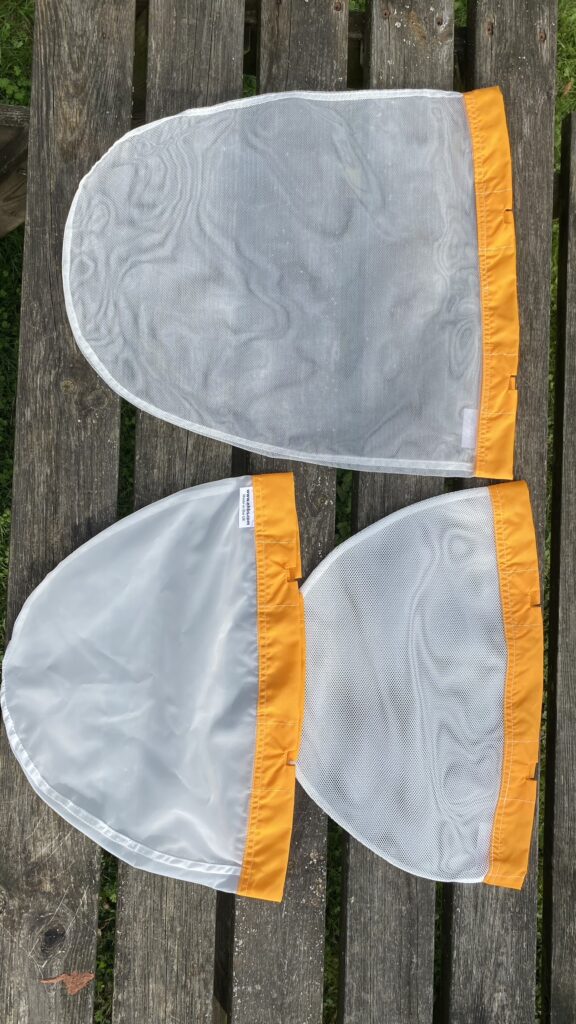


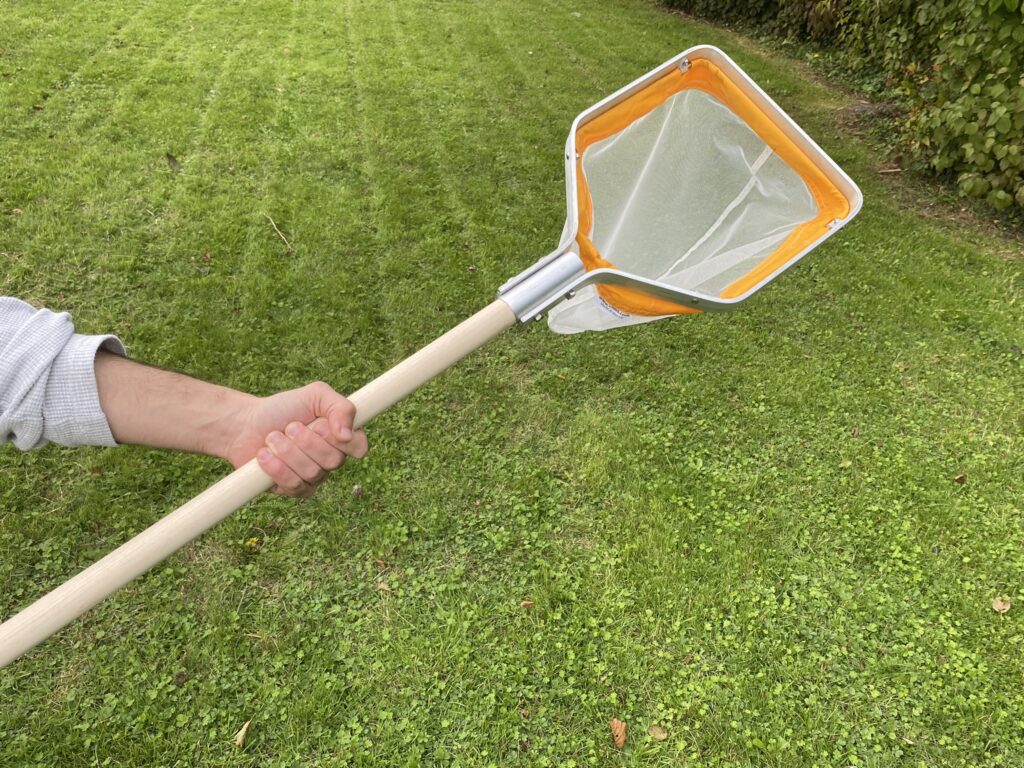
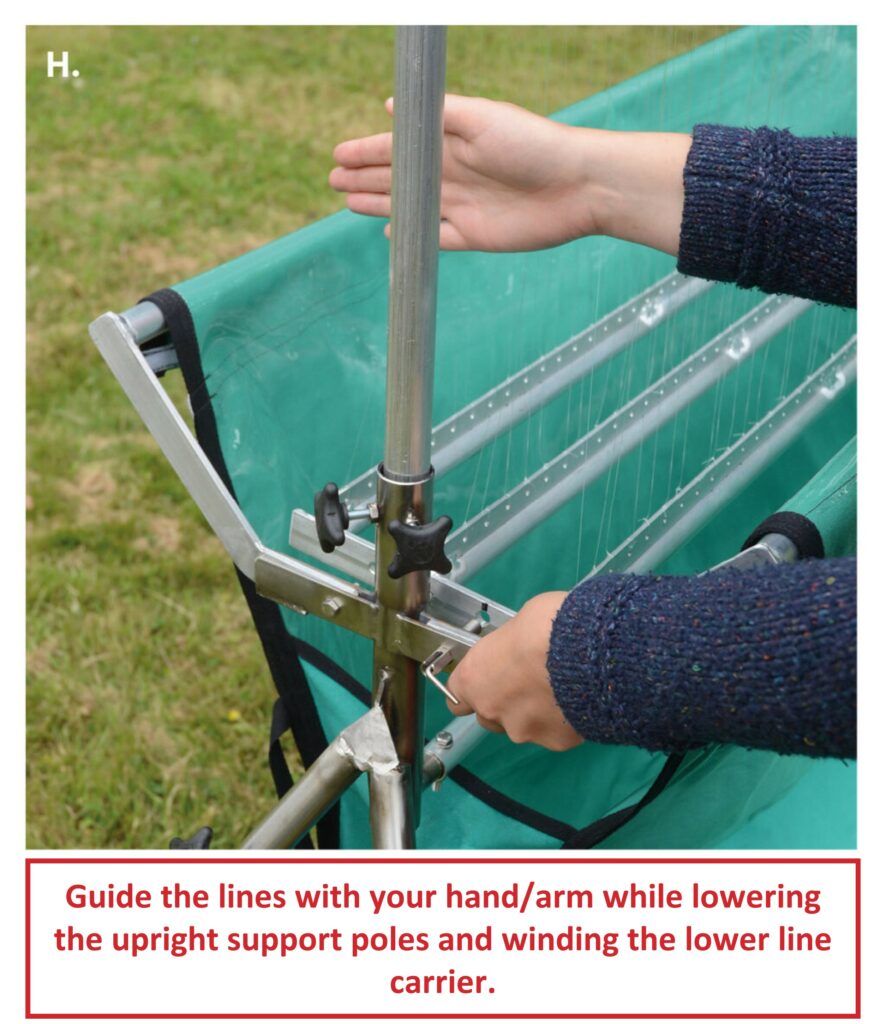
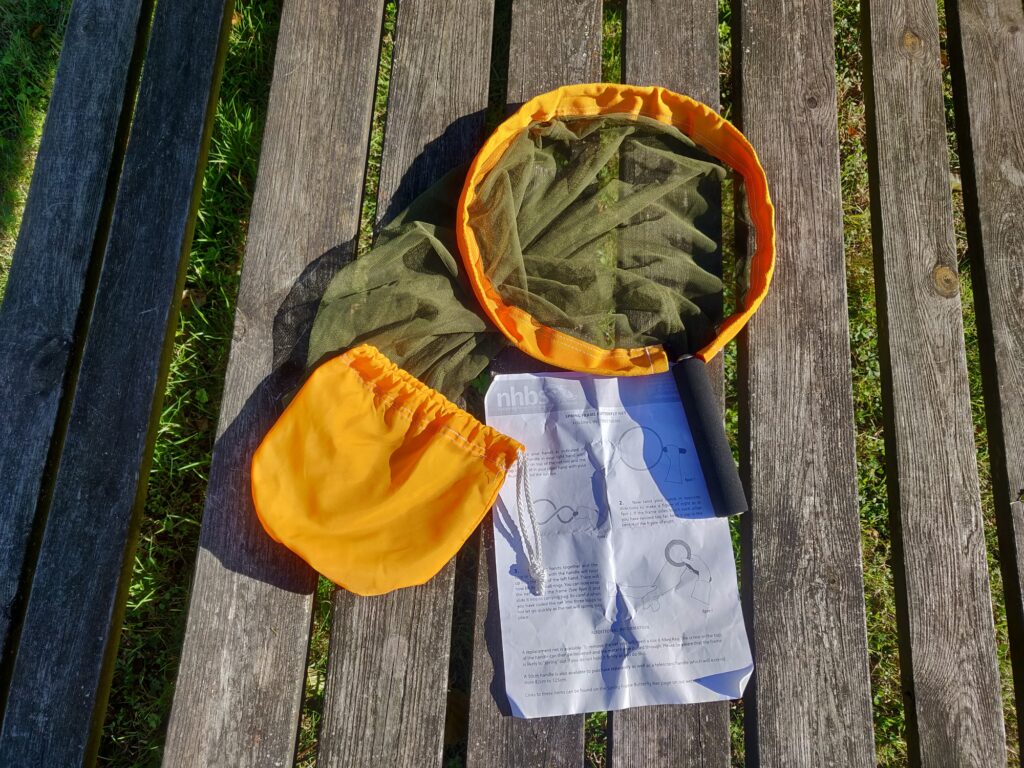
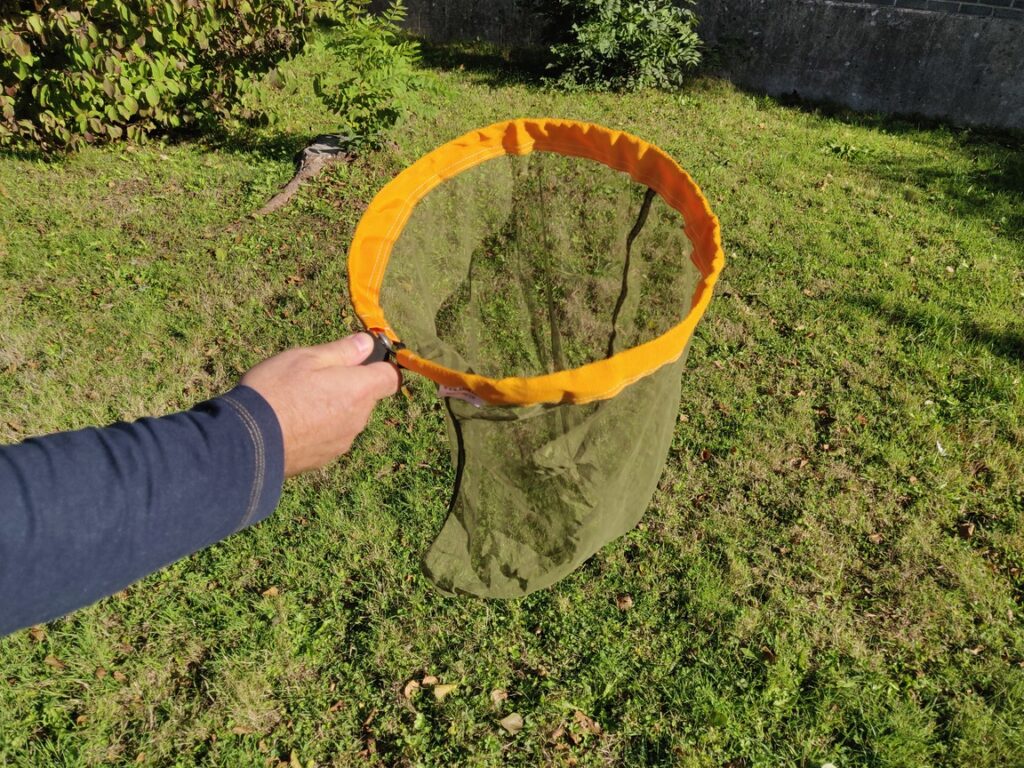
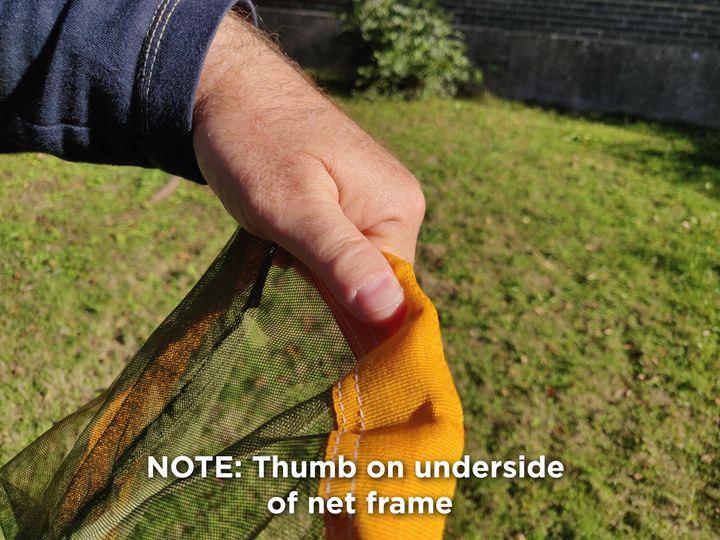
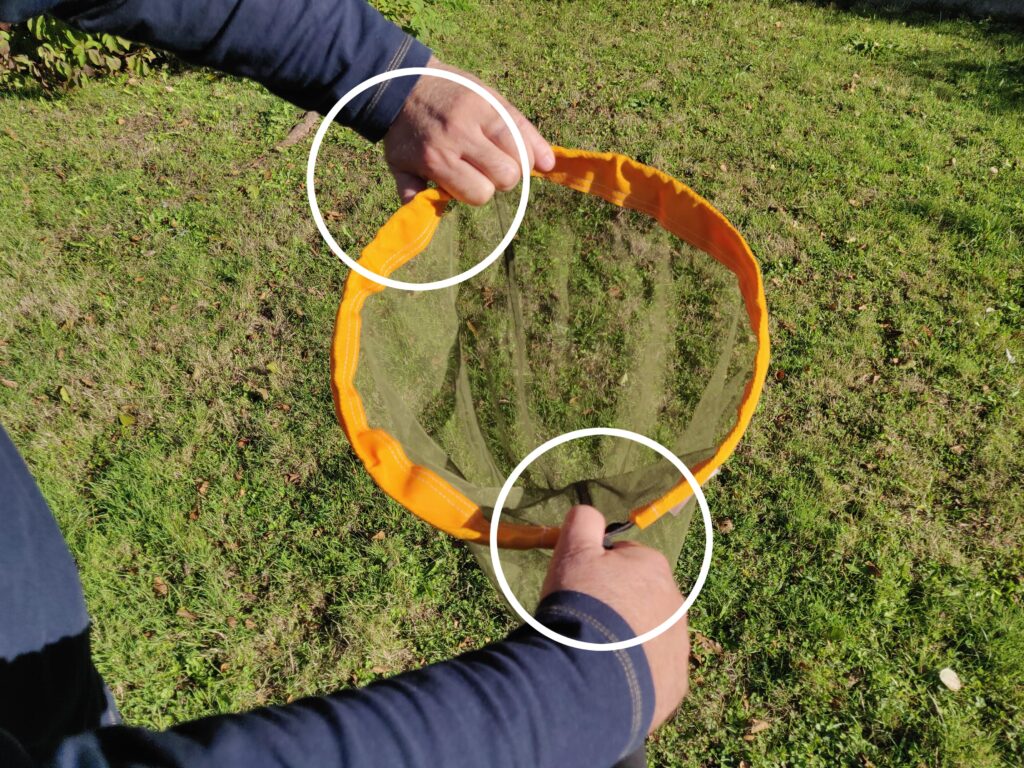
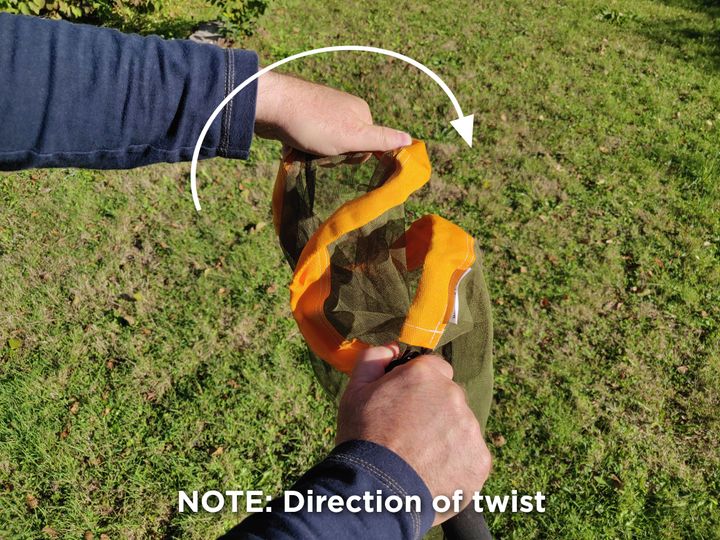
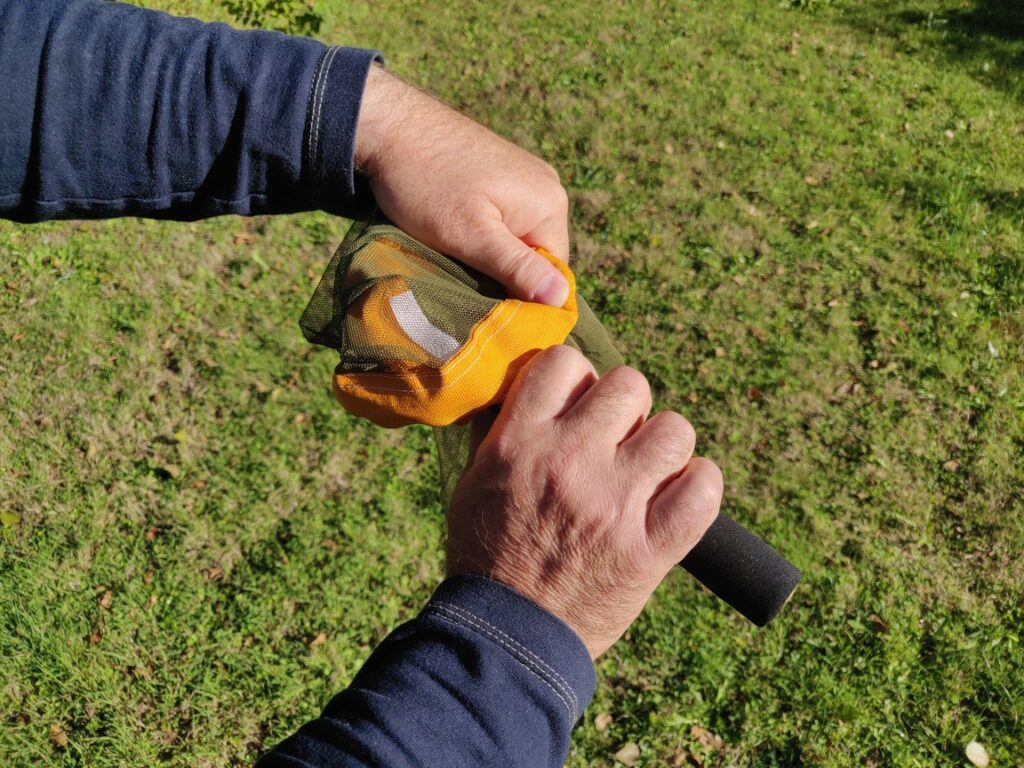
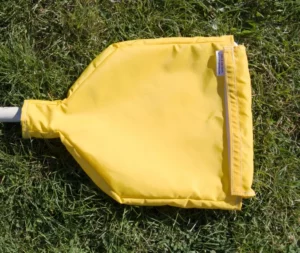 Our nylon


 • Peaking in late November and early December, Starling murmurations are one of the most spectacular events in the wildlife watcher’s year. These magnificent clouds of birds, swirling and turning in perfect unison, can be made up of more than 100,000 individuals. The best time to see murmurations is in the early evening – this is when the birds take to the skies to find their night-time roosting spots.
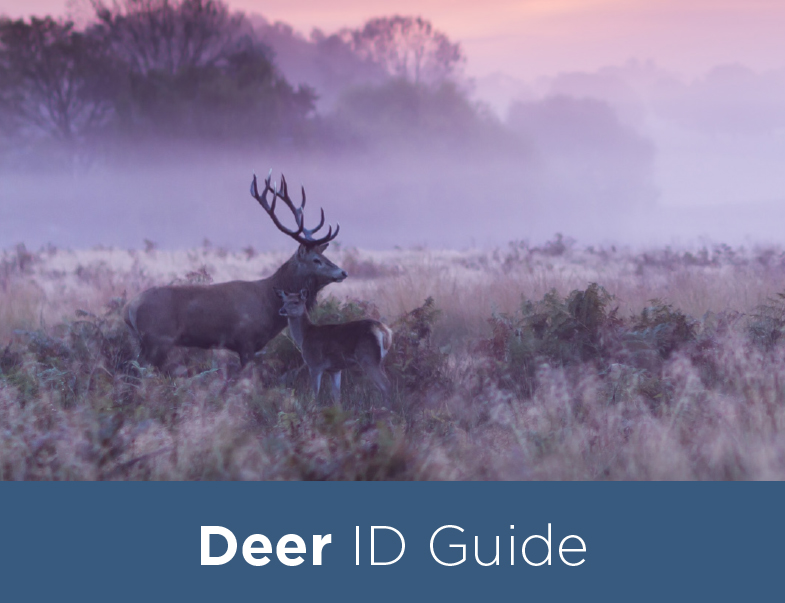
 • October is the ideal time to observe the deer rut. Our three largest species of deer (red, fallow and sika) all perform this spectacular behaviour which involves rival stags roaring and locking antlers in battle in order to gain access to females, who are only fertile for around one day each year. Exmoor, Dartmoor and the New Forest are particularly good locations for observing these iconic displays.
 • During the autumn, salmon will migrate from the open ocean back to their home rivers in an effort to reach the higher reaches of clean water where they will breed. As they travel upstream they can jump up to three metres upon encountering waterfalls or other obstacles. Although risky for the fish, as jumping out of the water makes them vulnerable to predation, these spots provide an excellent chance for us to observe the salmon run in action.