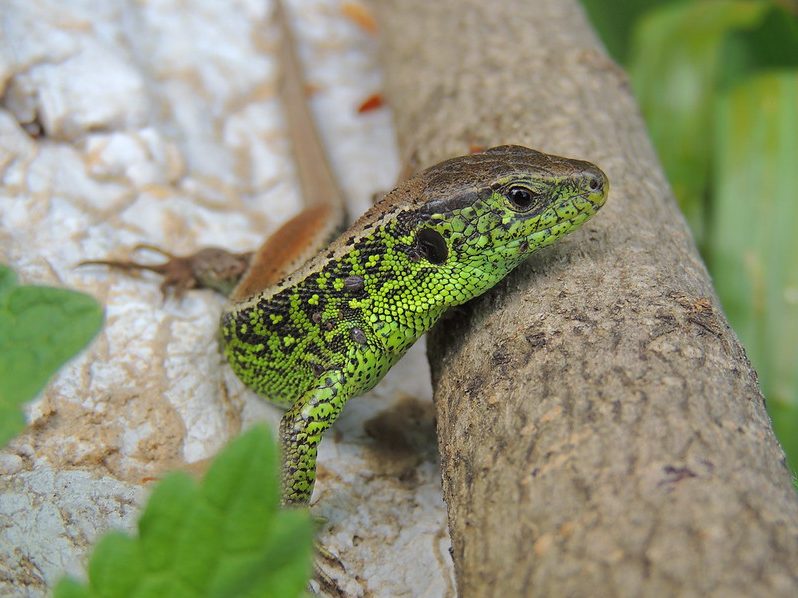
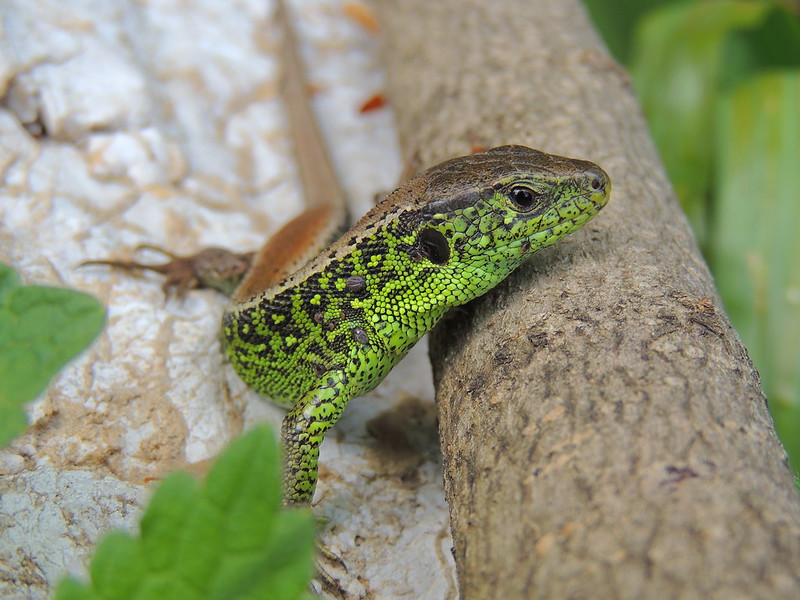
Reptiles play an important role in the functioning of ecosystems, whether as predators controlling prey populations, or as a source of prey for both birds and mammals. There are eleven species of reptile in the UK, of which six are native. All are protected under UK legislation, with the extremely rare Smooth Snake and Sand Lizard protected by additional EU legislation.
At this time of year, reptiles are emerging from hibernation and ecologists are beginning to prepare for the survey season. They are generally active between March and October and surveys are carried out in April, May and September when the reptiles are at their most visible. In the main summer months (June – August) reptiles tend to bask less and are unlikely to use any artificial refugia, meaning that surveys are less effective during this time .
The most common survey methods for reptiles include searching for basking animals on banks, piles of wood and on the edges of woodland, or laying out artificial refuges such as corrugated sheets, carpet tiles or roofing felt, which are bedded down well into the vegetation.
A wide range of reptile survey equipment is available to buy on the NHBS website. For any advice, please contact our Wildlife Equipment Specialist team who would be happy to help.
Corrugated Reptile Survey Refugia 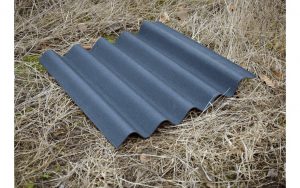
Corrugated reptile refugia are often used in reptile surveys as they absorb heat and provide shelter from predators, making them an ideal basking spot, especially for Slow Worms or Smooth Snakes. The refugia available from NHBS are made from corrugated roofing material (bitumen soaked organic fibres) which is lightweight and waterproof. The material is free from asbestos, non-toxic and is both waterproof and long lasting. The sheets are 2.6mm thick and measure either 500mm x 500mm or 500mm x 1000mm, both with a corrugation depth of 40mm.
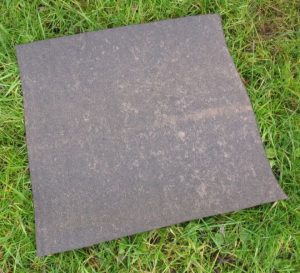
As with the corrugated refugia above, felt squares also create favourable conditions beneath them for reptiles and are commonly used for surveys, as they are light and will roll up for transport. These tiles are made from bitumen felt and are available in two sizes: 50 x 50cm or 100 x 50cm.
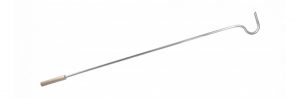
A snake hook is useful for catching and managing snakes for inspection or translocation. There are two snake hooks available, both made from aluminium which is both strong and lightweight. The standard snake hook comes in two sizes: 100cm or 130cm and has a wooden handle. The telescopic snake hook can be extended from 95cm to a total length of 140cm and the end of the handle has a comfortable rubber grip.

Snake tongs are also useful for handling snakes for inspection or translocation. There are two lengths of tongs available: 91cm or 120cm. They are made from an anodized aluminum shaft with a pistol grip handle to provide a lightweight yet strong tool enabling maximum holding pressure with minimal risk to the handler or the snake.
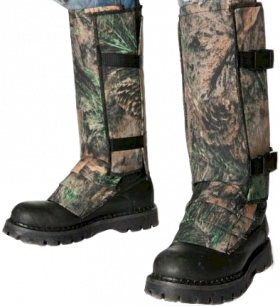 HexArmor’s patented Venom Defender range utilises layers of hexagonal armour plating to provide excellent protection against biting snakes such as adders while retaining some flexibility. While no equipment can be considered entirely bite proof and there is no substitute for safe practice, the additional safety afforded has made this brand the industry leader among professionals who work with venomous reptiles. Arm guards are available to assist with reptile handling, while leg guards are useful for anybody who works in areas with biting or venomous animals.
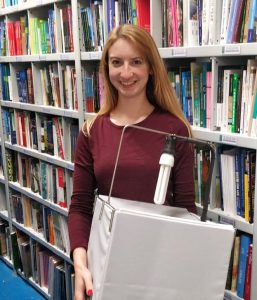
![]() Pesola Light-Line Spring Scale
Pesola Light-Line Spring Scale
Native reptile species in the UK range on average from 5 to 100g. Pesola scales are universally acclaimed precision scales which are reliable and durable. The Light-Line range features a transparent tube for panoramic reading and a long, clear double display with coloured marker ring. They are adjusted by hand with a guaranteed accuracy of +/- 0.3% the precision spring is made of corrosion-free, fatigue-resistant alloy, and the scales are impervious to humidity.
Recommended accessories:
Rite in the Rain Spiral Bound Notebook
Lifesystems Light & Dry Micro First Aid Kit
Please note that many reptiles in the UK are protected by law. Any reptile survey work should be undertaken by a trained professional. Different levels of licence are required for different survey and mitigation methods. For more information, please visit: https://www.gov.uk/guidance/reptiles-protection-surveys-and-licences
If you have any queries you can contact our Wildlife Equipment Specialist team on 01803 865913 or via email at customer.services@nhbs.com.
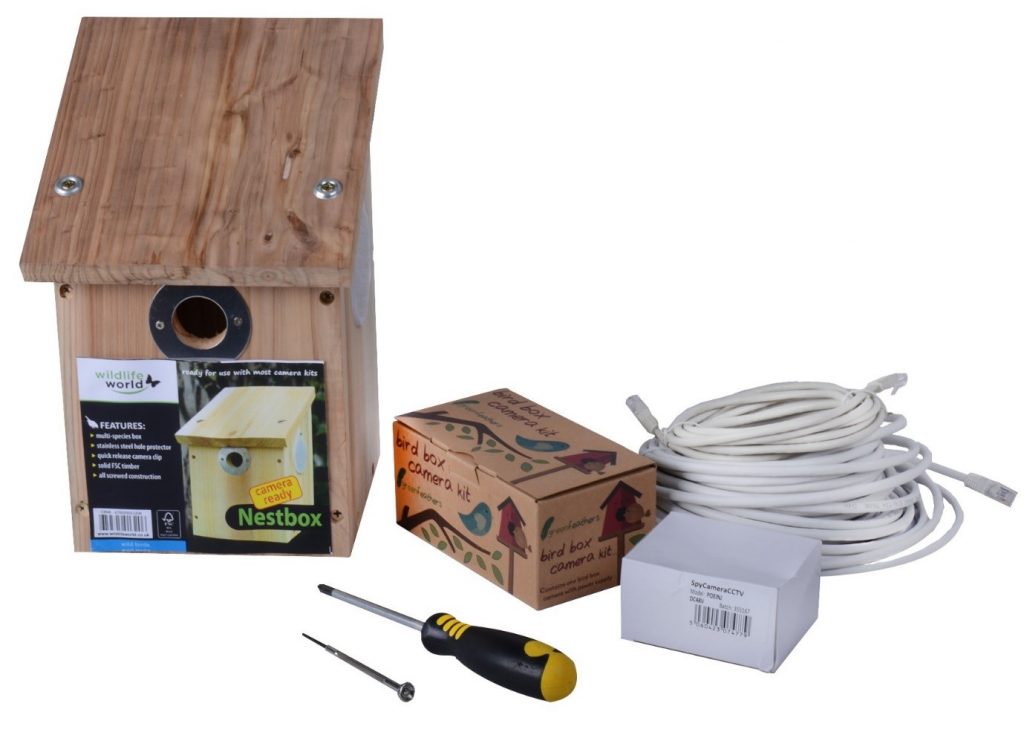
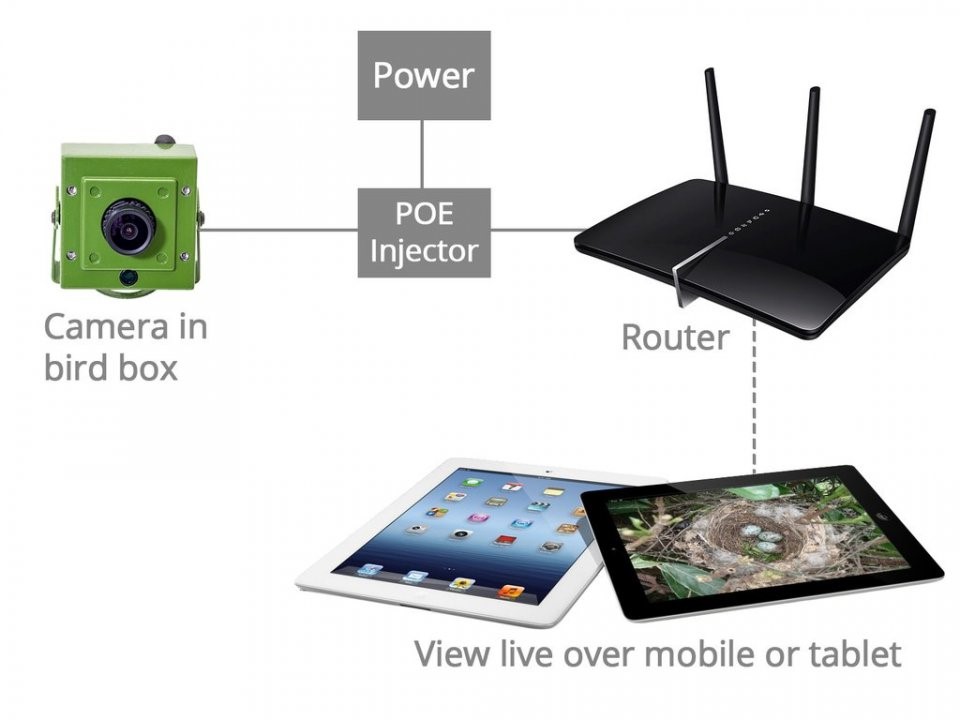
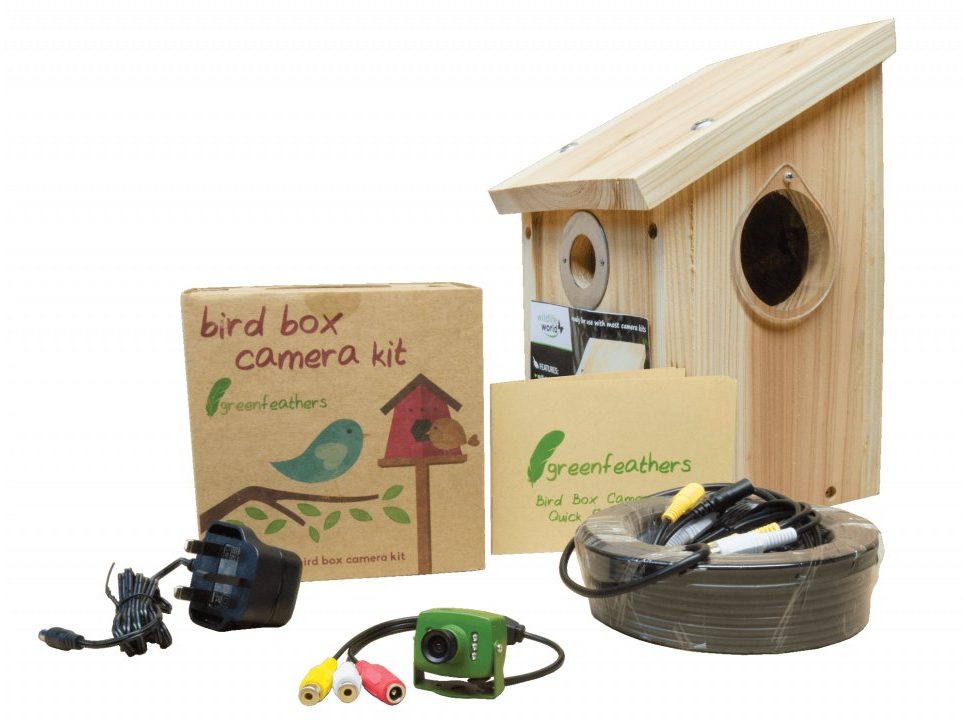
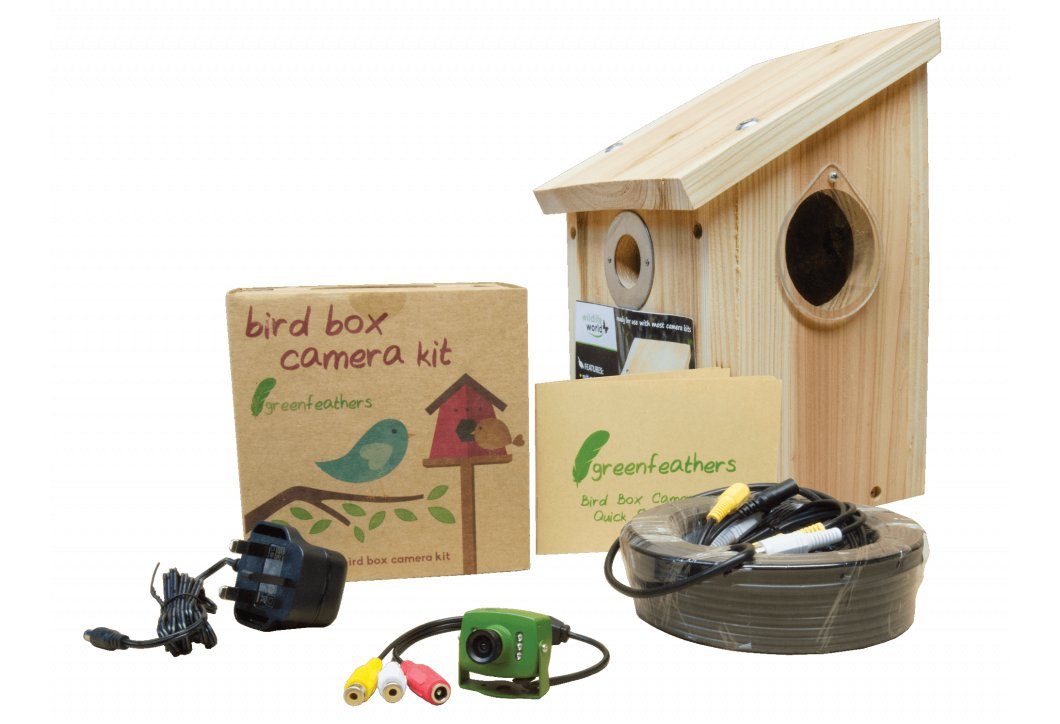
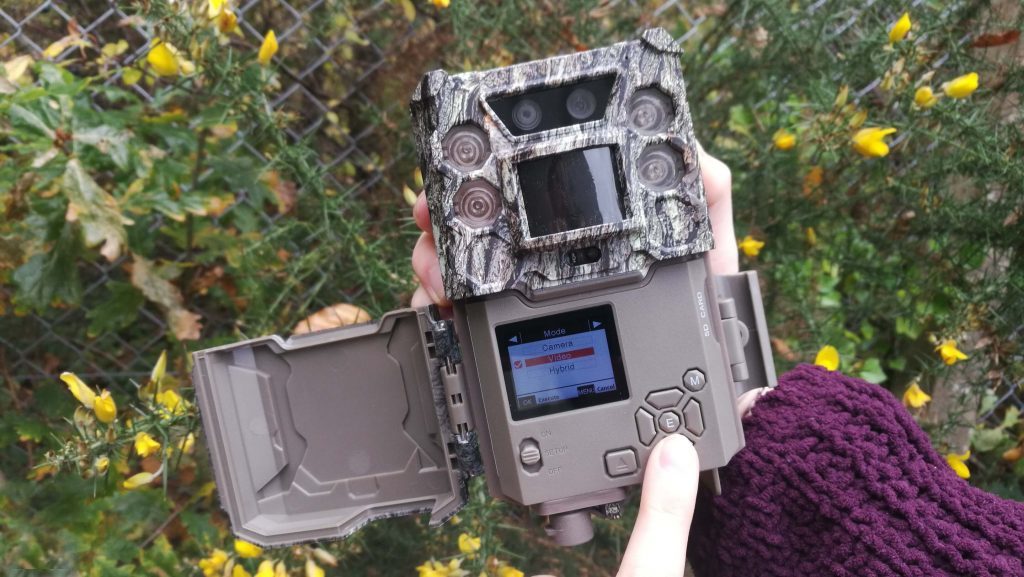
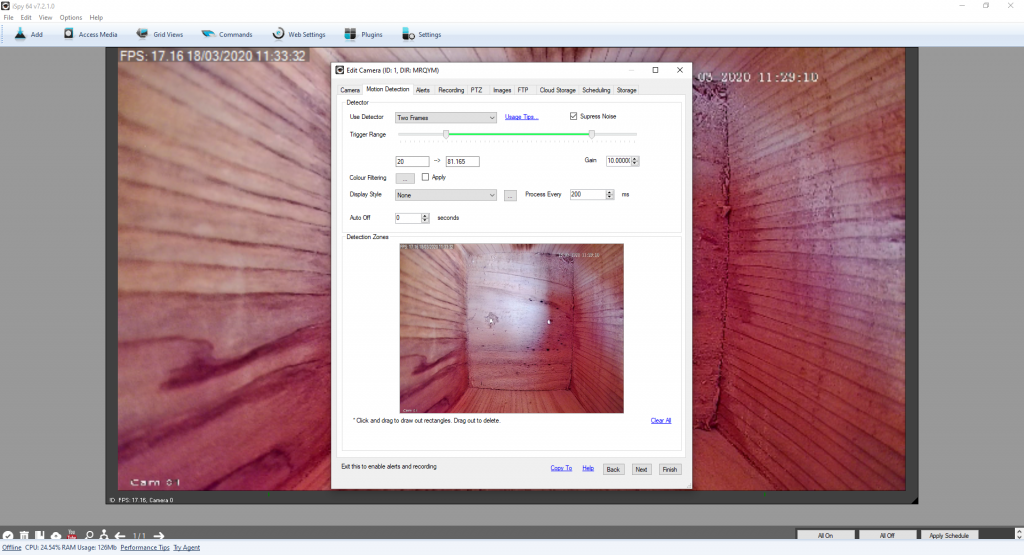
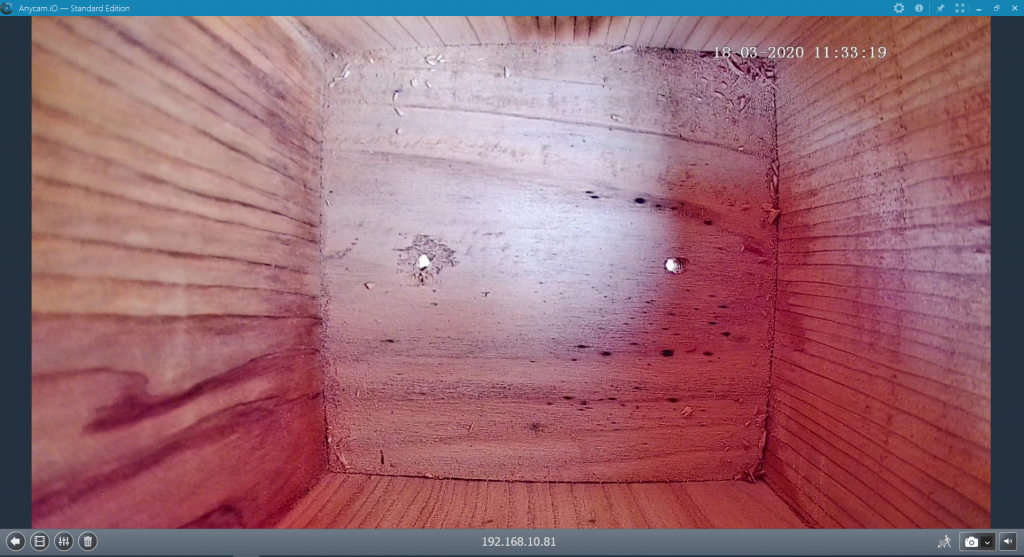
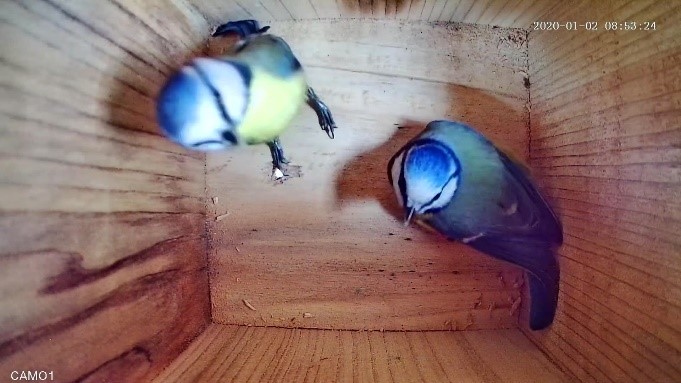
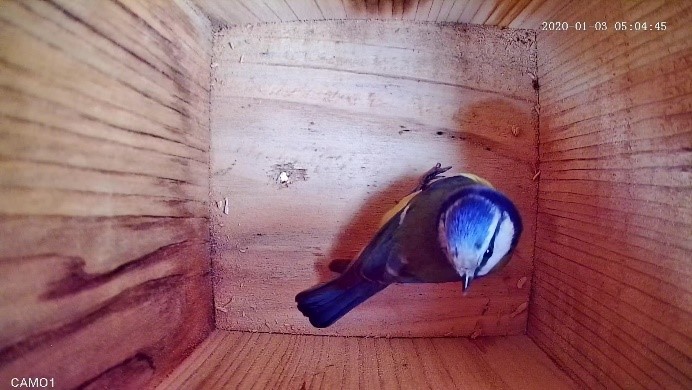
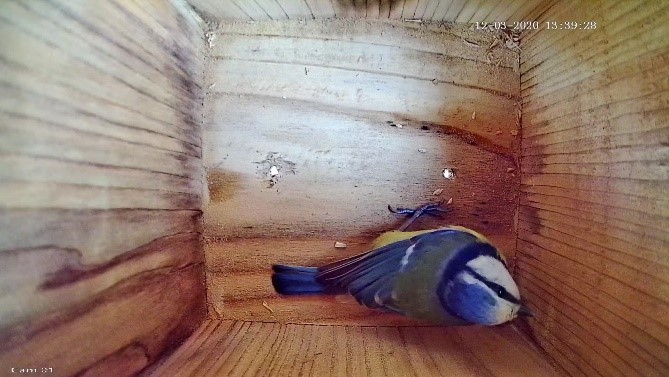
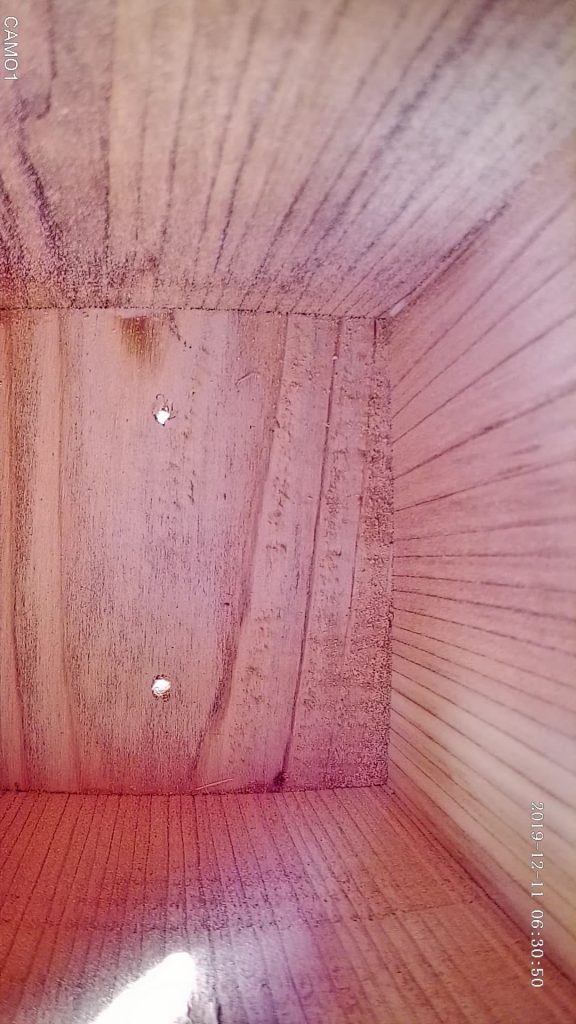
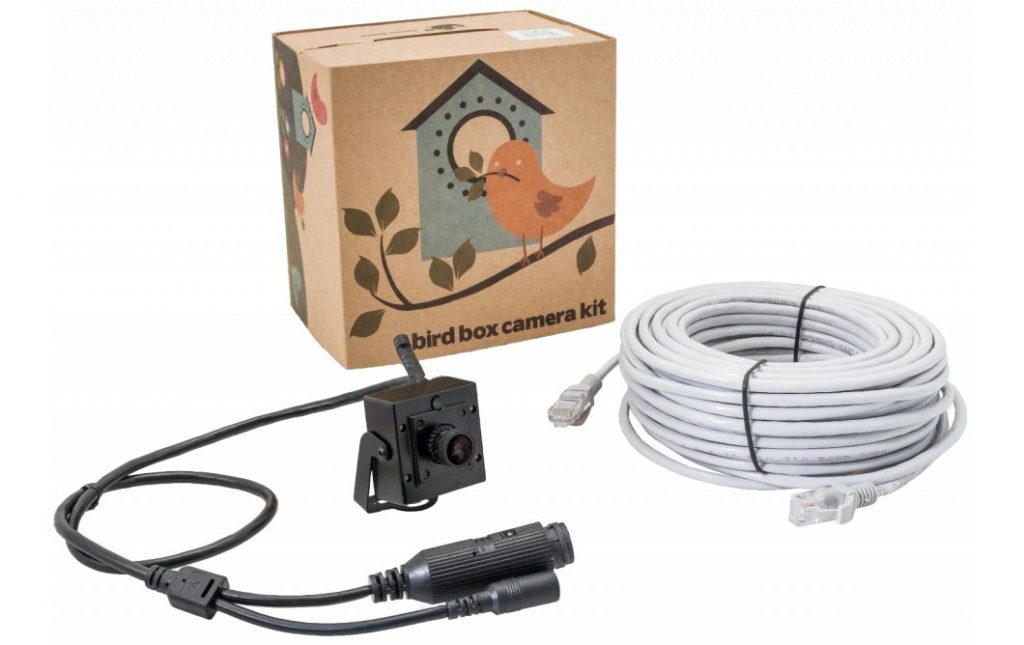
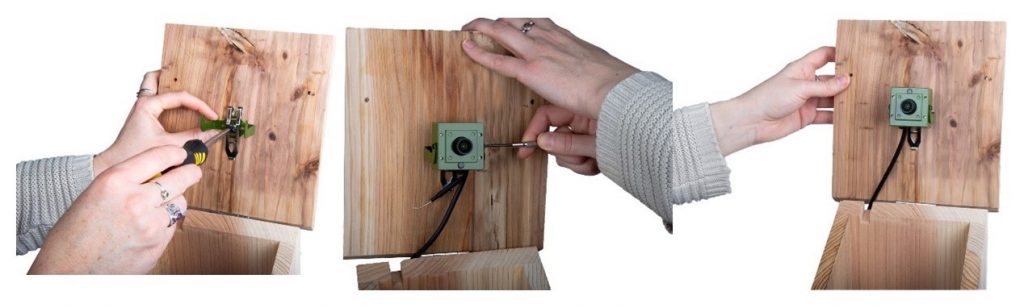 After the box was installed in position, we connected everything up and downloaded software to connect to the camera. We have tried three software programs, all of which are free to download, although additional features may require payment.
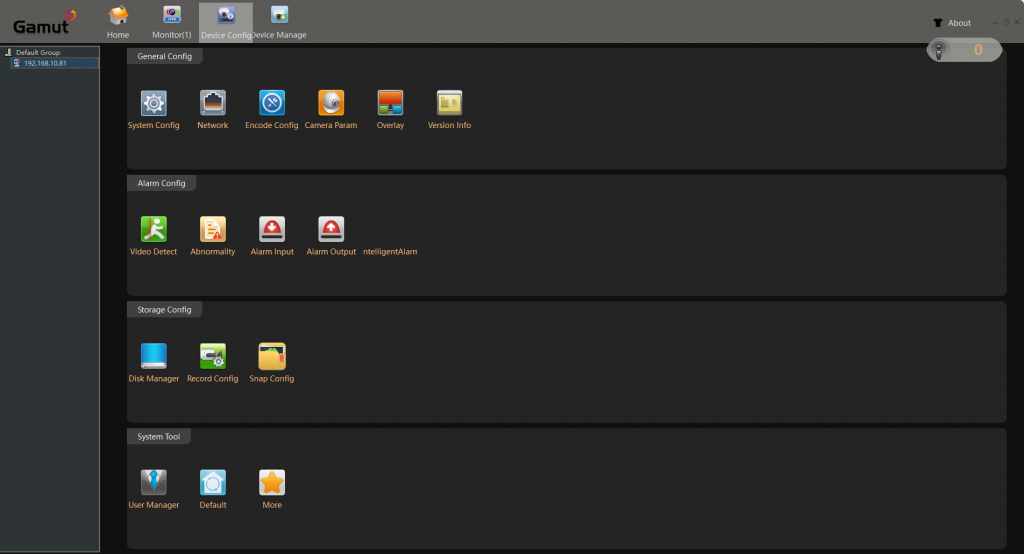
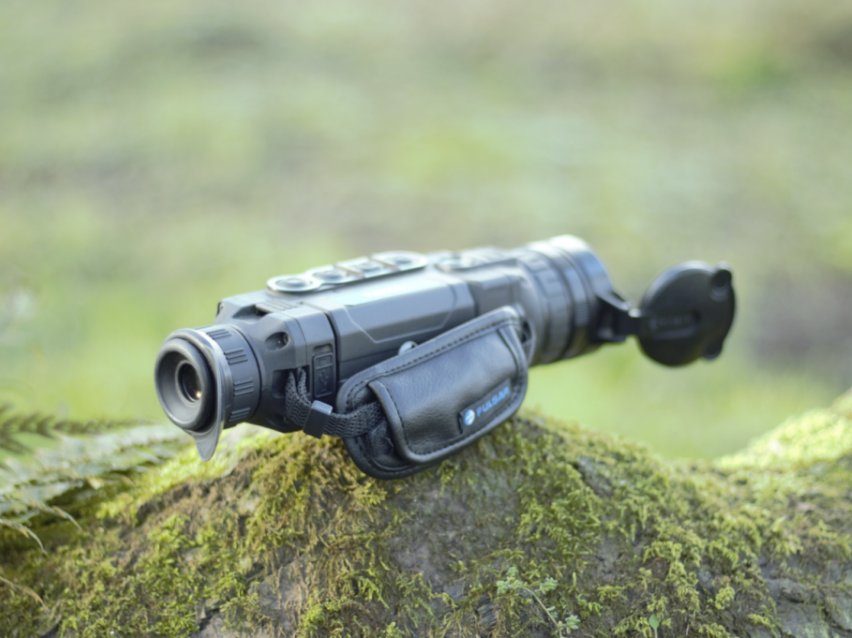
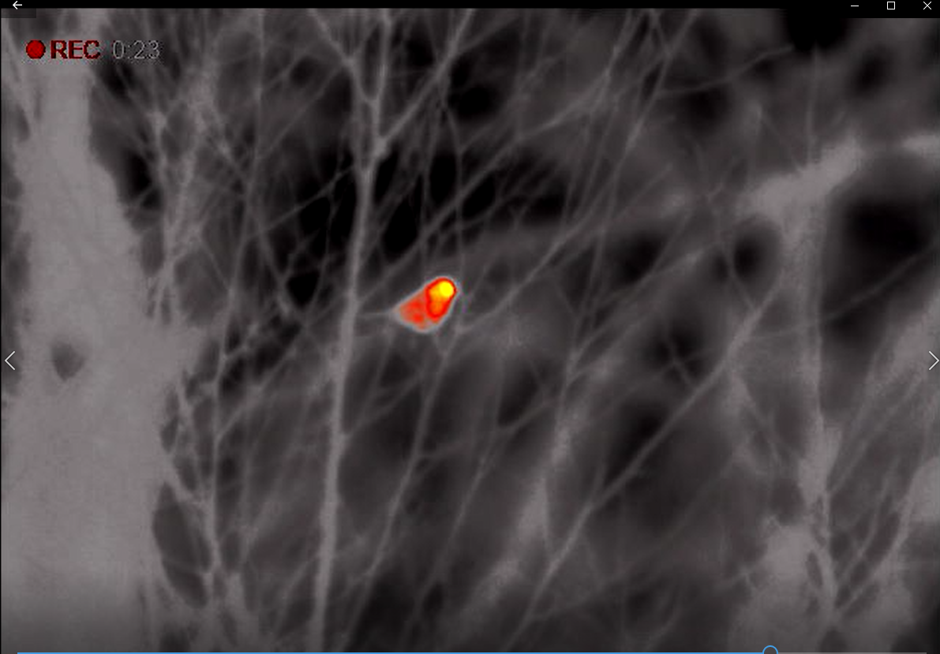
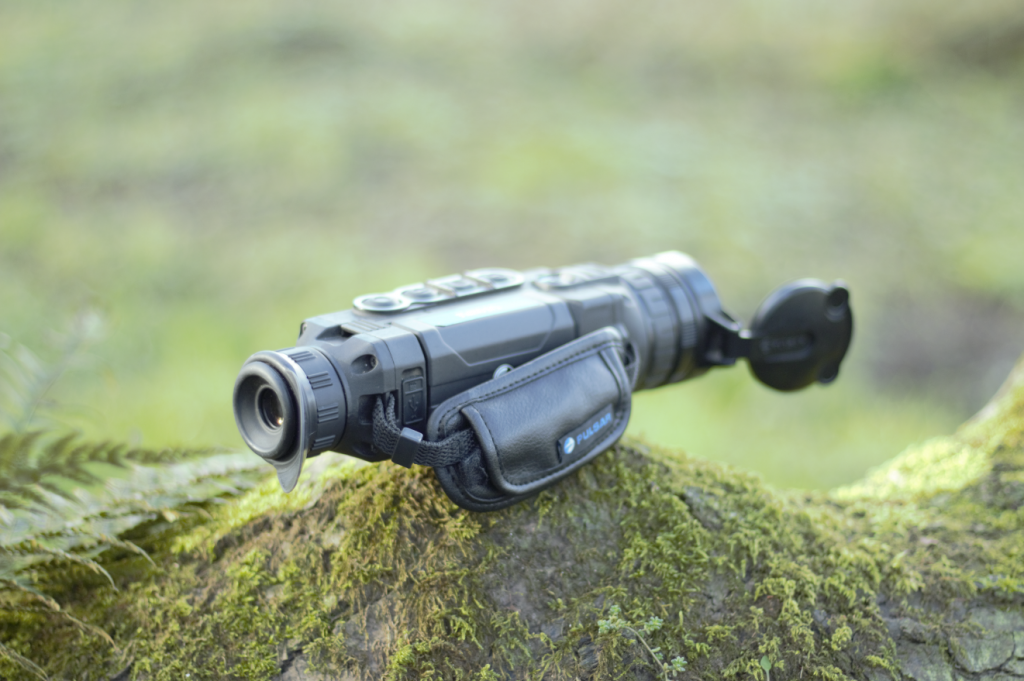
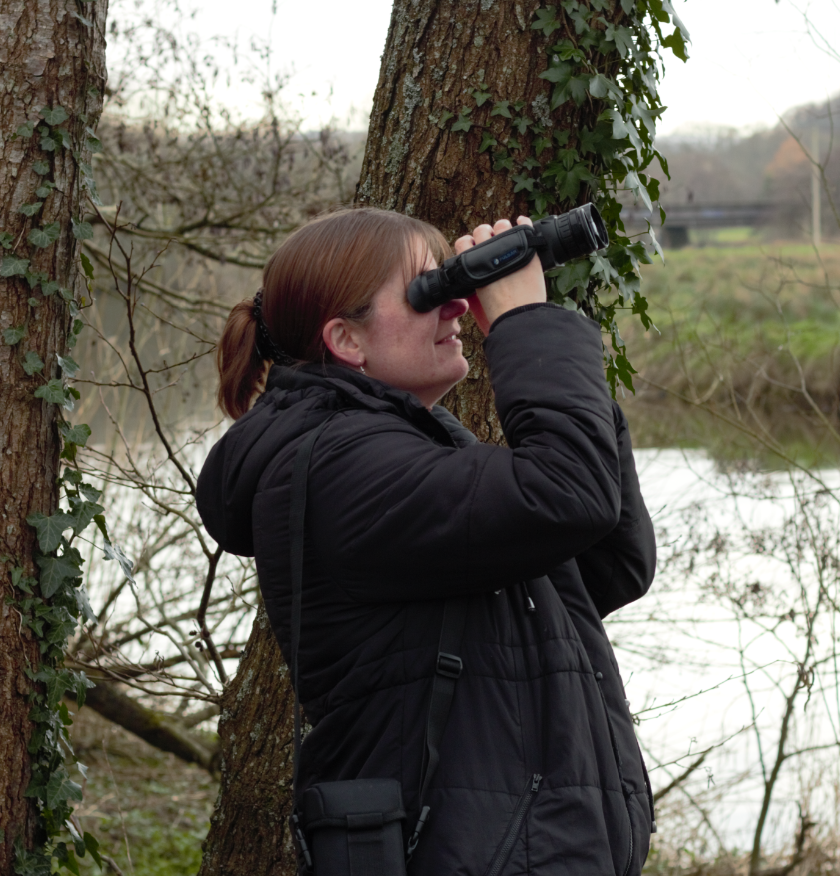
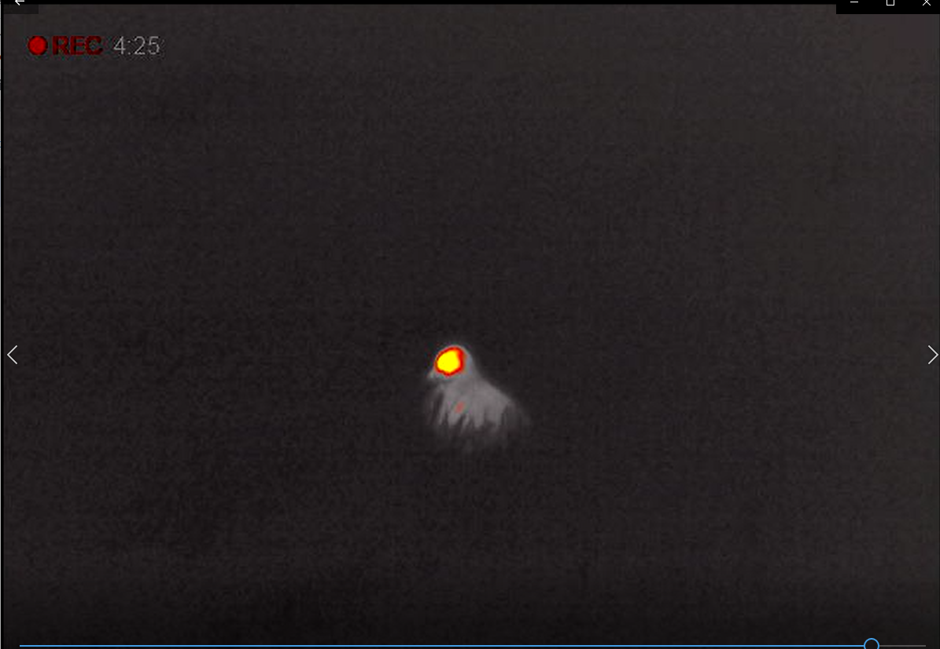
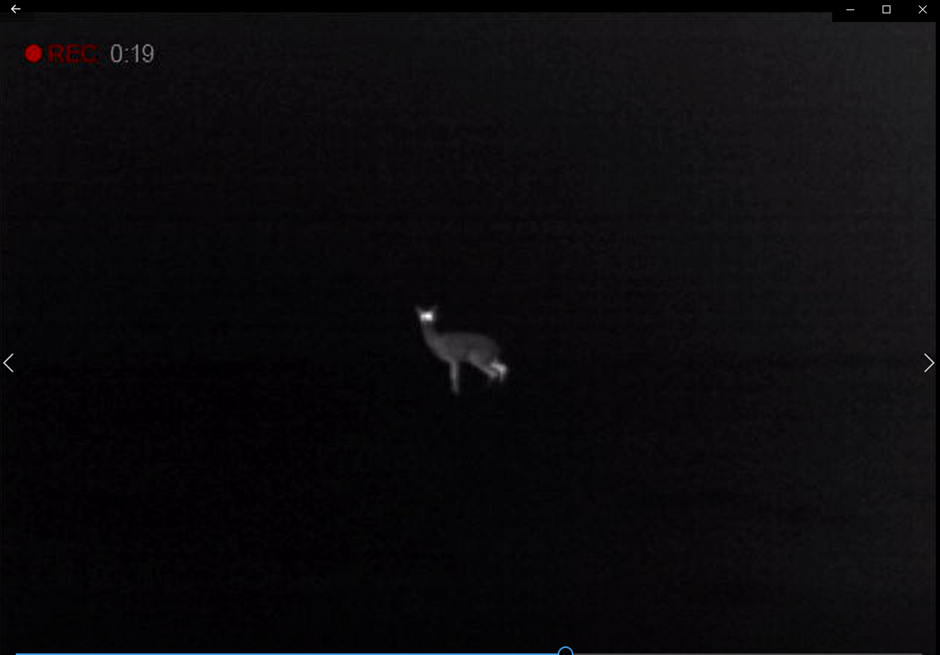
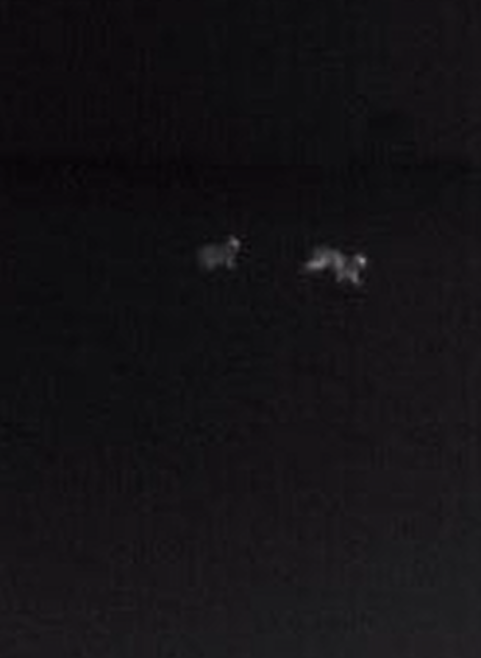


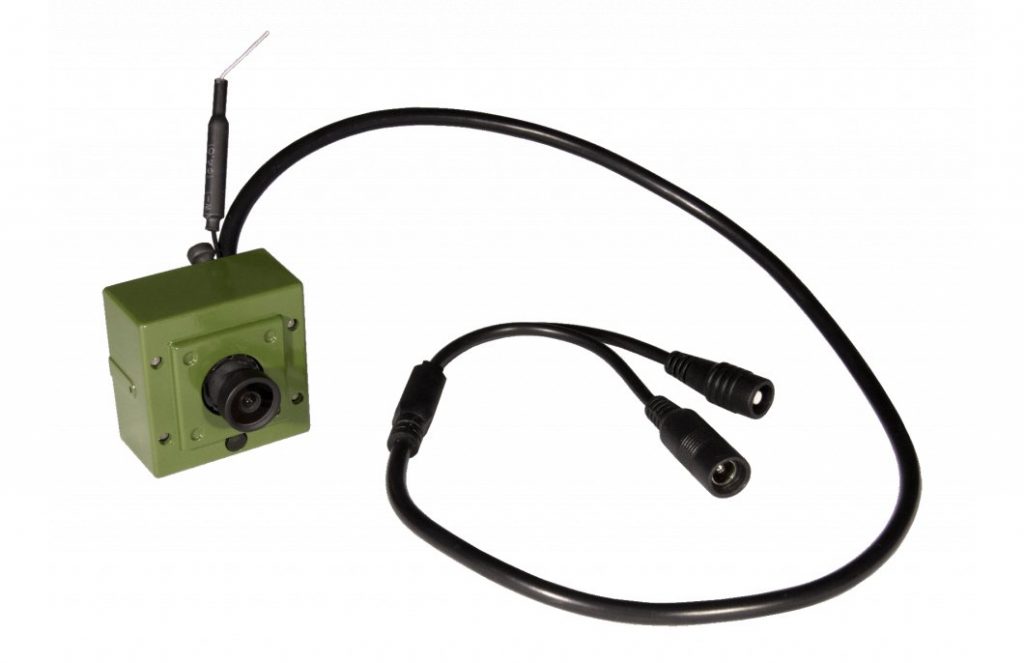
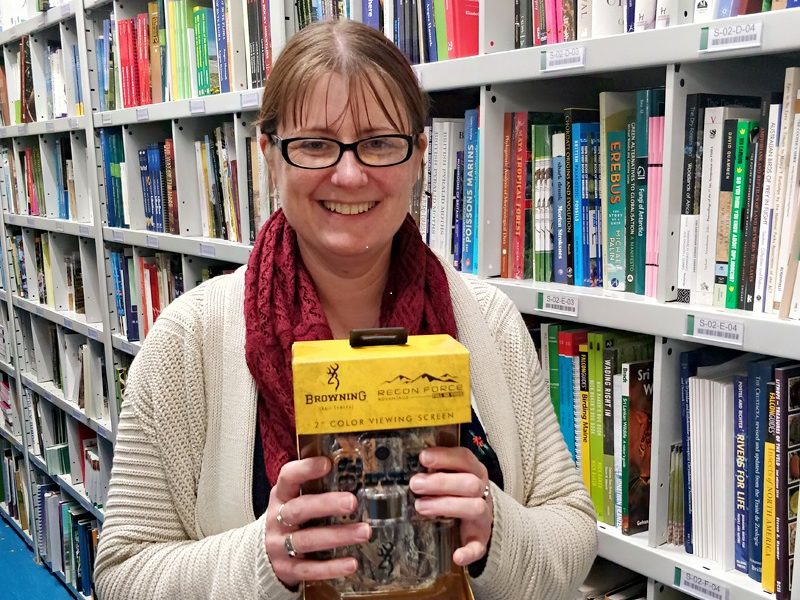


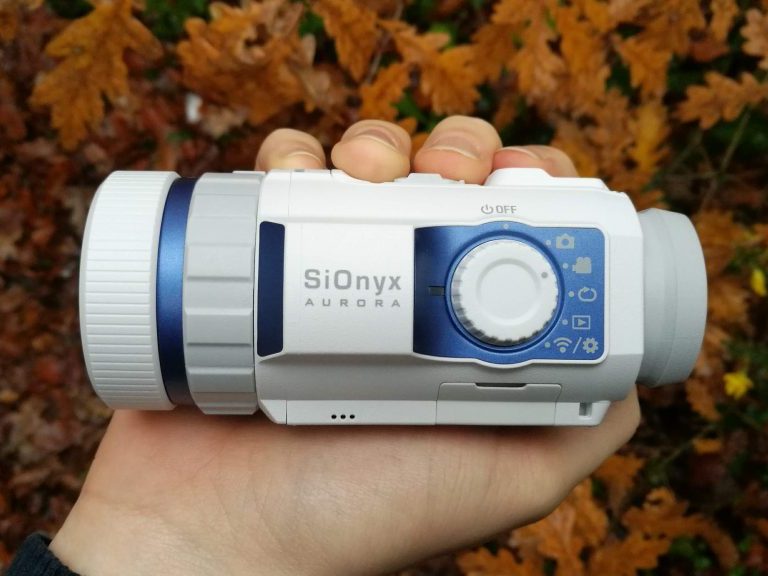

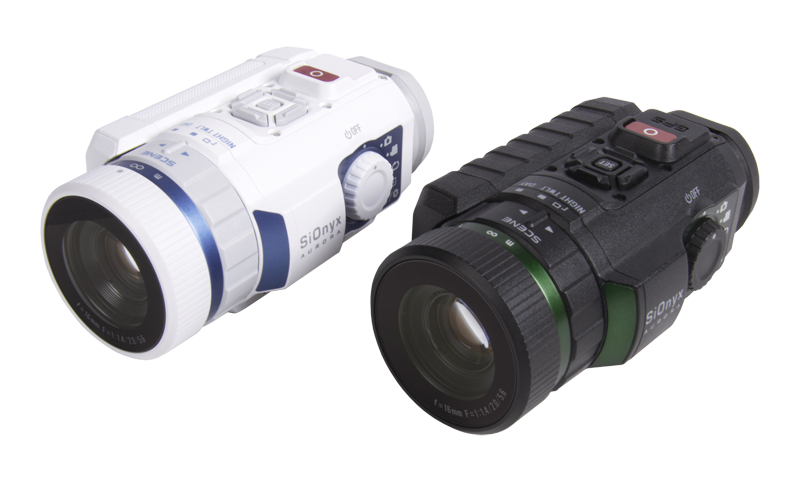
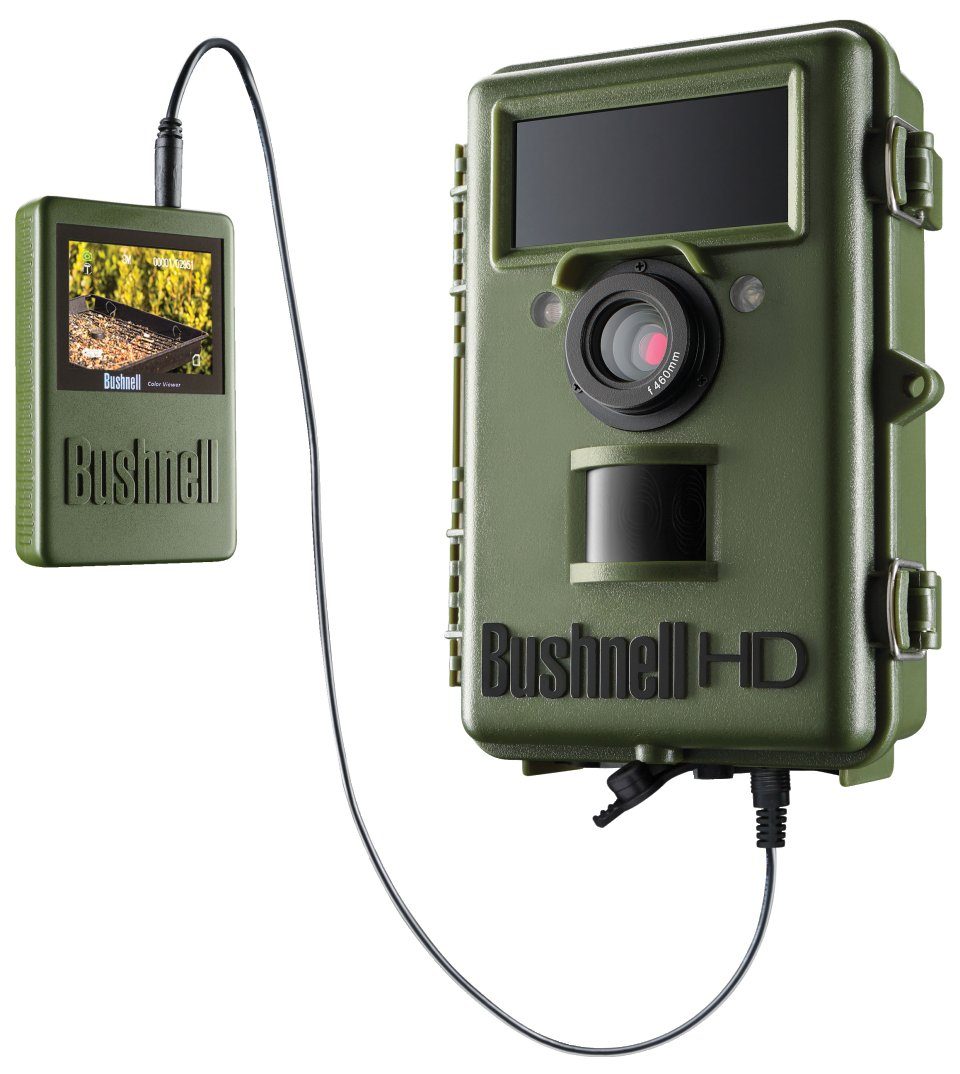
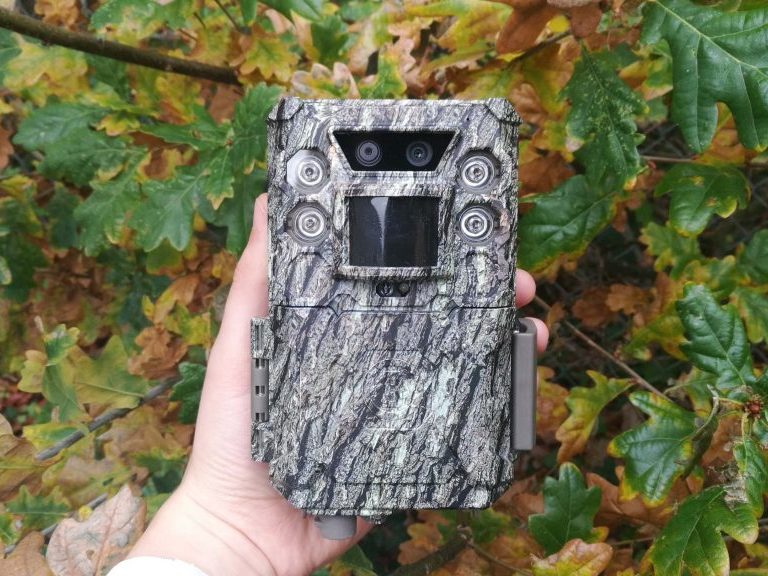
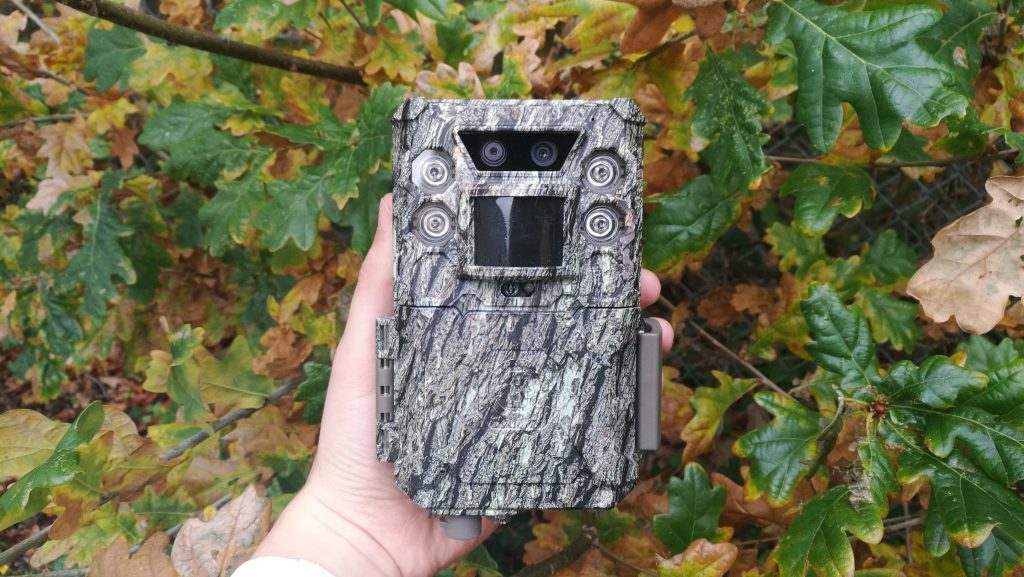
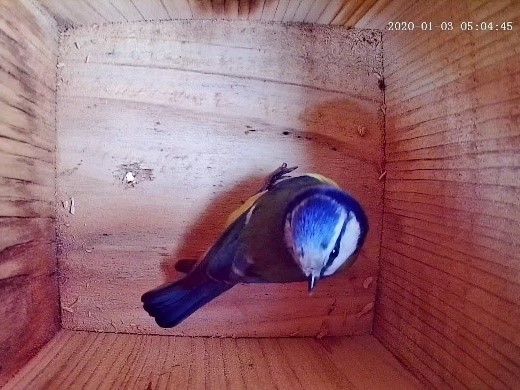
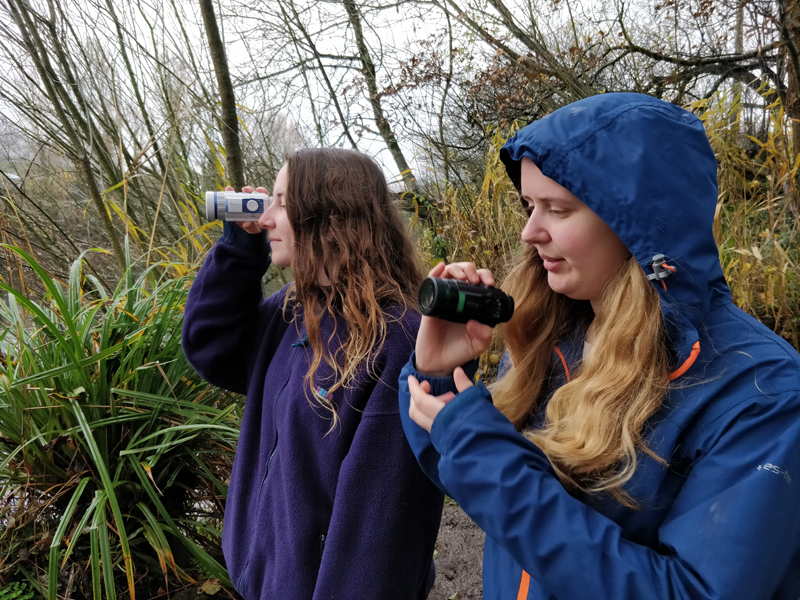 We ventured out to test the Aurora in daylight, twilight, and night conditions to see how the camera performed. The Aurora was very simple to use with each setting requiring a simple twist of a dial. Even the accompanying smartphone app was intuitive and quick to set up, allowing multiple users to easily view and record footage without needing to look through the device itself. The camera also had a tripod mount thread which was useful when wanting steady shots.