How to choose a nest box camera

Bird Boxes
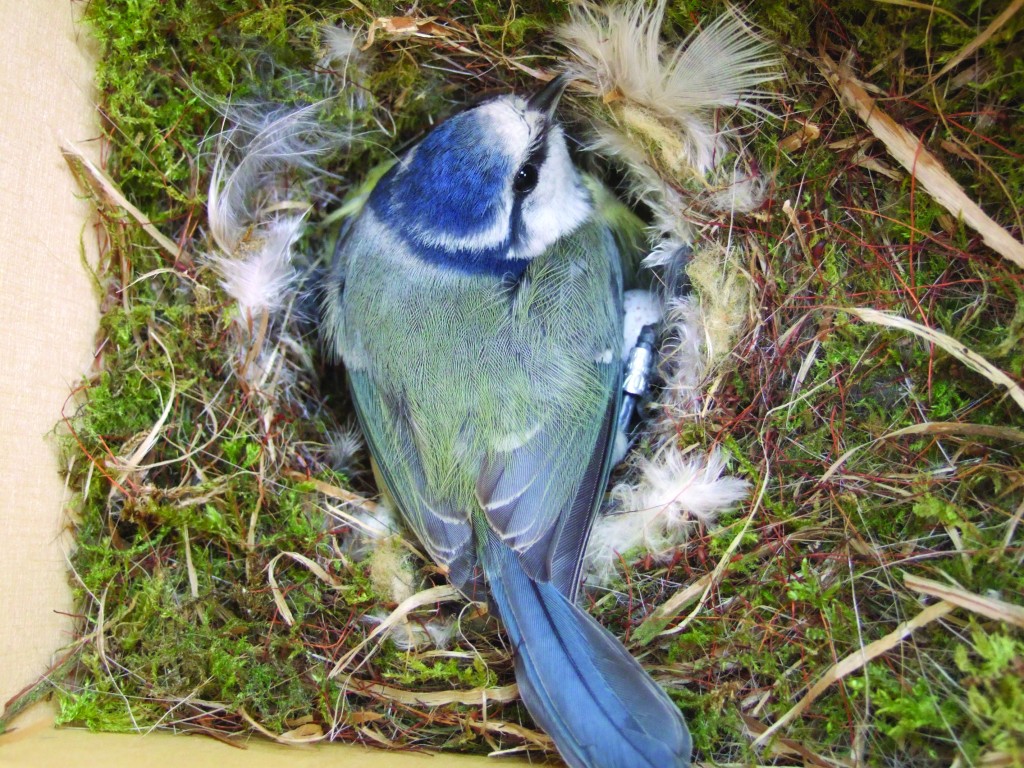
Installing a camera into a bird box is a great way to keep an eye on the nesting birds in your garden. Image by Simone Webber.

Deciding which nest box camera to choose involves a complicated tiptoe through competing technologies and equipment. Before you start watching birds you have to decide what sort of system is best for you and, crucially, how much money to spend.

The first question you need to consider is whether to choose a wired or wireless system.

Wired systems have a cable running from the nest box back to your house or classroom, which carries both power and the television signal. This results in excellent image quality but may not be ideal if you have children or pets in your garden, or if a cable running to your bird box will interfere with the gardening. You will also need to feed the cable into your house, either by drilling a hole in the wall or by feeding it through an open window.

Wireless systems do not require a cable to run between the bird box and the television but instead transmit images to a small receiver situated inside the house. However, a power supply will still be required for the camera (i.e. from a shed or outbuilding) and the signal can be compromised by other wireless devices in the area or by trees and other structures between the nest box and the house.

Next you will need to consider whether you require a complete kit or just the camera.

Nest Box Camera Starter Kit

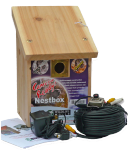
If you are new to this particular aspect of watching and listening to birds, a complete kit, such as the Nest Box Camera Starter Kit is a good and economical choice. This starter kit includes a bird box with a camera mounted in the roof, which provides colour footage during the day and black ­and ­white at night. A 30 ­metre cable plugs into your television and supplies the camera with power. Another option is the Gardenature Nest Box Camera System, which includes a bespoke red cedar nest box made to RSPB and BTO guidelines. A small sliding drawer at the top of the box houses the Sony CCD camera, which adjusts automatically depending on light levels. A 30 ­metre cable connects the camera to your television.

Nest Box Camera with Night Vision

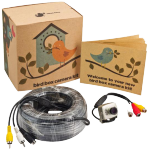
For the handyman or woman who wants to put a system together themselves, either in a bespoke or existing nest box, the Nest Box Camera with Night Vision is a good choice. The tiny camera will focus from a few centimetres to roughly 30 metres, with high definition for excellent daytime and night ­time images. The camera comes with a 30 ­metre cable and extension cables are available to purchase separately. The Wireless Nest Box Camera Kit is a great option if you want to fit a wireless camera to your own bird box.

What about watching on your computer?

All of the cameras and kits that we sell come with either a cable or wireless receiver that will connect directly to your television. If you want to view or save your footage onto your computer then an additional USB capture device is required. These are available both for Windows and Mac operating systems and come with all the software you require to get started.


The NHBS guide to buying a hand lens

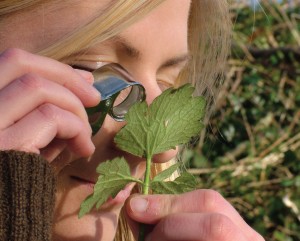
Hand LensThe possession of a hand lens is one of the defining characteristics of a naturalist.

We use them for everything from peering at beetle genitalia and examining floral characters, to examining the arrangement of teeth in small mammal jaw bones. There are a wide variety of hand lenses on the market so how do you decide which lens is best for you? This article contains all the information you need to make an informed choice about which hand lens is most appropriate.

Glass versus plastic lens?

The optical lens in a hand lens can be made from glass or plastic – the plastic lenses are generally more affordable and lighter but are of lower optical quality and more difficult to clean. Good plastic hand lenses, such as the Plastic Double Magnifier, are perfect for youth groups and schools.

How many optical elements?

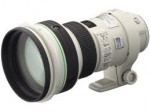
Canon 400mm

An element is an individual piece of glass within a lens. When you look through a high quality camera lens you will typically be viewing what’s in front of the lens through four to six lens elements, as well as other elements used for focusing and zooming (see image below right).

Paul Canon EF 400mm f/4 DO IS USM By Paul Chin

Hand lenses are constructed with one (singlet), two (doublet) or three (triplet) lens elements. Each element is specially shaped to correct for a particular type of optical distortion so the more elements, the higher quality the image.

Magnification

A 10x magnification hand lens will be more than adequate for most purposes. Higher magnification lenses tend to be harder to use but are very useful for viewing extremely small objects. If you are unsure of which magnification you need, or think you may need several different lenses, you should have a look at the x10 and x20 Duel Singlet Loupe or even the x3, x4 and x5 Triple Loupe.

Lens diameter

Large diameter lenses provide a wider field of view which means that they are easier to use but they are slightly more expensive to produce.

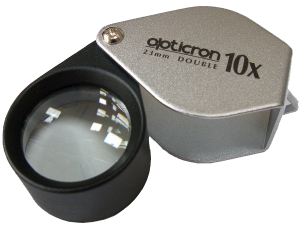
How hand leOpticron Hand lens, 23mm, 10x magnificationnses are named

Hand lenses are named like binoculars, with both the lens diameter and the magnification included in the name. e.g. the Opticron Hand lens, 23mm, 10x magnification has a 23mm diameter lens and provides 10x magnification.


Using your hand lens

Finally, a quick note on hand lens technique. To use your hand lens correctly (this is particularly important when using high magnification lenses) hold the lens close to your eye and then either a) move the subject closer to your eye until it comes in to focus or b) move your head (and the hand lens) closer to the subject until it comes into focus. It’s easy with a little practice so don’t get put off if you find a new hand lens difficult at first. Expect to get close up to what you’re examining – it’s quite common to see naturalists crawling around on the ground to get close to a plant they’re identifying.

Keeping your hand lens safe

It can be very hard to find a much-loved hand lens dropped in long grass or woodland. To prevent this traumatic experience, we recommend a lanyard for your hand lens – this has two functions: a) if you have it round your neck you won’t drop it, and b) if you put it down somewhere the bright blue lanyard is easy to spot.

The table below provides a guide to the hand lenses sold by NHBS. More information and specifications of each can be found on the website.

[table id=2 /]


Recording Orthoptera using a bat detector

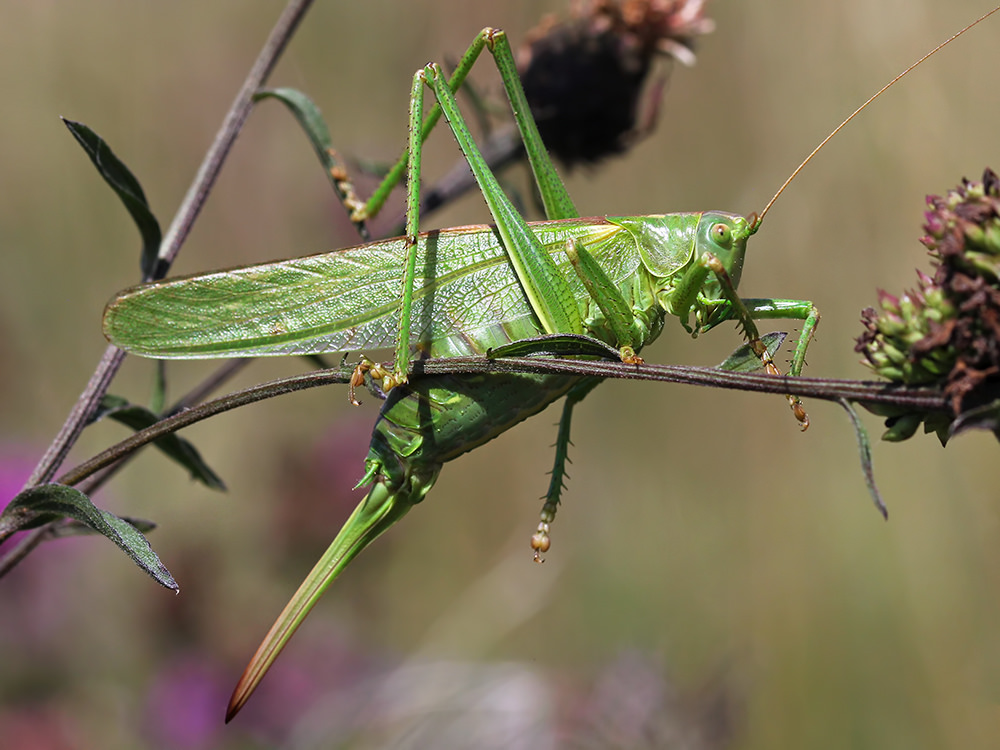
Great Green Bush Cricket
The Great Green Bush Cricket is the largest of the UK Bush Crickets. This beautiful image of a female cricket was taken by Charlie Jackson, from Flickr Creative Commons (CC by 2.0).


The order Orthoptera consists of the grasshoppers and crickets. Although most suited to warmer climates where they are incredibly diverse, in Britain we have 27 native species, as well as a number of non-native, naturalised species. From a very young age we are aware of these beautiful creatures as the sounds they produce fill our countryside with noise.

The characteristic Orthoptera song or “stridulation” is produced either by rubbing the wings together (observed in most of the grasshoppers) or by rubbing a hind leg against a wing (a method used by most crickets). The sound produced is an important part of the courtship ritual and is also used for other types of communication. As the sound created by different species varies significantly, studying these calls is an excellent way of surveying Orthoptera, and is helpful for finding individuals which can then be identified visually.

Stridulation produces a sound which covers a variety of frequencies – the sound made by grasshoppers is usually audible, but many species of cricket produce a higher ultrasonic frequency which cannot be heard by most humans. The use of a bat detector to listen to these higher frequency songs is an excellent way to listen to those species that we would not ordinarily be able to hear, such as the Speckled Bush Cricket. It also allows us to increase the range at which we can hear the audible ones. Bat detectors are also of use to older surveyors, whose ability to hear higher frequencies has naturally declined.

A simple heterodyne detector is perfect for listening to grasshoppers and crickets – one such as the Magenta Bat 4 or the Batbox IIID is ideal as it allows you to tune it to a specific frequency (as opposed to some of the more “intelligent” detectors which will alter it for you). The detector should be set to a frequency of 35-40kHz then all you need to do is sweep it around in different directions until you pick up your subject. It is best to stand in one place while surveying as the noise produced by your footsteps and clothes moving will produce background ultrasound noise which can confuse what you are hearing. The best days for surveying are warm and sunny; crickets are generally crepuscular (active during twilight) whilst grasshoppers are usually active throughout the day.

Unlike bat detecting, where the peak frequency is a key diagnostic feature for determining species, this information is less important for Opthoptera. Of more importance is the pattern and type of sound produced. The Environmental Records Centre of Cornwall and Scilly has a great guide to identifying Orthoptera including a useful information sheet on the use of bat detectors. They also have a collection of sound files of grasshoppers and crickets that you can use to recognise the typical calls produced by many of the species found in Britain.

Why not take along a leaflet or book to aid your identification: The FSC guide to British Grasshoppers and Allied Insects is a handy fold out guide with a useful key. For those looking for a more in depth guide, try the Photographic Guide to the Grasshoppers and Crickets of Britain and Ireland or the Pocket Guide to the Grasshoppers, Crickets and Allied Insects of Britain and Ireland.

Books

Want to know more? Visit the website of the Grasshoppers and Related Insects Recording Scheme of Britain and Ireland where you will find lots of information and can submit your survey results. Or why not download the iRecord Grasshoppers app which is available for iPhone and Android devices.


The NHBS guide to hand nets

action shot

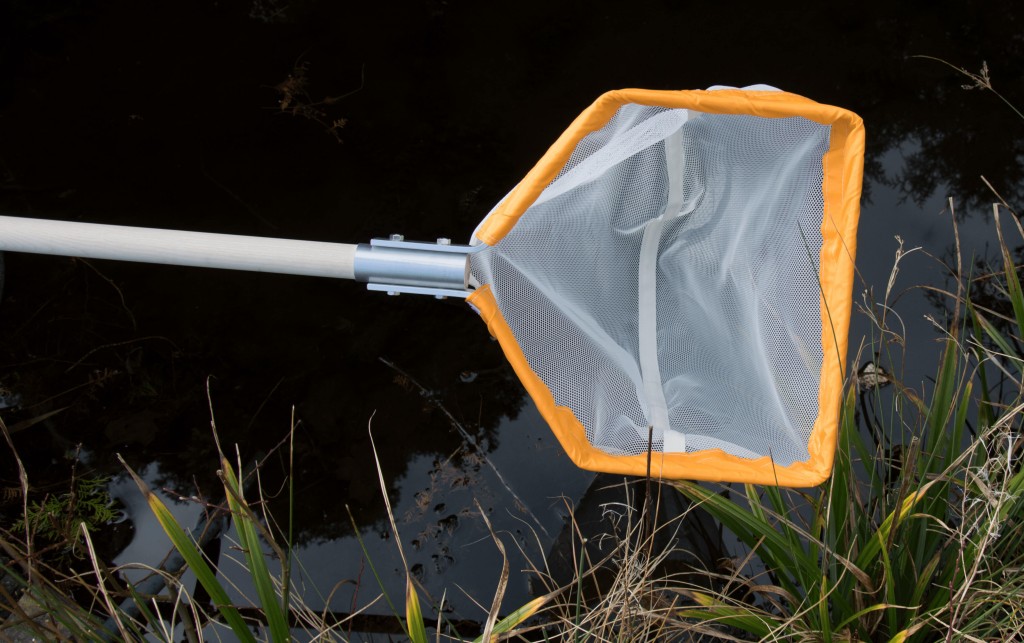
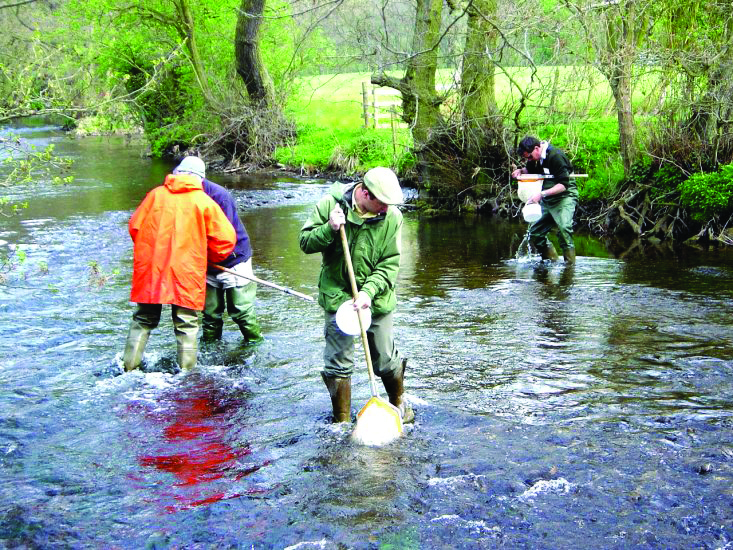
The type of hand net you require can depend on a number of factors – including the type of environment you will be sampling, whether you will be using it for professional surveys or for pleasure (or perhaps both!), the type of sampling you will be conducting (i.e. pond dipping vs. kick sampling) and also your budget. Take a look at the different types of hand nets we supply to decide which is right for you.

175601

Professional and Student Hand Nets

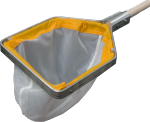
Professional Hand Nets are the original nets used by consultants, researchers and river authorities worldwide. In the U.K. they are approved and used by the Environment Agency, the Riverfly Partnership, the London Natural History Museum and the Salmon and Trout Association. They are suitable for both kick sampling and pond dipping in all types of aquatic environment and can last for 10 years or more, even with regular use.

Professional Hand Nets have a 250mm wide head and are available with a wooden or aluminium handle. Two-part and three-part sectional wooden handles are also available which can be unscrewed for transport or extended with extra sections. Frames with an aluminium handle are lighter and cheaper but are less comfortable to use, particularly in cold weather. Net bags to fit the Professional Hand Net are available in 1mm and 2mm woven mesh or 0.5mm and 0.25mm precision mesh. All bags are manufactured to international standards and mesh is guaranteed to stay the same shape and size, even under stress.

The Professional Hand Net is also available in a smaller Student version which is 200mm in width. This is designed to the same high quality as the larger Professional net but is ideal for educational use.

175945Lightweight Eco-Nets

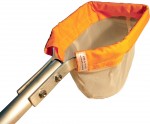
The Lightweight Eco-Net has a strong aluminium frame which will withstand regular use both for kick sampling or pond dipping. Net heads are 160mm in width and 1mm and 2mm mesh bags are available to fit this frame. Bags attach to the head using industrial velcro, making them easy to replace.


194764Telescopic Pond Nets

The Telescopic Pond Net is designed for pond dipping only. Its lighter-weight construction means that it is not suitable for kick sampling, dragging along the bottom of streams or for sampling in dense vegetation. However, its light weight also makes it very suitable for students and younger users. The telescopic handle extends from 66cm to 115cm providing excellent reach. The net bag fixes to the frame using strong velcro.

186959Economy Pond Nets

For children or those that are new to pond dipping (or rock pooling) the Economy range of pond nets feature a plastic handle and frame and are available in three sizes. The smallest has a net head of just 15 x 13cm and a 76cm handle – perfect for small children. These nets are lightweight and affordable.


Firmware updates from Wildlife Acoustics

New Firmware available for SM2, SM3 and SMZC product families

These firmware updates all address an SD card compatibility issue we have recently seen in a number of specific SD card models. If you have experienced SD card errors or corruption, this firmware update may resolve these issues.

SM3/SM3BAT/SM3M Firmware 1.2.7

In addition to the SD card issue above, this version also improves the interpretation of a program containing non-infinite loops. The firmware can be found here.

SMZC Firmware 1.0.6

In addition to the SD card issue above, this version also improves the interpretation of a program containing non-infinite loops. The firmware can be found here.

SM2/SM2BAT/SM2M Firmware 3.3.9

The firmware can be found here.

You can contact support2015@wildlifeacoustics.com if you have any questions.

Sound recording for ecologists and naturalists

chaffinch_pg70

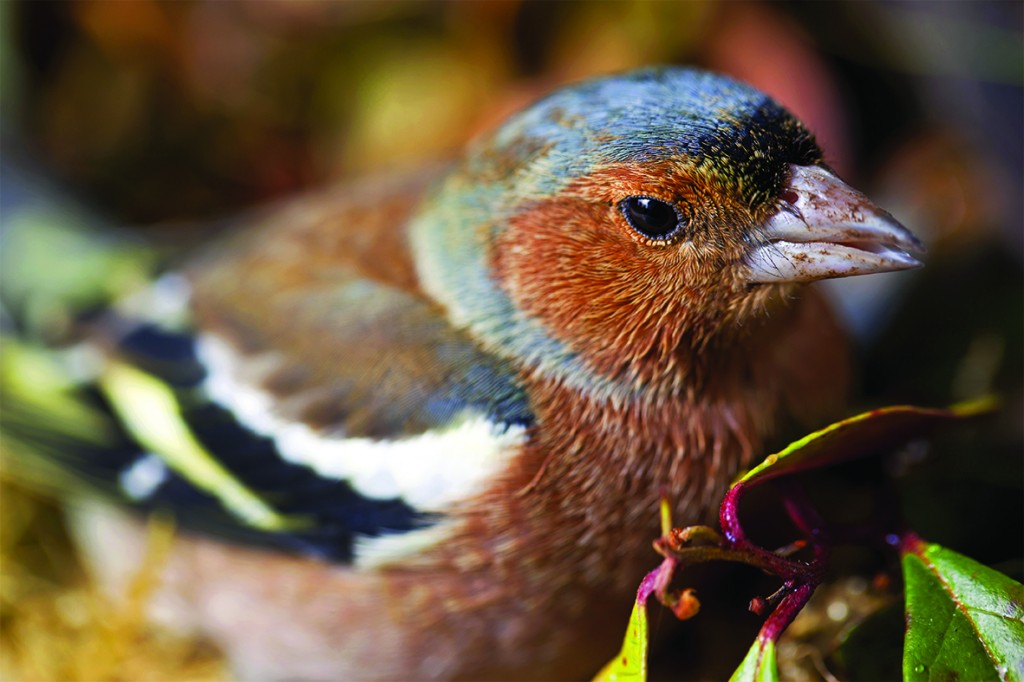
Bioacoustic recording is a valuable method of surveying animal populations for research and conservation, as the sounds made by many animals are unique to the species or individual. The collection and preservation of such sounds have also become an art form for many amateur naturalists.

In comparison to music or voice recording, capturing the sounds of nature in the outdoors poses a number of challenges. These include dealing with the complications of wind and other ambient noises as well as subjects which can be extremely quiet and that may need to be recorded from a distance. Having suitable equipment and understanding the best ways to use it can go a long way to minimising these issues.

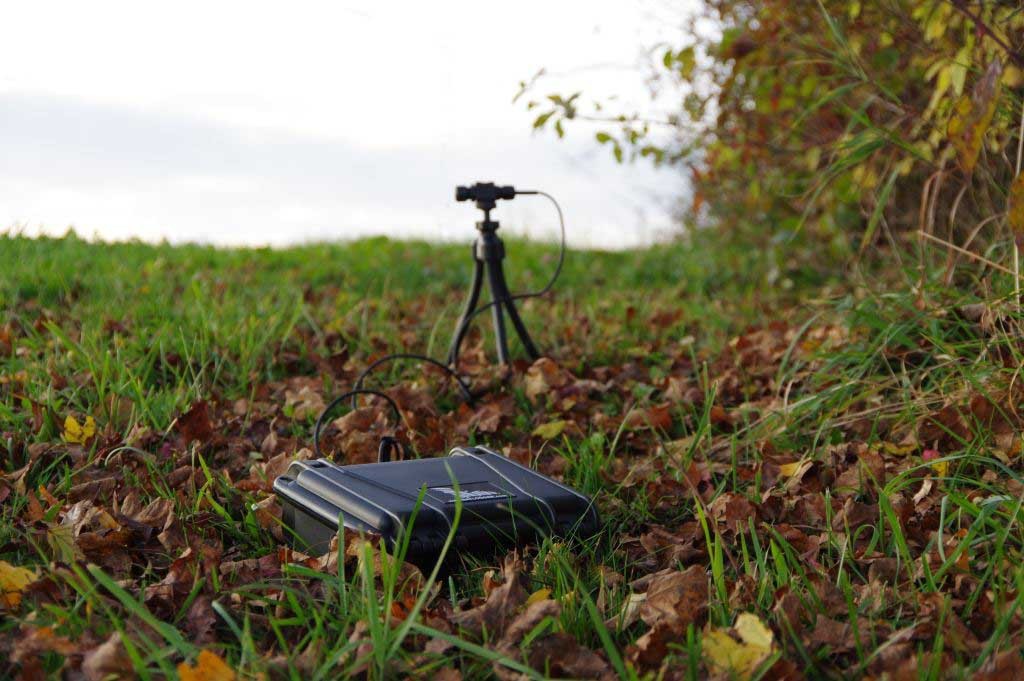
The key items of equipment required for wildlife sound recording are a microphone and a portable recorder. For recording a single animal, a shotgun microphone is ideal, and for animals recorded from a significant distance, a parabolic mic is recommended. For recording multiple animals, such as the dawn chorus, a single or matched pair of condenser microphones can be used.

A portable recorder will allow you to save your recordings onto an SD card, and many offer a range of on-board editing functions as well as a triggered recording option. In situations where the noise of the recorder is significant or when a microphone extension cable is being used, a preamplifier can improve the quality of your recordings.

For those involved in bioacoustic surveying, the addition of a software package can help you analyse your recording, and figure out the exact species that you have captured.

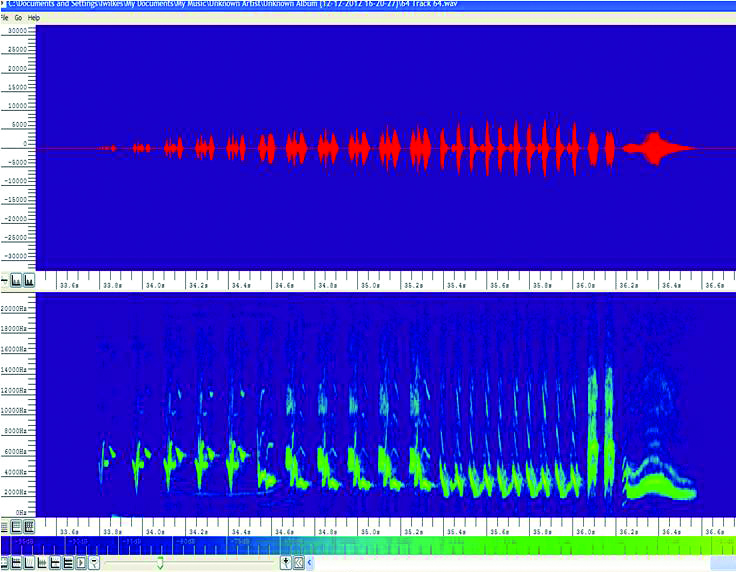
Sonogram to go with chaffinch


NHBS stocks a wide range of sound recording equipment, including recorders, microphones, hydrophones and preamplifiers, as well as headphones, tripods and all the cables you need to connect the equipment together. Take a look at the website or our catalogue to see what’s available.


Update for Wildlife Acoustics bat detector users

Wildlife Acoustics have made some upgrades to their ultrasonic microphones this year – read on to understand what this means for you.

SMX-U1

SM2BAT+ user
An entirely new microphone is now available for SM2BAT+ users – the SMX-U1. This microphone is different in every respect from the original SMX-US microphone. The microphone element has been upgraded to a Knowles FG element which is more resistant to moisture but has greater sensitivity and a flatter frequency response so you will record more bats. The old foam windscreen has been replaced with a new and improved weatherproof membrane that will not hold water, and the microphone body is now slimmer and stronger. The old SMX-US microphone is still available in limited quantities if needed to provide continuity on a long term survey – please contact customer.services@nhbs.com to check availability before ordering.

SMM-U1

SM3BAT+ or SMZC user
The new SMM-U1 is electronically identical to the old SM3-U1 microphone and will give very similar results. The new model differs from the old version in two ways – the casing is now smaller and stronger and the old windscreen has been replaced by a new weatherproof membrane that will not hold water.

EM3+ (with optional external microphone) user
The EM3+ cannot be used with either of the new microphones. NHBS will continue to hold stock of the SMX-US and SMX-UT microphones for as long as possible for use as an external microphone for the EM3+ – pick up a spare if these are critical to your workflow.

More information
Here’s Wildlife Acoustics microphone guide showing all models, compatibility and microphone type.

wa_mic_guide

New firmware and software for SM3, SM3BAT, SM3M and SMZC:
Latest SM3 related software and firmware packages
Latest SMZC related software and firmware packages
Latest versions of documentation


The Week in Review – 28th November

SNOWstorm - a research project monitoring the breeding grounds of snowy owls
Project SNOWstorm has been monitoring breeding snowy owls in the Canadian Arctic since the 1980s. Image by Erin Kohlenberg.


News from outside the nest

This week…we were fascinated by the intelligence and dexterity displayed by this octopus gathering and storing a coconut shell to use for protection.

We caught up on project SNOWstorm – a research endeavour which monitors the summer breeding areas of snowy owls in the Canadian Arctic.

We discovered how the flight of hummingbirds is more similar to that of insects than that of other birds.

November was Manatee Awareness Month: This vulnerable species, long time provider of fuel for mermaid myths, now number less than 10,000 in the wild.

The mystery of large numbers of dead porpoises washing up on the Netherlands coast was finally solved, with grey seals proving to be the surprising culprit.

A PhD student at Brunel University, London, created an ingenious DIY microscope to measure cell motility, saving himself hundreds of thousands of pounds.

And finally…a unique way of dealing with invasive species: The first beer made from invasive pond weed and zebra mussels went on sale in Minnosota.

New arrivals at the warehouse

Irish Bats in the 21st Century summarises the considerable body of bat research and surveillance that has been undertaken in Ireland in the 21st century, much of it by citizen scientists.

Mammals of Mexico is the first English language reference on the 500+ species of mammals found in diverse Mexican habitats – from the Sonoran desert to the Chiapas cloud forests.

The Ridgid SeeSnake CA-25 is an affordable endoscope with a 17mm waterproof camera head.

This Ultra High Resolution Nest Box Camera from Gardenature comes with a nestbox designed to BTO and RSPB guidelines and contains everything you need to start watching straight away.


How to choose the trail camera that’s right for you


Please note we have published an updated guide to choosing a trail camera with up to date information on the latest technology available. Some of the products described in this article may therefore be outdated or unavailable


Trail camera technology is developing all the time and the range of products on the market constantly expanding. While this is exciting, it can also be incredibly confusing, especially when you’re trying to choose which model is best suited to your needs.

Here are six things you should consider when trying to choose the trail camera that’s right for you:

1. Type of LEDs

The infrared LEDs on a trail camera provide the illumination needed to take pictures at night. Generally speaking, these come in two types: standard or low glow. Standard LEDs have a shorter wavelength which means that they will emit a small amount of visible light when activated. This will be seen as a small red flash. Low glow LEDs, having a longer wavelength, do not produce this tell-tale red glow so have obvious benefits for wildlife photography. Low glow types, however, will have a shorter range than standard LEDs.

2. Trigger speed

Trigger speed is the time taken for an image or video to be recorded after the infrared motion sensor has been triggered. If your subject is fast moving then a quicker trigger speed will help to ensure you capture great images. Fastest trigger speeds are currently around 0.07 seconds (e.g. the Spypoint Force-11D).

3. Picture and video resolution

As with any type of camera, image and video resolution are important, and the image quality you require will depend on what you will be using your footage for, along with your budget. Most trail cameras will give you the option to alter the resolution using compression or interpolation methods. This can be useful if you are deploying your camera for long periods, when memory card capacity may become an issue. It also means, however, that you should check the resolution of the camera image sensor as the advertised megapixel value often relates to the interpolated resolution (* see note below for a definition of interpolation).

4. Does it have a viewing screen?

Having an image preview screen in your trail camera is beneficial in two ways: Firstly, it allows you to quickly check the images that you have recorded without having to remove the SD card or plug it into a laptop. Secondly, and perhaps more importantly, it lets you take a few test images. By walking (or running) in front of the camera and checking the image captured, you can be assured that your camera angle and position is exactly right. The Bushnell Aggressor range and Spypoint Force-11D all have a good sized viewing screen.

5. Camera settings

All trail cameras will give you some control over the capture settings. Most will allow you to change the number of images taken per trigger as well as the length of video recorded. It is usually possible, as well, to specify the delay between photos and/or trigger events. Time lapse options allow you to take photographs at regular intervals between hours of your choice, and some cameras, such as those in the Bushnell range, can be set with two separate time lapse windows. This is useful if you are interested in both dusk and dawn activities.

6. Wireless functionality

Cameras with wireless functionality will send images directly to your mobile phone or email account. This offers huge time saving benefits, as well as reducing the amount of disturbance at your survey site. Several cameras now have wireless capabilities, and some will even allow you to alter your camera settings remotely. An activated SIM card is required to use these features. All of the cameras in the Ltl Acorn range are available with wireless capabilities.

 * Interpolation is where the software inside the camera produces a larger image by adding pixels. These extra pixels are created by application of an algorithm which uses adjacent pixels to create the most likely colour. 

Please note we have published an updated guide to choosing a trail camera with up to date information on the latest technology available. Some of the products described in this article may therefore be outdated or unavailable