Watching Wildlife – How to choose the right Nest Box Camera

This is part two of our series that looks into different ways of filming wildlife in your back garden. In this part, we will take a look at nest box cameras and how to choose the right one for you. For tips on how to choose the right trail camera, check out part one of this series


There is a whole world of wildlife in our back gardens, but often these creatures can be elusive or hidden away.  Our range of wildlife equipment can offer you an amazing insight into their world from the comfort of your house, without the risk of disturbing your wildlife.

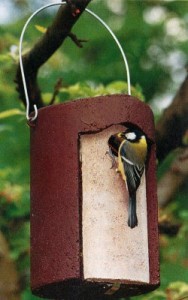
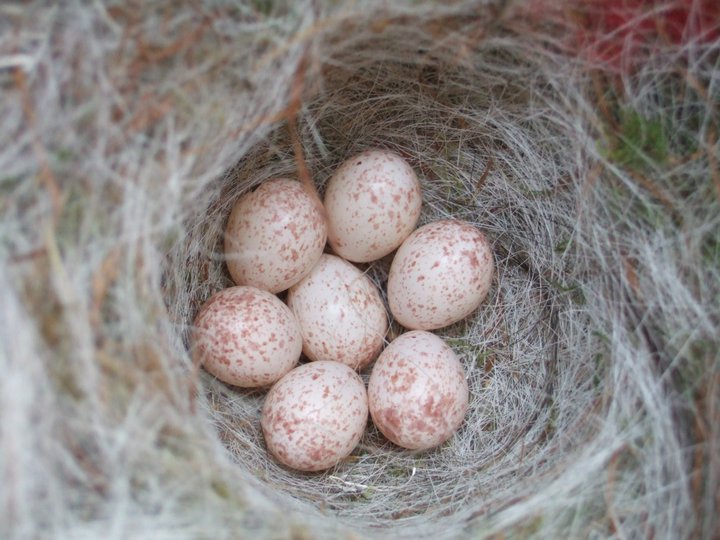
Come early spring, our garden birds will begin their breeding season. Placing a nest box in your garden will not only give breeding pairs a helping-hand in finding somewhere safe to have their young. But it also provides an opportunity for you to get up close and personal with the goings-on inside with the use of a nest box camera. There are several options and kits out there and a few things to think about when it comes to picking a nest box camera. Here, I will offer some advice and options to ensure you can find the kit that is right for you.

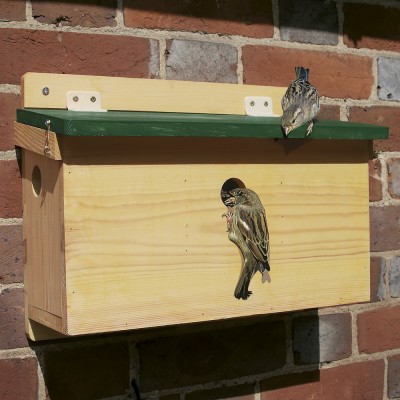
nest box camera
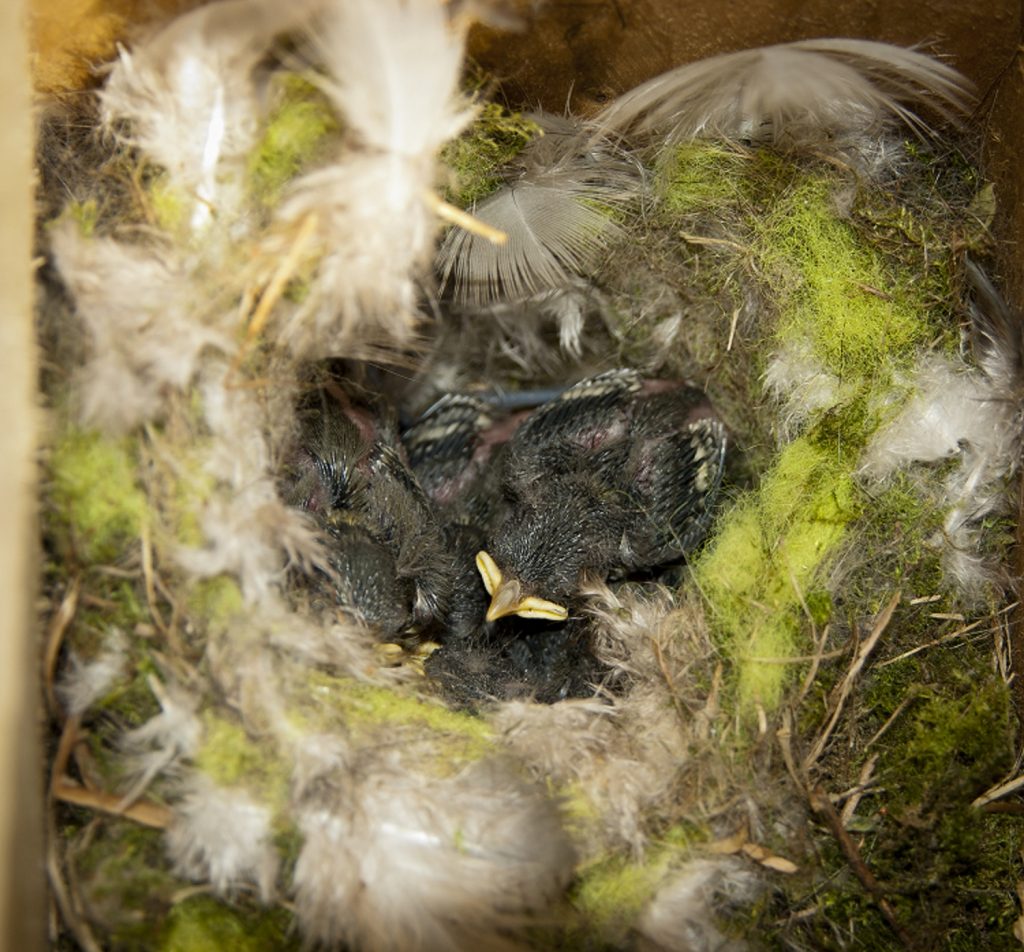
A glimpse into the nest box by Simon Redwood via Flickr (CC BY 2.0).
Wired, Wireless or WiFi?

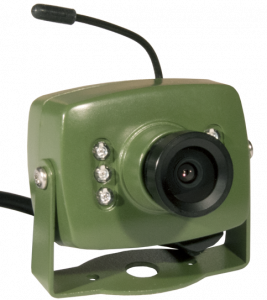
The difference in nest box cameras come mainly in the way that you receive images from the camera itself. These are either wired, wireless or WiFi. Standard Definition Wired kits and High Definition Wired kits can provide better, higher quality, more reliable images, but are sometimes not as convenient as Wireless or WiFi kits.

IP nest box cameras are also wired cameras, however they are powered and transmit footage via supplied Ethernet cables. These cameras have a great video quality as well as the ability to remotely view your footage on a computer or smartphone.

Note that Wireless and WiFi cameras still require power from either the mains (extension leads are available to buy separately) or from an external rechargeable battery.

Kit Contents

If you are completely new to nest boxes and nest box cameras, complete kits are available with a nest camera and a nest box. Alternatively, if you are looking to purchase a nest box camera, but you already have a nest box, then you can buy nest box cameras separately

Viewing your footage

You can view your footage in a variety of ways depending on what camera or extra equipment you have.

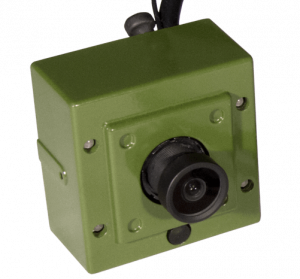
Standard Definition Wired – These plug straight into your TV with an AV cable. However if you want to view and record footage on your laptop or computer, you can buy a USB video capture device for both Windows and MacOS. The software included with these USB devices also allows you to set up motion detection or schedule recordings.

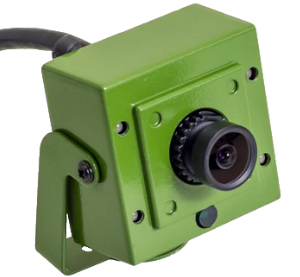
High Definition Wired – These cameras use a HD Converter which, when plugged into a monitor or TV, can show a live-feed from your nest box in 1080p HD quality. Theses cameras can be plugged into a USB capture device, however they can only transmit standard definition video when used in this way. These cameras do not record audio.


Wireless
– These cameras transmit their footage to a receiver which can then plug directly into your TV using the provided AV connectors, or into your PC or laptop via a USB capture device.


WiFi – These cameras transmit their footage over their own WiFi connection. This means you can connect your smartphone, tablet or PC to the camera’s WiFi to view or record footage.


IP – These cameras transmit their footage via long Ethernet cables which are plugged either directly into your router or into a wifi booster on the same network. Once set up on a PC or smartphone app, you can watch live footage of your nestbox from anywhere in the world.

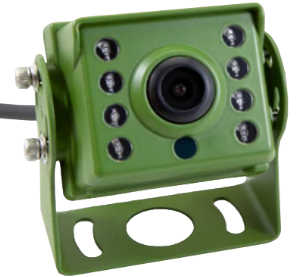
Wired HD Outdoor Camera– These cameras use the same technology as the wired HD nest box camera, but in a weatherproof housing. They are perfect for installing in an outdoor space, particularly near areas of activity such as bird feeders or nest box entrances.  These cameras do not record audio.

If you need to use a wireless camera, a Digital Video Recorder kit is also capable of live-streaming. The wireless receiver can be plugged into the DVR which can be connected to your internet router to enable live-streaming. The DVR itself allows you to set up motion-detection or scheduled recording. You can also add up to four cameras to the DVR which may be useful if you want to watch from multiple angles or from multiple nest boxes.

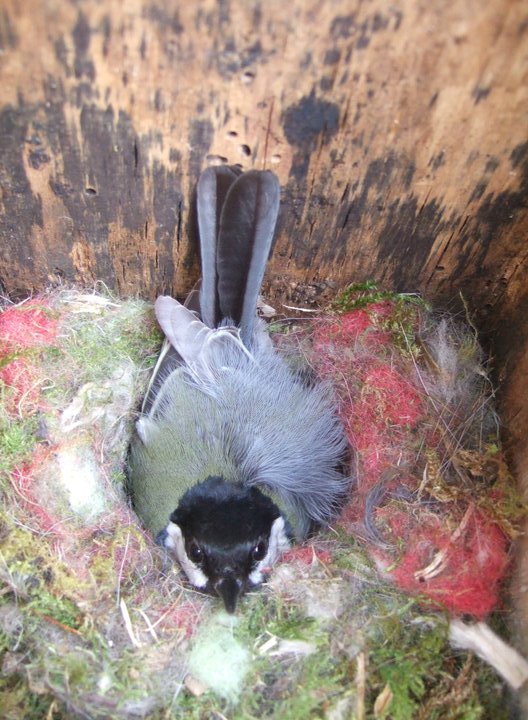
Nest Box Camera
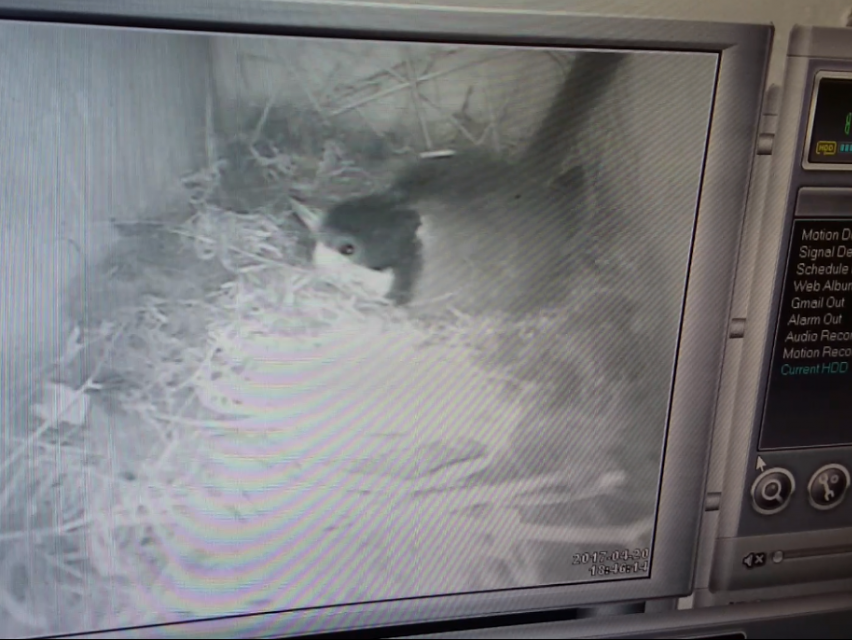
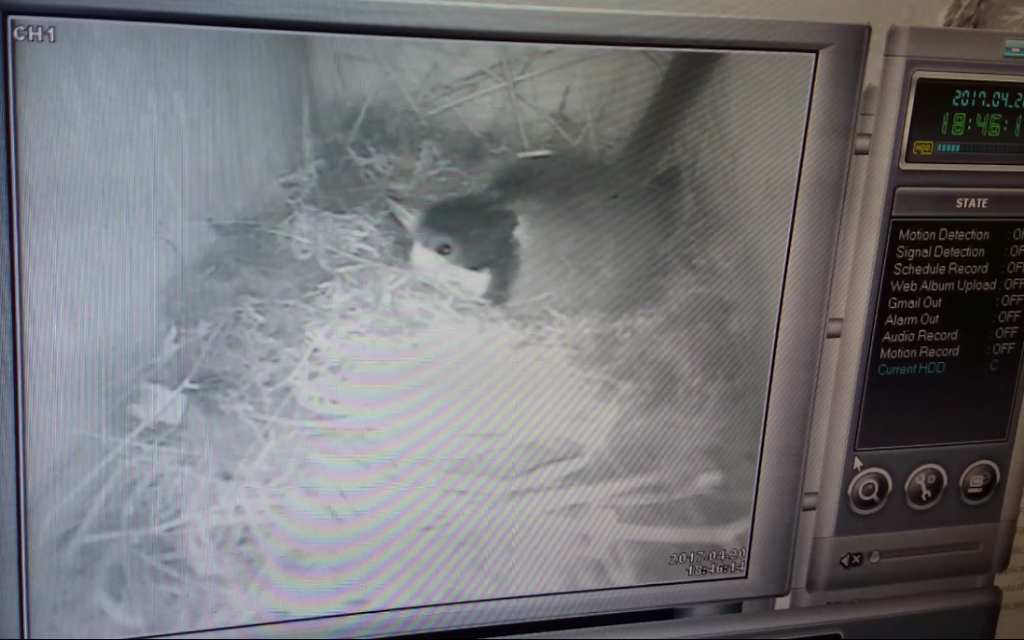
Great Tit Nest via Nest Box Camera on Windows computer screen ©Bryony James
Species

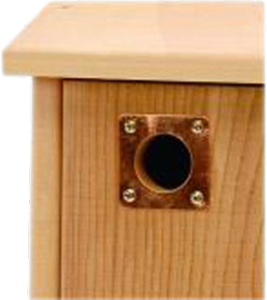
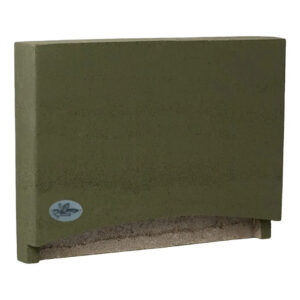
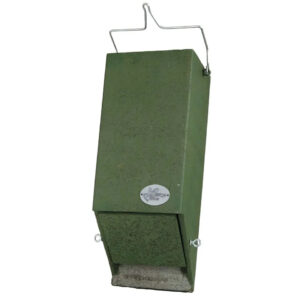
You may have a particular species of bird in mind that you are hoping to capture on your nest box camera. Our nest box camera kits with boxes are aimed towards common garden birds. The species of birds that you may attract depends on the entrance-hole size.

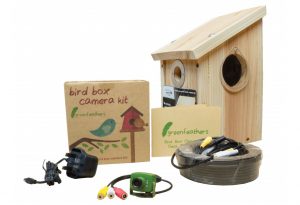
A 32mm hole, such as that of the Gardenature Nest Box Camera System, is suitable for House Sparrows, Nuthatches, Blue Tits, Coal Tits, Marsh Tits and Great Tits. It also has a removable front panel that is ideal if you are looking to attract robins or wrens.

Nest Box Camera Kit
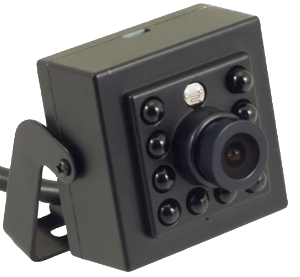
Nest Box Camera Kit

The Nest Box Camera Kit has a removable 29mm plate that can attach over its 32mm hole meaning it is capable of attracting a range of species. If you are looking to attract anything larger or a more ‘picky’ species, then you may want to buy a species-specific nest box and fit one of our separate nest box cameras to this.

The Hedgehog Camera Kit
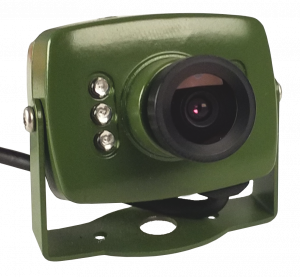
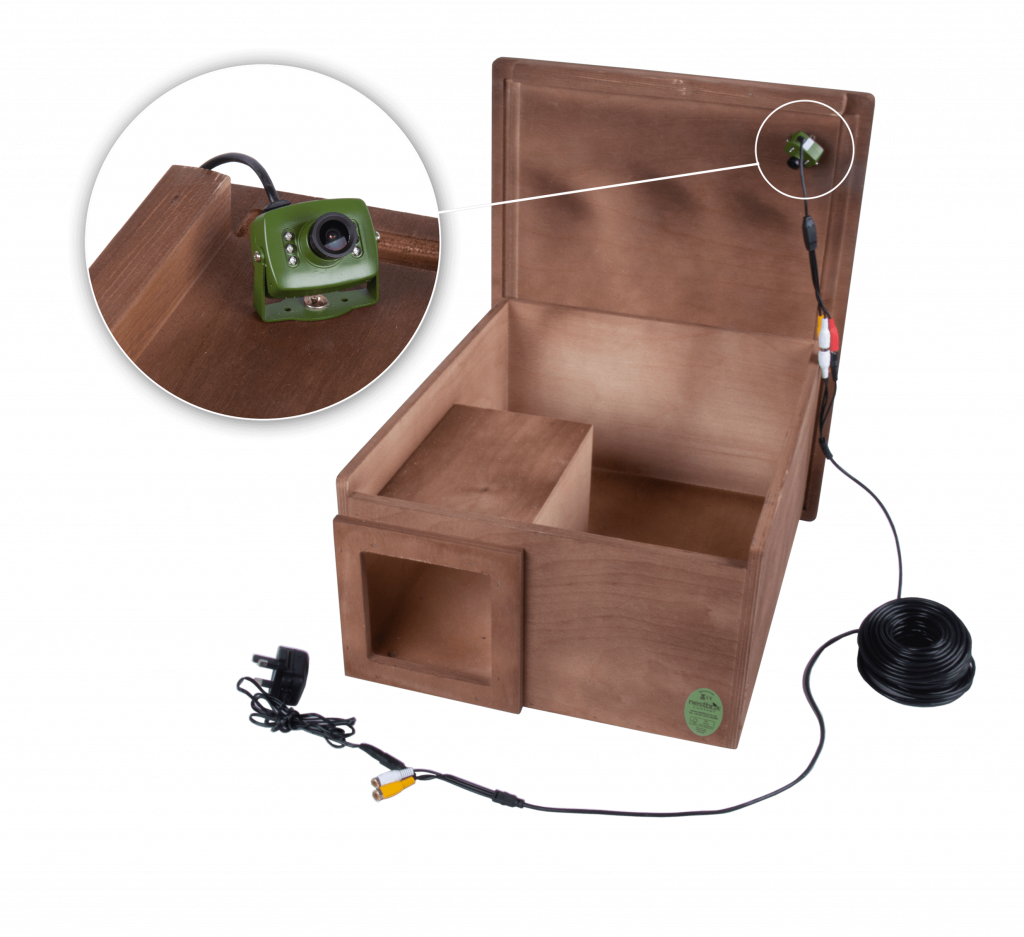
The Hedgehog Camera Kit – Wired camera

If you are lucky enough to have hedgehogs in your garden, why not see what they’re up to alongside giving them a safe place to nest? Our Hedgehog Camera Kit includes a high-quality wooden hedgehog nest box, designed and tested by the Hedgehog Preservation Society. It also includes a tiny camera that can easily be screwed to the roof or side of the box with no modifications required. Available with wired, wireless or Wi-Fi cameras.

Suggested Reading
Nest box
CCTV for Wildlife Monitoring – An Introduction

For a collection of handy tips, tricks and ideas, Susan Young’s book CCTV for Wildlife Monitoring is an ideal guide for photographing wildlife in your garden. Whether you are an experienced trail camera user or a newbie looking to order your first nest-camera, Susan Young’s book will offer a wealth of information to help you get even more out of your equipment.

If you wanted to read more about how to make, monitor and maintain your bird box, Nestboxes: Your Complete Guide is a great book that will guide you through everything you need to know about your nest box and its inhabitants.


Would you like some more advice on which trail camera or nest box camera is most suitable for you? Contact us on +44 (0)1803 865913 or email customer.services@nhbs.com . Alternatively, reply below and we will get back to you.

The NHBS Guide to Whale and Dolphin Watching

Public sighting records are important for UK cetacean conservation. Atlantic Bottlenose Dolphins by Jo Garbutt is licenced under CC BY 2.0

Catching a glimpse of a whale or dolphin whilst visiting the coast is a uniquely memorable experience and a few hours spent whale and dolphin watching is fun for all age groups. Plus, your sightings can really make a difference and will add to the growing body of survey data collected for the UK coastline.

Keep reading for some tips on when and where to watch whales and dolphins, how to get started and where to report your sightings.

When and where should I watch cetaceans and what am I likely to see?

The best time for spotting cetaceans is between April and October when visitors to our coastal waters are at their highest. Some areas are undoubtedly better than others for catching a glimpse of these elusive animals: Devon, Cornwall and Cardigan Bay in Wales are good places to go, as well as the coasts of northern Scotland.

Twenty-nine species of cetacean have been recorded in UK waters, and some areas of our coastline are home to permanent populations of dolphins. The most commonly reported species are bottlenose dolphins, harbour porpoises and minke whales, although rarer visitors have included killer whales, humpback whales and striped dolphins.

Of course, cetaceans aren’t the only things you will see. Keep your eyes peeled for seals too and enjoy the seabirds and beautiful views at the same time!

How do I get started watching whales and dolphins?

For most people, watching cetaceans from the land (rather than from a boat) will be the most convenient and economical option. Any place where you can sit comfortably with a good view of the sea will suffice, but if you can make your way to a cliff top then this will provide a better vantage point. Calm, overcast days tend to be the best for spotting cetaceans as the combination of swell, choppy waves and surface reflections can make fins all but impossible to see. For the same reason, the hours following dusk and prior to dawn are the best times of day to go.

A watch is conducted by scanning the surface of the water with the naked eye, switching to binoculars periodically or whenever you notice a disturbance at the surface. As soon as you see something that may be a whale or dolphin, concentrate your binoculars in that area, making sure to scan a little way around in case it surfaces again nearby. Another good technique is to look out for seabirds circling or diving as this may indicate cetaceans feeding just below the surface.

Any binoculars (or a scope and tripod) can be used for sea watches. If you are looking for binoculars specifically for this activity, however, make sure to go with a model that has a large objective lens diameter as this will improve the light transmission and will help with viewing in lower light conditions.

For researchers studying marine mammals, items such as thermal imaging scopes and hydrophones are useful additions to the surveying toolbox and will allow them to find and identify cetaceans in a greater range of conditions as well as enabling more detailed investigation of behaviour.

Where do I submit my sightings?

Several organisations in the UK offer online sighting forms where you can submit information about whales, dolphins and porpoises that you have confidently identified during your watch. Take a look at the Sea Watch Foundation, the Whale and Dolphin Conservation, or the Cetacean Research & Rescue Unit websites for sighting forms. Other regional groups such as the Hebridean Whale and Dolphin Trust and Norfolk Cetaceans also collect local sightings so it might be worth finding out if there is an active recording group near to where you live.

Check out the NHBS website for a great range of binoculars and scopes, as well as other handy field kit such as waterproof clipboards and notebooks. Also have a look at these two field guides to help with identifying whales and dolphins.

Guide to the UK Cetaceans and Seals
Whales, Dolphins and Seals: A Field Guide to the Marine Mammals of the World
 

Trees in Winter: another way of seeing

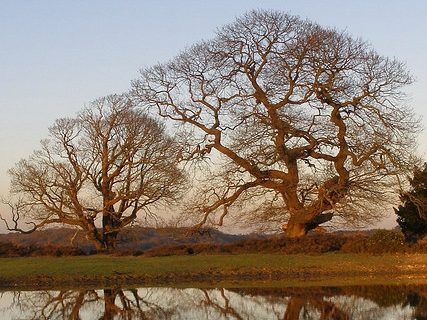
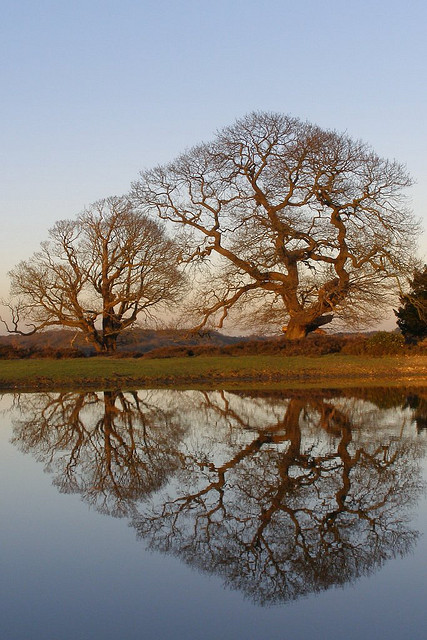
Winter oak refelctions 01 (Image by Jim Champion, via Flickr Creative Commons license CC BY-SA 2.0)
Image credit: see below

Winter woodland has a bare, skeletal charm all of its own, and a walk in the woods is a good time to try to put names to those familiar trees.

Suddenly leafless but not as anonymous as we sometimes think, with a little practice it is surprisingly easy to begin to place those barren winter twigs.

Here is a quick, and by no means definitive, guide to identifying six of the UK’s more common deciduous trees in winter, chosen at random on a midwinter ramble in my local woods.


Oak (below): A rugged twig with fat, oval orange-brown alternate buds, and a characteristic cluster of buds at the tip. The twig of the sessile oak is less rugged than pedunculate oak, but be careful the two species often hybridise and it can be tricky to tell the difference.

Oak

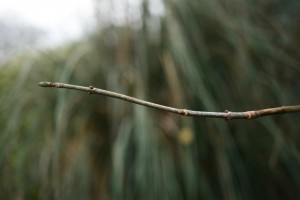
Ash: A twig that looks as if it means business, with black buds in opposite pairs and an unmistakable, fat terminal bud covered in black scales.

Ash

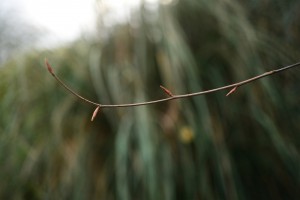
Beech: A slender, rather delicate twig with long, alternate and markedly pointed brown buds. Hornbeam is very similar but the buds hug the twig rather than point outwards, and the twig is noticeably more zigzagged.

Beech

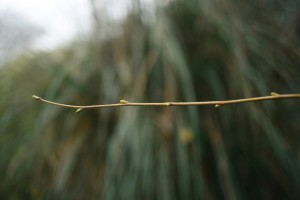
Hazel: The twig is downy all over – although you may need a hand lens to see this clearly – with alternate, pale green to reddish-brown, smallish buds. Catkins are not at the end of the twig, unlike in birch species.

Hazel

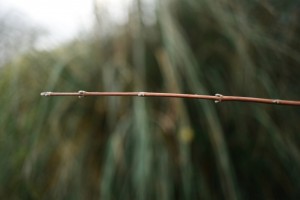
Field maple: Hairy twig and buds – again a hand lens is useful – with tiny reddish-brown buds, always in opposite pairs. The terminal bud often has smaller buds on either side, sometimes appearing to be a triple end bud.

Field Maple

Sycamore: Another sturdy twig, with plump pale green buds in opposite pairs. The large green bud scales on the terminal bud are easy to see.

Sycamore

I use an elderly copy of the Forestry Commission’s Know Your Broadleaves for Christine Darter’s fabulous drawings of winter twigs; David Streeter and Rosamond Richardson’s similarly dated Discovering Hedgerows has a useful key.

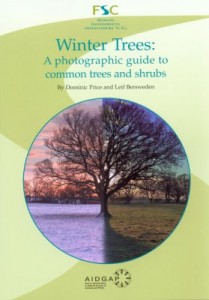
The stand out work is Dominic Price and Leif Bersweden’s Winter Trees: A Photographic Guide to Common Trees and Shrubs one of the Field Studies Council’s AIDGAP Guides, which covers 36 of the common broadleaved tree and shrub species likely to be found in the UK, as well as a few rarer ones. With pictures of bark as well as twigs, and notes on habitat, winter tree-ID suddenly seems much easier. Author royalties from the book go to the Species Recovery Trust

Winter Trees: A Photographic Guide to Common Trees and Shrubs

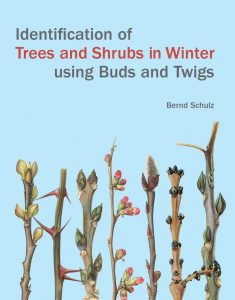
For those wanting a guide to even more tree species, Bernd Schulz’s Identification of Trees and Shrubs in Winter Using Buds and Twigs covers over 700 species. Containing more than 1,400 colour illustrations, as well as detailed descriptions and identification keys, this guide is comprehensive and easy to use.


Main image: Winter oak reflections 01 (Image by Jim Champion, via Flickr Creative Commons license CC BY-SA 2.0)

Recording Orthoptera using a bat detector

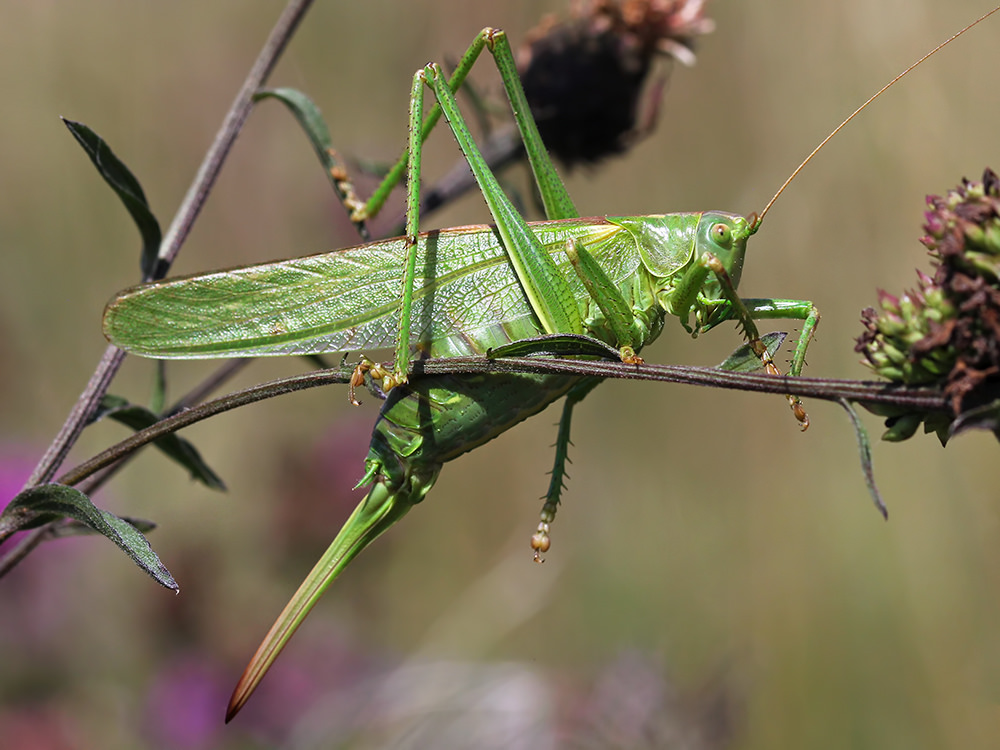
Great Green Bush Cricket
The Great Green Bush Cricket is the largest of the UK Bush Crickets. This beautiful image of a female cricket was taken by Charlie Jackson, from Flickr Creative Commons (CC by 2.0).


The order Orthoptera consists of the grasshoppers and crickets. Although most suited to warmer climates where they are incredibly diverse, in Britain we have 27 native species, as well as a number of non-native, naturalised species. From a very young age we are aware of these beautiful creatures as the sounds they produce fill our countryside with noise.

The characteristic Orthoptera song or “stridulation” is produced either by rubbing the wings together (observed in most of the grasshoppers) or by rubbing a hind leg against a wing (a method used by most crickets). The sound produced is an important part of the courtship ritual and is also used for other types of communication. As the sound created by different species varies significantly, studying these calls is an excellent way of surveying Orthoptera, and is helpful for finding individuals which can then be identified visually.

Stridulation produces a sound which covers a variety of frequencies – the sound made by grasshoppers is usually audible, but many species of cricket produce a higher ultrasonic frequency which cannot be heard by most humans. The use of a bat detector to listen to these higher frequency songs is an excellent way to listen to those species that we would not ordinarily be able to hear, such as the Speckled Bush Cricket. It also allows us to increase the range at which we can hear the audible ones. Bat detectors are also of use to older surveyors, whose ability to hear higher frequencies has naturally declined.

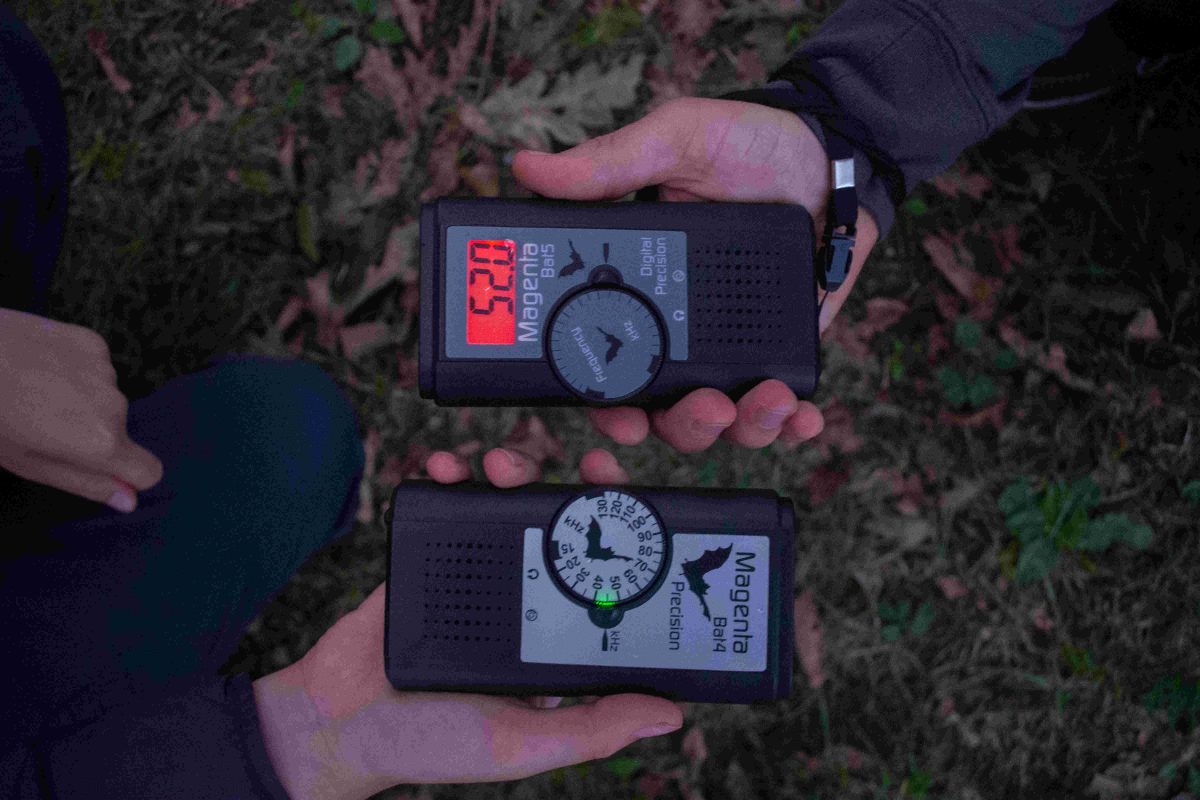
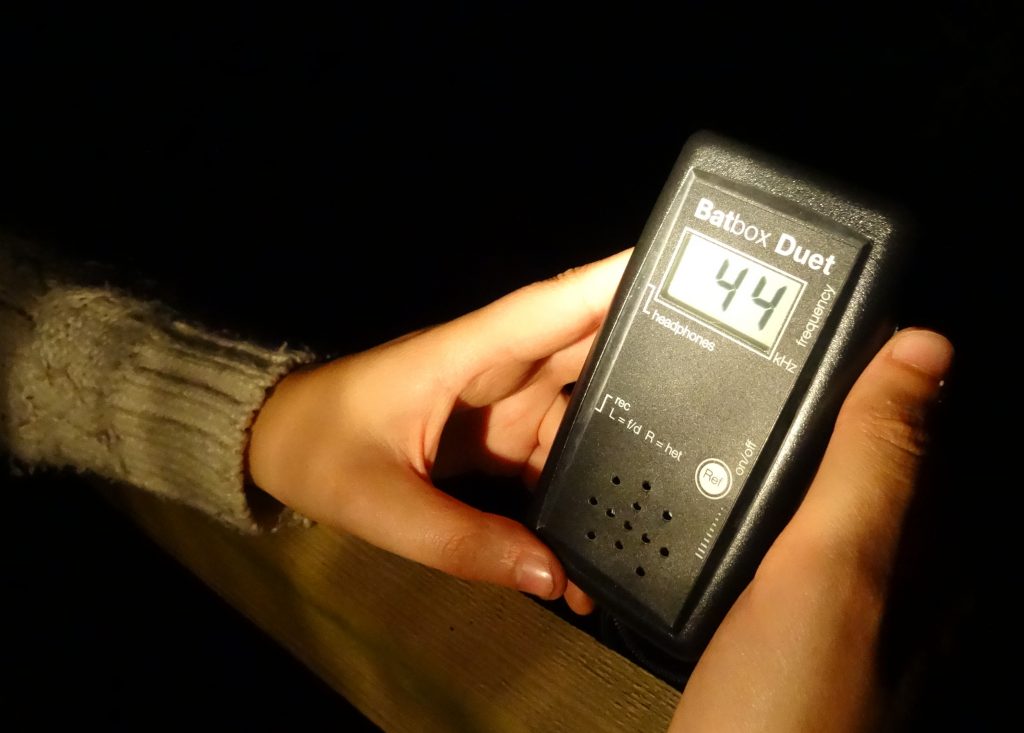
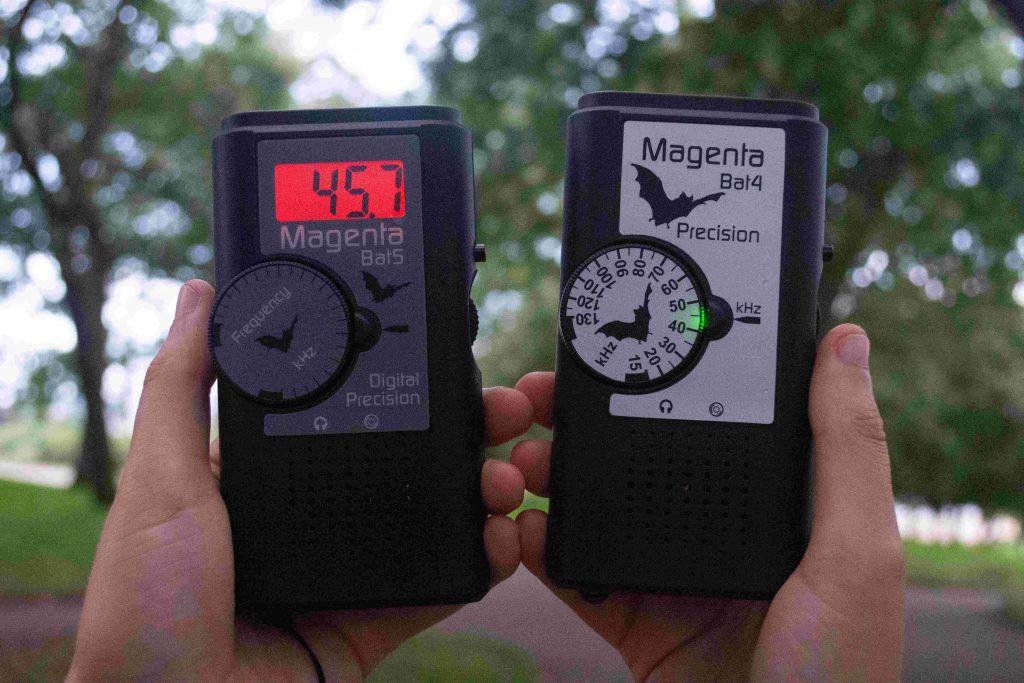
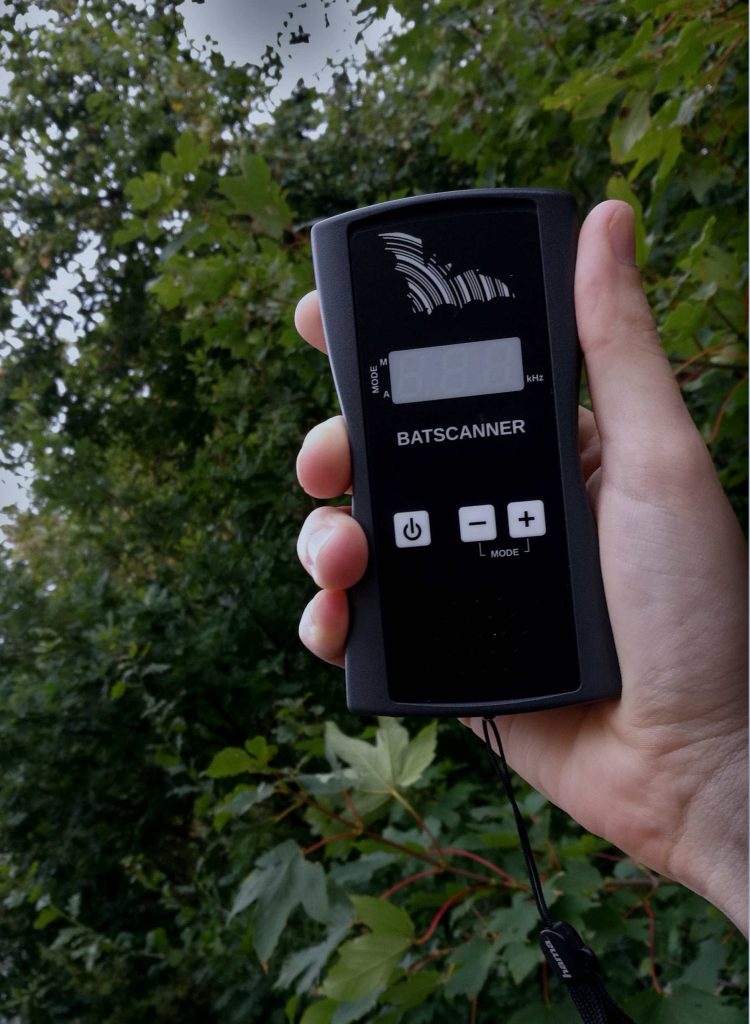
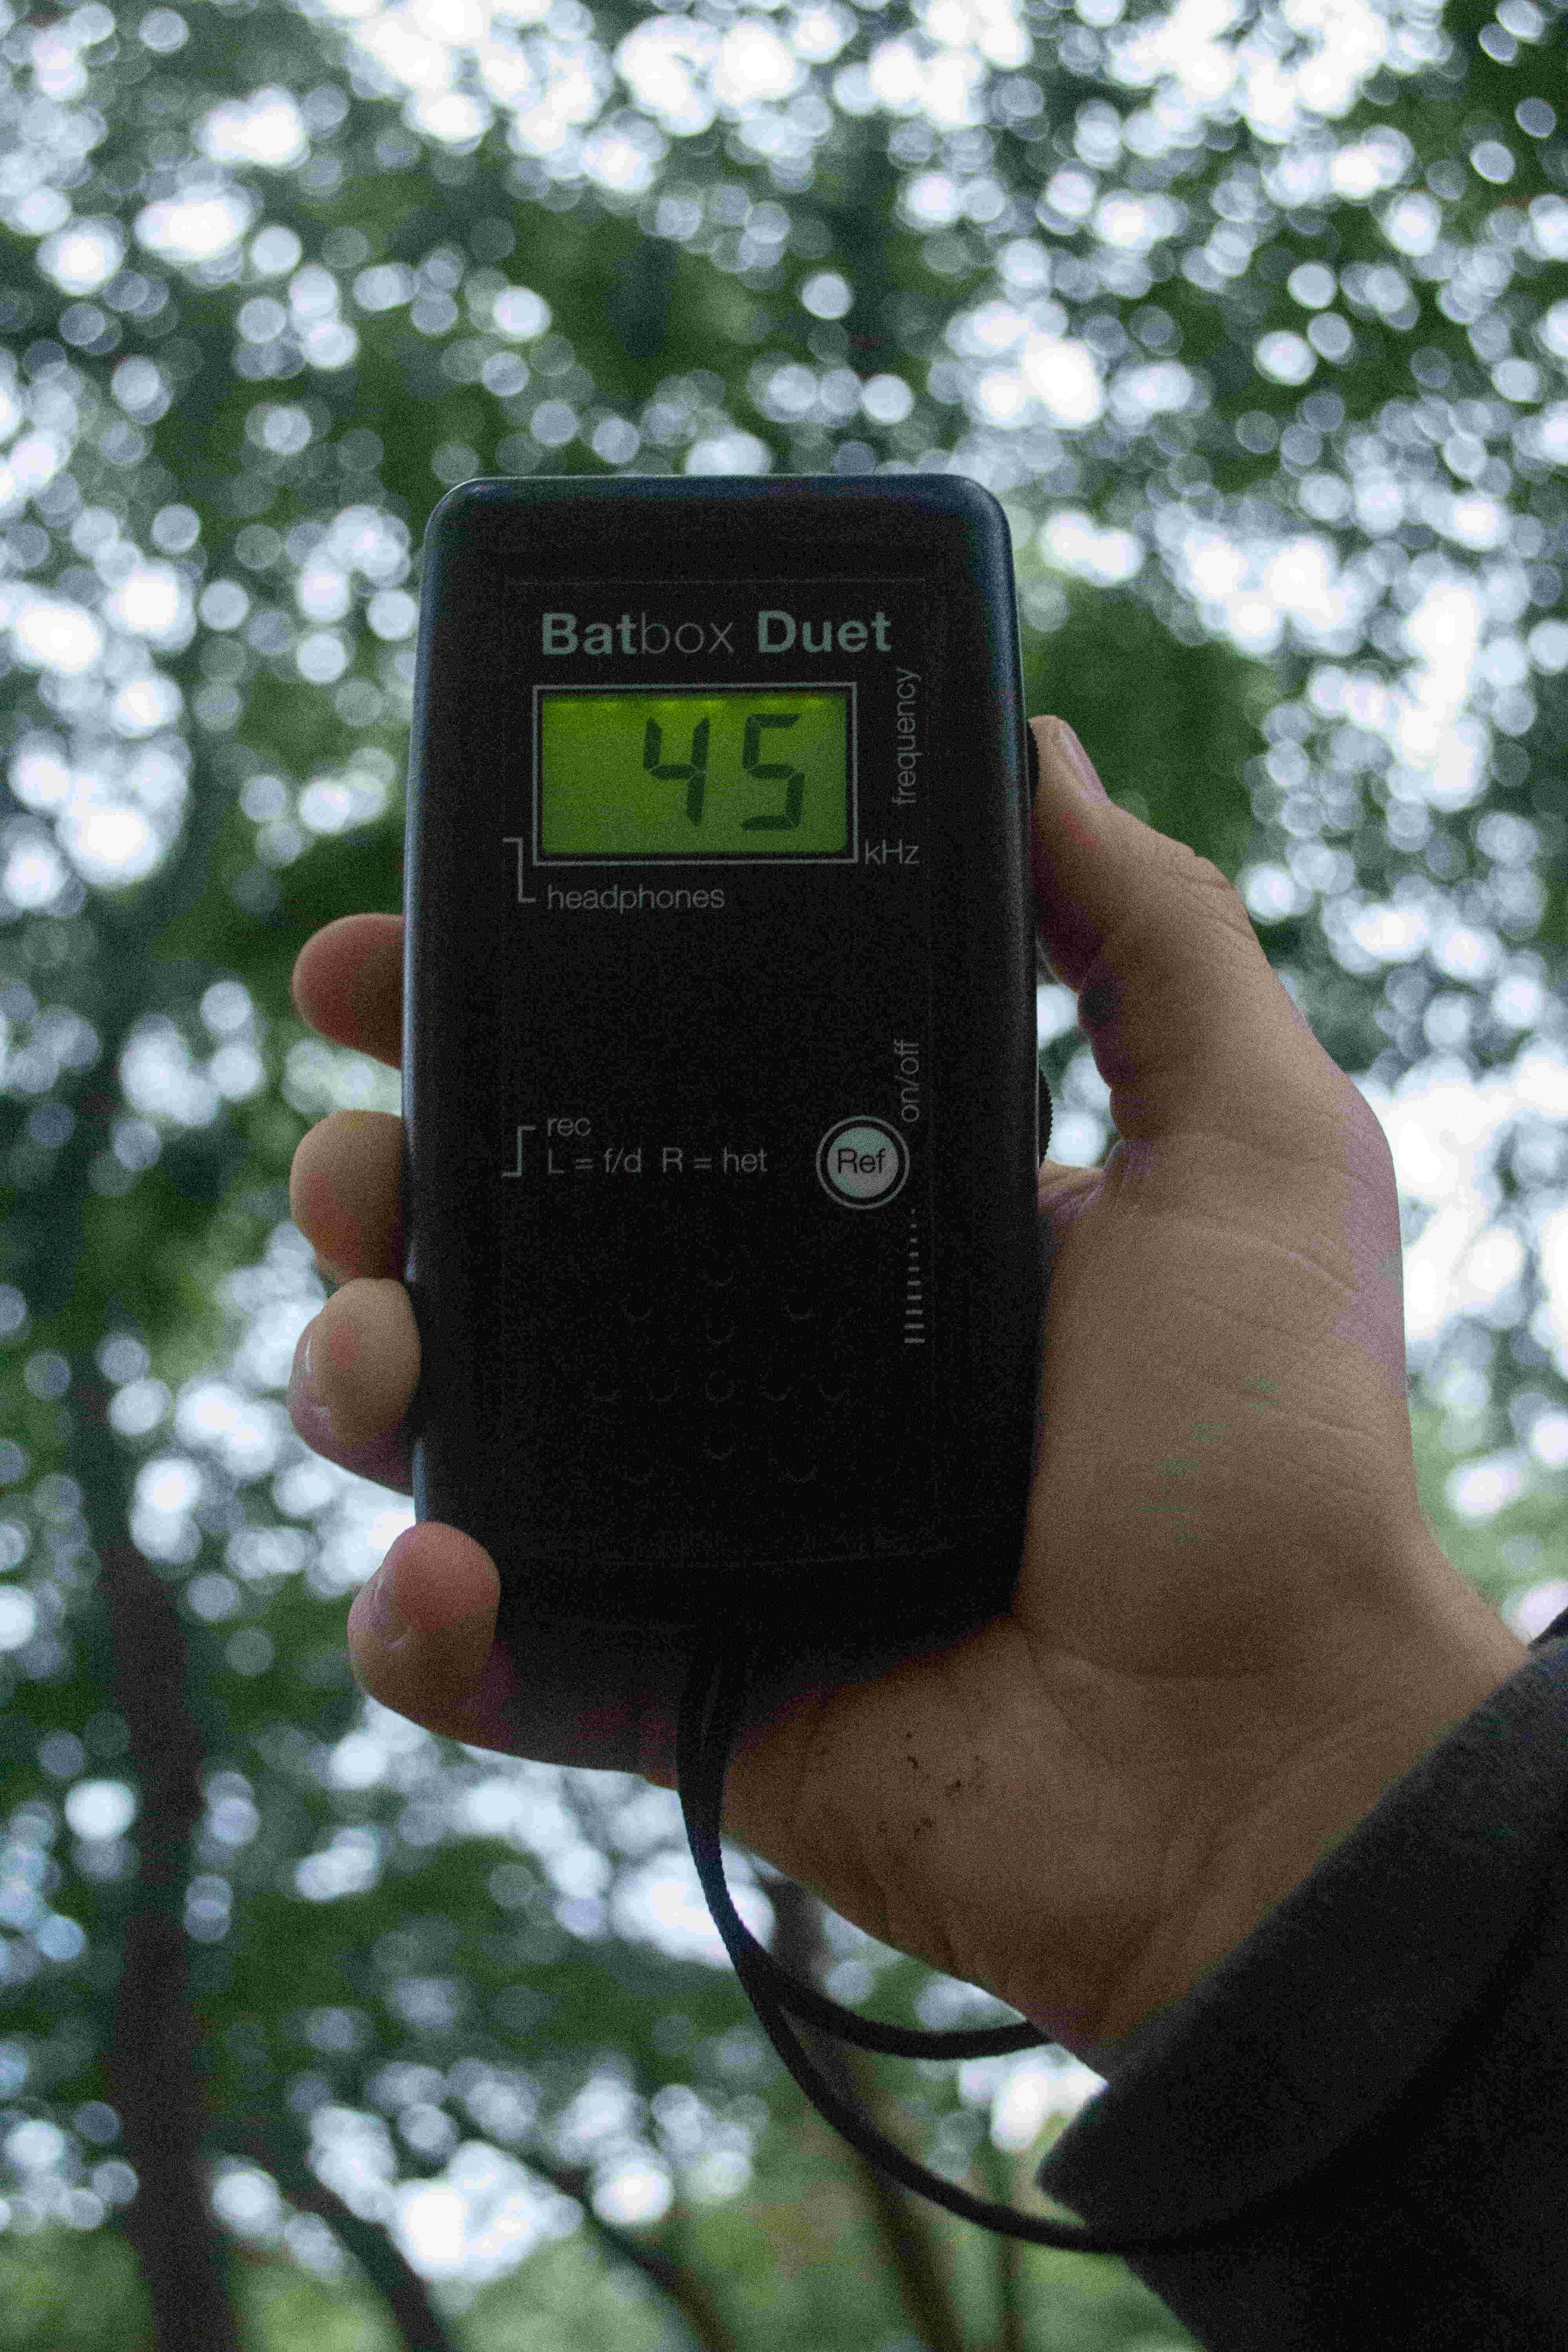
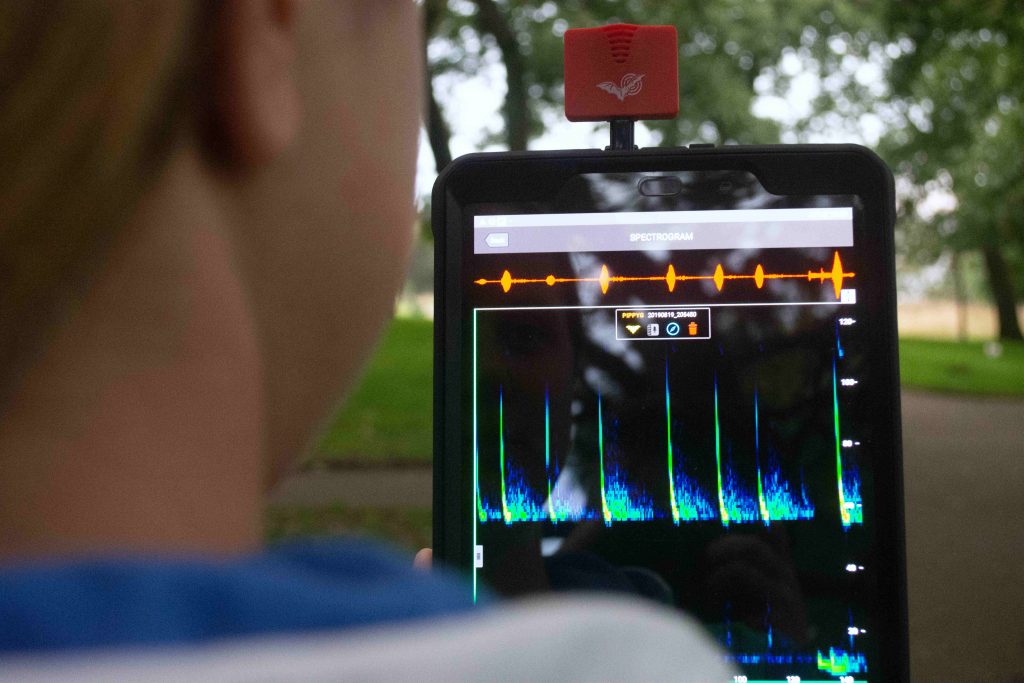
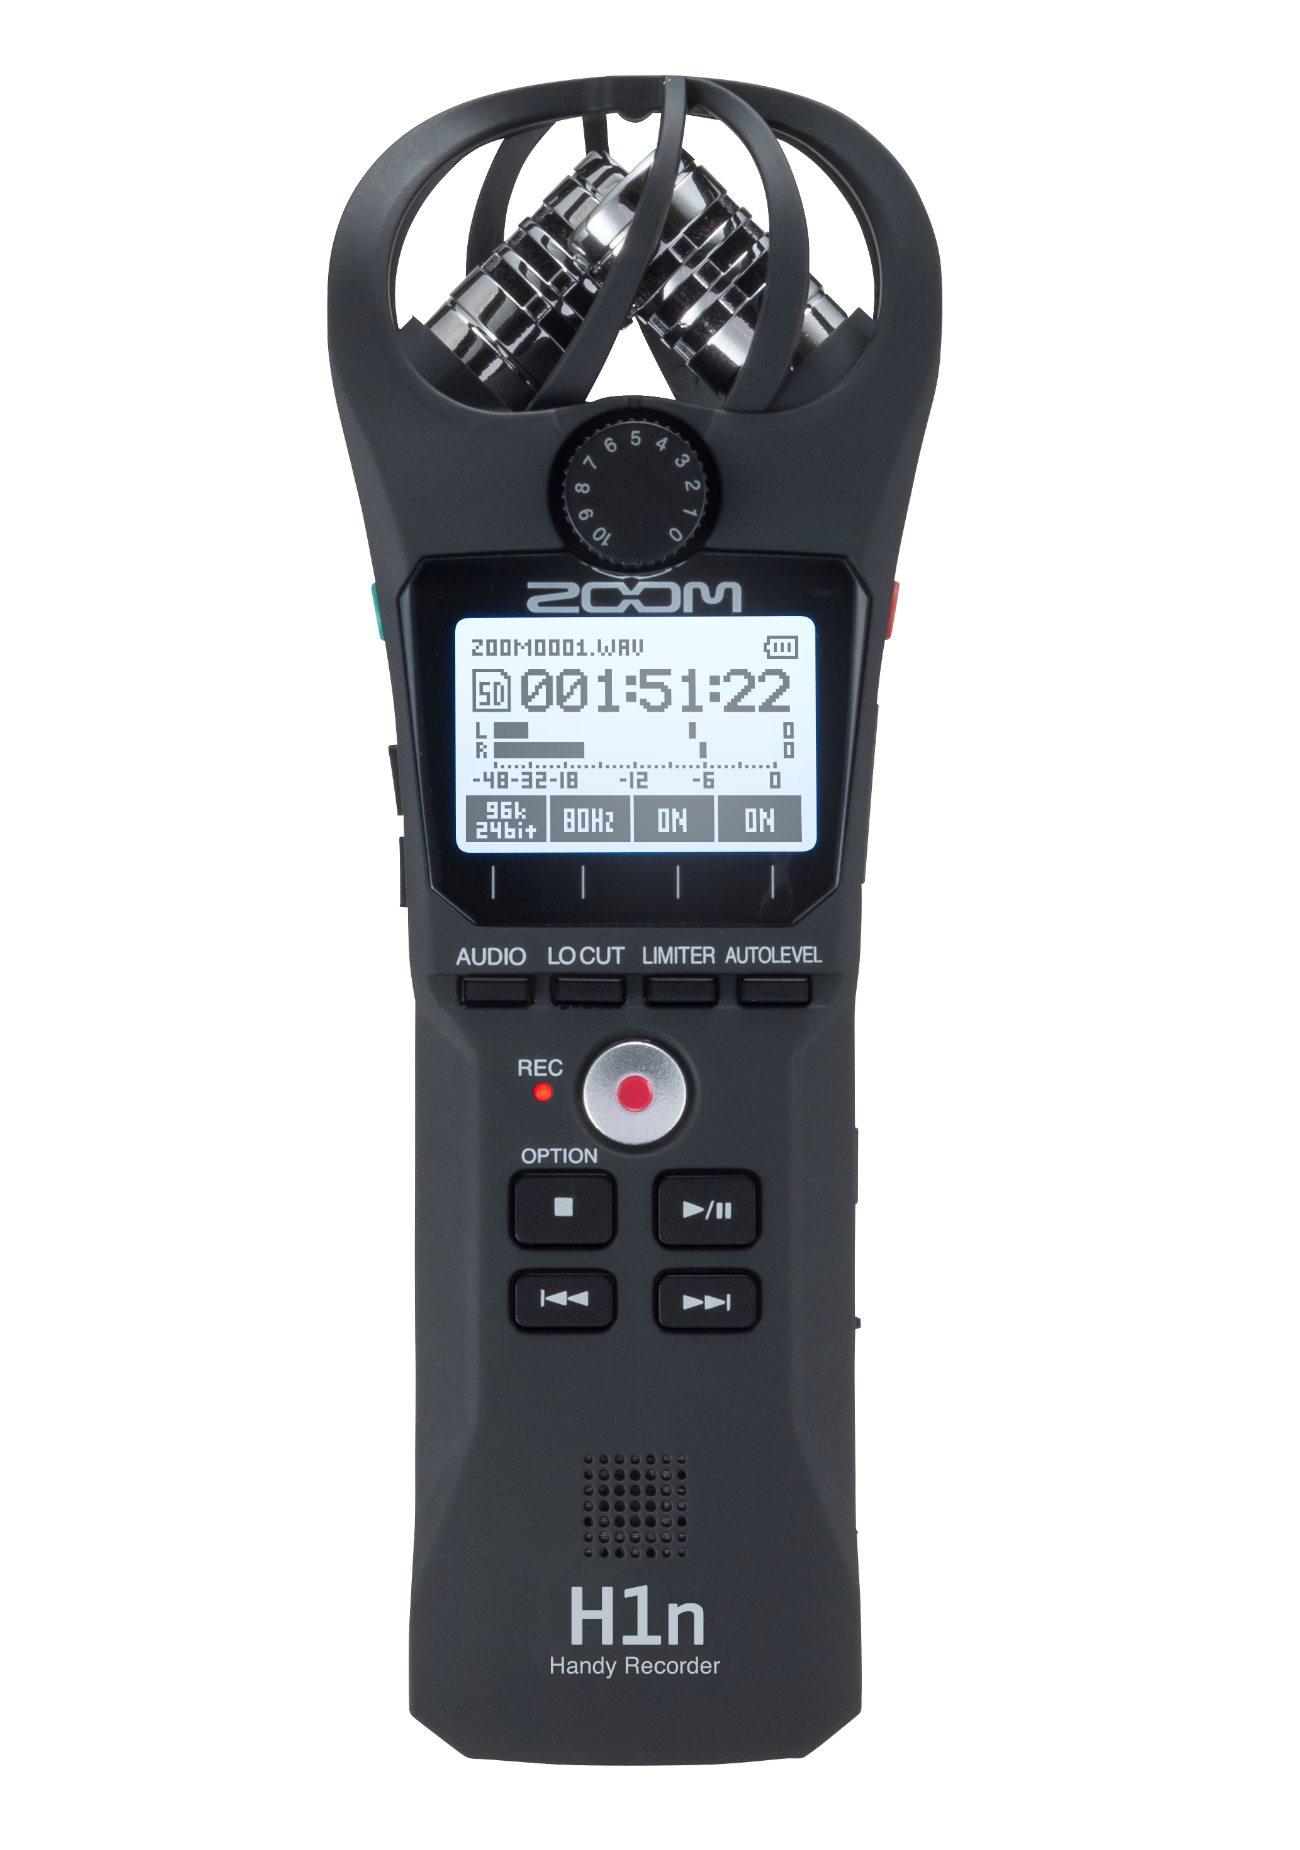
A simple heterodyne detector is perfect for listening to grasshoppers and crickets – one such as the Magenta Bat 4 or the Batbox IIID is ideal as it allows you to tune it to a specific frequency (as opposed to some of the more “intelligent” detectors which will alter it for you). The detector should be set to a frequency of 35-40kHz then all you need to do is sweep it around in different directions until you pick up your subject. It is best to stand in one place while surveying as the noise produced by your footsteps and clothes moving will produce background ultrasound noise which can confuse what you are hearing. The best days for surveying are warm and sunny; crickets are generally crepuscular (active during twilight) whilst grasshoppers are usually active throughout the day.

Unlike bat detecting, where the peak frequency is a key diagnostic feature for determining species, this information is less important for Opthoptera. Of more importance is the pattern and type of sound produced. The Environmental Records Centre of Cornwall and Scilly has a great guide to identifying Orthoptera including a useful information sheet on the use of bat detectors. They also have a collection of sound files of grasshoppers and crickets that you can use to recognise the typical calls produced by many of the species found in Britain.

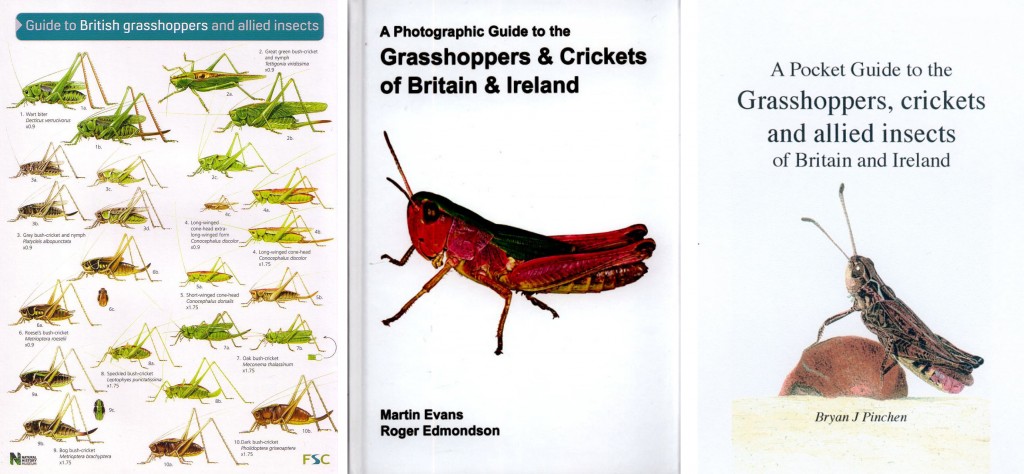
Why not take along a leaflet or book to aid your identification: The FSC guide to British Grasshoppers and Allied Insects is a handy fold out guide with a useful key. For those looking for a more in depth guide, try the Photographic Guide to the Grasshoppers and Crickets of Britain and Ireland or the Pocket Guide to the Grasshoppers, Crickets and Allied Insects of Britain and Ireland.

Books

Want to know more? Visit the website of the Grasshoppers and Related Insects Recording Scheme of Britain and Ireland where you will find lots of information and can submit your survey results. Or why not download the iRecord Grasshoppers app which is available for iPhone and Android devices.


Mushroom Identification: Pro Tips from Top UK Mycologists

Photo: Leccinum holopus by Geoffrey Kibby, from British BoletesSeptember is upon us with morning mists and a slight chill in the air… it must be mushroom time! Around this time of year, books on mushroom identification and natural history appear with almost as much certainty as the fungi themselves. Two of our favourite mycologically-minded authors, Peter Marren and Geoffrey Kibby, give some useful and interesting tips for the keen mushroom hunter.

(Note: we cannot stress strongly enough the caution with which you should approach mushroom identification. Some mushrooms are edible, but some are deadly, and identification can be very difficult. As Geoffrey Kibby says below, if in doubt, throw it out!).

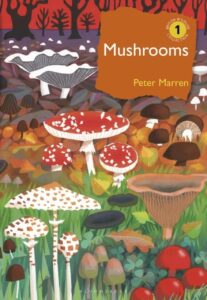
First up is Peter Marren, whose forthcoming book, Mushrooms, is the first in a new series of natural history publications, the British Wildlife Collection

Peter Marren’s tips on mushroom identification for the beginner

There are an awful lot of fungi – 2,400 species in the latest field guide and that’s just the larger ones. Fortunately, perhaps, most of them are rarely seen. There are only about a hundred really common ones, and they are the ones you need to know.

  • Forget about the ‘little brown fungi’ for now. Try getting to know an accessible group such as the waxcaps or the boletes, or the puffballs and their ‘relatives’. It will teach you a lot about the differences between species and the places to look for them.
  • Join a fungus foray organised by your local fungus group or wildlife trust, or, better still, attend a weekend course at a field centre. Direct contact is better than books.
  • Picking mushrooms does no harm. They are not plants but the fruit bodies of an organism living in the soil or in wood. Apples on the tree, as it were. And you will need to bring back specimens of fungi that are impossible to identify in the field.
  • Gathering and cooking wild fungi is great fun, especially as shared fungus feast. But never eat any that you cannot identify with confidence. There are a lot of poisonous fungi out there.
  • For fungi an x20 magnification hand lens is useful. At some point the dedicated forayer will need a microscope, but that, as they say, is a whole new ball park. Or playing field, as they are also known.

Peter Marren on recommended books for mushroom identification…

There are not many read-through books about fungi. I enjoyed Patrick Harding’s Mushroom Miscellany, a series of short chapters on all aspects of fungi, and the New Naturalist volume Fungi by Brian Spooner and Peter Roberts is all-embracing and thorough, but not for the faint-hearted. From Another Kingdom, published by the Royal Botanic Garden Edinburgh is an informal seminar on matters mycological, including ‘fungal monsters in science fiction’. The best field guide in my opinion is still Marcel Bon’s Mushrooms & Toadstools, first published back in 1987, although it needs updating. Paul Sterry and Barry Hughes’ Collins Complete Guide to British Mushrooms and Toadstools has the best colour photographs.

…and on his new book, Mushrooms

Mushrooms is my personal take on the world of fungi in Britain, about the pleasures of searching for mushrooms and toadstools, and why they matter. I have written it as a narrative, in current TV parlance as a ‘journey’, beginning with the extraordinary diversity of fungi and the ways in which they exploit the natural world to the history of the fungus foray and the controversy over gathering wild mushrooms for the pot. In the process I zoom in on the nature of names, both Latin and English, at the places which hold the greatest diversity of fungi, and our attempts to conserve rare and vanishing fungi. It is, I hope, a refreshing and amusing look at this ‘third world’ of life, written without jargon and in lively style. I hope it can be read with pleasure by anyone. It is full of lovely colour photographs.


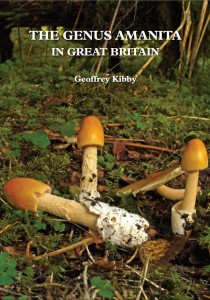
The Genus Amanita in Great BritainNext up, Geoffrey Kibby, whose new photographic identification guide to the Genus Amanita is the fourth in a series of full colour fungi identification monographs, and is out now. In the following article Kibby discusses the finer points of mushroom identification:

The joys and tribulations of fungus identification

Firstly, let’s be quite clear: there are an awful lot of fungi! Just including those generally referred to as the larger fungi – those just a few millimetres across all the way up to species that can reach a metre or more – there are around three thousand species recorded in Britain.

Whether we call them all mushrooms, as the Americans tend to do, or toadstools as we often do in Britain, they form a huge and amazing array of species. The terms mushroom and toadstool are of course very vague with no actual specific scientific meaning, encompassing both edible and poisonous species.  With such a large number of species to choose from, identification can be both difficult and frustrating, and if edibility is a factor then obviously getting a correct identification is even more important; a mistake can be, and sadly has often been, fatal.

General field guides are the usual starting point for most amateurs just starting out in mycology (the proper term for the study of fungi) but there is an obvious problem here: the number of species included. Many guides have just a few hundred species that may not cover enough of the species you will find. More comprehensive ones usually have about 1000 to 1500 species and are accordingly more useful. The largest guide yet produced (Collins Fungi Guide by Stefan Buczacki with beautiful watercolour paintings) has around 2,400 species, but that does not of course guarantee that you will produce a correct identification. Indeed too many choices might be as confusing as too few. Then there is the choice of whether to get one with photographs or paintings (both have their different advantages).

Many species can only be distinguished with certainty by using a microscope to examine their spores and other microscopic structures, or by the application of specific chemicals to produce colour reactions. More technical monographs are needed for these.

A field guide can only take you so far and show you a representative sample of a particular species. Fungi vary much more than most organisms and you will need to learn them in all their many and varied forms before you can confidently say you know a species well. The best way to learn is to get a good guide and then take it along on an organised fungal walk (or foray as they are usually called). Here you will usually be led by an experienced expert who can show you first hand the important features of each species as well as their particular ecology. The latter can be vital in fungus identification. Many fungi grow in association with specific trees or other plants and knowing this can help you to identify or even predict the species you may find.

By going on regular fungus walks, or perhaps joining a longer course over a weekend or a week you will gradually learn to recognise the commonest species which you will see on almost every walk and start to learn some of the more uncommon species also.  Almost every county has a mushroom group and there are also larger, country-wide mycological societies such as the British Mycological Society or the Association of British Fungus Groups. These organisations can put you in touch with your local group as well as organising forays and workshops of their own and producing useful publications. The journal Field Mycology, which I edit for the BMS, is aimed at the beginner all the way to the specialist and mainly deals with larger fungi.

Comparing the actual fungi you find with the photos or paintings in your field guide will soon show the value of owning more than one guide. Each guide may have a different list of species and some will have better illustrations of a particular species than another. Most mycologists soon build up a small library of picture books! Using a digital camera to photograph specimens or trying your hand at making paintings of them and building up your own catalogue of illustrations is highly recommended also. Once you are more confident of the commoner species then there are a number of more specialist works, usually dealing with a specific group of fungi and this is often the best way to really make progress, by concentrating on a particular group which you find especially attractive or interesting.

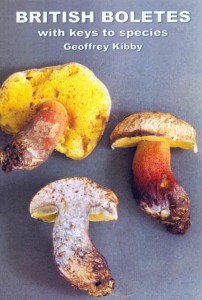
British Boletes: With Keys to Species - Geoffrey KibbyI would certainly recommend the boletes as an ideal group to begin with. They are often large, very brightly coloured and with good field characters and include a number of excellent edible species. Almost all the species can be identified in the field with a little experience and a good reference work. After 48 years of studying fungi the boletes remain among my favourites and many other mycologists will say the same. The book on boletes which I have produced, British Boletes, aims to provide easy to use keys based mainly on field characters and photographs of the vast majority of the British species. My books tend to focus on the most widely studied and popular groups of fungi. Hence I have titles covering Russula (The Genus Russula in Great Britain), Agaricus (The Genus Agaricus in Britain) and my most recent work The Genus Amanita in Great Britain. All are available from NHBS. Further titles will be forthcoming in the next few months, in particular one on the genus Lactarius, commonly called Milkcaps and further down the road an illustrated field guide to 1200 species of larger fungi.

Geoffrey Kibby’s top tips for safe mushroom identification

Many people come into mycology via a desire to try eating something a little more exotic than the shop bought mushroom. There are many edible species and they can have tastes and textures quite unlike the cultivated species. Hunting for edibles can be a wonderful experience but there are several rules to follow if your hunt is to have a happy outcome:

  • Make sure you are allowed to collect, many woodlands or parks have restrictions on picking.
  • Obey any local rules on how many you can pick and try to leave some for others to admire, don’t ‘vacuum’ the woods of everything you see.
  •  Collect only specimens in good condition; old or rotten specimens will not make a good meal and can cause serious stomach upsets.
  • MOST IMPORTANT OF ALL: you must be absolutely sure of your identification, some mushrooms are deadly and a mistake can quickly become fatal. If you are a beginner then always get the advice of an expert. Stick to a few, unmistakable species. IF IN DOUBT, THROW IT OUT.
  • Always keep aside a specimen of anything you collect to eat and if it is a species you have not eaten before then sample just a little—even good edibles can cause upsets in some people (many people can’t eat strawberries or nuts for example).

Mycology, or mushrooming, can appeal on many levels, from the simple pleasure of seeing strange and wonderful organisms to the intellectual challenge of trying to identify them and understand their intricate life cycles. But the starting point is, and always will be, a good book!

And finally… hand lenses to help with mushroom identification

Last week we published a blog post with advice on purchasing a hand lens, plus a useful comparison chart showing the various lenses you can buy from NHBS. 

Read The NHBS Guide to Buying a Hand Lens