Wildlife Acoustics creates world leading wildlife acoustic monitoring tools, specially designed to help scientists make impactful discoveries that expand our understanding of this biologically diverse planet.
![]()
A passionate and innovative group of technologists, operational experts, wildlife enthusiasts and conservationists, they have a zeal for helping their customers succeed in their research —understanding their needs and creating wildlife audio recording and analysis tools specially designed to help them conduct research across the globe.
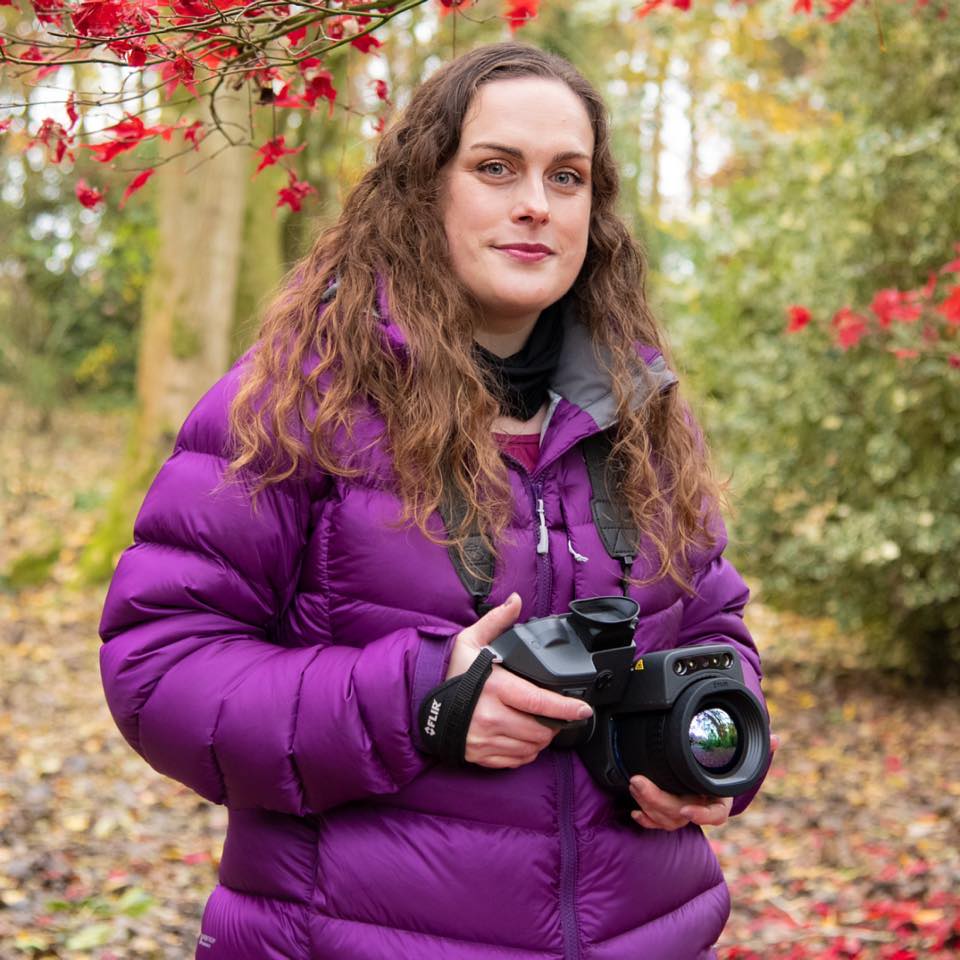
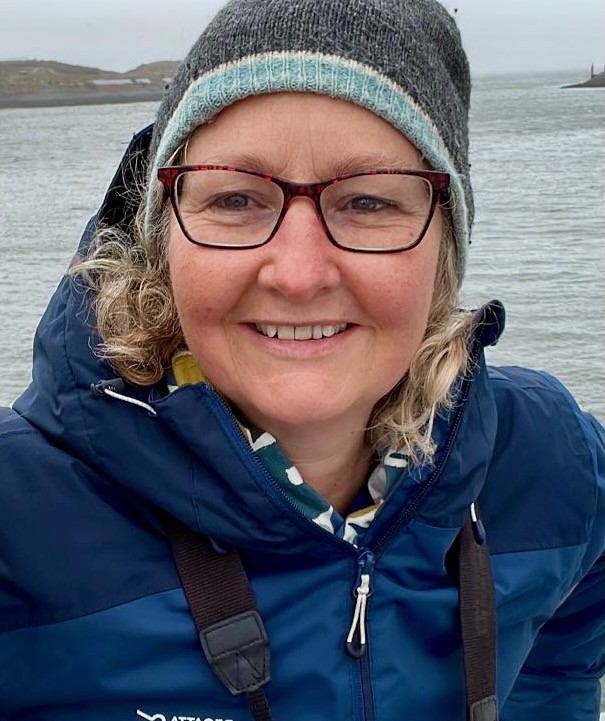 We recently chatted with Fran Tattersall about the history of the company, their latest products, and the incredible ways that they are enabling researchers to collect vital data.
Fran works as the European Business Development Consultant for Wildlife Acoustics and is passionate about the environment and conservation. She is incredibly knowledgeable about the company and their products, and we were grateful to her for taking time out of her busy schedule to answer our questions.
Could you tell us about the history of Wildlife Acoustics? What inspired its creation?
Wildlife Acoustics was founded by Ian Agranat, an engineer, technologist, and nature enthusiast who is still the company’s CEO.
On a family hike in the early 2000s, Ian’s brother-in-law wondered aloud about creating a device for recording and identifying birds by their songs. Wildlife Acoustics’ first product, Song Sleuth, was launched shortly thereafter. Long before we were familiar with such tools, Song Sleuth used AI to identify North American bird species by their calls!
The US Geological Service was intrigued by the possibilities and asked Ian to develop a reliable, programmable recorder and software to help identify bird calls. This led to the invention of the Song Meter SM1, the first commercially available, built-for-purpose acoustic wildlife recorder, and the Song Scope software. Biologists now had a fully integrated, cost-effective, weatherproof solution for monitoring and analyzing the vocalizations of birds, amphibians, and terrestrial animals. (The first SM1 is still in the field today!)
Can you tell us more about the people that use Wildlife Acoustics’ products and what they use them for?
We have products for anyone who wants to record vocal wildlife, bats, or soundscapes!
Our recorders and sound analysis software are used for research projects at universities and NGOs around the world. For example, Bat Conservation International used a Song Meter SM4BAT-FS to re-discover the Hills Horseshoe bat in Rwanda—an endemic species once thought to be extirpated.
Song Meter recorders are also used by ecological consultancies working on everything from large infrastructure projects, such as HS2 and wind farms, to individual householders replacing their roofs.
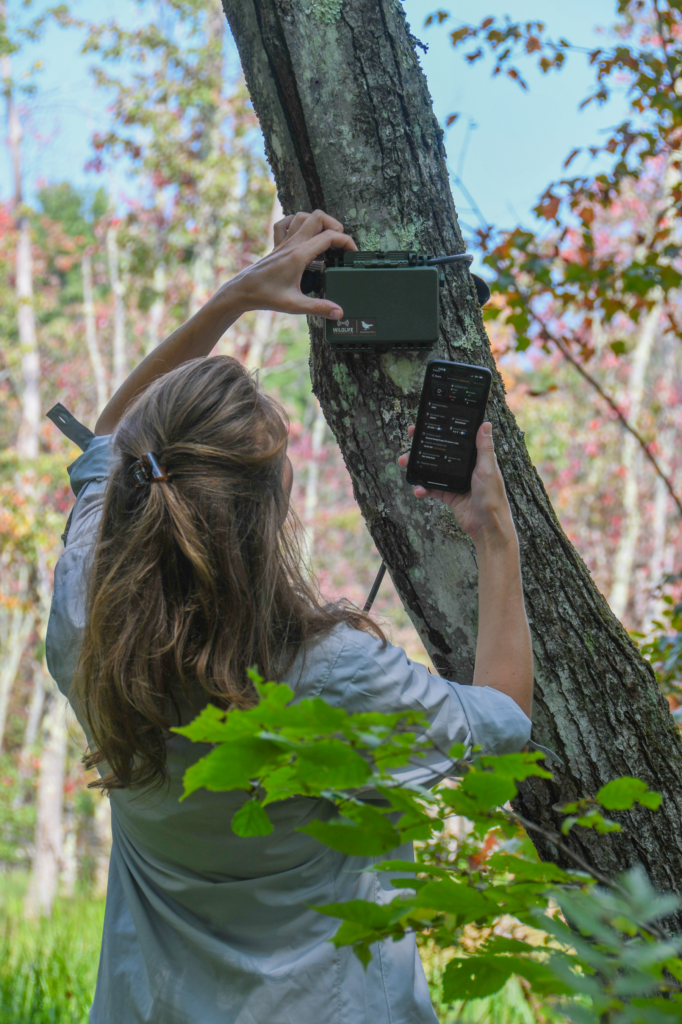
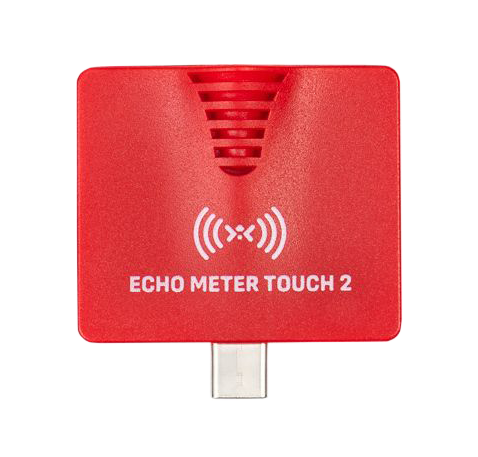
Our Echo Meter Touch 2 bat detector, which allows people to use their Android devices to hear bats echolocating in real time, has been particularly popular with the general public and is a great engagement tool on bat walks. More recently, our Song Meter Micro has gained popularity with birders who want to record nocturnal migration flyovers.
What are some of the most interesting ways you have seen Wildlife Acoustics’ products being used?
In February, we will be hosting a webinar on the use of our recorders in cold places, and one of the speakers is monitoring glaciers with a Song Meter SM4. I’m looking forward to learning more about that!
More usually our recorders are listening to wildlife. Mammals are my personal favourite species group. We have people recording Maned Wolves, Manatees, elephants, Okapi, moose, Rock Hyrax, and many more.
Interestingly, it’s not just bats that use ultrasound to communicate. Our “bat” recorders have been instrumental in finding and monitoring the invasive White-toothed Shrew in northeast England and discovering that Indonesian Slow Loris use ultrasound to avoid predators. We even have a customer who records lab rats “laughing” when tickled.
Our customers are always finding fascinating new ways to use our equipment!
The new Song Meter Mini 2 and Song Meter Micro 2 are due to be launched soon. How do the new versions compare to their predecessors?
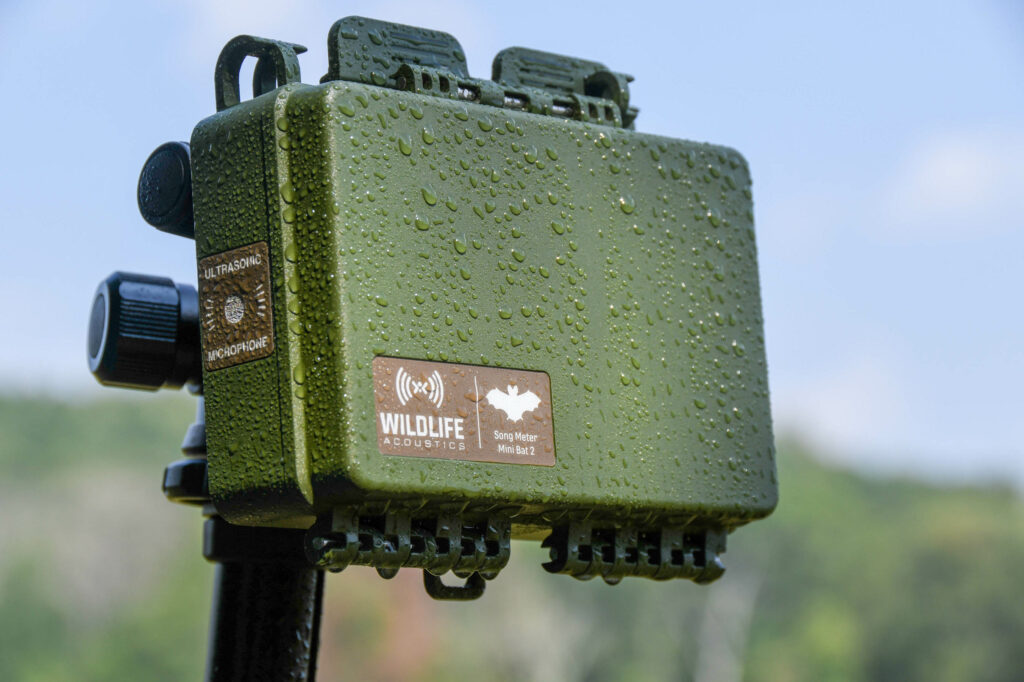
We’ve listened to customer feedback and improved the enclosure, extended battery life even further, created separate AA and Li-ion versions (18650 batteries) for the Mini 2 and the Mini Bat 2, and added a quarter-inch, 20-thread-per-inch tripod mount.
The ergonomics of the closure mechanism have been improved, using a hinged lid that can be secured with a simple cable lock. No more having to keep track of a separate lid. And the whole thing is now IP67-rated and built to withstand even the most rugged terrestrial deployments.
AA battery life has been significantly improved thanks to a larger battery tray that doubles the capacity from four to eight batteries. So for a Mini Bat 2, that means up to fifty 10-hour nights of recording, and for a Mini 2, it’s 420 hours of acoustic recording! (And best of all, the price of the AA versions remains the same.)
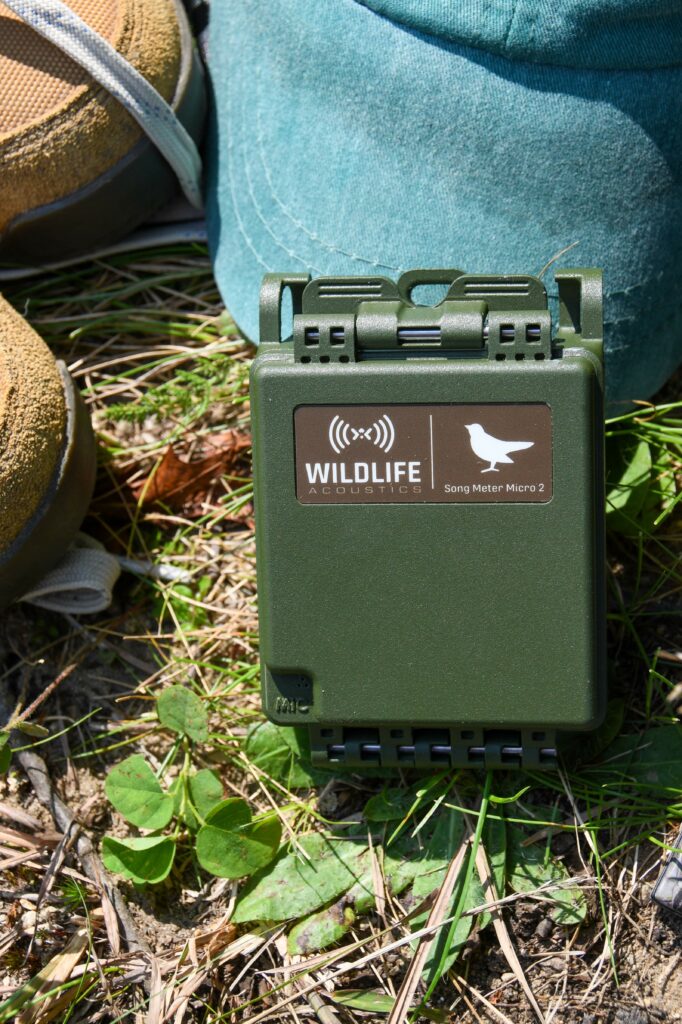
On the Micro 2, in addition to housing improvements, we improved the design by making room for an additional AA battery, which extends recording time by 33 percent.
Which of the new products is your favourite and why?
I enjoy exploring the new science of acoustic indices and soundscape analysis and am looking forward to using the Song Meter Micro 2, which has a flatter frequency response than its predecessor, making it eminently suitable for this type of work.
It’s also a great little device to take on wildlife holidays because it is so small—perfect for recording dawn choruses, nocturnal soundscapes, and finding that elusive bird. It’s always exciting to look at the contents of your SD card in the morning and hear what’s been around!
What can you tell us about plans for new features or products in the future?
Only that we’re not resting on our laurels. Our engineers are working on new ideas all the time, and NHBS will be the first to know when we’re ready to make announcements!
All of Wildlife Acoustics’ products are available at nhbs.com. For more information or advice tailored to your specific requirements, please contact us and speak with one of our technical advisors.


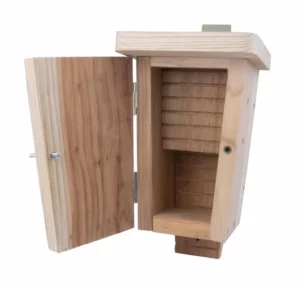 Wooden bat boxes
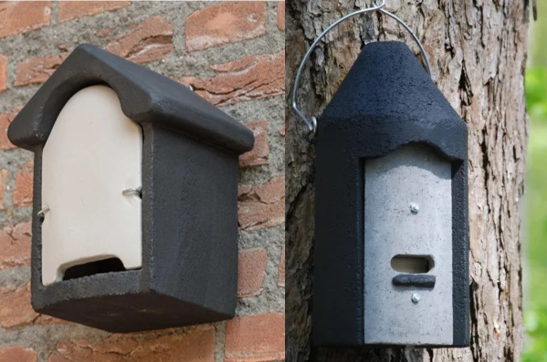
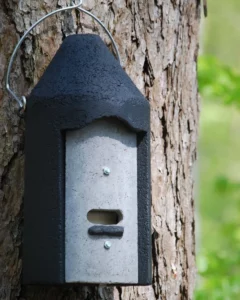
  Woodstone and woodcrete bat boxes
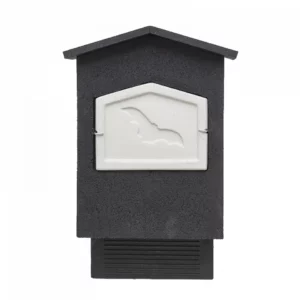
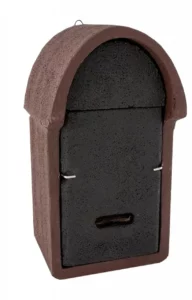
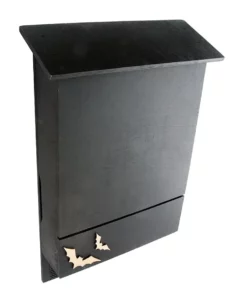
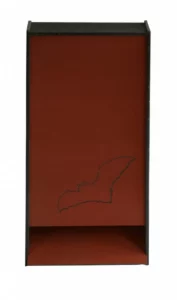 Eco-plastic bat boxes


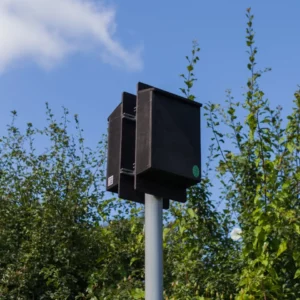 There are also pole-mounted bat boxes (sometimes known as rocket boxes). These bat boxes are helpful alternatives in areas where there is nowhere to mount the bat box. An additional benefit is that they ensure that the bat box gains maximum sunlight in shaded areas.
 Lastly, there are bat roost access titles and bricks. These are designed to provide bats with access points within roof or ridge tiles. Some bats will roost in the confined spaces beneath the tiles and others will use the open roof space to roost.
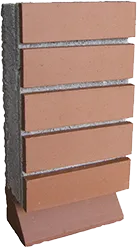
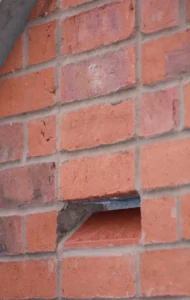