How to put up a nest box

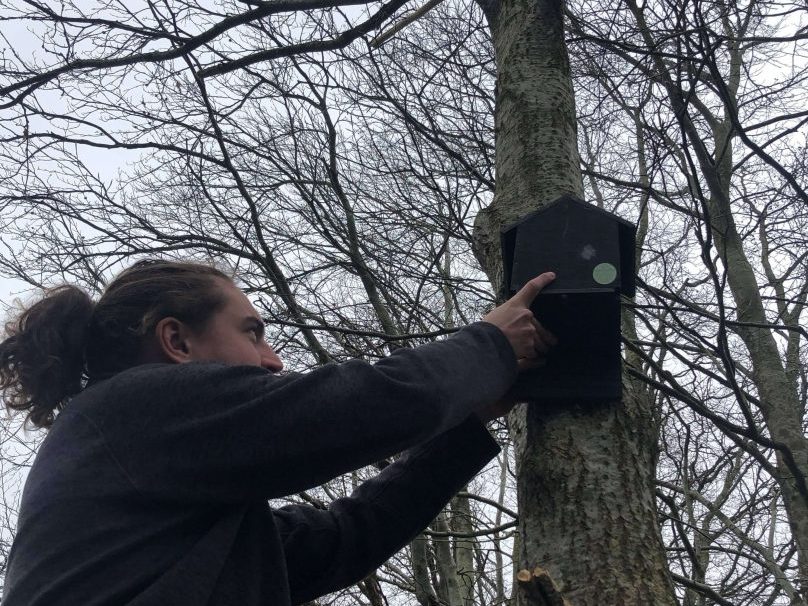
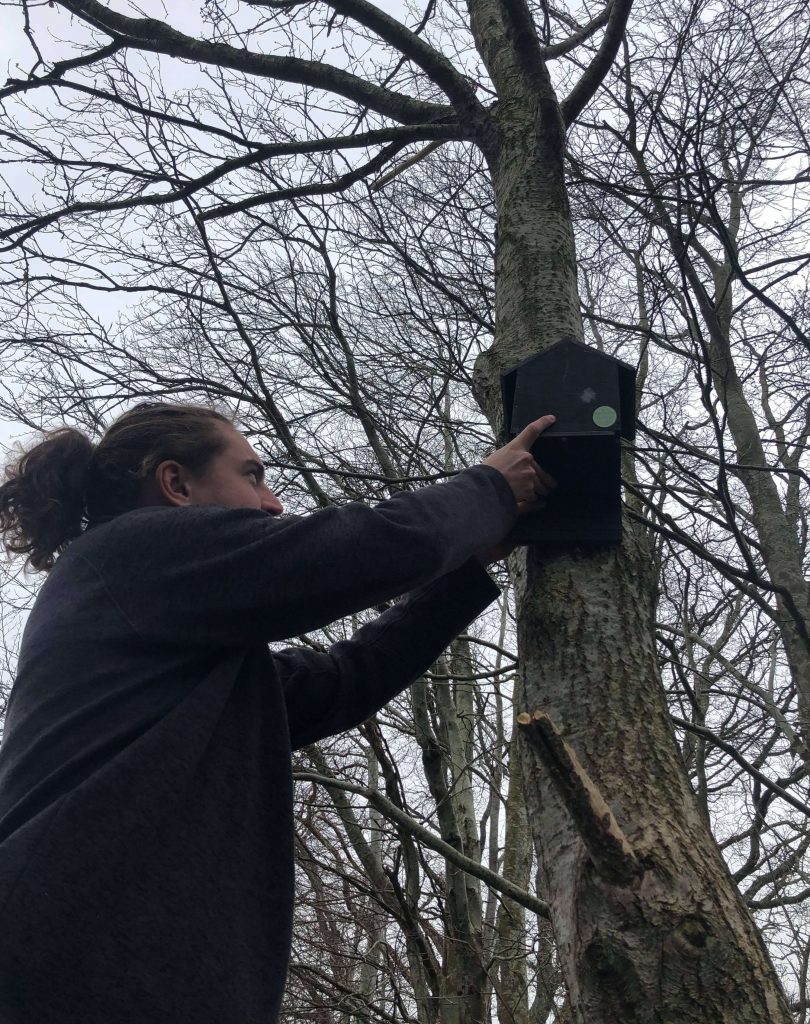
We have previously looked at the where to hang and how to maintain a nest box. Now we’d like to get down to the details, and take a look at the actual process of putting the box up.

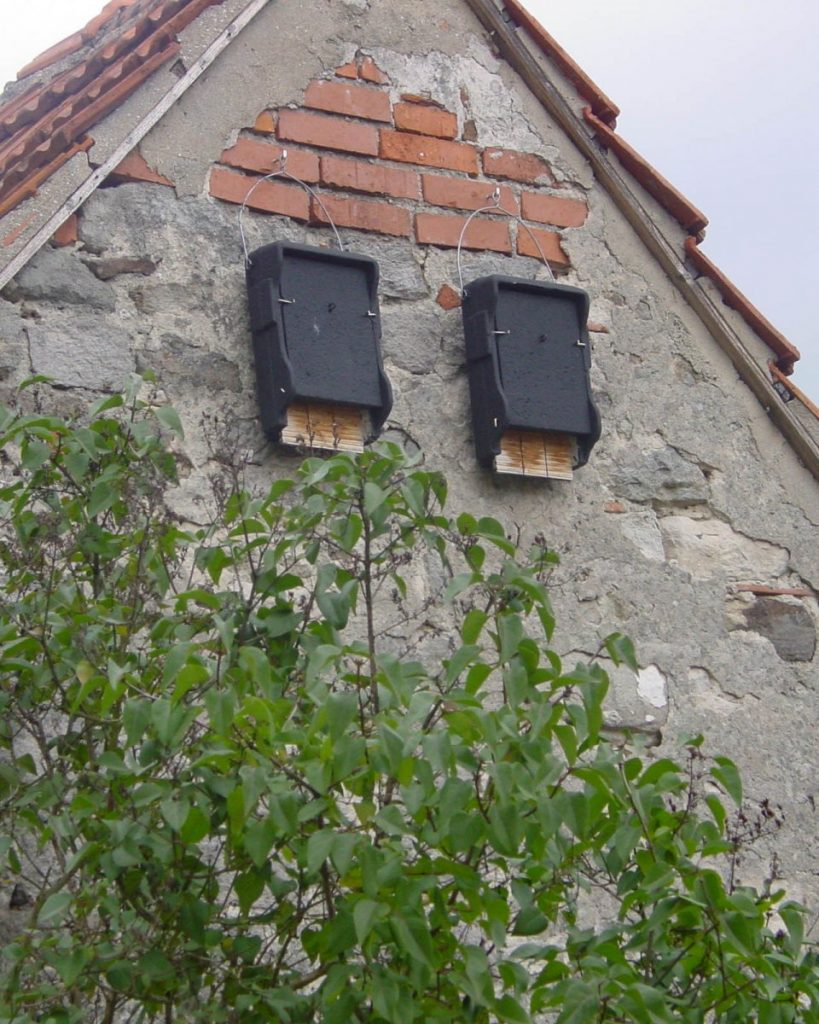
For most situations, you will want to put the box on a tree, fence or wall, so we will address each of these individually. (If you have a box that is designed to be built into a house wall or roof, then it is likely that your builder will care of this for you).

The tips below are suitable for both bird and bat boxes.


Fixing to a tree
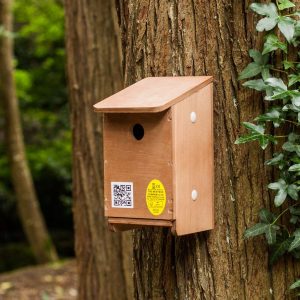
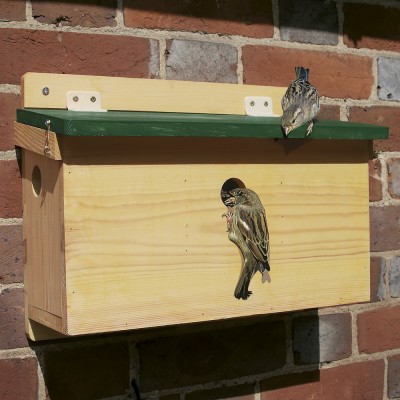
Tree Sparrow Nest Box

There are several things to be aware of when attaching a nest box to a living tree. The most important is that the growth of the tree will affect the fitting. This means that boxes should be checked at least once a year to make sure that they are still secure. A box which has fallen to the ground is of little use to birds, and one which falls down with a nest and eggs inside is disastrous.

The most common way to put up a nest box is using a strong nail which is at least 85mm in length. It is important to use aluminium nails, as these will not damage a chainsaw (or chainsaw user), should they be left in the tree when it is felled. Nylon, brass, copper and hardwood nails can also be used but steel nails should be avoided as they will quickly rust, making them difficult to adjust or remove.

Using a screw instead of a nail can also be a good option and means that you can loosen it by a couple of turns every year to compensate for the growth of the tree. Screws are more suitable for hardwood trees as they will be very difficult to adjust in softwood. Make sure that all nails or screws are removed from the tree if the boxes are taken down.

An alternative to using a nail or screw is to tie the box to the tree. Wire and synthetic twine both work well and, if boxes are tied loosely, they can be edged upwards as the tree grows. Boxes can also be hung from a horizontal branch if they come with a suitable hanger (e.g. Schwegler 1B).

Fixing to a fence
Eco Starling Nest Box

Hanging a bird box on a fence poses fewer problems than siting a box on a tree, as you will not need to worry about the wood growing. Use a strong nail or screw and check it annually to make sure that it still feels secure.


Fixing to a wall
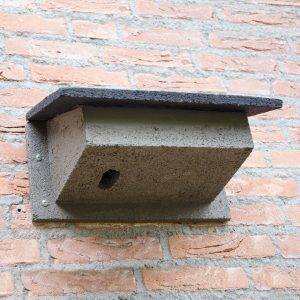
WoodStone Swift Nest Box

To fix a box to a brick wall will require a power drill with hammer action, masonry bits and a screwdriver. You will also need wall plugs and screws which are small enough to go through the hole in the box. Using the drill, make a hole which is slightly longer than your wall plug. (You can use a piece of tape around the drill bit to indicate the depth to which you need to drill). Insert the plug and then screw in the screw, first threading it through the hole in the box. Having a second person to hold the box will probably be helpful and, if you are using ladders, make sure that you take sensible steps to ensure your safety. Appropriate eye protection and clothing should always be worn.


Head over to nhbs.com for our full range of nest boxes, aluminium nails and ladders.

The NHBS Guide: Where to Hang and How to Maintain Your Nest Box

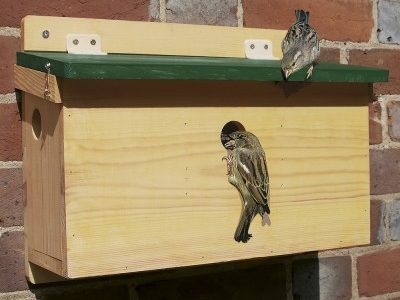
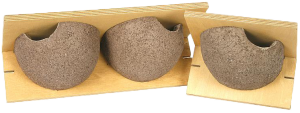
House Sparrow Terrace FSC Nest Box

There is a shortage of natural nesting sites for birds and this has played a part in the decline of some of the UK’s most iconic species. It is easy to provide nesting opportunities for birds in our gardens and outdoor spaces, however, and with spring rapidly approaching, now is the ideal time to start thinking about nest boxes for your local birds. Locating your nest boxes correctly is one of the key determinants in how likely birds are to occupy them and with this in mind we have put together some answers to the most frequently asked questions about nest boxes – covering where and when to put up your boxes, cleaning and maintenance as well as dealing with predators.

You can browse the full range of nest boxes we sell online and, if you’re keen to find out more, check out the BTO Nestbox Guide, which is packed with essential information.

When is the best time to put up nest boxes?

There really is no ‘best’ time to put up nest boxes.  By putting up boxes in the autumn you can provide much needed winter refuges for roosting birds and possibly increase the chance of them staying and nesting there when spring comes around.  However, any box erected before the end of February stands a good chance of being occupied if it is sited correctly.  Even after February there is still a chance that they will be used; tits have been known to move in during April and house martins as late as July. Therefore, put your nest box up as soon as it is available rather than leaving it in the shed!

Where should I hang my nest box?

1B Schwegler Nest Box

When it comes to nest boxes, the ‘where’ is much more important than the ‘when’.  Nest boxes must provide a safe, comfortable environment and protect the inhabitants from predators and the worst of the weather.  This may be difficult to achieve; a safe location out of reach of predators may also be exposed to the weather, so have a good think before you start bashing nails in.

Nest boxes can be fixed to walls, trees or buildings and different styles of boxes are available which are suitable for each.  Fixing to artificial surfaces means the growth of the tree does not have to be considered which is useful for Schwegler and Vivara Pro nest boxes which last for at least 20-25 years: a significant amount of time in the life of a small tree.  If you’re planning any building work, remember that some bird and bat boxes can also be built directly into walls and roofs.

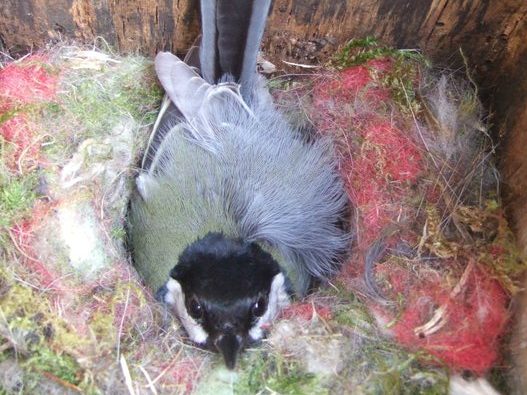
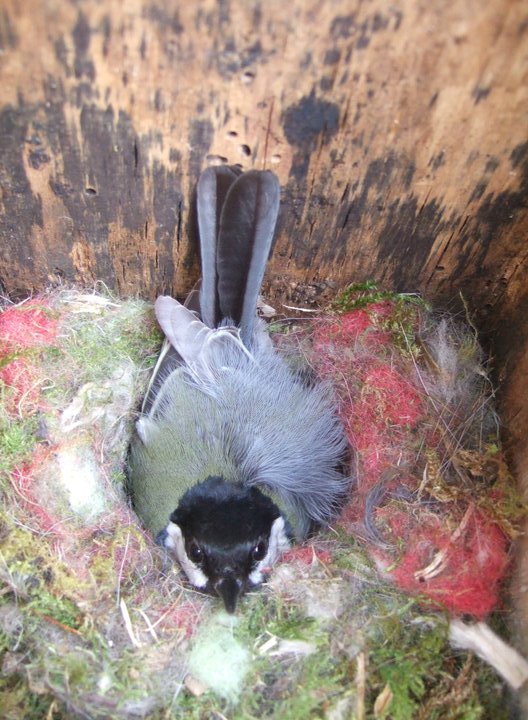
Incubating Great tit – Photo: Simone Webber

Locating boxes out of the reach of predators can be a challenge (weasels can climb almost anything), but there are things you can do to make it harder for them.  Boxes in gardens should be located where cats cannot get to them and prickly or thorny bushes can also help to deter unwanted visitors. Some nest boxes also have anti-predator designs (e.gSchwegler’s 1N deep nest box).  It is best to avoid nest boxes that have a combined bird feeder and boxes should not be sited too close to the bird feeders in your garden. Visitors to the feeder may disturb the nesting birds and the feeder could attract unwanted attention from predators.

For many species the height of the box is not crucial.  However, by placing it at least two metres off the ground you can help prevent predators and human interference.  The direction of the entrance hole should be away from the prevailing wind and it is beneficial for there to be a clear flight path to the box.  Crucially, the box should be also be sheltered from the prevailing wind, rain and strong sunlight, so in most UK gardens aim for an aspect of northerly, easterly or south-easterly.  If possible, position the box with a slight downward angle to provide further protection from the rain.  Some species do have specific requirements for where a box should be sited (e.g. house martins and swifts nests need to be sited under the eaves); please see our product details for particular instructions for different species. Wherever you position the box, try to ensure that you can still get access to it for maintenance.  And finally, if possible, try to put it somewhere where you can see it, or invest in a nest box camera, so as to maximise your enjoyment of watching wild birds in your garden.

Is there anything else I can do to deter predators?

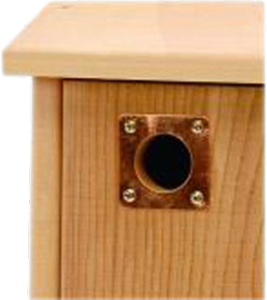
Entrance hole protection plate

As already mentioned, location is the most important factor when trying to deter predators.  Whilst some mammals can climb walls, a blank wall is fairly inaccessible so can be a good choice.  Ensure that the box cannot be reached by a single jump from a nearby branch or the ground.

Box design can also help deter predators.  An entrance hole reinforced with a metal plate will prevent grey squirrels and some avian predators from enlarging the hole and gaining access to the nest.  Woodcrete and WoodStone boxes are too hard for any predator to break through.  However, you can also reinforce a nest box yourself with metal protection plates or provide additional protection with prickly twigs.  Deep boxes may prevent predators reaching in and grabbing nest occupants, although some tits have been known to fill up deep boxes with copious quantities of nesting material.  If using open-fronted nest boxes, a balloon of chicken wire over the entrance can work well.  If you live in an urban area, cats are likely to be the most common predator.  Gardeners have long since used various methods to exclude these unwanted visitors, such as pellets, electronic scarers and even lion dung (available from your nearest obliging zoo), all with varying degrees of success.

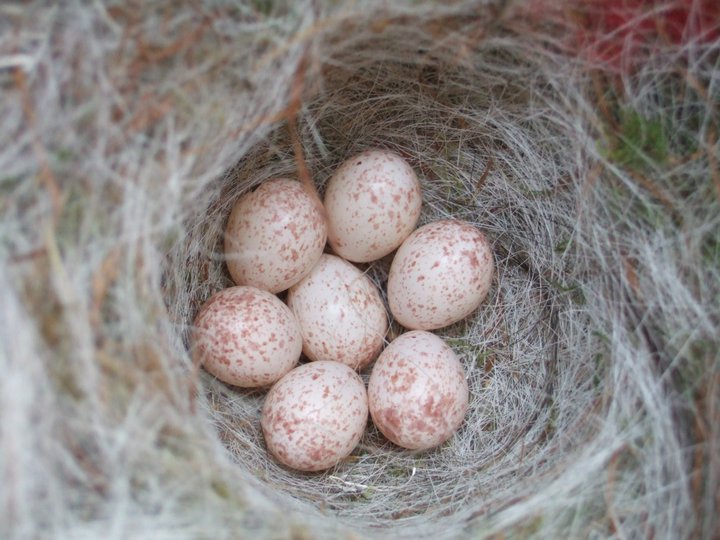
Great tit eggs – Photo: Simone Webber

How do I manage the nest box?

A well-designed nest box will only need one annual clean in the autumn. It is important not to clean out nest boxes before August as they may still be occupied.  Wait until autumn and then remove the contents, scattering them on the ground some way from the box to help prevent parasites re-infesting the nest box. Wear gloves and use a small brush or scraper to remove debris from the corners. Boiling water can be used to kill any parasites remaining in the box, but remember to leave the lid off for a while for it to try out. Do not wait until the winter to clean out nest boxes as birds may already be roosting in them. The tit species do a thorough clean out of any old nesting material or roosting debris before they begin nesting again but it will save them energy if you can help out.

How many nest boxes do I need?

House Martin Nests
House Martin Nests

The exact amount of boxes required will depend on the species and the surrounding habitat.  As a very general rule of thumb, start with ten assorted small boxes per hectare (ensure uniform spacing between boxes).  Keep adding several more boxes each season until some remain unused and hopefully you’ll hit on the correct density of boxes.  However, even if you only have space for one box it is still worthwhile, providing it is suitably located. Many UK bird species need all the additional nesting habitat they can get.

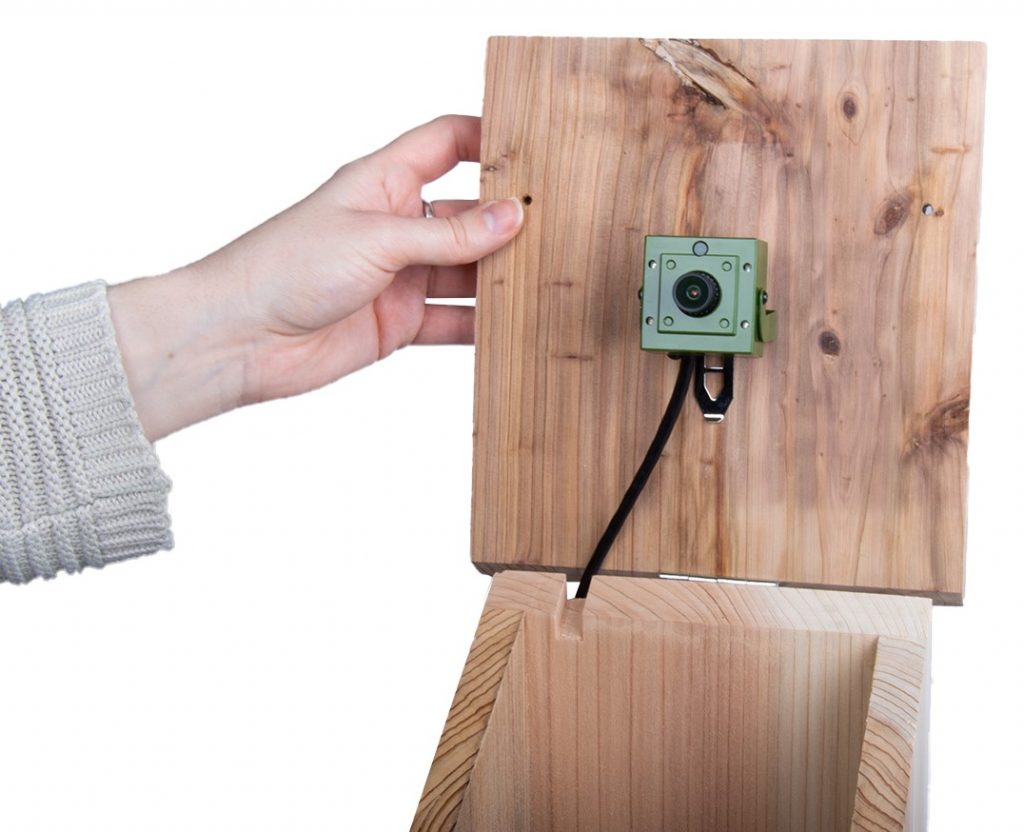
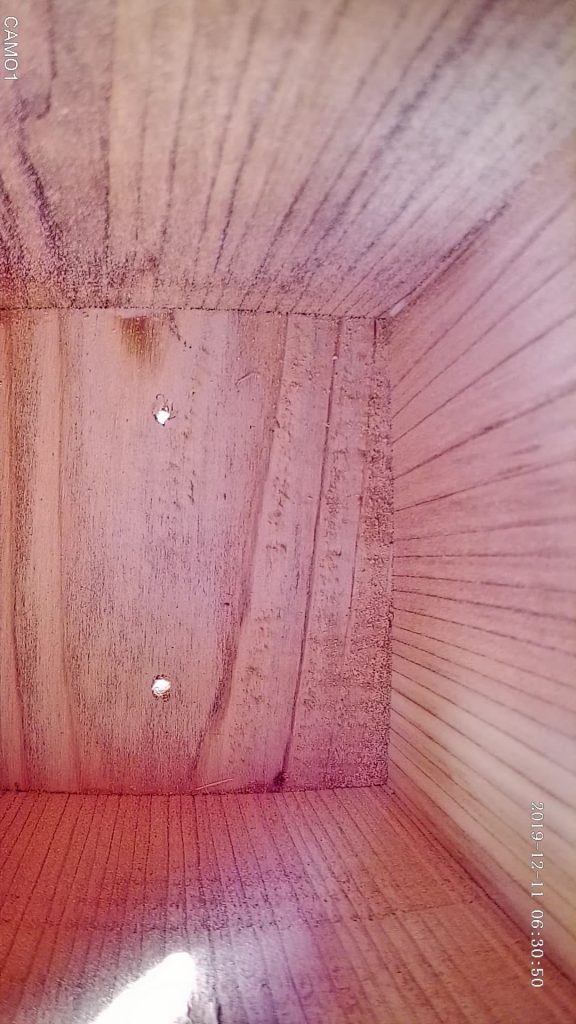
If you are interested in installing a nest box camera into one of your bird boxes, take a look at our “How to choose the right nest box camera” article, for more information on choosing the model that’s right for you.

Further information about individual nest boxes, including advice on positioning, can be found alongside each nest box in our range.  If you have any other questions or would like any further advice, then please get in touch with our team of Wildlife Equipment Specialists.


Watching Wildlife – Our New and Favourite Camera Kits

The Hedgehog camera kit

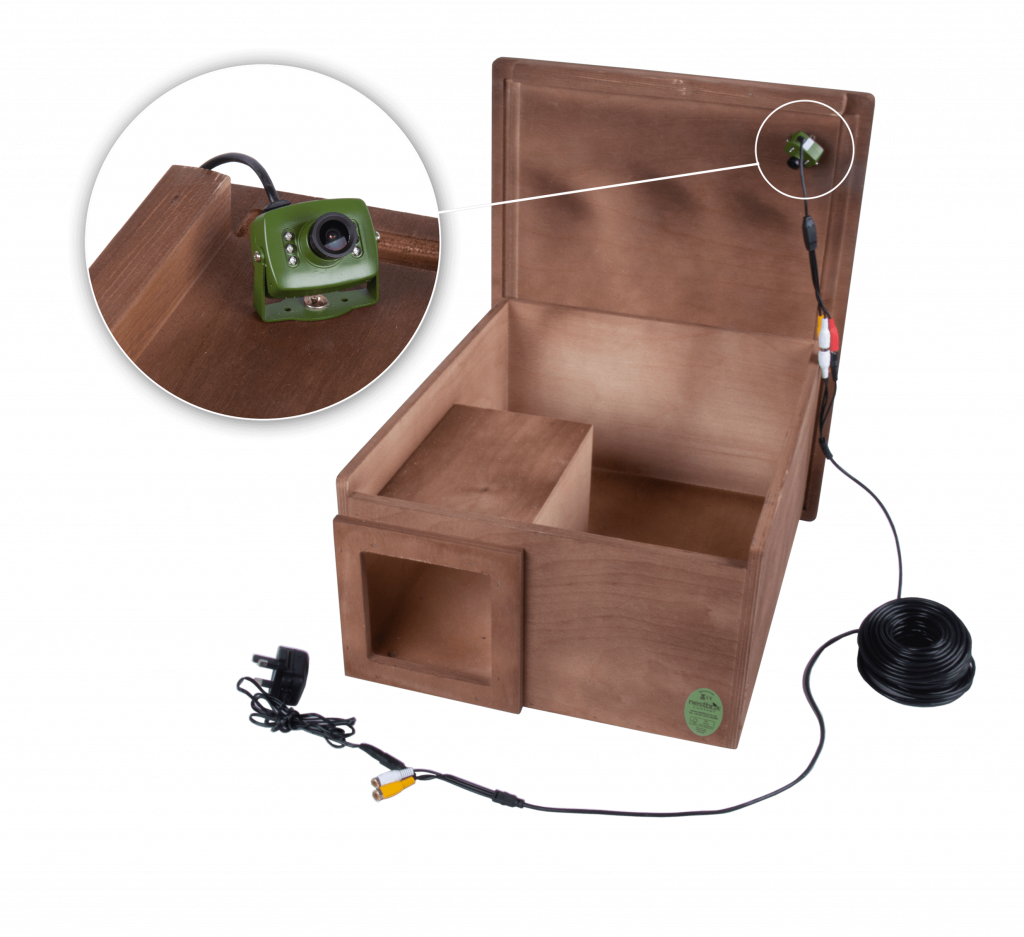
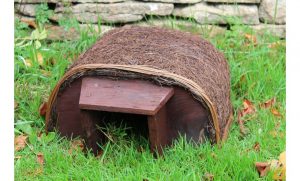
Our brand new Hedgehog Camera Kit includes a high-quality wooden hedgehog nest box, designed and tested by the Hedgehog Preservation Society. It also includes a tiny camera that can easily be screwed to the roof or side of the box with no modifications required. The camera then transmits footage from inside the hedgehog box to your TV or smartphone (3 versions are available) for you to view your hedgehogs from the comfort of your home. With the use of a USB Capture device (sold separately), you can also view footage on your computer/laptop and set the camera to record with motion detection, meaning you won’t miss a thing overnight.

If you already have a wooden hedgehog nest box and would like to attach a camera to it, please feel free to contact us for advice on 01803 865913 or at customer.services@nhbs.com.

Nest Box Camera Kit – Wired Camera

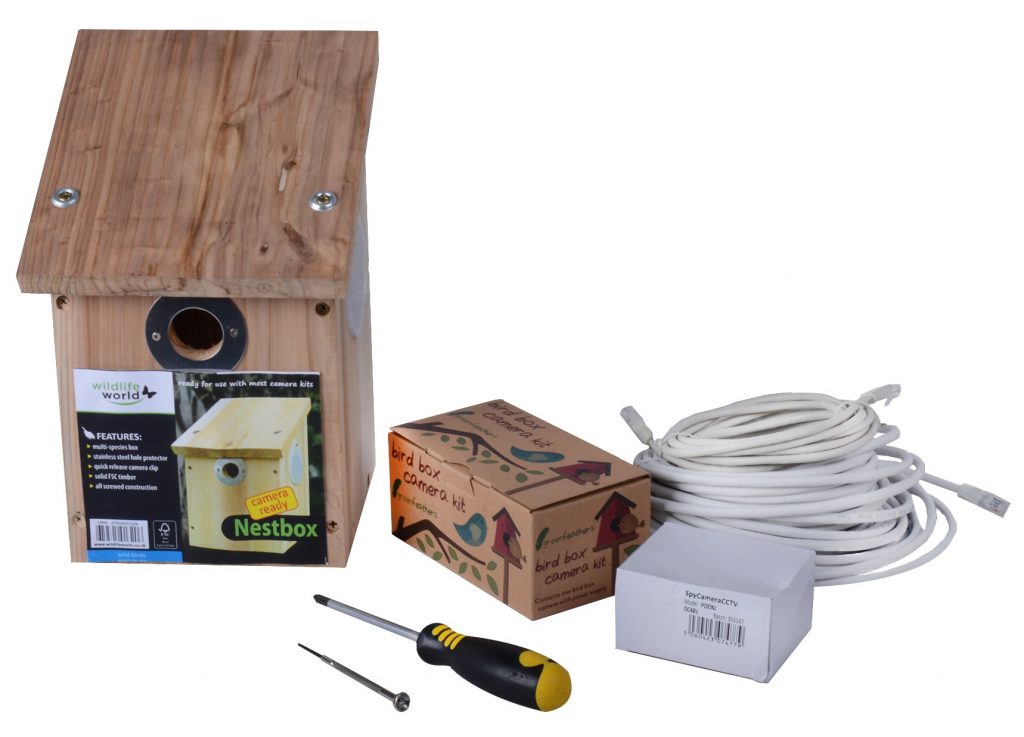
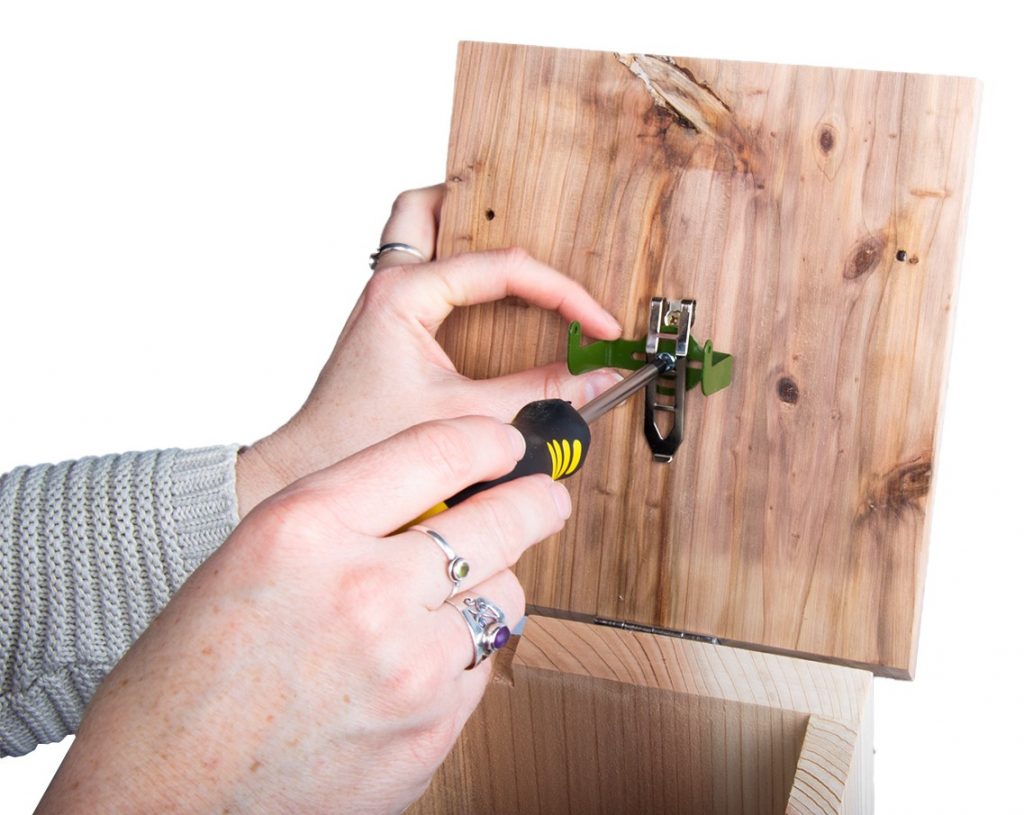
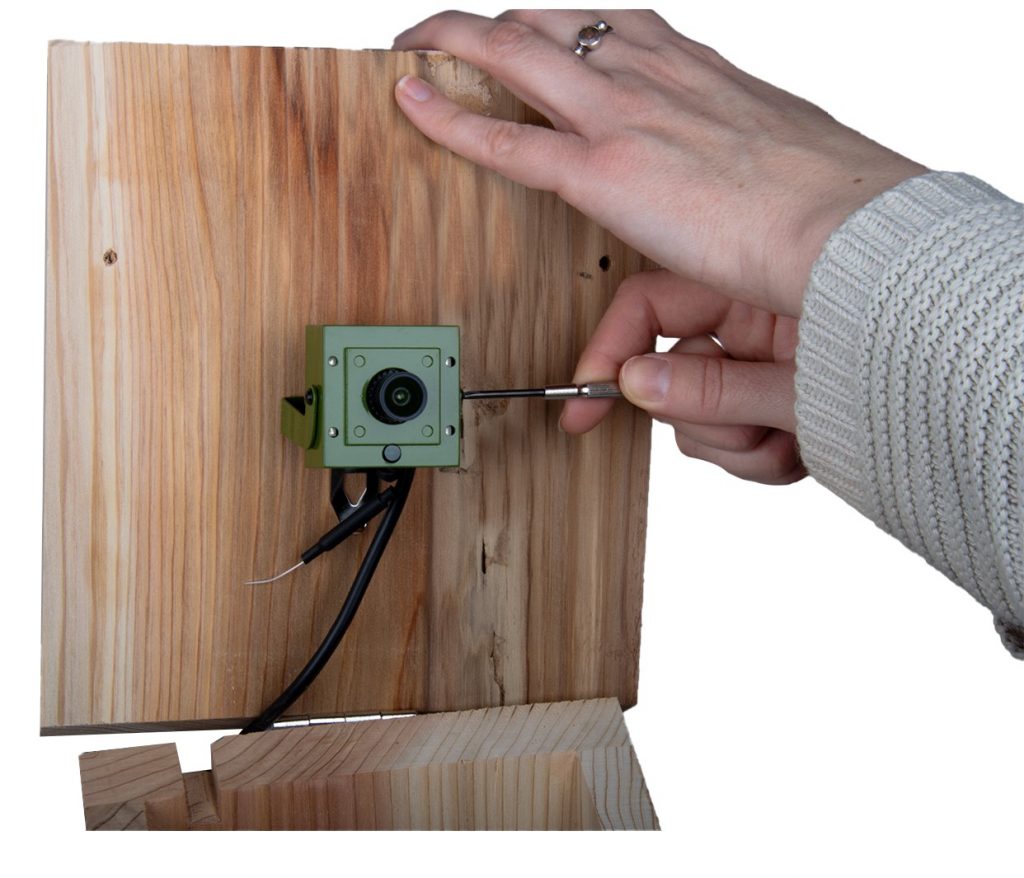
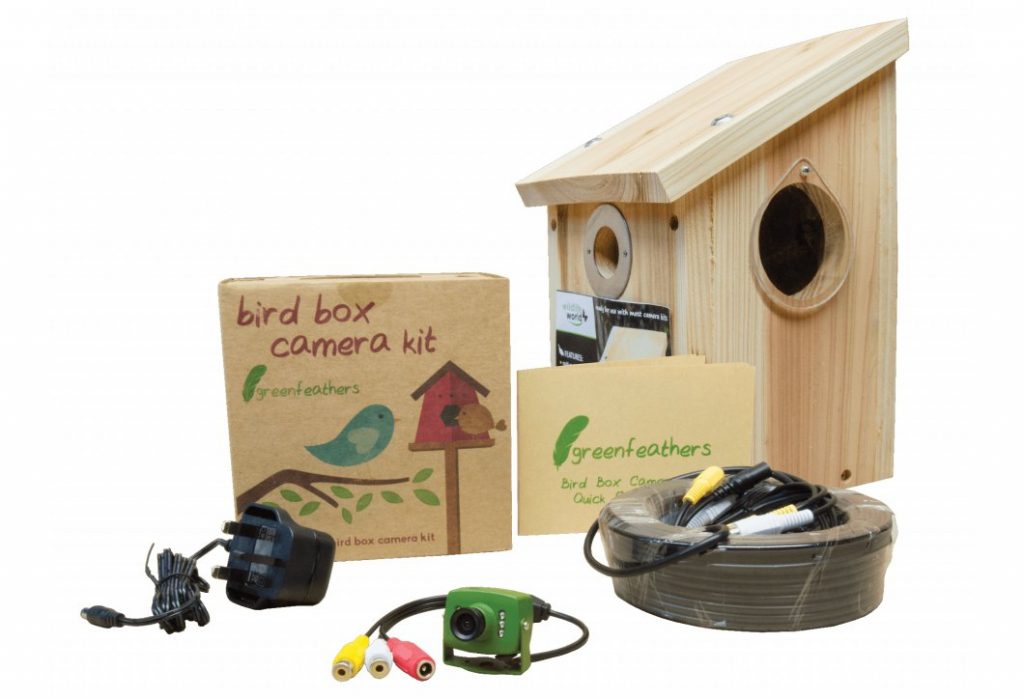
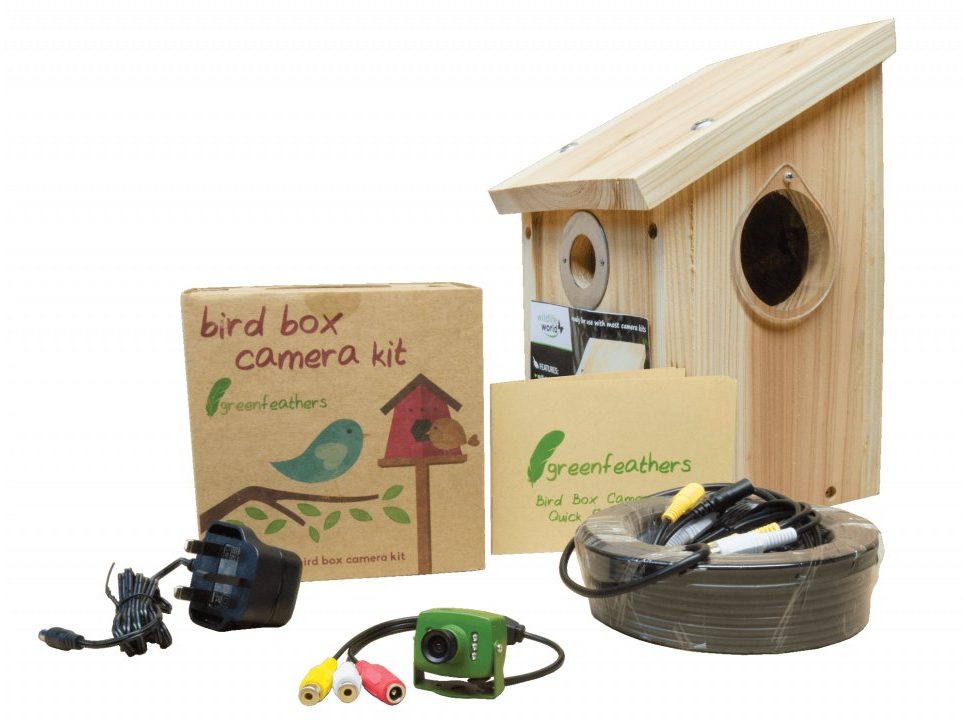
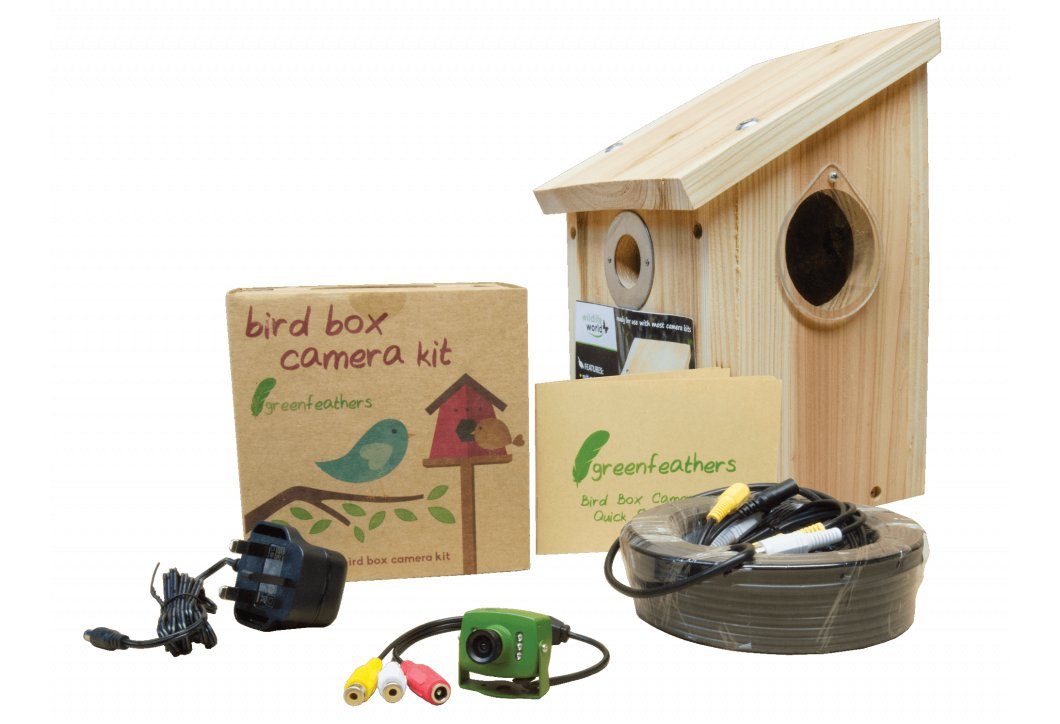
The Wired Nest Box Camera kit is a great choice if you haven’t used a nest box camera before. The kit comes with everything you need to get started, including a camera-ready nestbox. A wired camera produces reliable footage and is easy to set up following the step-by-step instructions.


IP Nest Box Camera

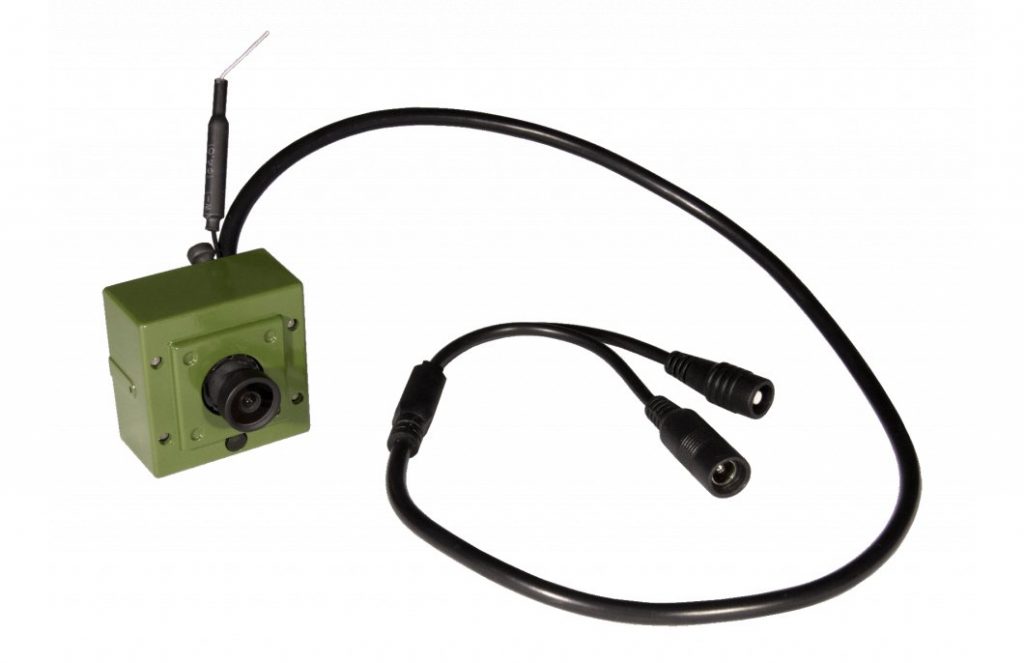
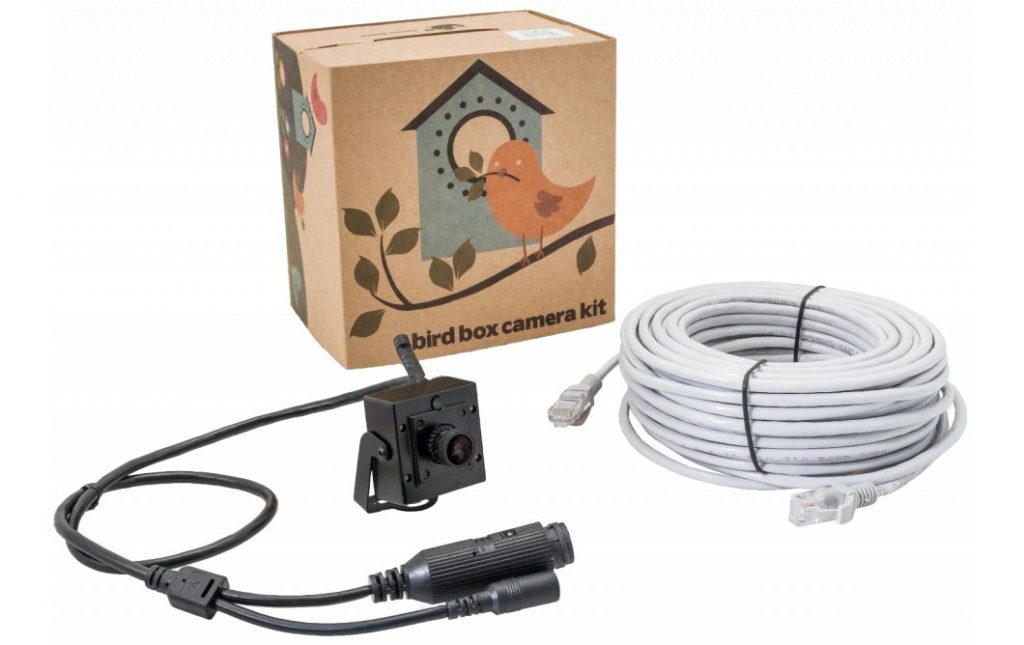
For those who have used nest box cameras before, or want more from their camera, an IP nest box camera is a good next step. With a bit of setup, you can livestream the footage from this camera to anywhere in the world.


Bushnell NatureView Live View

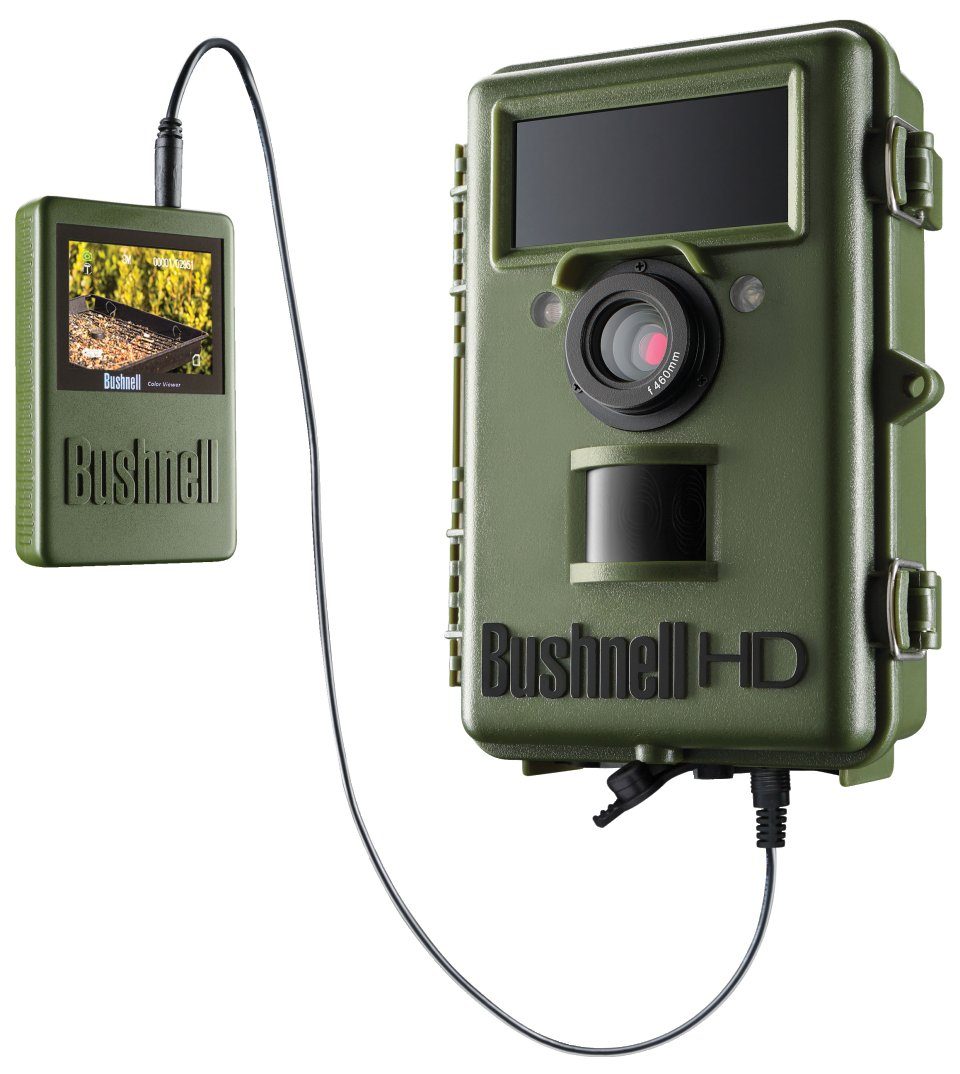
A NatureView Live View is a great camera for garden wildlife. It features a plug-in screen that helps you get your camera positioned correctly when setting up, and also comes with 3 close focus lenses for when you would like to record smaller animals such as birds or small mammals. It features a quick 0.2 second trigger speed and takes 14MP with 1920 x 1080p footage.


Browning Dark Ops Pro X 20MP

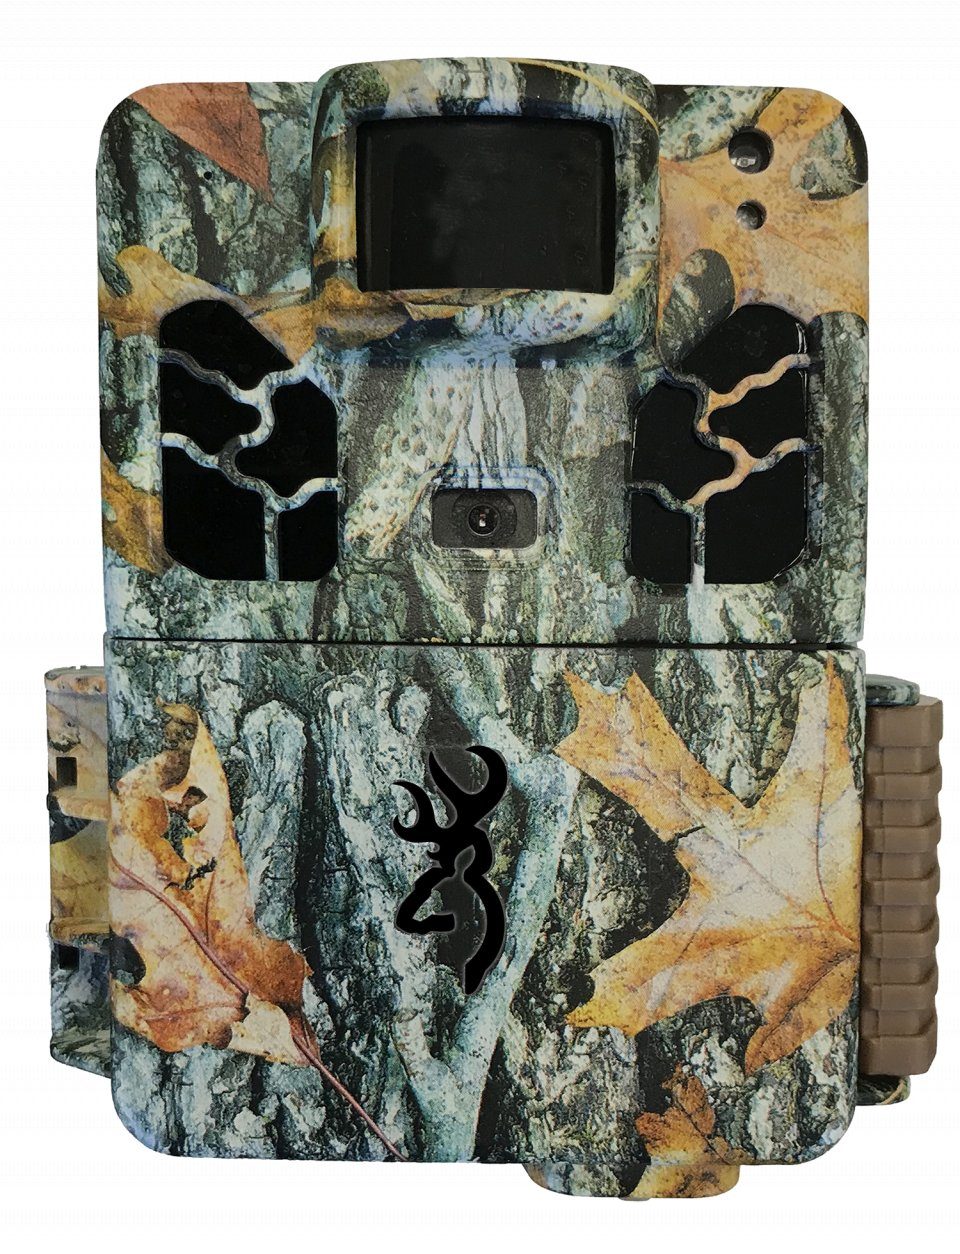
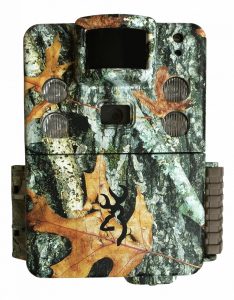
Browning’s Dark Ops Pro X 20MP is another great trail camera with some impressive specifications for its price. It records HD videos (1600 x 900 HD+) and 20MP images and has a 0.22 second trigger speed – great for capturing faster wildlife such as foxes or deer. It also features a built in viewing screen for easy setup and No-Glow IR LEDs that are invisible to humans or wildlife.

Starter Bundles

If you are looking to buy a trail camera and want to start capturing images and videos as soon as it arrives, then you may want to take a look at our starter bundle options. These bundles come with a memory card and batteries to ensure you have everything you need to get started.

Would you like some more advice on which trail camera or nest box camera is most suitable for you? Contact us on +44 (0)1803 865913 or email customer.services@nhbs.com . Alternatively, reply below and we will get back to you.

Autumn Hedgehog thoughts

Three’s a crowd?

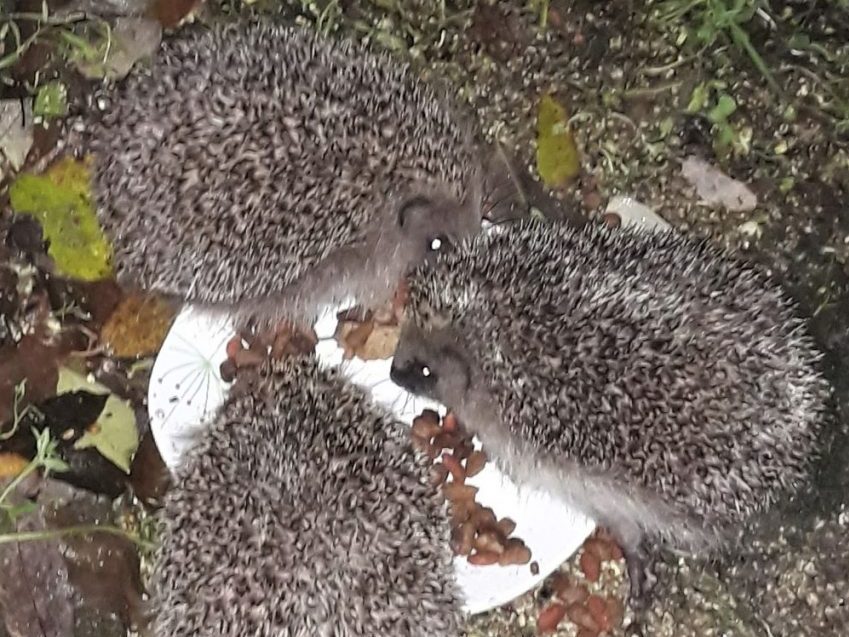
The noise that a hedgehog makes when crunching dried cat food is surprisingly loud… and when you have two or three sharing the same plate, as I sometimes do, they produce quite a din! Such a din in fact that I can hear their munching and squabbling from my bedroom window – even with the windows shut. But what a satisfying racket! It is a real privilege and a delight to have hedgehogs using your garden. By feeding them and making your garden hedgehog friendly you can take comfort in the knowledge that you are doing your bit to help these beleaguered animals.

In the 1950s, there were possibly as many as 30 million hedgehogs living in the UK, but today there could be as few as 522,000 – that’s a reduction of 97%. Suggestions as to why the population of these enchanting animals has taken such a nose dive include: the intensification of agriculture and the loss of hedgerows (which are important wildlife corridors), the alarming decline of the invertebrates on which hedgehogs feed (almost certainly due to the use of pesticides) and another, perhaps surprising factor, is predation by badgers. It turns out that wherever badgers thrive hedgehogs struggle, especially in areas where there is limited cover. Moreover, we are sadly all too familiar with the sight of squashed hedgehogs on our roads and it is thought that many thousands meet their end in this way each year. Although hedgehogs are very urbanised, their road safety skills remain poor!

Hedgehogs are also struggling with the current trends of homeowners who are turning their gardens into “garden rooms”. By covering our gardens in decking, patio, artificial lawn or tarmac we are reducing their wildlife value including foraging opportunities for the hedgehog. The erection of impenetrable garden fencing only adds to the problem because it does not permit egress from garden to garden. Hedgehogs may roam about 2km and visit up to 20 gardens every night to seek out food sources.  Although surveys suggest that urban hedgehogs might actually be doing better than their rural cousins – these current gardening fashions are not doing anything to promote their cause. Our most popular mammal favours an untidy garden with fences full of holes.

So, what can we do to help the hedgehog?  As I write this blog we are marching through autumn, but hedgehogs are still out and about, trying to put on weight for hibernation. November 5th is approaching and this is a dangerous time for hedgehogs as they often seek shelter within bonfire piles, so please check for hedgehogs before setting yours alight.

You and your garden can become hedgehog friendly by just providing some or all of the following:

  • Make sure that hedgehogs can gain access in and out of the garden. Holes in fences only need to be 13cm square and they will soon be found and used on a regular basis. If you want to neaten off the hole, then consider the Eco Hedgehog Hole Fence Plate which is made from 100% recycled plastic and available at NHBS.
  • Include compost heaps and overgrown areas in your garden as these are a great source of invertebrate prey
  • Do not use slug pellets and pesticides in your garden.
  • Provide a water source for hedgehogs such as a pond with a gently sloping edge, or a simple bowl

    Hedgehog House
  • Provide areas where hedgehogs can spend the daylight hours, hibernate and even produce their young. This can be a simple wood or leaf pile, or if you prefer you could purchase a hedgehog house or shelter of which there is a large range of choices within our catalogue and on the website
  • Make hedgehogs safe; as well as checking your bonfire piles, be careful with the use of lawn mowers and strimmers and make sure that netting cannot cause entanglement – for example, the bottom edge of fruit netting can be raised from ground level.

Of course, hedgehogs also appreciate some help in food sourcing and are quick to make use of our generosity. Feeding becomes particularly important in periods of pro-longed dry weather (such as we had this year) when soft-bodied invertebrates like slugs, snails and earthworms are less likely to be at large. It is also important to put out food towards the end of summer and beginning of Autumn when late born hoglets need all the help they can get in putting on enough fat to sustain them through the winter months. It is worth remembering that a hedgehog needs to weigh about 600g at the start of the hibernation period in order to survive until the following Spring.

Feed hedgehogs on wet or dry cat food and this can be supplemented with items like sunflower seeds, nuts and live or dried mealworms (Please feed these in moderation to ensure a balanced diet). There are also proprietary brands of hedgehog food available which provide a good balance of the nutrients that they need. But never put out bread and milk! Hedgehogs are intolerant to lactose and bread doesn’t provide the nutrition they need.

Hedgehog Bowl

Put the food out in a bowl or saucer in the same place every night and hedgehogs will soon learn where it is located. Of course, this food may also be found by neighbourhood cats and foxes, so you could try to protect the food by placing it within a shelter.

Browning Strike Force HD Pro X

It is great fun to put out a trail camera positioned near the food source so that you can obtain images and videos of your garden visitors – this is how I discovered that at least three visited my garden!

As winter sets in be on the lookout for hedgehogs that are out and about in daylight. An animal that is showing this unusual behaviour is likely to be a late autumn born youngster and probably starving. These animals need help and should be taken in and fed. It is best to contact your local wildlife hospital or rehabilitation centre for advice in this situation.

Hedgehogs are fantastic little mammals whose ancestors first appeared on this planet at least 52 million years ago. By giving some thought to the ones in your garden you can take comfort in the fact that you are contributing to their continued survival. It is very rewarding to have hedgehogs in your garden and certainly worthwhile putting up with their noisy nocturnal snacking.


The NHBS Guide to Bat Detecting for Beginners

How to watch bats

Watching bats can be a fascinating and rewarding hobby. If you want to go out and watch bats yourself, you may not have to travel as far as you think. Bats live all over the UK in the countryside, towns and cities. Head down to your local patch of woodland, park or even your own back garden around sunset and watch the sky. Some bats fly quite high in the sky around the tops of trees, others fly lower, even at eye level. If you have a large pond, river or lake nearby, watch the surface of the water and you might see a Daubenton’s bat skim across the surface catching insects. Warm, dry and relatively still nights are best when it comes to bat watching. You are more likely to see bats around sunset and sunrise and they can be seen between March and October. 

An Introduction to Bat Detectors

To really immerse yourself in the world of bats, it is worth using a bat detector.

Bats use calls for communication, navigation and hunting but these are at frequencies above that of most human hearing. So even if you’re watching dozens of bats above you, you’re unlikely to be able to hear their calls. Bat detectors are devices that convert these ultrasonic calls into audible sounds and because different bat species call at different frequencies, bat detectors can even help you identify which bat is calling. Bat detectors are great fun to use and can help you learn a lot about bats. There are several different types of bat detectors on the market, at varying prices and with varying features. We’ve highlighted some of our favourite, entry-level bat detectors below.

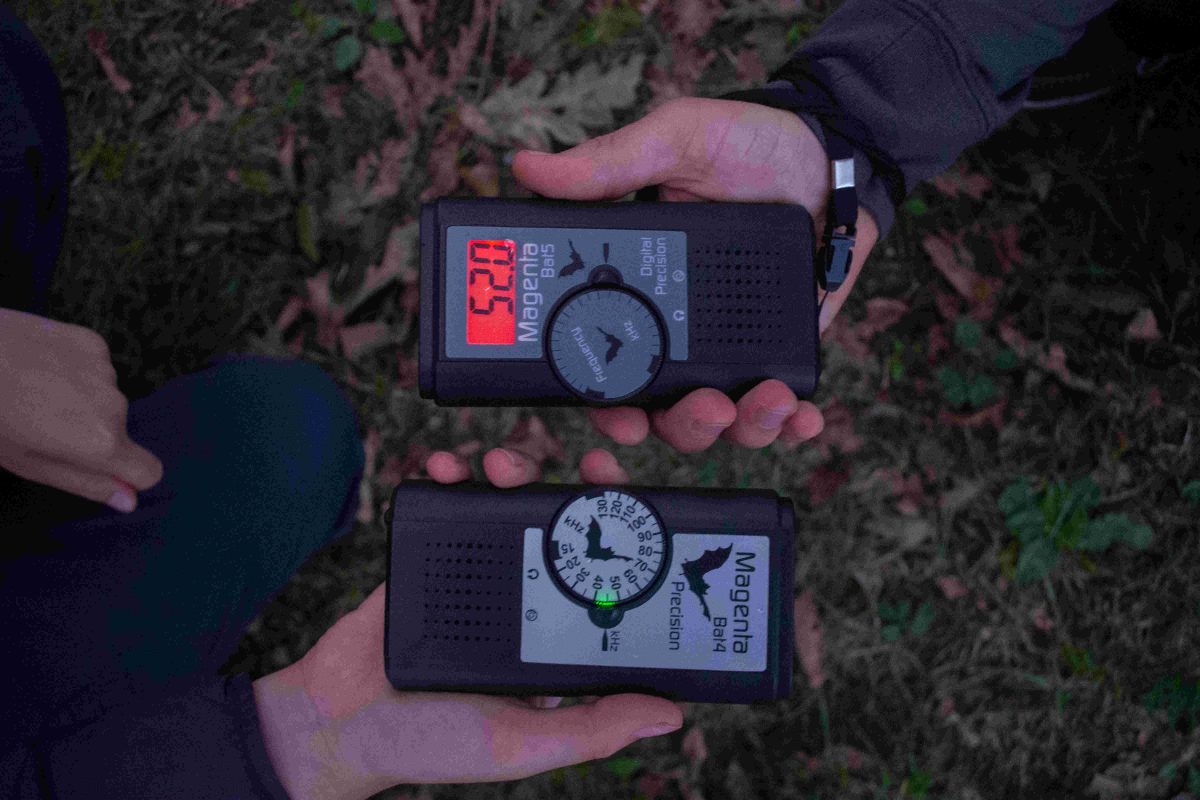
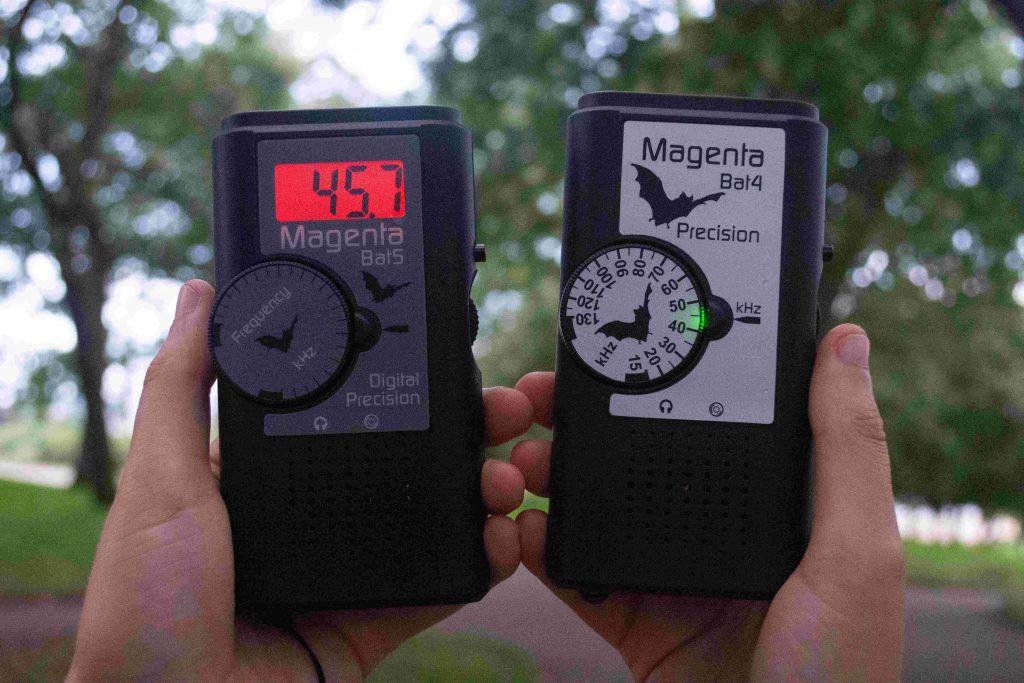
Magenta 4 & Magenta 5 – Heterodyne

Our most popular range of beginner detectors are the Magentas. The Magentas are incredibly easy to use with a frequency dial to allow you to tune to a certain frequency, a front-facing speaker so that you can hear the converted bat calls, and a volume dial. They use a method of call processing called Heterodyne which works by tuning to one frequency at a time. The only difference between the Magenta 4 and the Magenta 5 is that the 5 has a digital display of the frequency that you are tuned to whereas the 4 has the frequencies on the tuning wheel which is lit by a small light. You can use Magentas with headphones and even record the outputted calls with a recorder (available separately).

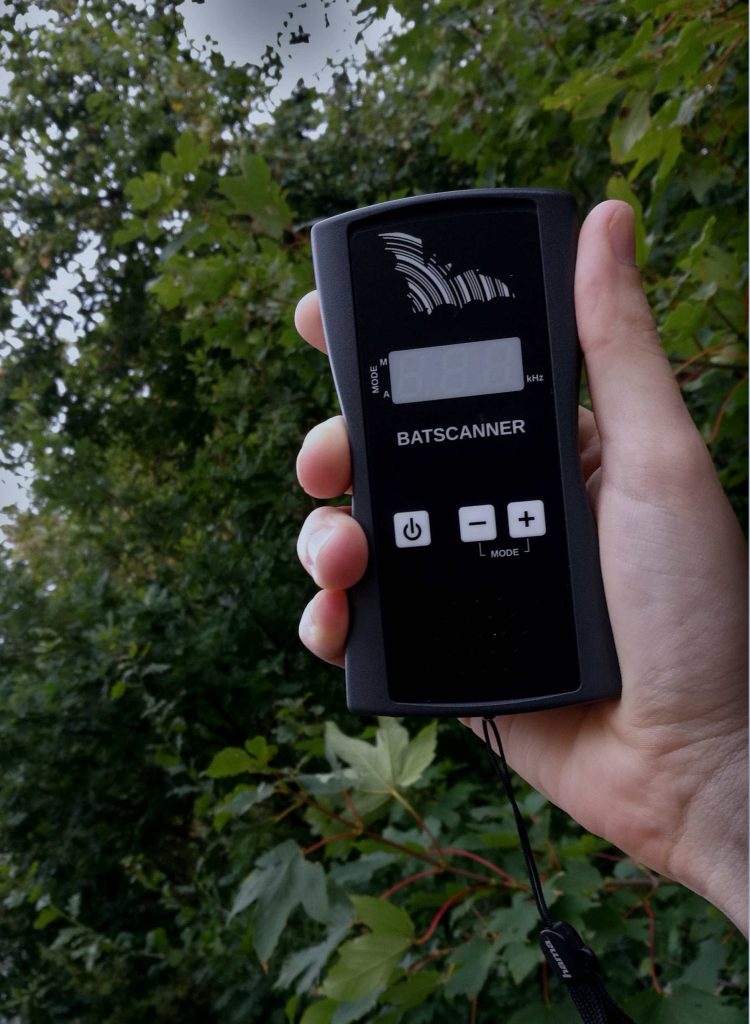
Batscanner – Super-Heterodyne

The Batscanner is one of the easiest detectors to use, automatically scanning the whole frequency range and adjusting accordingly when it detects a bat, displaying the peak frequency on the digital display. This means you don’t have to tune anything and you won’t miss a bat because you’re tuned to the wrong frequency. The call output is clear and the Batscanner intelligently filters out non-bat low frequency calls giving you a clean, noise-free output.

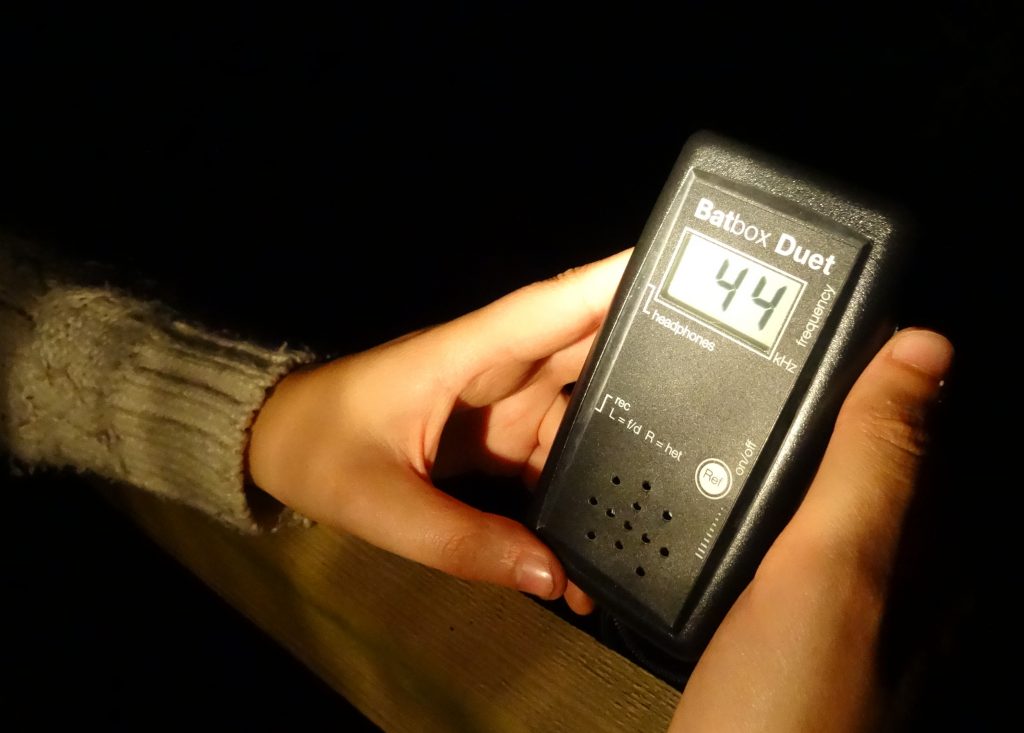
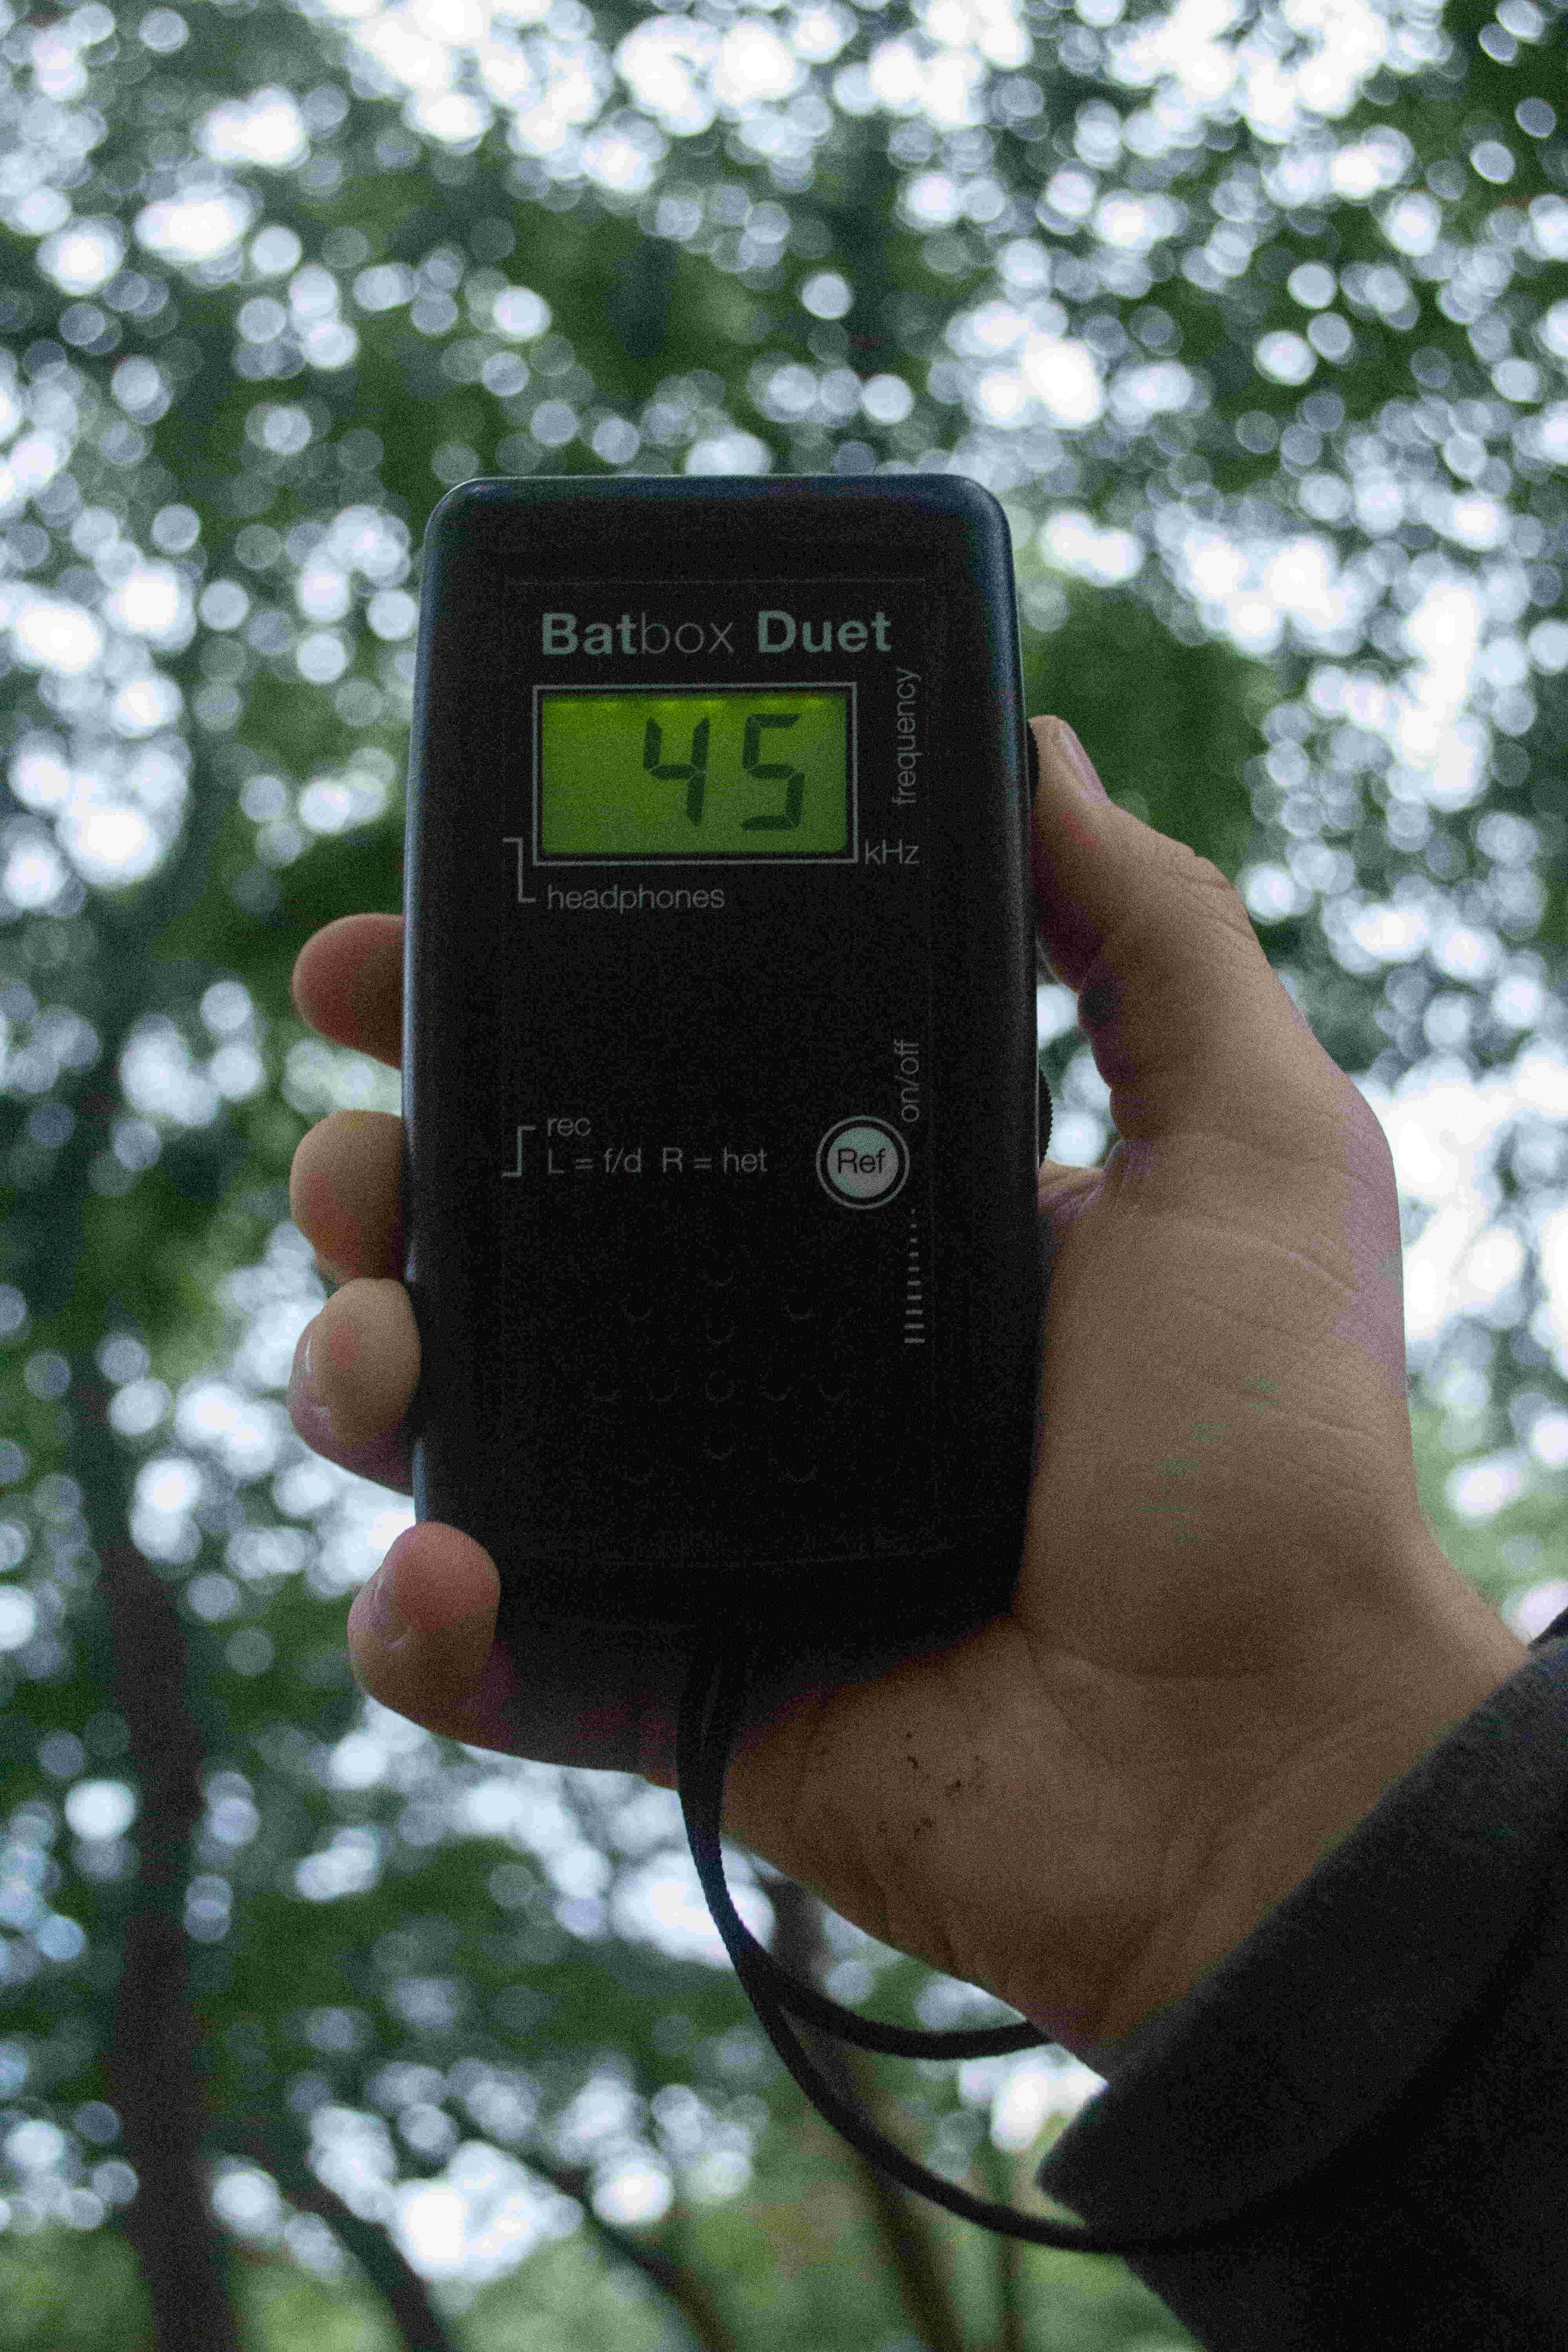
Baton & Duet – Frequency Division

The BatBox Baton is perhaps even more simple to use than the Magentas, with just 1 button operation – the on/off button. You do not need to tune this detector – it will automatically detect all frequencies simultaneously as it works through ‘frequency division’, where all ultrasonic calls are divided by a factor of 10, pushing them into the human hearing range. Audio is played through the front facing speaker and when the Baton is plugged into a computer, you can see sonograms (visual representation of bat call) on the software included with the Baton.

The BatBox Duet is a similar but more sophisticated detector that is great if you want to take your bat detecting to the next level. It uses two modes of call processing: with heterodyne, you can tune the detector with the frequency dial and this is displayed on the backlit screen, much like a Magenta, but the detector also processes the ultrasonic sounds in frequency division mode and this can be captured using an audio recorder (available separately).

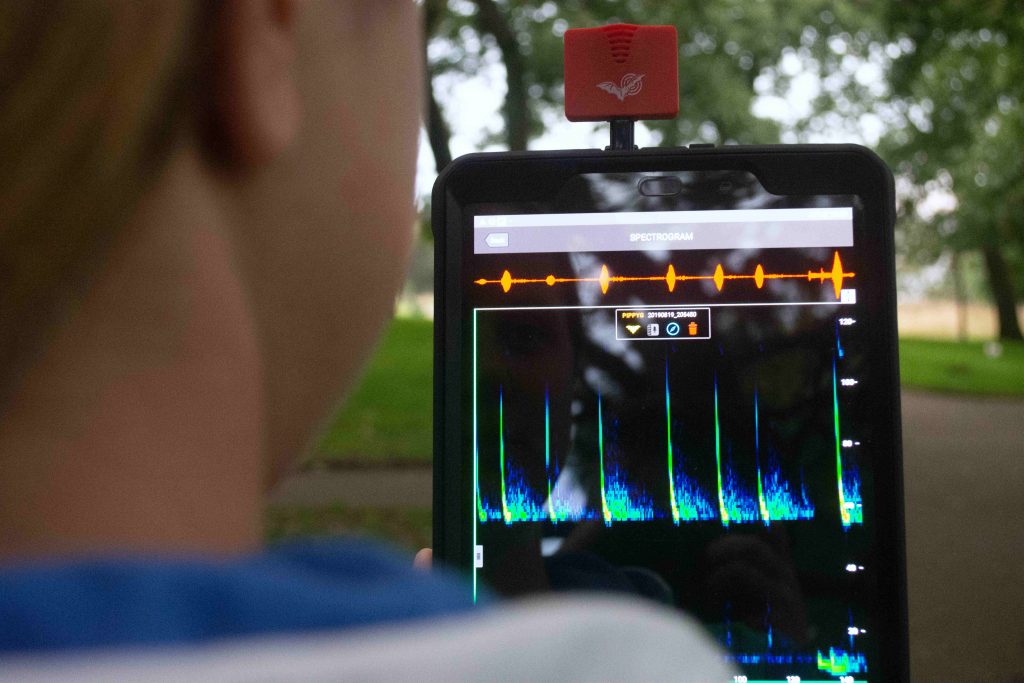
Echo Meter – Full Spectrum

The Echo Meter is a completely different type of bat detector but one that is very popular and has many amazing features, ideal for all levels of bat enthusiasts. It plugs into a compatible phone or tablet and with the help of a free app, turns your phone/tablet into a fully functional bat detector. The app displays live sonograms of bats and an intelligent algorithm identifies the most likely bat species based on the calls, all in real-time. The app can GPS tag your sightings and you can record, replay and download bat calls.

How can I help bats?

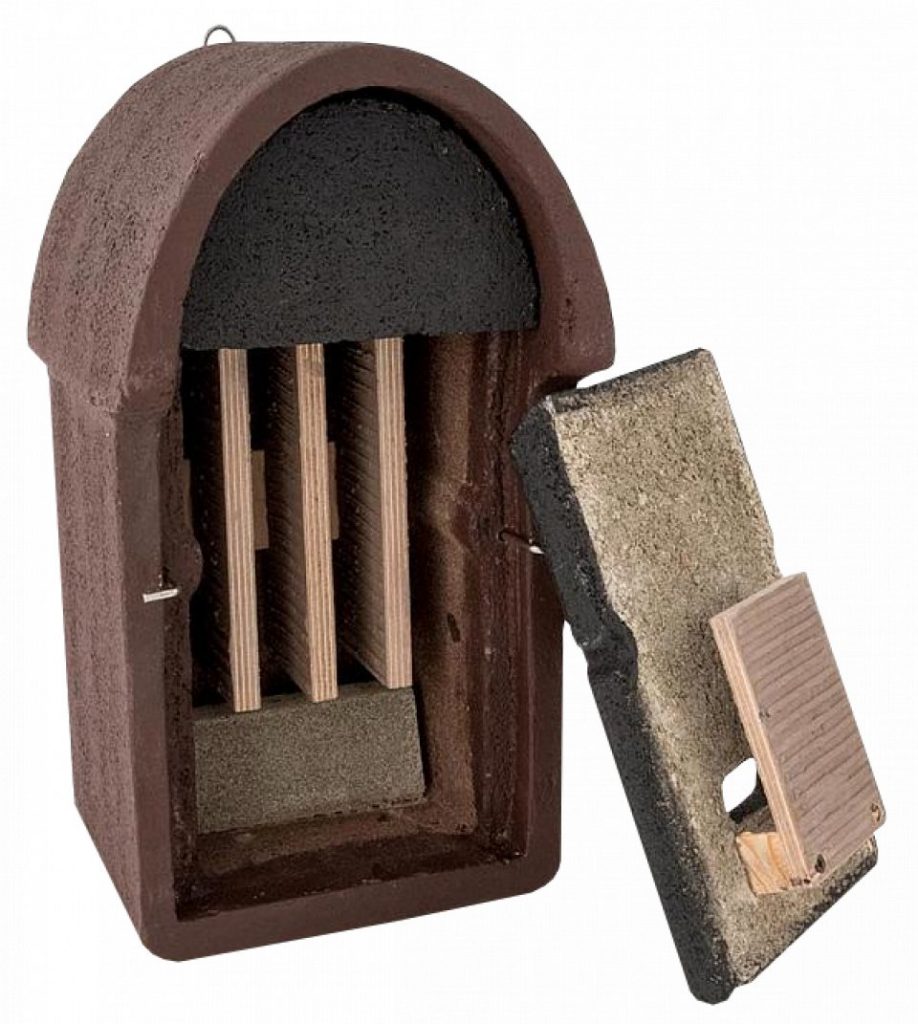
It is easy to encourage bats into your garden and there are many things you can do to help your neighbourhood bats. Have a read of our guide to helping your local bats for some ideas and inspiration. Things like putting up a bat box can help tremendously. It is often recommended to use wood concrete boxes which are made from a mixture of wood fibres and concrete. They are durable and they provide improved thermal insulation which benefits roosting bats. You can choose between cavity and crevice bat boxes based on the species you are trying to attract, for example, common pipistrelles prefer to roost in crevices.

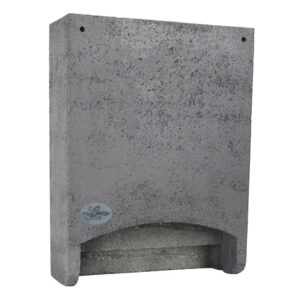
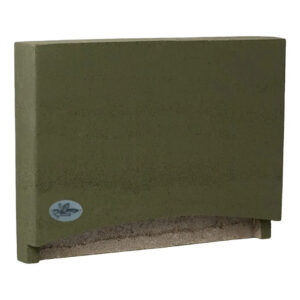
The Lela Bat Box and the Gabriella Bat Box are wood concrete bat boxes designed to provide roosting space for a variety of crevice dwelling species. The Lela has two internal crevice chambers and the Gabriella contains one extensive single compartment.

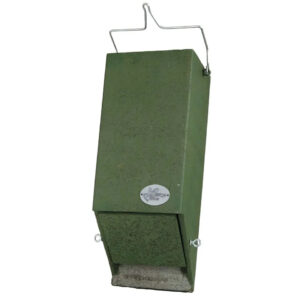
The Isabella Bat Box is perfect for those cavity dwelling spcies you may want to encourage.


Other useful equipment and books

Listed below is some great kit and books to get you started or develop your knowledge on bat detecting and bat watching:

DIY bat detector

This DIY Bat Detector Kit has everything you need to build your own heterodyne bat detector. It is easy to assemble and does not require any soldering skills, simply follow the 34-page manual, available in both English and German.


Zoom Handy Recorder: H1n

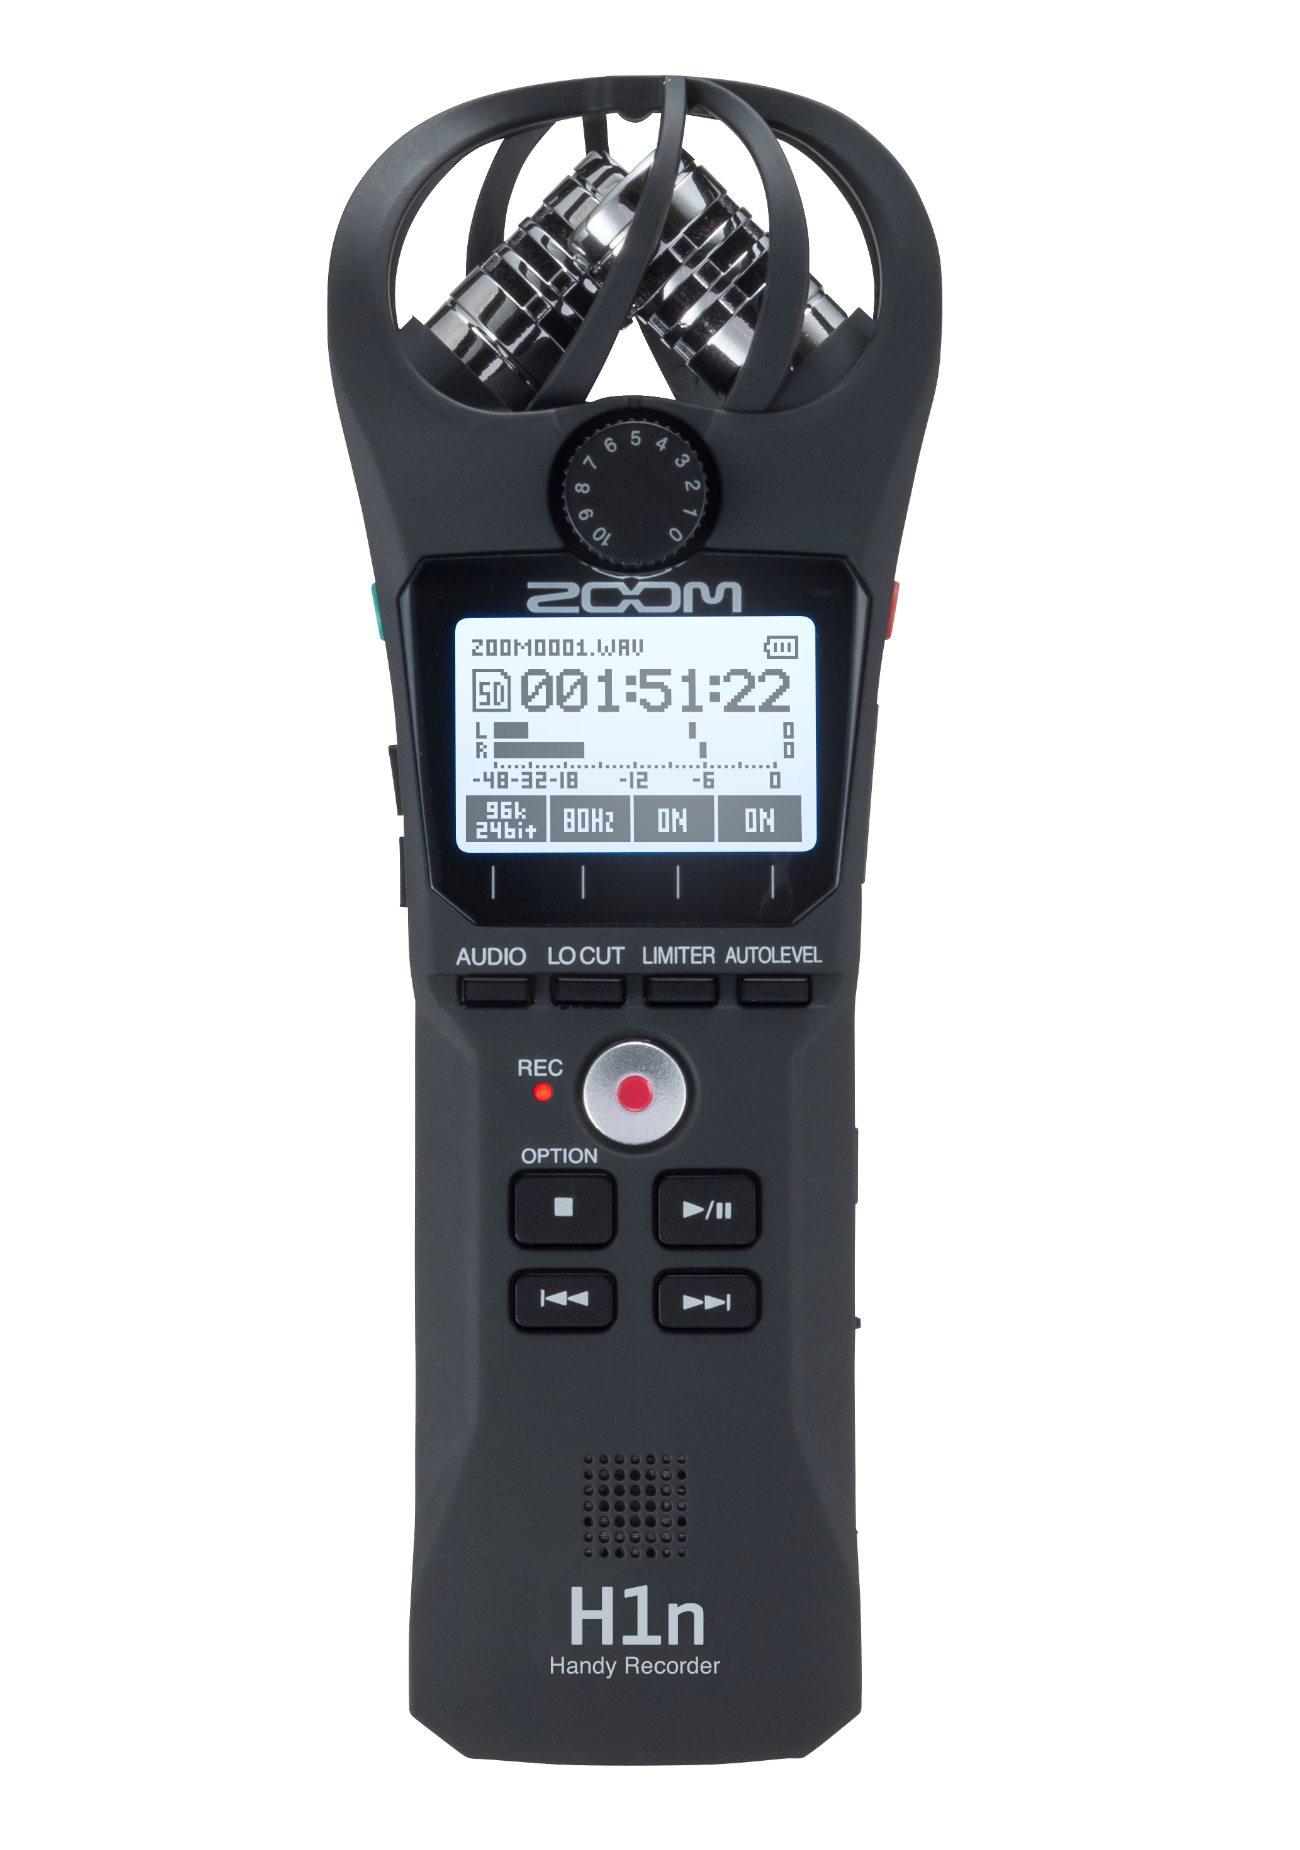
This small, handheld audio recorder is ideal for plugging into your bat detector and recording the bat calls you are hearing. Recordings are stored on an SD card and can then be viewed on a computer to analyze further.


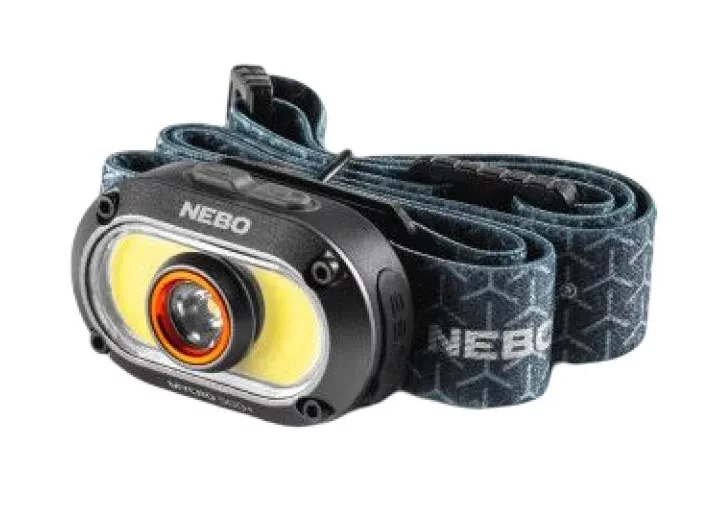
Nebo Mycro Rechargeable Headlamp

This handy rechargeable headtorch will help to keep your hands free when you’re trying to change settings or navigate in the dark. The Nebo Mycro has a bright, clean 150 lumen beam with easy-to-use mode and power buttons.


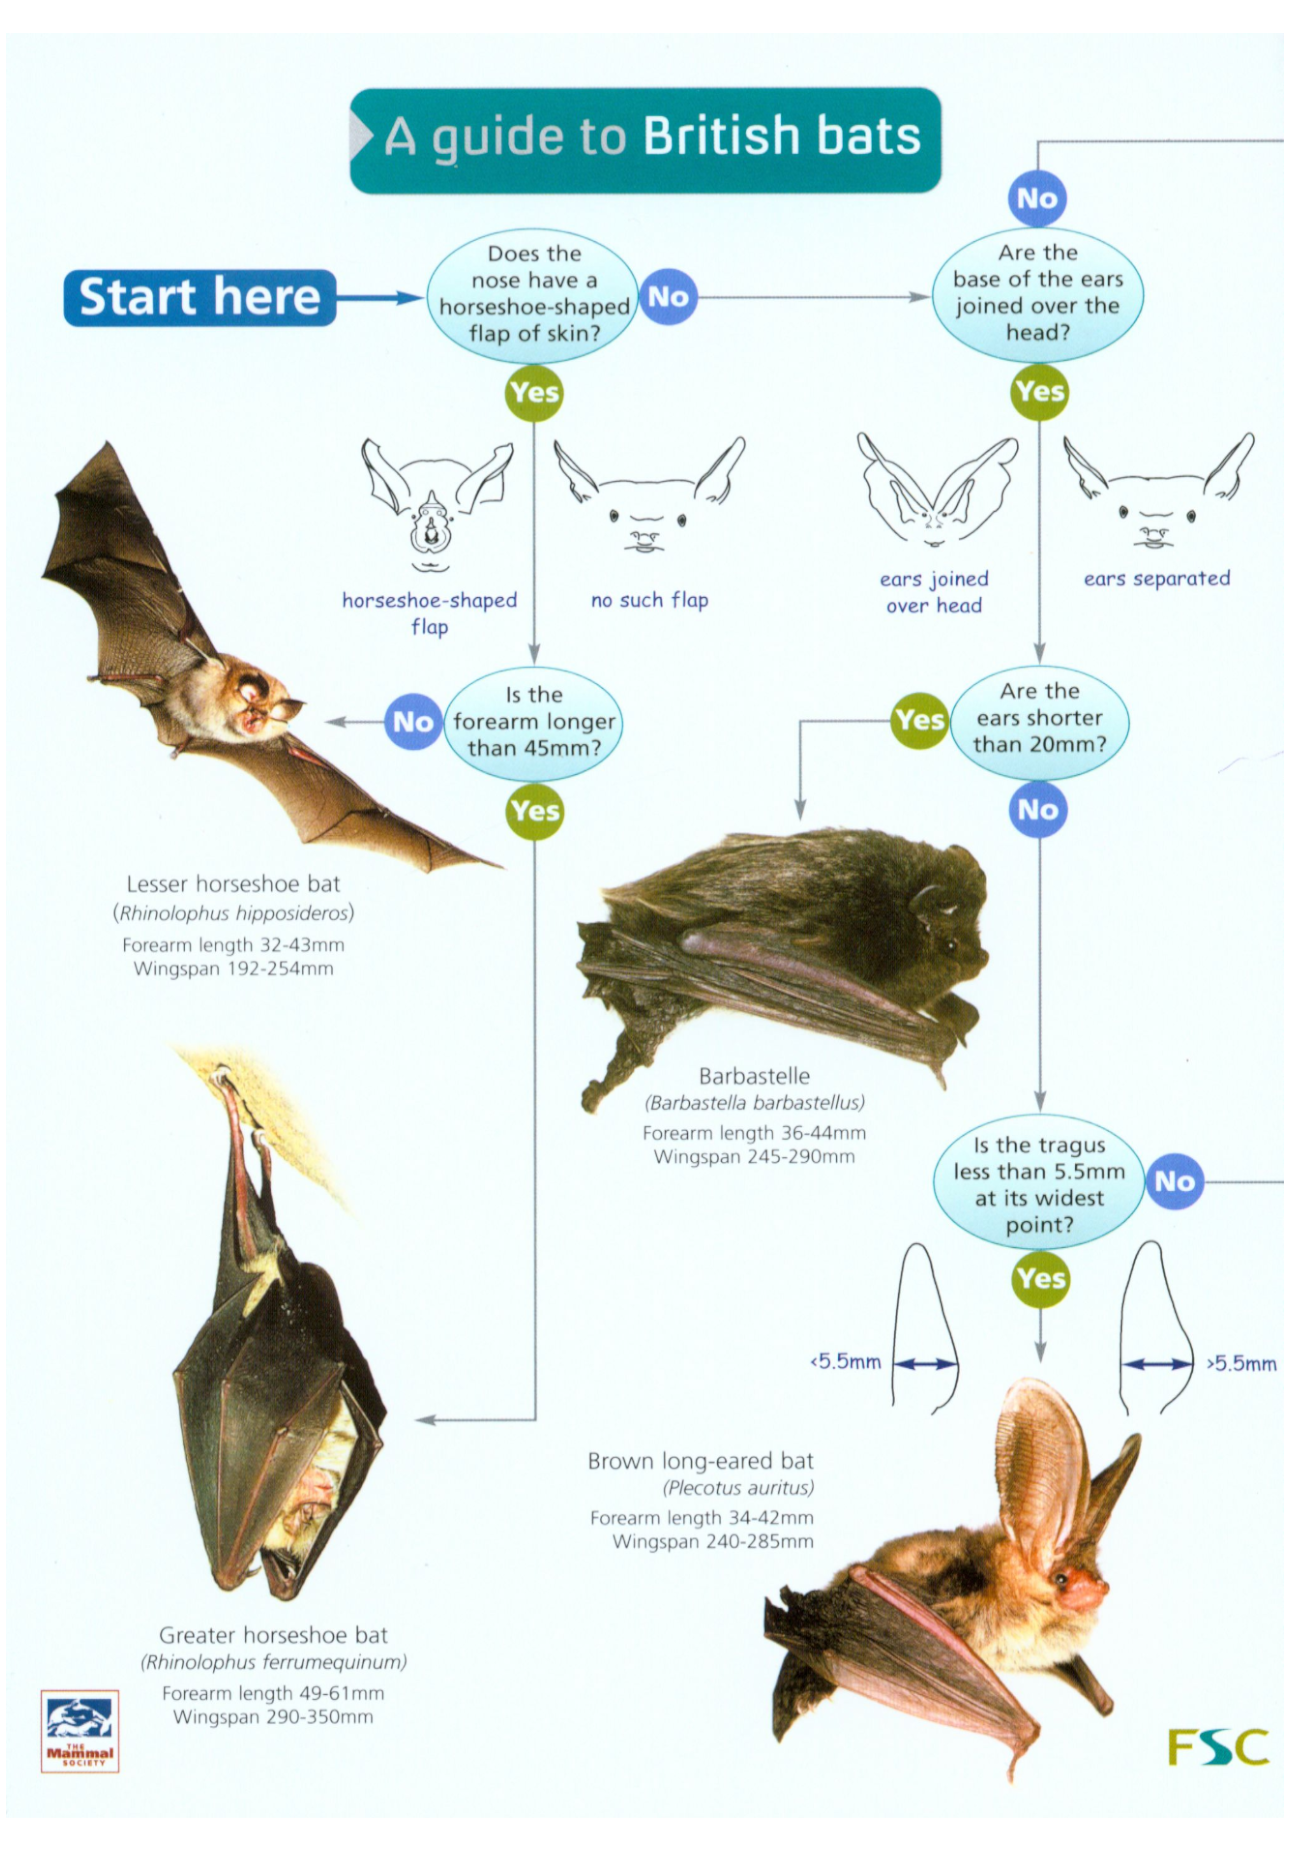
A Guide to British Bats

FSC’s ‘A Guide to British Bats’ is a fold out, laminated guide to help you identify bats through physical appearance and call frequency.


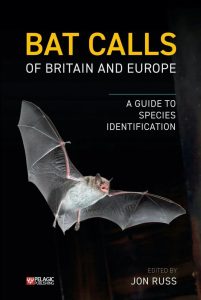
Bat Calls of Britain and Europe: A Guide to Species Identification

This practical guide is perfect for learning more about bat species identification, the equipment used and bat call analysis.


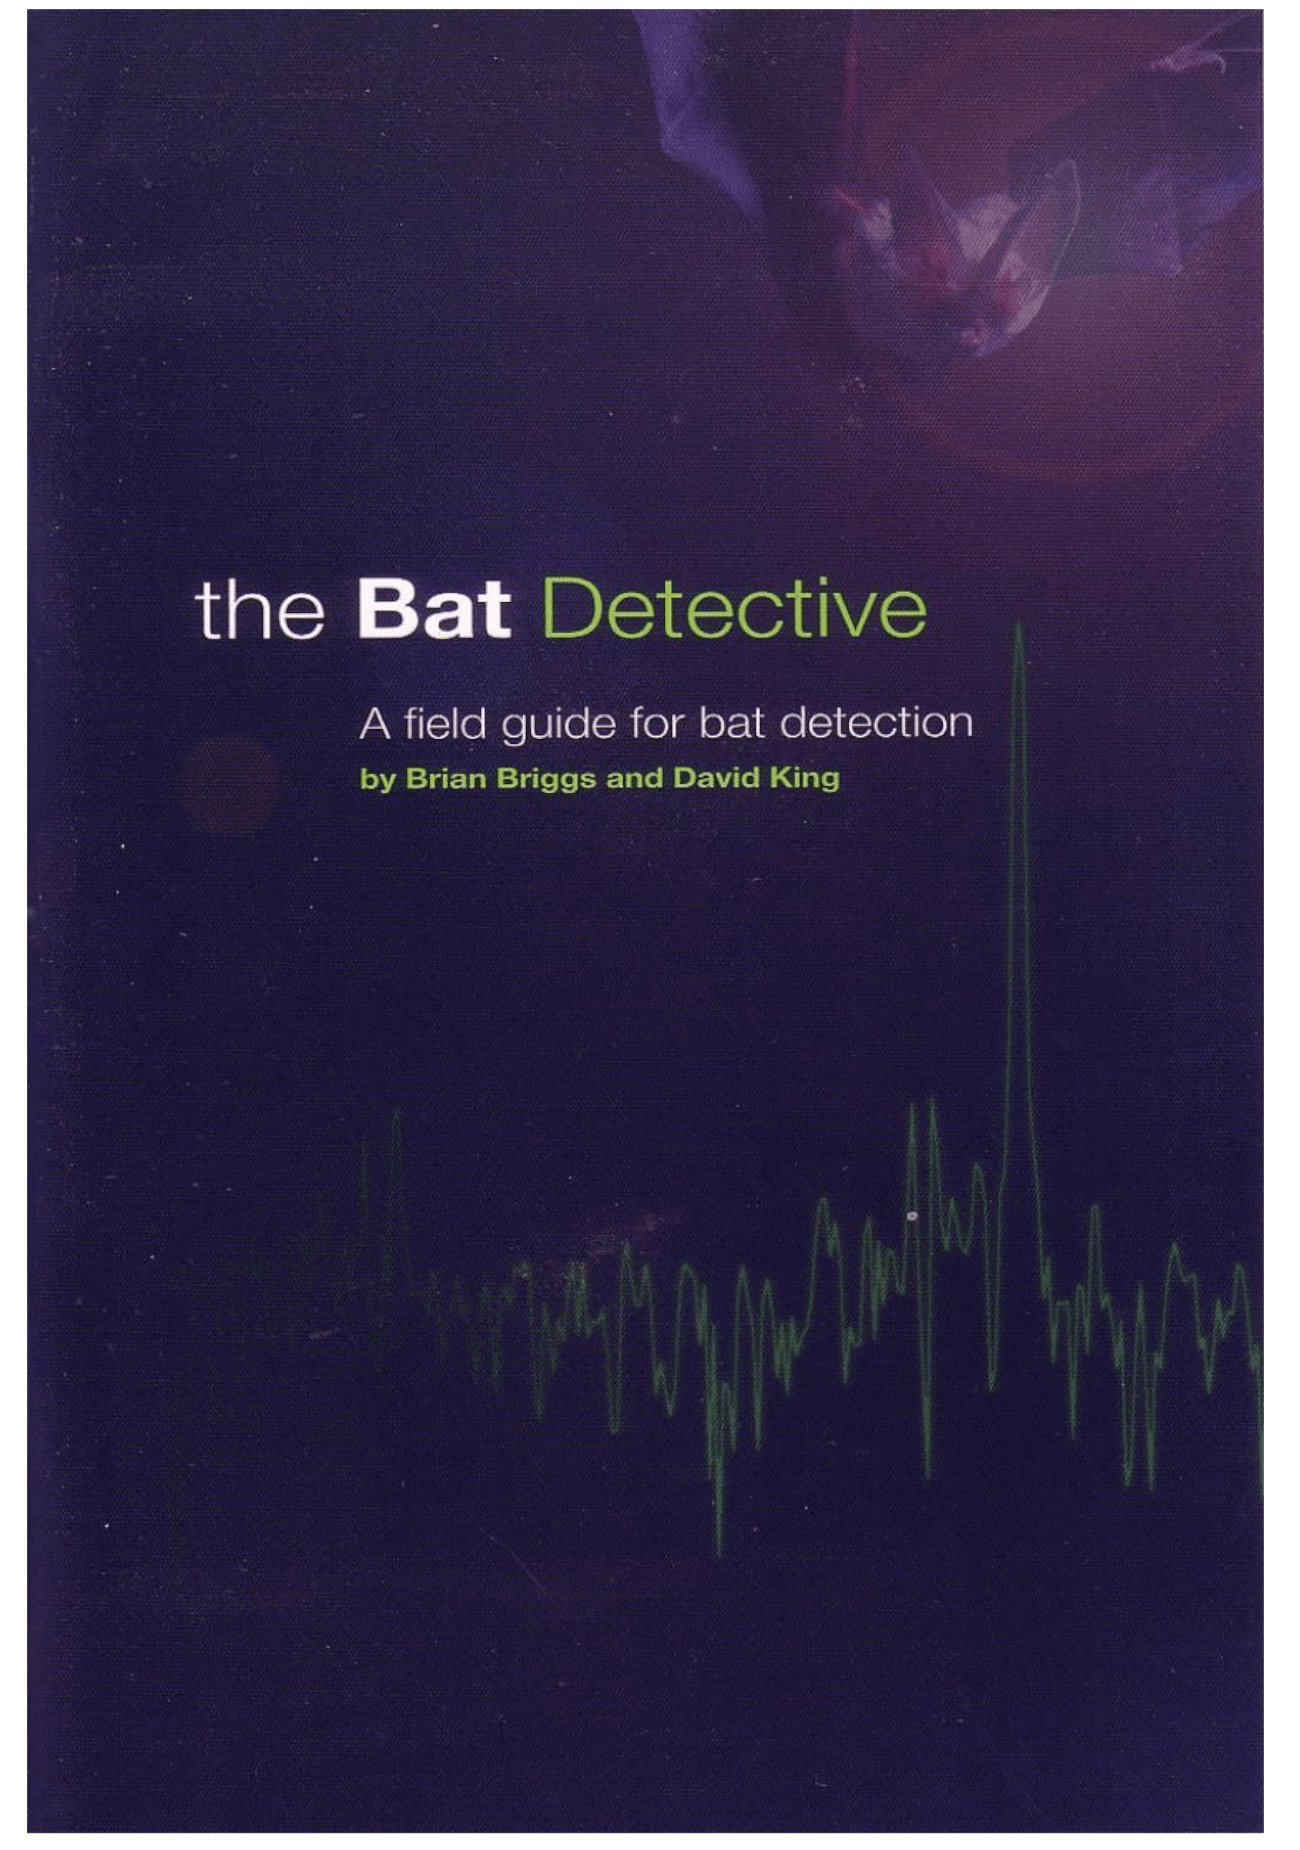
The Bat Detective: A Field Guide to Bat Detection

This field guide is perfect for beginners wanting to start learning how to identify bats from their calls. As each topic is explained references are given to the relevant tracks on the CD. The 48 tracks found here are the first ever compilation of British bat recordings on CD.

NHBS Guide to small mammal survey equipment

Small mammals are common and widespread across many of our terrestrial ecosystems. They play a crucial role in ecosystem food-webs as key prey species for many carnivores and are also useful as indicator species for agricultural change and development. Consequently, surveys of small mammal populations can be a useful tool for ecologists, researchers, and conservationists alike.

Small mammals are most commonly monitored through the use of live traps. These allow a range of species to be monitored simultaneously and also allow biometric data such as weight and sex to be collected. In addition, estimates of population size and structure can be calculated using capture-mark-recapture (CMR) techniques. However, other more passive monitoring techniques such as dormouse nest tubes, hair tube, and footprint tunnels are also available. Below we will take a look at some of the most popular small mammal survey equipment.

Longworth Traps

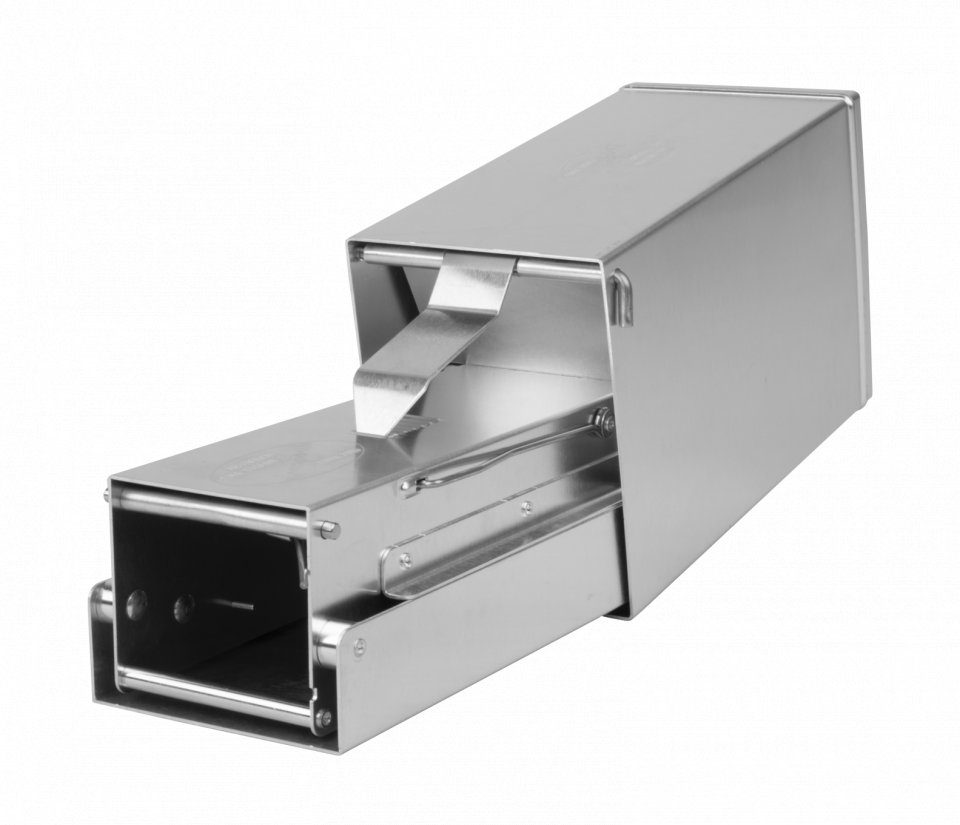
Longworth traps have been widely used in the UK for many years. They are made from lightweight yet durable aluminium and have been consistently well documented in scientific literature and ecological reports.

The trap consists of two parts: a tunnel which contains the door tripping mechanism, and a nest box, which is attached to the back of the tunnel. The nest box provides a large space for food and bedding material to ensure that the trapped animal is comfortable until release. The sensitivity of the trigger mechanism can be adjusted depending on the target species, although Pygmy shrews have been known to be too light to trigger the mechanism. The door can be locked open for pre-baiting for ease of use.

The Longworth trap comes as two options: with a shrew hole or without a shrew hole (Please note that shrews are a protected species so ensure you are aware of the relevant laws in the country in which you are trapping).

Sherman Traps

Sherman traps are another popular live-trap which can be folded flat for ease of transport and storage. They work by a trigger platform which causes the entrance door to shut when an animal runs into the trap. Sherman traps are formed of one compartment and because of this, it can be difficult to add food/bedding into the trap without interfering with the trigger platform. The traps may also distort over time with repeated folding. Sherman traps come in a variety of sizes and lengths so that you can find a trap to best suit your target species and can be purchased as either an aluminium or galvanised version which is more resistant to rusting.

Lifetrap

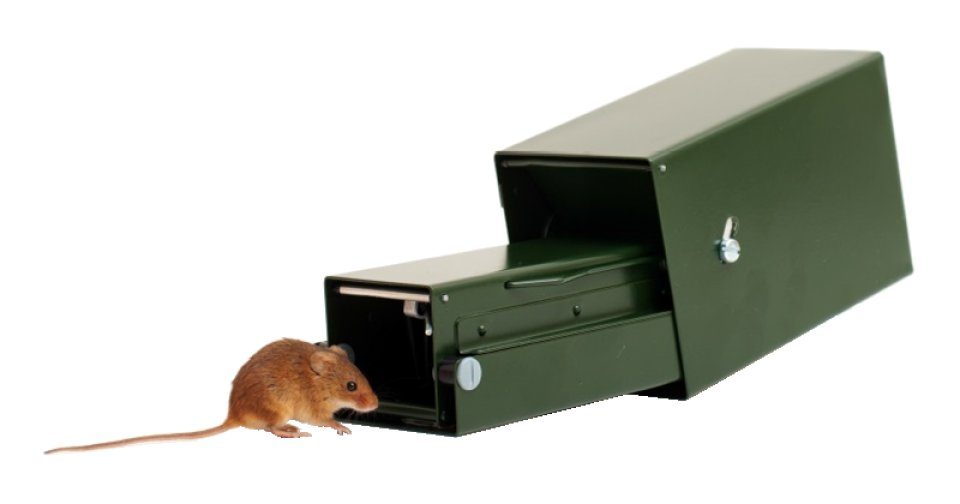
The Lifetrap (also known as the Heslinga) has a similar set-up to a Longworth trap – with a tunnel and nest-box – but with a slightly different tripping mechanism. All the openings have been kept as narrow as possible to avoid damage from the gnawing of trapped animals. The trap is made from lightweight aluminium with a green powder-coating for effective camouflage in the field.

Footprint Tunnel

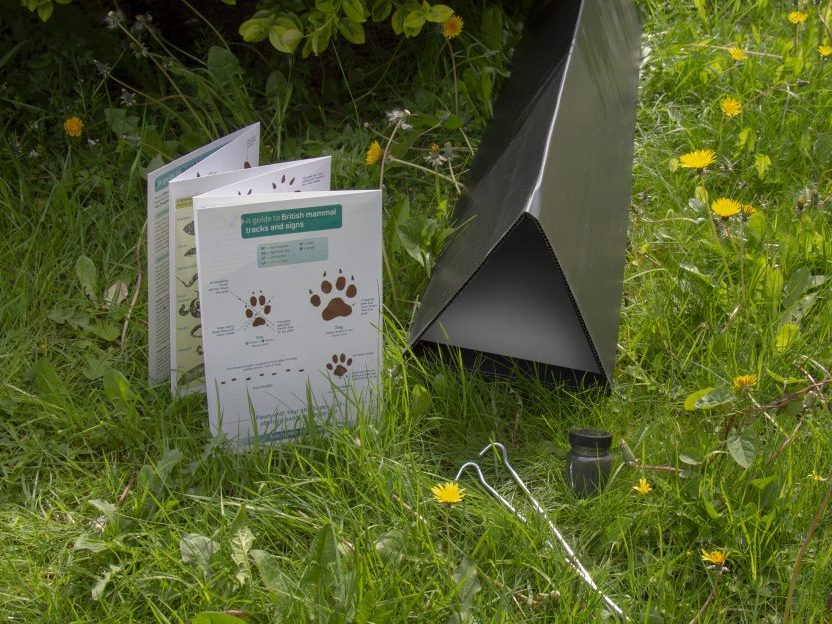
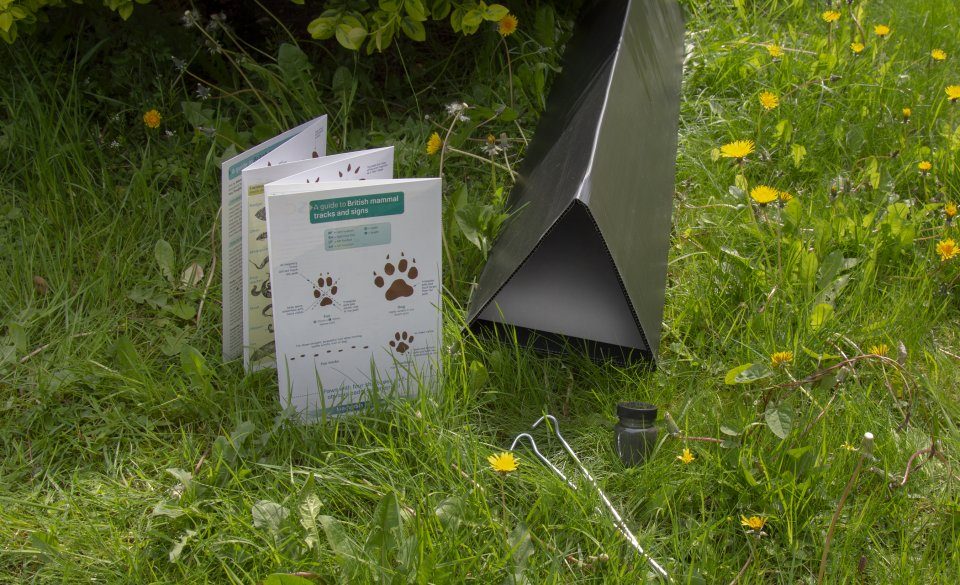
Footprint tunnels are a less invasive method of surveying small mammals. Species presence/absence can be determined by examining the footprints made by mammals that have walked over an ink pad to reach the bait left in the tunnel. This method is especially useful for determining the presence of hedgehogs that are not otherwise easily ‘trapped’. The tunnel comes with a UK mammal footprint identification sheet; however it can be difficult to distinguish between some species of smaller mammals.

Squirrel Hair Traps

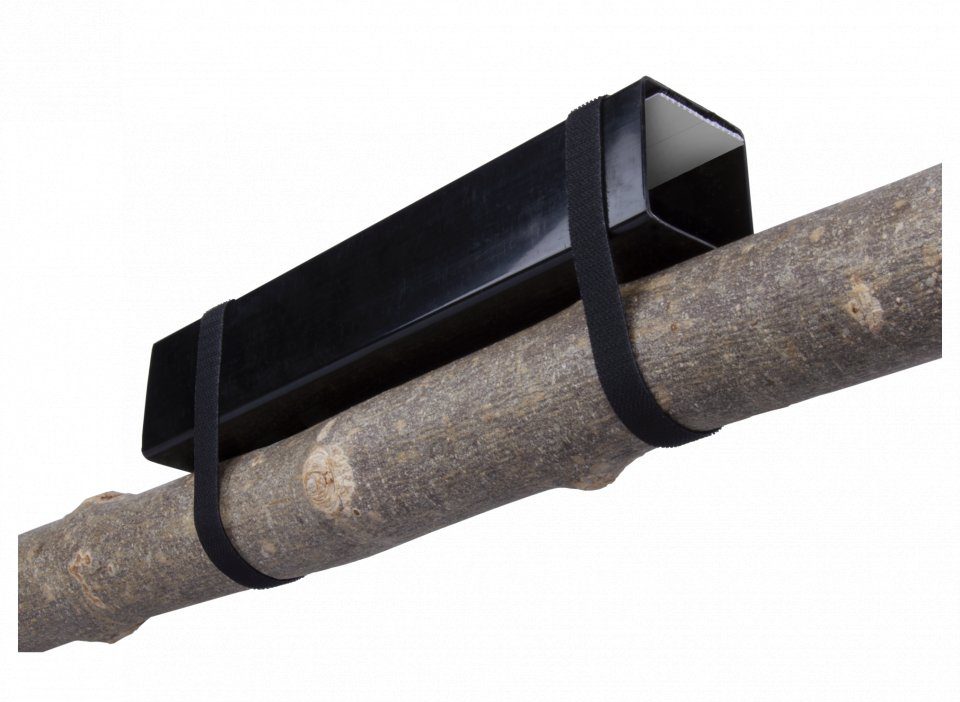
Squirrel hair traps are another non-invasive survey method that is designed for red squirrel survey. When squirrels pass through the baited trap, their hair is collected on sticky tabs within the tube. These hairs can then be analysed to determine the presence of red squirrels in the area.


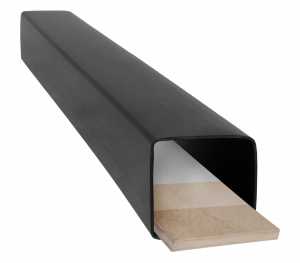
Dormouse Tubes

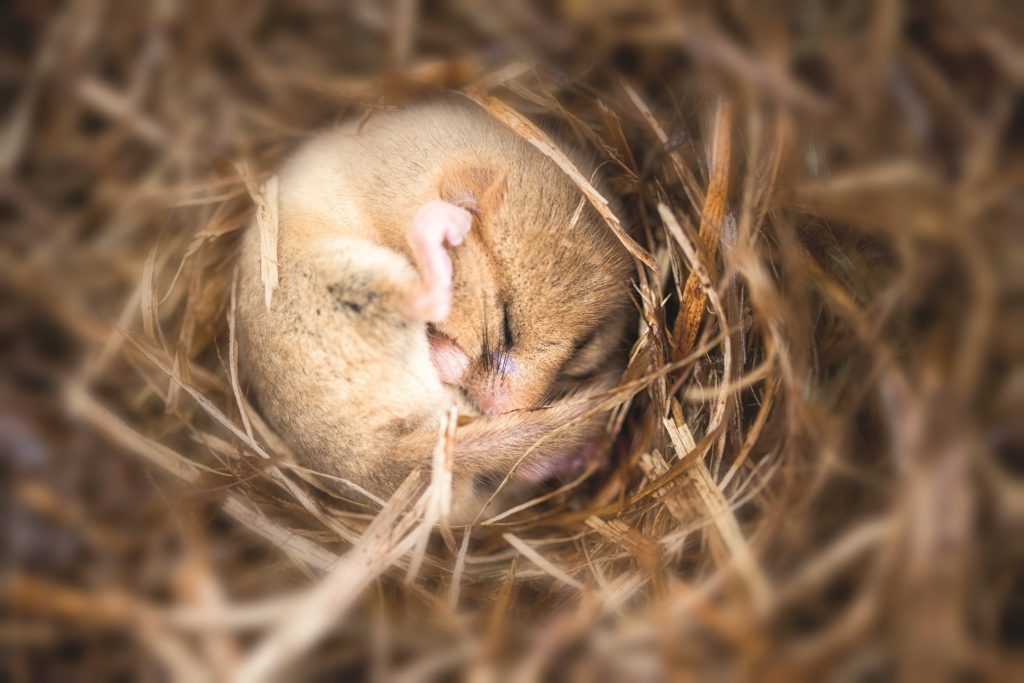
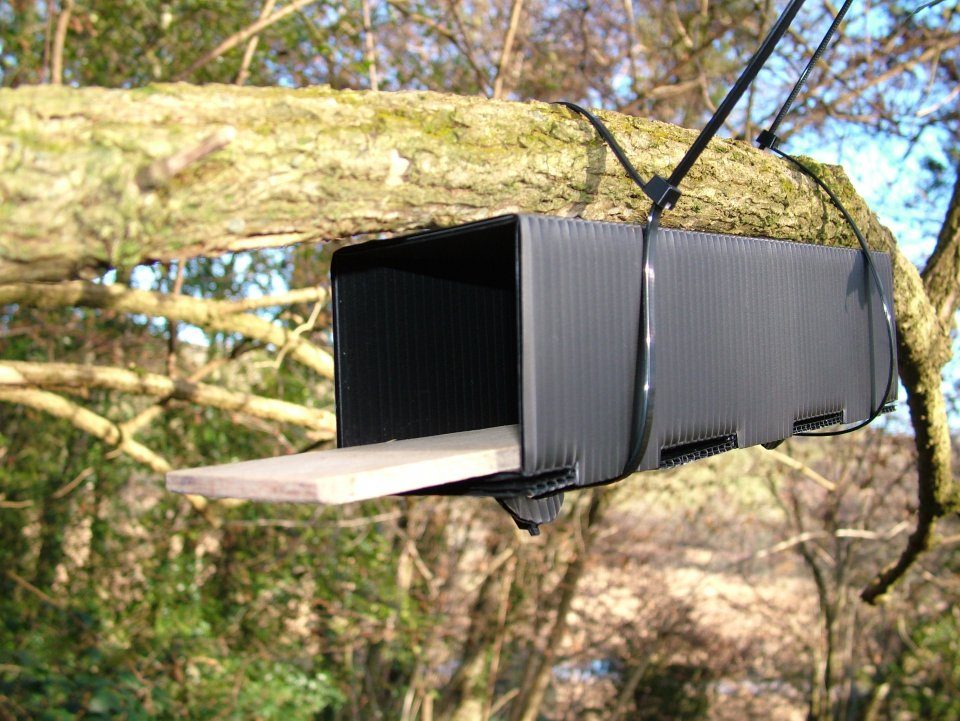
Dormouse nest tubes are a cheap, easy and very popular method of determining the presence of dormice within a habitat. The tubes consist of a wooden tray and a nesting tube. Dormice make nests in the tubes and it is these that are used as indicators of their presence in the habitat. Dormice are legally protected in the UK and must not be handled unless you have a licence to do so. Nest tubes can be set up and checked without a licence until the first evidence of dormouse activity is found. After that, only a licensed handler can check them.

Dormouse Footprint Tunnel

Dormouse Footprint Tunnels offer a very low disturbance method of detecting dormouse presence in a habitat. Dormice passing through the tunnel cross over inked pads which causes them to leave characteristic footprints on the card or paper inserts. The Suffolk Wildlife Trust and CIEEM have suggested that footprint tunnels may be a more effective survey tool within scrub and hedgerow habitats than dormouse tubes, and equally as effective in high canopy woodland.

Accessories

Listed below are some of the essential accessories which are required for surveying small mammals:

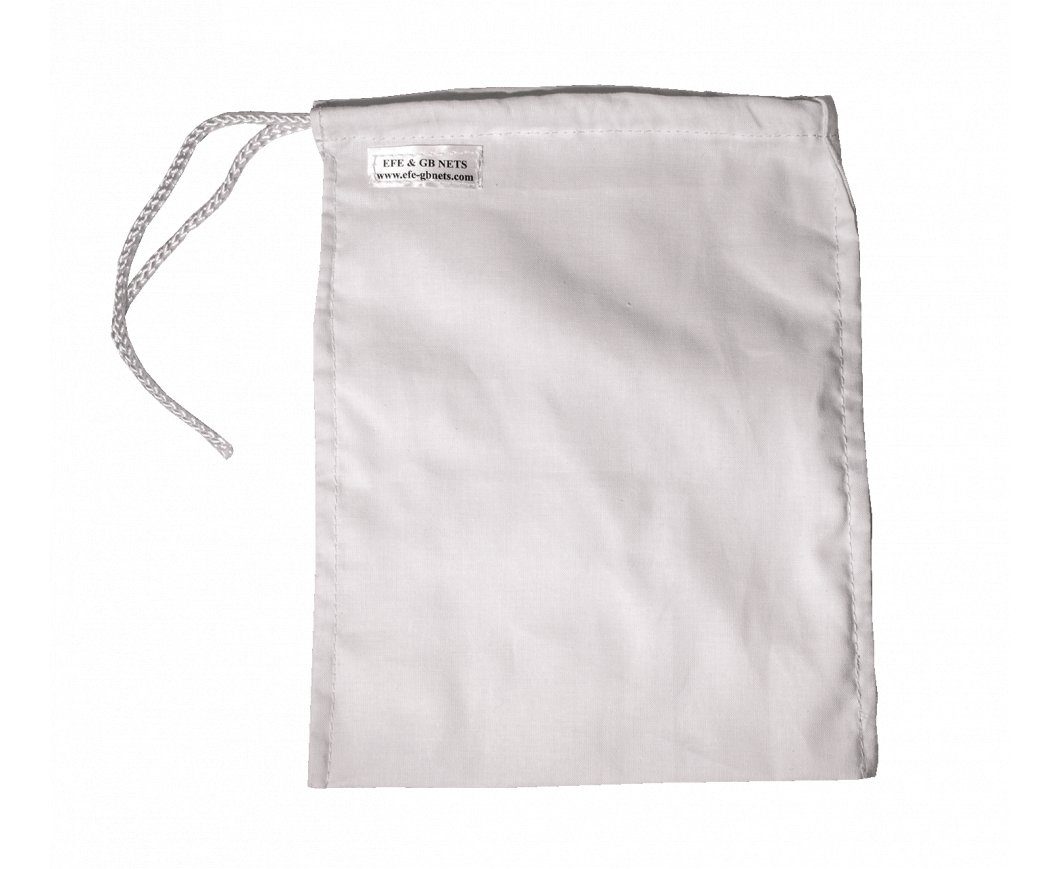
Small Mammal Holding Bag

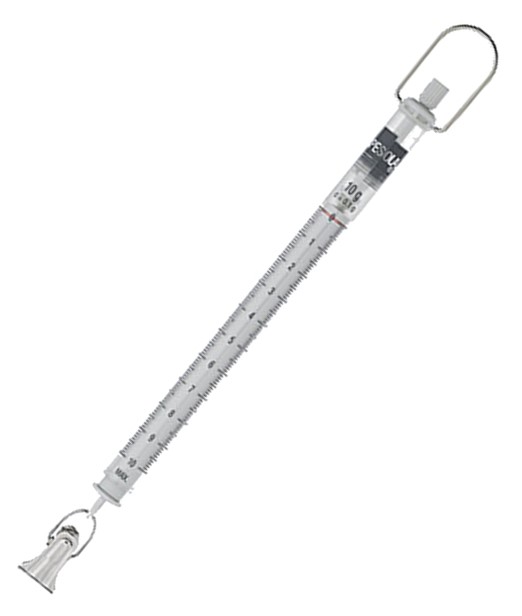
Pesola Light-Line Spring Scales

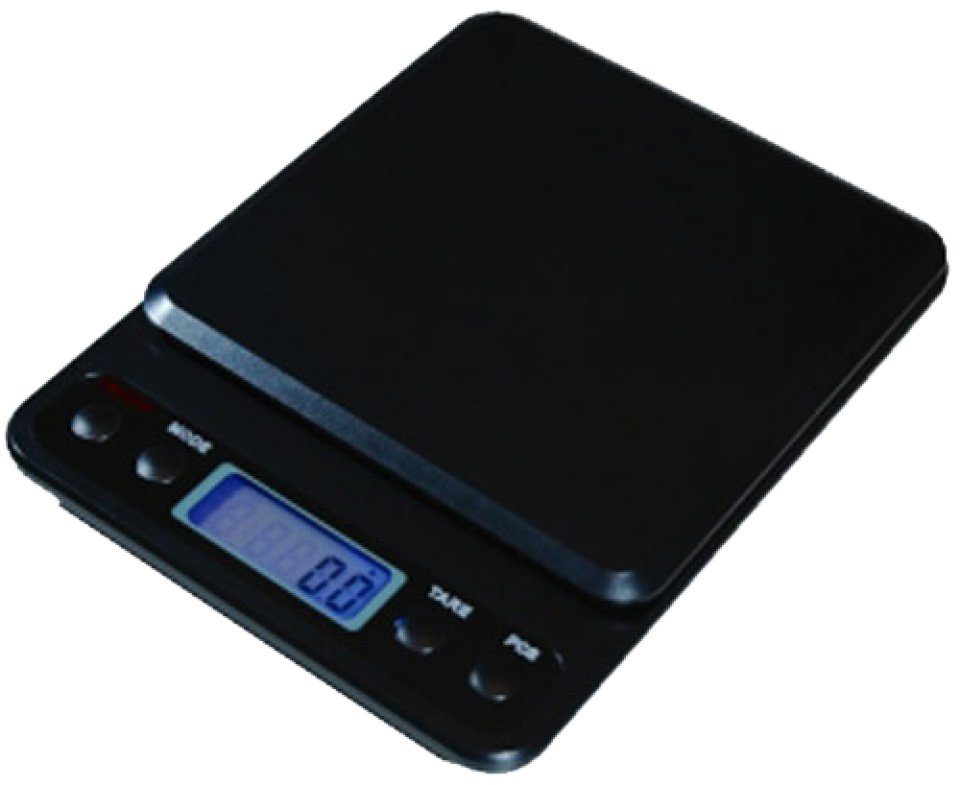
Pesola PTS3000 Electronic Scale

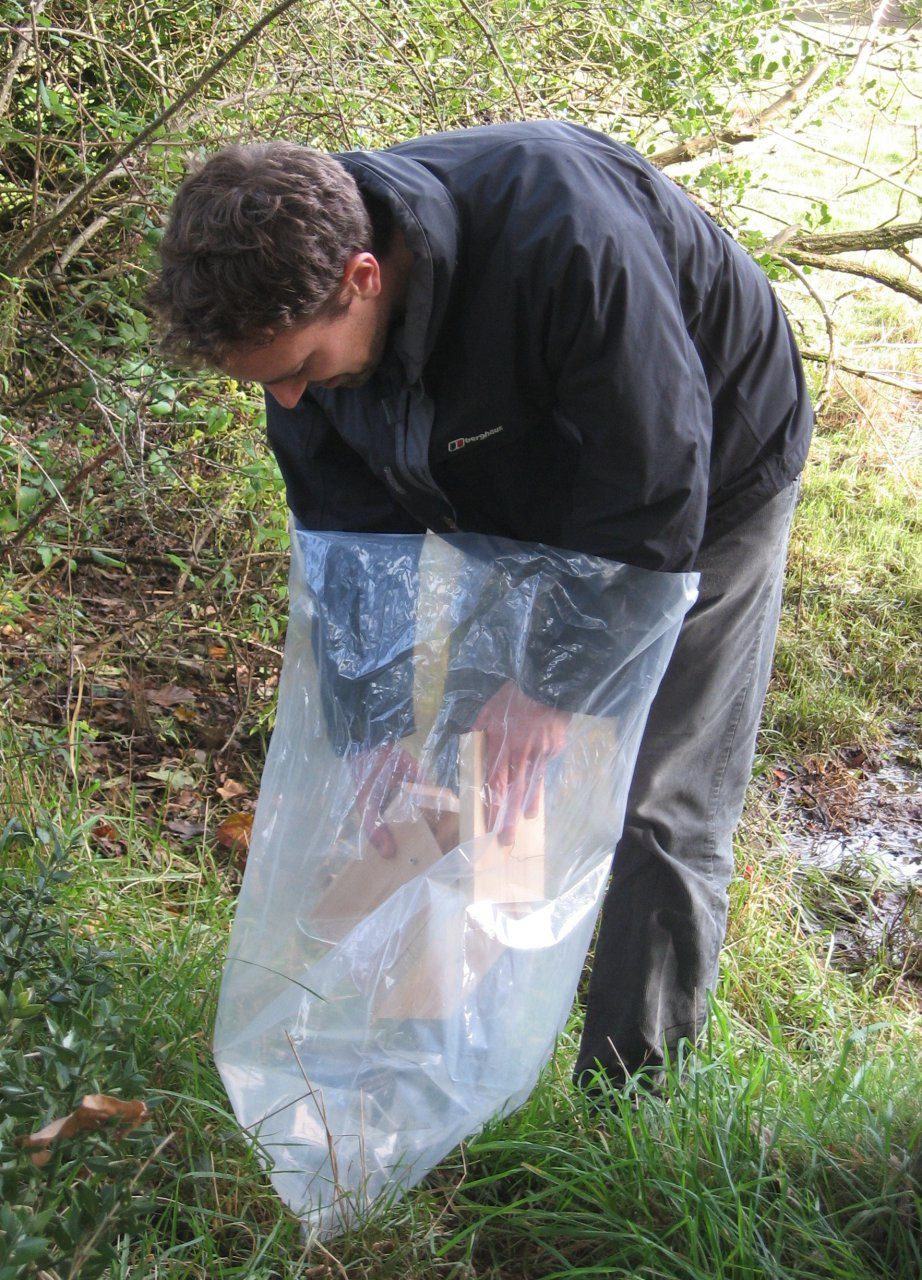
Heavy Duty Extra-Large Polythene Sample Bags

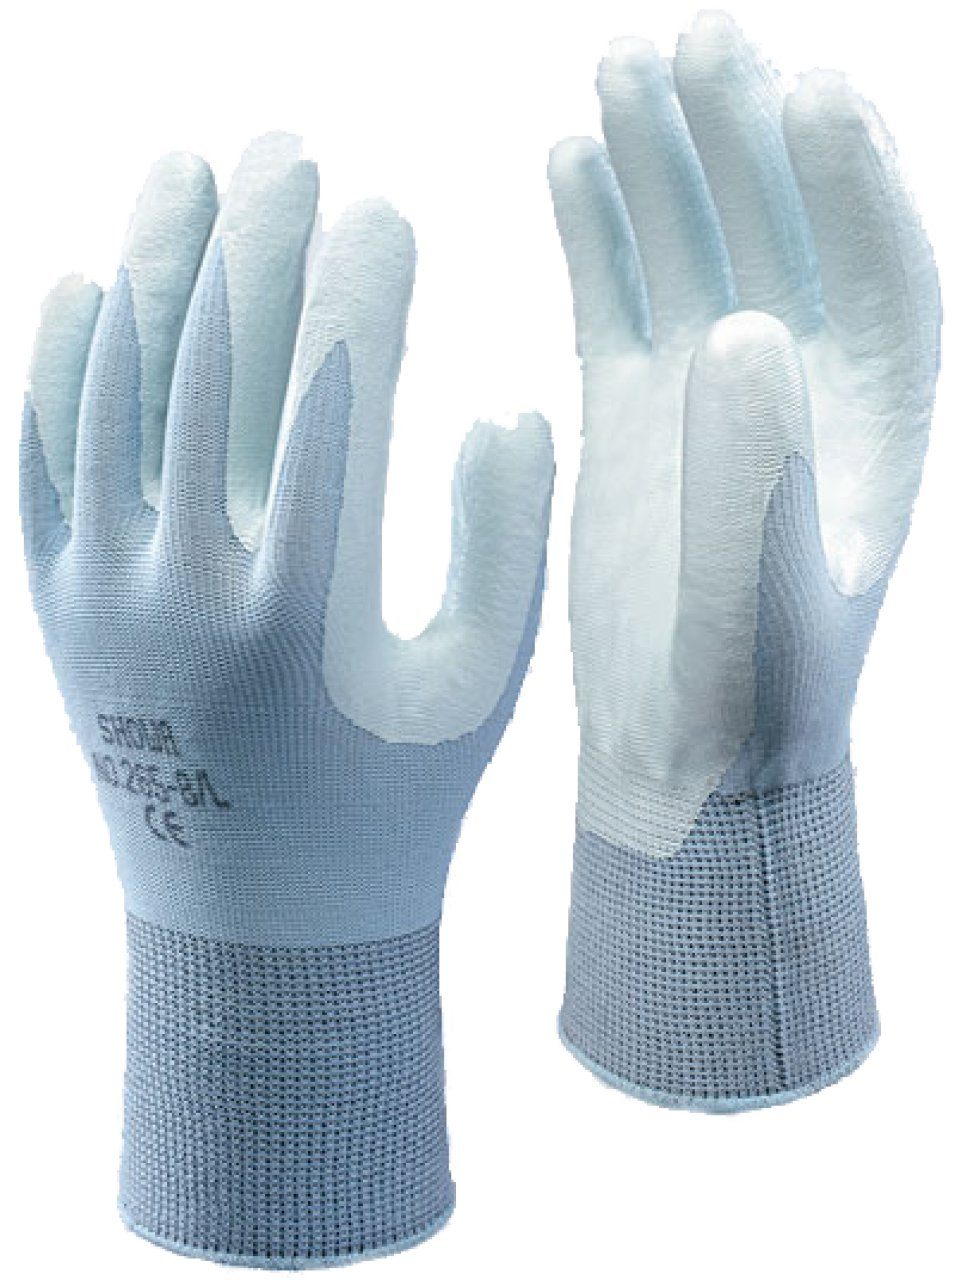
Animal Handling Gloves

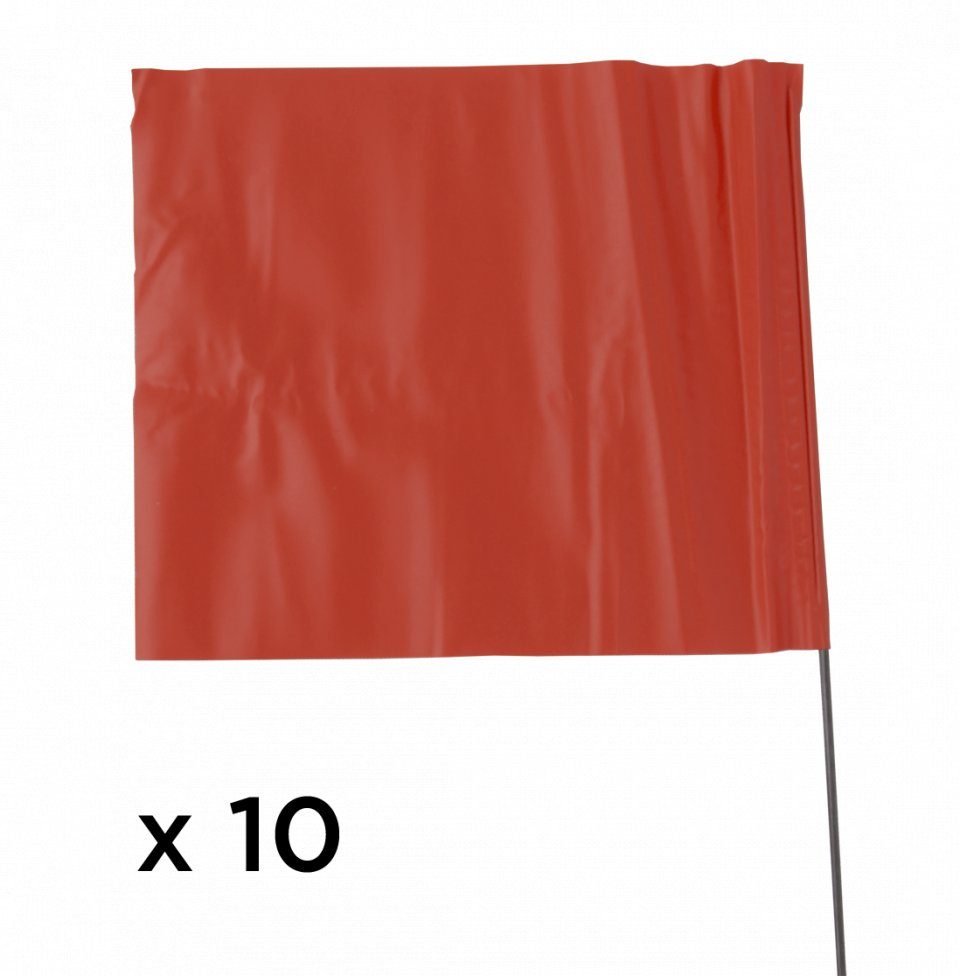
Marking Flags

Field Guides and Books

There are many excellent field guides and books available which can greatly assist with reliably identifying and surveying small mammals in the UK.


Atlas of the Mammals of Great Britain and Ireland
Hardback | Mar 2020

The most up-to-date records of mammal distributions in Great Britain and Ireland. Fully illustrated with photographs and high-resolution distribution maps and details of species identification.


Methods for Ecological Research on Terrestrial Small Mammals
Hardback | Apr 2022

This is a one-stop resource compiling all the informaiton readers need to conduct state-of-the-art research on small terrestrial mammals across the globe. It covers the full spectrum of issues, from capture, handing, identification, reproduction, demography, and taxonomy to behaviour, diet, evolution, diseases, movements, morphometrics, and more.

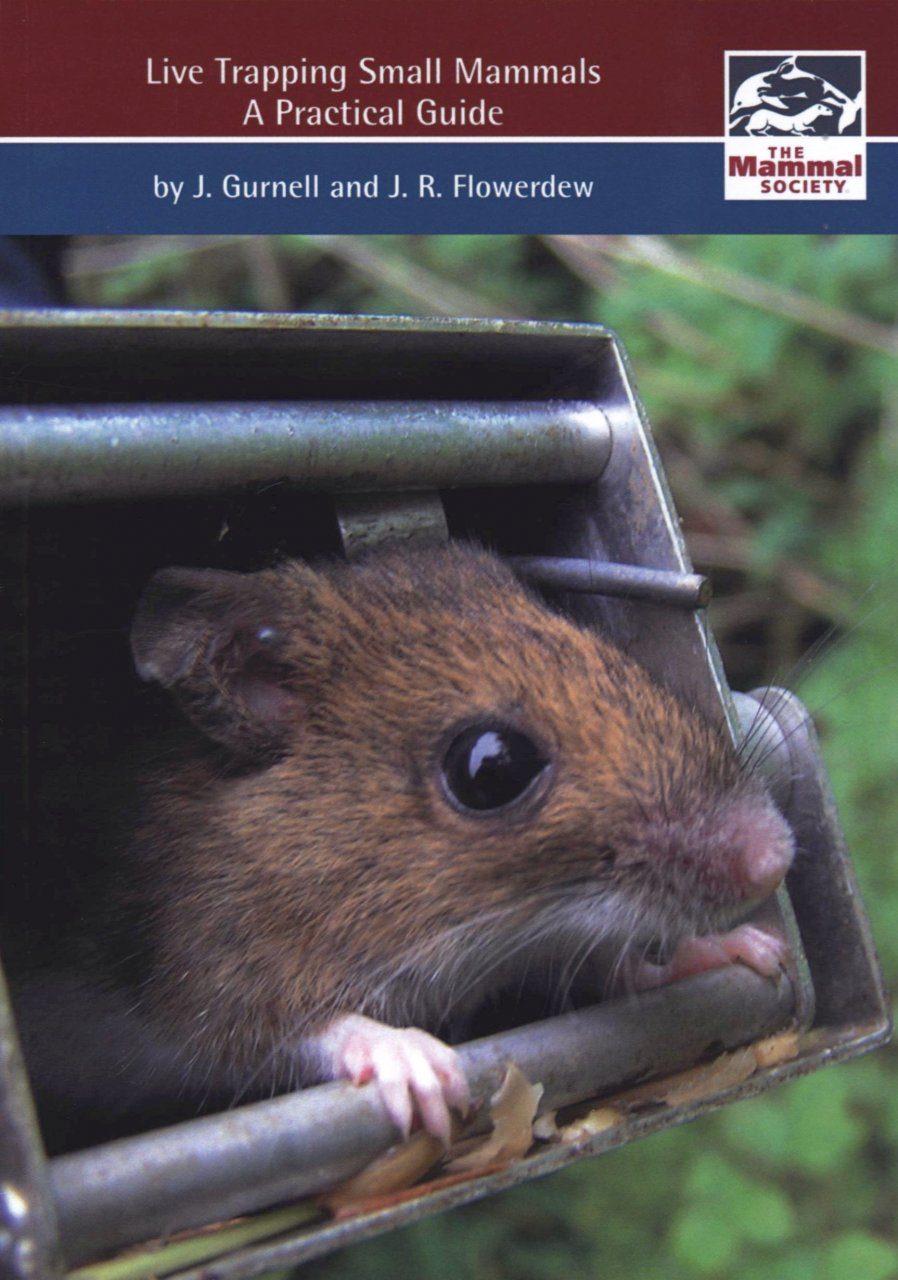
Live Trapping of Small Mammals
Paperback | Jul 2019

Published by  The Mammal Society, this compact guide is the essential text for anybody looking to survey small mammals in the UK. It contains detailed practical instructions on survey methodology, complemented by colour photographs and illustrations.


Britain’s Mammals
Paperback | Apr 2017

The perfect companion for anyone interested in watching mammals. This field guide combines concise descriptions of species life-history and distribution along with detailed colour photographs to help you reliably identify the mammals of Britain and Ireland.


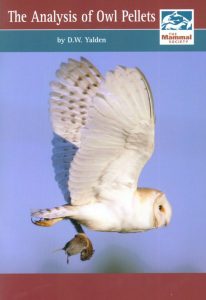
The Analysis of Owl Pellets
Paperback | Apr 2009

This handy booklet provides information on how to identify and analyse the undigested small mammal remains found in owl pellets.


British Mammal Tracks and Signs
Unbound | Jan 2022

This guide features clear illustrations of the tracks left by mammals with paws and cloven hooves, as well as droppings, burrows, nests and feeding remains.


A note on licensing

Please note that some small mammal species are protected by law (e.g. shrews and dormice in the UK) and you must obtain a license from Natural England, Scottish Natural Heritage or the Natural Resources Wales if you set traps with the intention of trapping any species of shrew. Please ensure you are aware of and meet the requirements of any relevant laws in the country in which you are trapping. Please visit https://www.gov.uk/government/publications/survey-or-research-licence-for-protected-species for more information.

The NHBS Guide to Hand Lenses

The possession of a hand lens is one of the defining characteristics of a naturalist.

We use them for everything from peering at beetle genitalia and examining floral characters, to examining the arrangement of teeth in small mammal jaw bones. There are a wide variety of hand lenses on the market so how do you decide which lens is best for you? This article contains all the information you need to make an informed choice.

Glass versus plastic lens?

The optic in a hand lens can be made from glass or plastic. Serious naturalists and professionals will always choose a glass lens. Plastic lenses are generally more affordable and lighter but are of lower optical quality and are more difficult to clean. Plastic hand lenses and magnifiers, however, can be a good choice for schools and young children, for these users have a look at the Hand Held Magnifier.

How many optical elements?

Canon 400mm

An element is an individual piece of glass within a lens. When you look through a high quality camera lens you will typically be viewing what’s in front of the lens through four to six lens elements, as well as other elements used for focusing and zooming (see image below right).

Paul Canon EF 400mm f/4 DO IS USM By Paul Chin

Hand lenses are constructed with one (singlet), two (doublet) or three (triplet) lens elements. Each one is specially shaped to correct for a particular type of optical distortion, so the more elements, the higher quality the image.


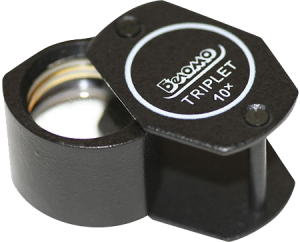
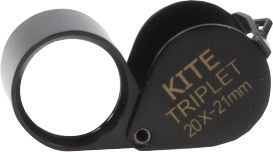
The highest quality lenses that we offer are the triplet products made by Kite and Belomo. These offer a bright, crystal clear and undistorted view of your subject. The images afforded by these optics will impress the user whatever their field of work is, be it geology, entomology or botany.


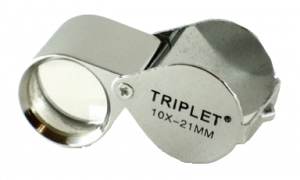
N.B. There is a brand of hand lens / loupe called “Triplet”. Please note that despite the brand name this popular product has one lens (singlet).


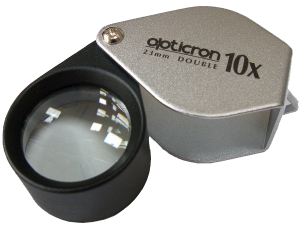
If you are interested in obtaining a doublet hand lens you should consider those that are manufactured by Opticron and also Kite. Opticron will be a familiar name if you have ever researched the purchase of a pair of binoculars and their hand lenses provide excellent distortion free magnification at 6x, 10x and 15x.

Magnification

A 10x magnification hand lens will be more than adequate for most purposes. Higher magnification lenses tend to be harder to use but are very useful for viewing extremely small objects. If you are unsure of which magnification you need, or think you may need several different lenses, you might consider the Triple Hand Lens (x3, x4 and x5).

Lens diameter

Large diameter lenses provide a wider field of view which means that they are easier to use but they are slightly more expensive to produce.

How hand leOpticron Hand lens, 23mm, 10x magnificationnses are named

Hand lenses are named in the same way as binoculars, with both the lens diameter and the magnification included in the name. For example, the Opticron Hand Lens, 23mm, 10x Magnification has a 23mm diameter lens and provides 10x magnification.

LED Option

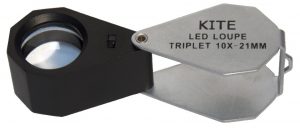
Some hand lenses such as the LED Triplet Loupe Hand Lens 10x 21mm possess LED lighting in order to illuminate the object that you are viewing. This option can greatly improve your viewing experience and can be particularly valuable in low light conditions. Bat workers have expressed how useful these can be when looking for the key identifying features of a specimen held in the hand. Using a lens with LED can reduce stress on the bat because it means that you do not have to point the beam of your head torch directly at the animal.

Using your hand lens

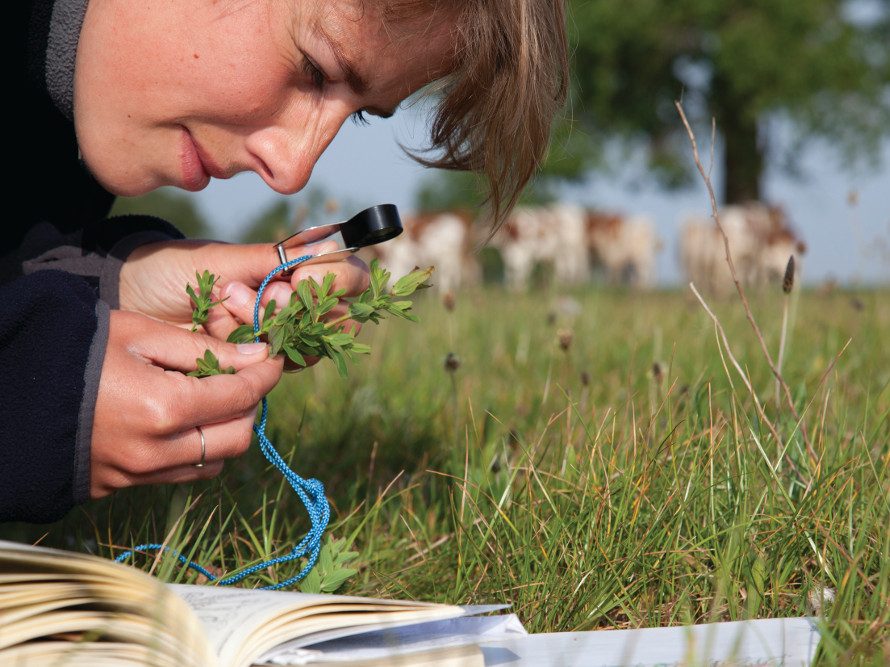
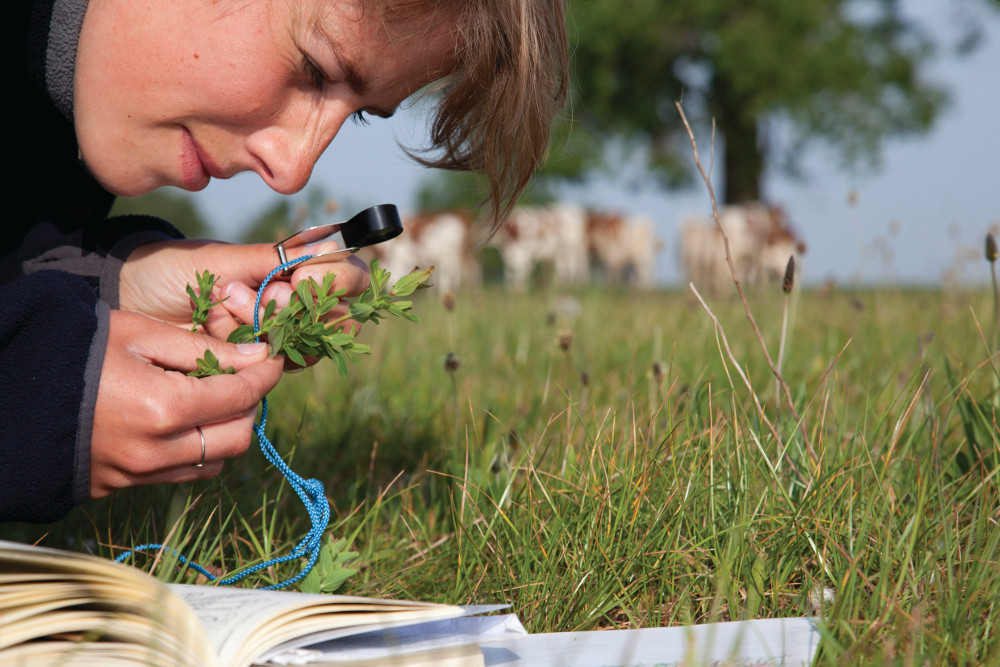
Finally, a quick note on hand lens technique. To use your hand lens correctly, hold the lens close to your eye and then either a) move the subject closer to your eye until it comes in to focus or b) move your head (and the hand lens) closer to the subject until it comes into focus. The magnification of your lens will affect your positioning, as the higher the magnification, the smaller the focal length (the distance between the lens and the object) will be.

Getting the light right is also an important part of using your hand lens. You need a good source of light. Ideally, bright daylight but other bright light sources such as ceiling lights are sufficient. The light should be between your lens and the object, pointed at the object and not the magnifier. Any reflection on the lens can obscure the focus. This may require a little experimenting with your positioning until you get it right. It’s easy with a little practice so don’t get put off if you find a new hand lens difficult at first. Expect to get close up to what you’re examining – it’s quite common to see naturalists crawling around on the ground to get close to a plant they’re identifying.

Keeping your hand lens safe

It can be very hard to find a much-loved hand lens dropped in long grass or woodland. To prevent this happening, we recommend a lanyard for your hand lens –  if you have it round your neck you won’t drop it!

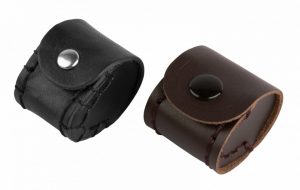
For storage and transport purposes most hand lenses come equipped with either a storage pouch or a plastic case. These enable you to keep your optic safe and reduce the risk of scratches or knocks occurring, especially when it is being carried in a pocket or bag. Spare leather pouches are available for the Triplet Loupe 10x 21mm but these may fit other lenses as well – we are happy to check before you buy.

Our full range of lenses and magnifiers can be found at nhbs.com.
The NHBS Guide to Badger Gates

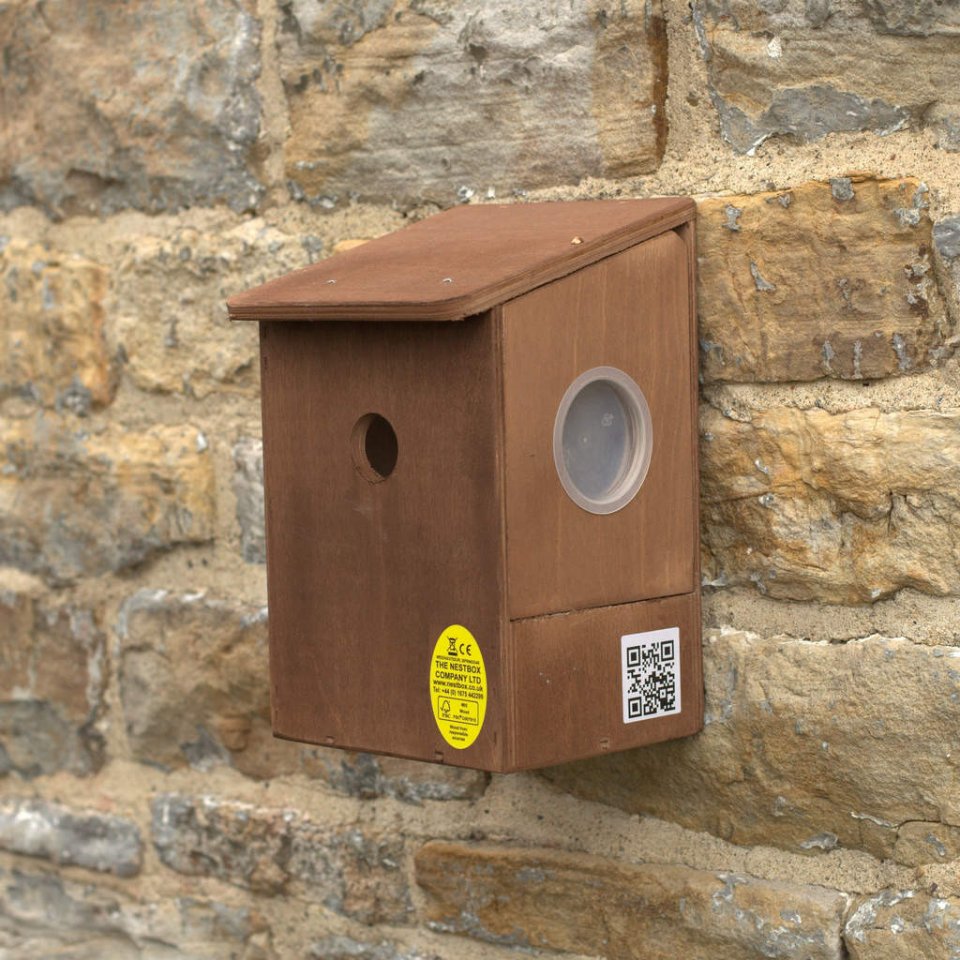
The European Badger (Meles meles) is one of the most iconic species found on the British Isles. These shy and elusive animals spend much of their time during the day hidden away within their extensive underground setts, emerging around dusk to forage on smaller mammals, earthworms, roots, bulbs and fruit.

Within their territories, badgers will follow established routes between foraging areas. When these pathways become obstructed by fencing, such as exclusion fencing for stock or deer, badgers will often dig under the obstruction to regain access to a familiar site and in doing so they may cause damage to the fence and allow in potentially unwanted species. In these circumstances, many developers will install a badger gate to allow badgers to freely access the site. These rectangular gates are constructed of either wood or metal and often feature locking mechanisms to ensure badgers can only pass through in a certain direction.

Although badgers are protected under the Protection of Badgers Act 1992, there are situations where developers need to temporarily or permanently exclude badgers from areas. This may be when they, or their setts, could be at risk of harm or disturbance. In these circumstances, and under acquisition of a license, one-way badger gates can be installed in sett entrances or in fencing surrounding a development to gradually exclude badgers from the area. These badgers will then either relocate to a new territory or to a nearby artificially-created sett.

At NHBS we manufacture a range of badger gates and this article will outline how they can be installed and used in different badger mitigation projects.

Softwood Badger Gate

This softwood badger gate has been designed in accordance with the specifications outlined by Natural England (available here) and is an excellent economic choice for many projects. It is constructed from untreated FSC-certified timber, which ensures badgers will not be harmed if they ingest any chewed wood. This gate has been designed so that it will not jam following periods of rain when the wood may swell.

The softwood gate is suitable for use where badgers require access through a fence. This gate can also be used in exclusion projects; however unlike our aluminium gates they can be damaged by chewing and often have a shorter lifespan.


  • Price: £29.99 inc VAT
  • Frame Dimensions: 450mm (H) x 285mm (W)
  • Entrance Dimensions: 250mm (H) x 200mm (W)
  • Material: Untreated FSC timber
  • Weight: 2.1kg


Access Badger Gate

The access badger gate is constructed from marine grade aluminium which ensures it is strong enough for repeated use while keeping it lighter than most steel gates. It features a heavy-duty grill panel which allows badgers to view what is on the other side of the gate, which can encourage some badgers to pass through. It has pointed legs which should be driven into the ground using a wooden mallet, however a hammer can also be used with a block of wood (striking the frame directly may cause warping and damage). The gate has two locking tabs that can be adjusted using a size 10 spanner to allow either two-way or one-way access.

This gate is designed for use in long-term projects where badgers need access through stock or deer fencing. For exclusion projects we would recommend our exclusion gates.


  • Price: £87.95 inc VAT
  • Frame Dimensions: 595mm (H) x 295mm (W)
  • Entrance Dimensions: 320mm (H) x 220mm (W)
  • Material: Marine Grade Aluminium
  • Weight: 3kg


Exclusion Badger Gate

The exclusion badger gate is also constructed from marine grade aluminium and comes fitted with a solid gate flap. This solid door has been designed based on evidence that some badgers can learn to use their claws to lift grill gates open. Another feature of this gate is that it does not have legs. This allows the gate to be positioned either vertically or horizontally  in awkward sett entrances where a typical vertical gate would not be suitable. By installing this gate ecologists and developers can be confident that badgers will not be able to re-enter an exclusion zone.

This gate is also available with pointed legs, for installation within exclusion fencing.


  • Price: £75.95 inc VAT
  • Frame Dimensions: 400mm (H) x 295mm (W)
  • Entrance Dimensions: 320mm (H) x 220mm (W)
  • Material: Marine Grade Aluminium
  • Weight: 2.6kg


Accessories

Badger Fencing


All of our gates can be incorporated into this high tensile wire fencing.  It can be erected as a freestanding barrier or installed across a sett to prevent badgers from digging to form new entrances or to get around any installed gates.

Price: £399 (50m)


Stainless Steel Cable Ties


These strong, corrosion resistant cable ties can be used to quickly and easily secure a badger gate frame to the surrounding fencing.

Price: £8.50 (pack of 20)

Caudon® High Tensile Steel Pegs

These steel pegs are excellent for securing fencing to the ground, particularly in areas where badgers are prone to tunneling. These pegs can also be driven through the access and exclusion badger gates to provide a firmer placement.

Price: £0.95 each

Further Reading:

Badger Behaviour, Conservation and Rehabilitation: 70 Years of Getting to Know Badgers
Paperback | Sep 2015
£19.99


Badgers
Hardback | May 2017
£15.99


The Badger
Paperback | Sep 2010
£4.99


Biology and Conservation of Musteloids
Paperback | Oct 2017
£52.99


Please note that prices stated in this blog post are correct at the time of publishing and are subject to change at any time.

Introduction to sound recording

In recent years, advances in portable recording equipment have led to an increase in the exploration of listening as a method of engaging with as well as studying the natural world. This blog looks at a number of different equipment options across a range of budgets and objectives while briefly outlining some of the main technical considerations.

Equipment and Technical considerations

Tascam DR-40X

For those interested in having a go at sound recording, a handheld recorder is a great starting point and  Tascam have some great entry-level options such as the DR-05X and DR-40X both of which allow you to record uncompressed audio. The advantage of this method is that the recorders are highly portable and require very little set up – invaluable if you’re out and need something that can be used at a moment’s notice.

Tascam DR-05X

The built-in microphones will not compete with a professional external microphone and if recording becomes more than a passing interest dedicated microphones, such as a parabolic, can be a great way to optimise your setup for specific recordings. The right recorder should have a logical menu system and inputs that allow for a suitable upgrade path via the connection of external microphones.

A common type of field microphone makes use of a parabolic dish, effectively acting as a kind of audio zoom lens making them useful for focusing in on a particular sound source. Some of these systems require a different type of power known as plug-in power so you’ll need a recorder able to supply this via a 3.5mm mic/line input as found on the Tascam DR-05X.

Telinga PRO-X Parabolic Microphone System

The Hi-sound and Telinga PRO-X systems are good examples of plug-in powered parabolic systems. If your recorder does not have plug-in power, you can use an XLR to PiP adaptor. This connects to the XLR outputs on your recorder and converts the phantom power produced by the recorder to plug-in power which can run the microphone.

Before heading out make sure you have adequate wind protection for your microphones, as even a slight breeze can ruin a recording if it’s not what you’re after! – Parabolic windshields  – Tascam DR-05 windshield .

Parabolic windshields

We also feature static recording devices such as the SM4 Acoustic from Wildlife Acoustics and the Bar-LT from Frontier Labs.  These waterproof units feature built-in omnidirectional microphones and can be secured to any suitable surface. The long deployment times and scheduling functions make these ideal for long-term bioacoustic studies.

Song Meter SM4 Acoustic Recorder

Over the past few years, a number of smaller, more lightweight passive recorders have been developed.  These include the Song Meter Mini Acoustic, Song Meter Micro, and the Titley Chorus. Such models are very similar in purpose to the larger static recorders however sacrifice some battery life for their reduced size. Their size and affordability make them very suited for large-scale mass deployments.

Titley Chorus & Song Meter Mini Acoustic


In the field

To test a small cross-section of equipment, I headed to a small forest within the Dartmoor National Park to capture the distinctive call of the Common Cuckoo, armed with a Tascam DR-40,  XLR to PiP adaptor, Hi-Sound Stereo Parabolic system, and a Wildlife Acoustics SM4 Acoustic recorder.

I initially walked a narrow path that cut through a steep section of woodland, at this point the cuckoos could be heard faintly calling from lower down in the valley. Locating a suitable tree easily accessible from the path, I decided to deploy the SM4. The SM4 has been designed to be exceptionally quick to set up straight out of the box and for this field test, I set it to ‘always record’ and secured it in place with a Python Mini Cable Lock.

Static recorder in place, I then used the Tascam DR-40 whilst walking through the woodlands to capture the changing soundscapes as I moved away from the sound of the river and closer to the open moor.

Tascam DR-40 in the field

The DR-40 has a clear front-facing screen that is easy to read in all light levels, pressing the record button once arms the unit allows you to see and hear the recording levels. A good pair of headphones is recommended for use with this unit as they are susceptible to a certain amount of handling noise.

I then connected the parabolic to the Hi-Sound parabolic to the Tascam using the XLR to PiP adapter.

Dropping off the path I headed towards the middle of the wood where the Cuckoos could be heard calling in the distance. The high directionality of the parabolic microphone was excellent allowing me to pick out individuals among the woodland birds present.

Late in the evening whilst preparing to pack up I was rewarded with a fantastic display as several cuckoos alighted on the trees around me, a recording of which is included below.

Summary

I highly recommend getting out and exploring natural soundscapes in your local area, especially at this time of year. As with any piece of equipment, it takes a few trips to really get a feel of what they’re capable of, but any one of these items could become a reliable piece of gear for your sonic explorations.

To view our full range of sound recording equipment please visit www.nhbs.com. If you have any questions on our sound recording range or would like some advice on the best set-up for your project please contact us via email at customer.services@nhbs.com or phone on 01803 865913.
Further Reading:

Listening In The Field: Recording and the Science of Birdsong
Hardback | May 2018
£29.99 

Joeri Bruyninckx traces the development of field recording and its use in field ornithology. Drawing on expertise from experimental music to serious science, it provides a thorough and wide-ranging investigation into the power of sound and listening.

The Sound Approach to Birding: A Guide to Understanding Bird Sound
Hardback | Dec 2006
£29.95


In The Field: The Art of Field Recording
Hardback | May 2018
£13.99


Please note that prices stated in this blog post are correct at the time of publishing and are subject to change at any time.


The NHBS Guide to Kick Sampling

Freshwater invertebrates Credit: Katharine Clayton

The presence or absence of freshwater invertebrates such as caddisfly (Trichoptera) and mayfly (Ephemeroptera) larvae, dragonfly and damselfly nymphs (Odonata) and planaria (Tricladida) can be used to provide an indicator of the health status of waterways.

Kick sampling

Kick sampling is a useful method for collecting these and other invertebrates from shallow waters and one of the key techniques used in monitoring freshwater invertebrates in rivers. The technique involves agitating the stones or sediment of a river or stream by foot and catching the sample in a sturdy hand net that is held downstream. Stones and logs can also be washed off carefully into the net and samples are usually taken both from faster flowing riffles and still areas of the river. The sample is then rinsed out of the net into a tray full of water for sorting and identification. Kick sampling is primarily a qualitative technique, to look at species diversity or presence/absence, but quantitative measures can be taken if a quadrat or transect is used on the floor of the water body to limit the sampling area and sampling time is controlled.
Scientist sorting biological net samples at a wetland

NHBS manufactures a range of hand nets that are the industry standard for kick sampling and are widely used by environment agencies and ecological professionals. Our Professional Hand Nets conform to the Environment Agency standards and we are the official Riverfly Partnership supplier. The Riverfly Partnership is a network of organisations bringing together anglers, conservationists, entomologists and relevant water authorities whose aim is to protect and monitor the water quality of our rivers.

The NHBS net range also includes smaller nets designed for students of all ages and a wide range of accessories and books to help with sample sorting and identification. Our hand nets are manufactured with a diverse range of net bags and handles to meet a wide variety of surveying purposes. We can also design and manufacture bespoke net designs in our workshop in Devon, so please do get in touch if you have special requirements.

Professional Hand Nets

The NHBS Professional Hand Net has been used for over 30 years in Environment Agency monitoring and was purpose designed to be lightweight, strong and long-lasting, with individual nets often still being used after ten years. Key features of the Professional Hand Nets include:

  1. The net bag is protected by the outer frame to minimise abrasion when kick sampling on stony surfaces.
  2. A range of mesh sizes are available, making it the ideal net for aquatic surveying of all macro- and microinvertebrates in shallow water. The bag mesh is either made from 1mm or 2mm woven polyester or precision welded nylon mesh (53µm to 500µm) and manufactured to international standards so that the mesh will stay the same shape and size, even under stress.
  3. The inner brass frame securely holds the bag away from the stony substrate and also allows the bag to be removed for sterilisation between sites.
  4. The comfortable handle is available in either a lightweight FSC wooden or aluminium version and both will float in water.  Two-part and three-part sectional wooden handles are also available, which can be unscrewed for transport or extended with extra sections.

Student Hand Nets

The Professional Hand Net is also available in a smaller Student version that is 200mm in width. This is designed to the same high quality as the larger Professional net but is ideal for educational use. The Student Hand Net is available with either a FSC wooden or aluminium handle and with net bag mesh sizes ranging from 250µm to 2mm, in standard 280mm or 380mm depth. We can design and manufacture bespoke nets so please do contact us with any requirements.

Lightweight Eco-Nets

The Lightweight Eco-Net has a strong aluminium frame that will withstand regular use both for kick sampling and pond dipping. Net heads are 160mm in width and 1mm and 2mm mesh bags are available to fit this frame. Bags attach to the head using industrial hook and loop strapping, making them easy to remove for replacement or sterilisation.

Riverfly Partnership Approved Kit

The Anglers’ Riverfly Monitoring Initiative (ARMI) is coordinated by the Riverfly Partnership and involves anglers and conservation volunteers from more than 100 partner organisations carrying out regular freshwater invertebrate surveys to check for severe changes in water quality. The Riverfly Partnership Approved Kit has been designed in conjunction with the Riverfly Partnership and contains everything the volunteers need to carry out these vital surveys: Professional Hand Net, bucket, sample trays, pipettes, freshwater invertebrate ID guide, spoon, brush and magnifiers.

Banner Net

The Banner Net is a rectangular net measuring 90 x 100cm that is supported on each side by a 120cm wooden pole. The bottom edge of the net is reinforced with a removable, flexible rubber rod. Two hook and loop tabs keep the net rolled neatly when not in use. Available with 500mm mesh, which is ideal for kick sampling of benthic macroinvertebrates.

Kick Sampling Accessories

  1. White Sampling Trays  
  2. White Plastic Bucket 
  3. Graduated Pasteur Pipette
  4. Featherweight Forceps
  5. Q1 Quadrat
  6. 60ml Collecting Pot
  7. Large Pipette 
  8. 9 Pocket Round Sample Specimen Tray

The Freshwater Name Trail

This 8-page fold-out chart is a fully illustrated key to help users identify the main animal groups found in freshwater. None of the identification in the key goes beyond family level, and some of it stays at the phylum or class.

Freshwater Life of Britain and Northern Europe

A beautifully illustrated guide to the wide variety of species found in rivers, streams, lakes and ponds in Britain and Europe.


See our complete range of kick sampling equipment online.