Over time nest boxes can become home to parasites such as lice, fleas and mites, so giving them a thorough clean at the end of each breeding season is good practice to ensure the health and safety of the birds nesting there. Removing old nest material also means that the following year’s birds can build their own nest as far as possible from the box entrance hole, thus reducing the risk of predation.
When to clean your nest boxes
The best time to clean out your nest boxes is in the autumn, after any young birds have fledged. Any time between September and January is fine, but bear in mind that birds who have raised a late brood may still be occupying boxes throughout September. By cleaning boxes during October or early November, you will also be able to leave them undisturbed for birds to roost in during the winter. Unhatched eggs may only be legally removed between 1st September and 31st January (or 1st August and 31st January in Scotland) and any eggs must be destroyed.
What you need
• Rubber gloves
• Stiff brush or nest cleaning tool
• Boiling water
• Wood shavings/clean hay (optional)
What to do
1. If possible, remove the box from the tree/wall so that you can safely work at ground level. 2. Wearing rubber gloves, remove old nesting material from the box, along with any unhatched eggs. Eggs must be disposed of – it is illegal to keep them. If possible, try to remove the nest in one piece, as it is fascinating to study the structure and to see the variety of materials that have been used in its construction. This is a great thing to do with children! 3. Use a nest cleaning tool or stiff bristled brush to clean out any remaining debris from the box corners. 4. Use boiling water to kill any lice, fleas or parasites. Don’t use soap, insecticides or flea powders as the residues of these can be harmful to birds. Leave the box open, preferably in a sunny spot, so that it can dry out. 5. Placing some clean hay or wood shavings in the base of the box may encourage mammals to hibernate or birds to roost in the box over winter. This is not essential, however, and any nesting birds arriving in the spring will bring in their own nest-building material.
Cleaning Bird Feeders
While you’re in the garden cleaning your nest boxes, why not take the opportunity to clean out your feeders and bird table too, ready for use over the winter. To thoroughly clean a bird feeder, first empty out all of the old food. Mix up a solution of animal-safe disinfectant in a bucket and soak the feeders for 10-15 minutes. Use a bottle brush to scrub them then rinse thoroughly in cold water. Leave feeders to dry before refilling.
Health and Safety
By following a few simple guidelines you can make sure that both the birds’ and your own health are not compromised. Always wear rubber gloves when cleaning out your nest boxes and feeders and make sure to wash your hands and forearms well with hot soapy water when you have finished. Take care not to breathe in any of the dust when emptying out the remains of old nests. Both nest boxes and feeders should be cleaned outside rather than bringing them into the house. If possible, nest boxes should be removed for cleaning, as dealing with boiling water while perched at the top of a ladder is not advisable. All brushes and equipment used for cleaning boxes, feeders and bird tables should be cleaned after use and should only be used for this purpose.
Now is the time of year when many bird species are starting to defend territories more noisily and to look for suitable nest sites. To coincide with National Nest Box Week (14th to 21st February), we have been busy selecting our favourite nest boxes, updating our advisory blog posts on where to site nest boxes and how to put them up, and installing our own nest box cameras at our warehouse in Devon.
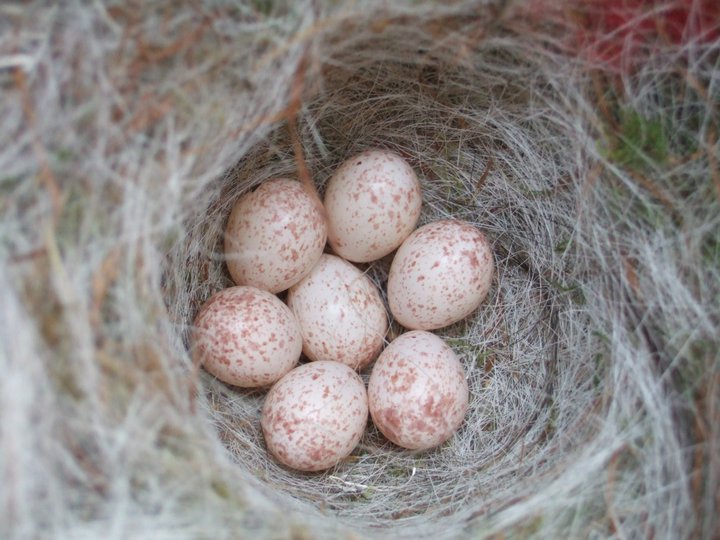
Great tit eggs – Photo: S. Webber
At this time of year, the birds will currently be exploring nest sites and should start bringing nesting material into the boxes in the next couple of weeks.
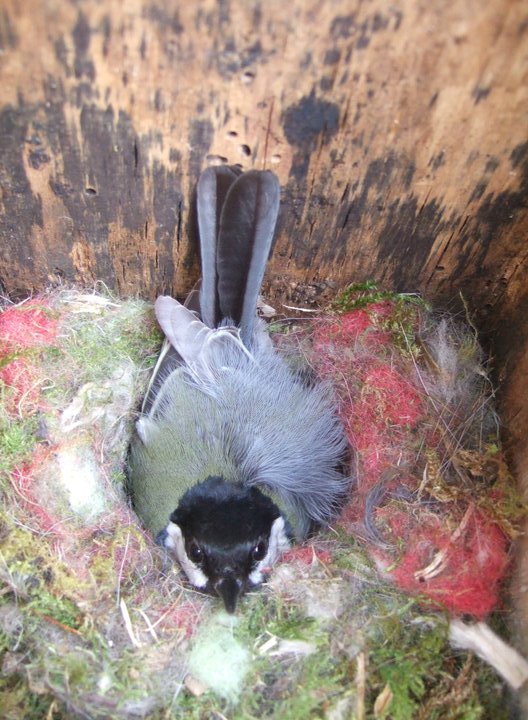
Incubating great tit female – Photo: S. Webber
Given that it has been a mild winter, the breeding season should start earlier this year, but we still would not expect the first eggs to appear until April. This means that there is still time to get a nest box up in your garden to provide much needed nesting space for birds. You could even consider enjoying this amazing spring spectacle up close with a nest box camera.
Choosing the nest boxes and cameras
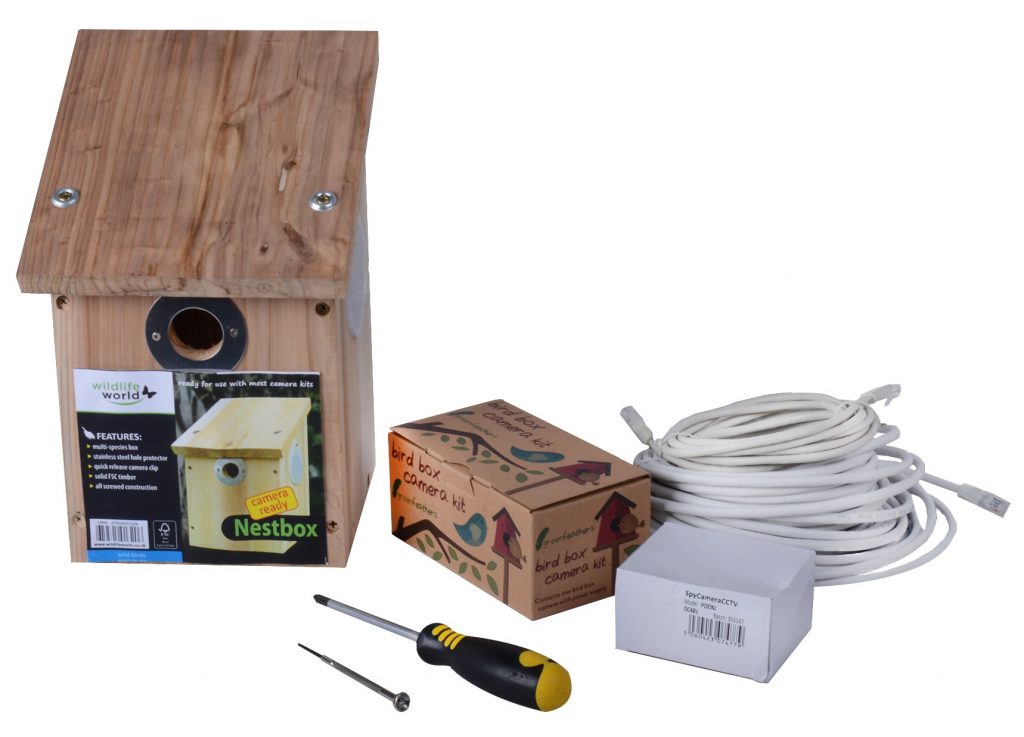
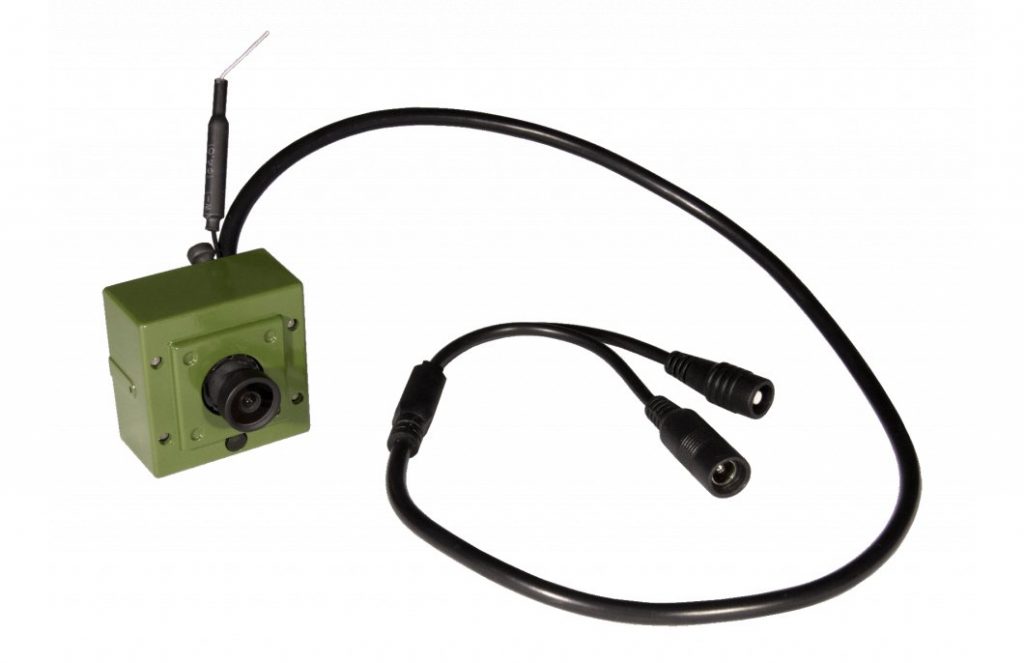
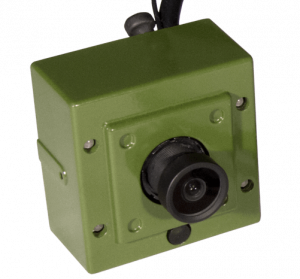
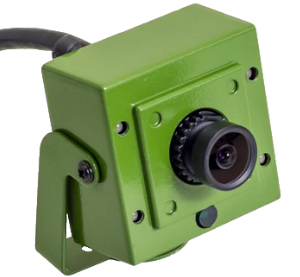
We chose two of our Camera Ready Nest Boxes because they have a perspex panel in the side to let in extra light, which gives better daytime images in colour, and a camera clip on the lid. We then selected two of our most popular cameras, the WiFi Nest Box Camera, which can stream footage directly to a smartphone or tablet, and the IP Nest Box Camera, which can provide a live stream to a website. There are many options available when it comes to selecting a nest box camera, and our blog post on Watching Wildlife – How to choose the right Nest Box Camera can help you decide between the different options.
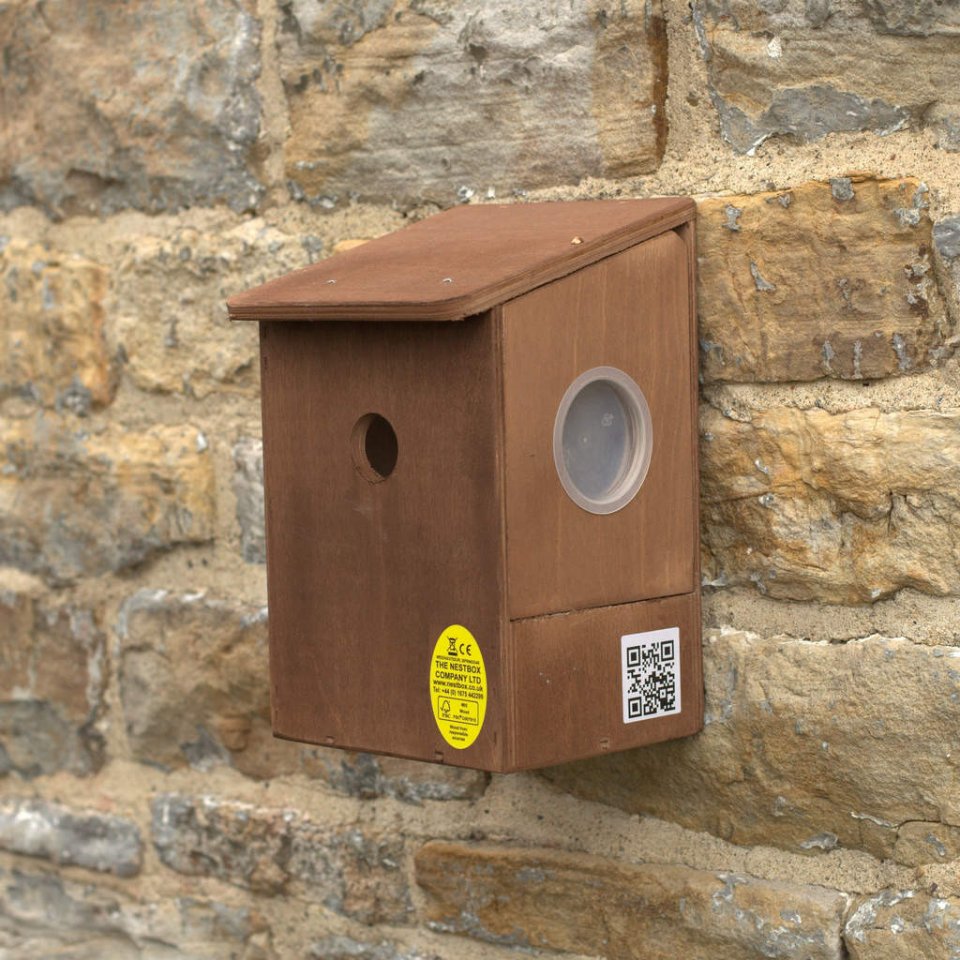
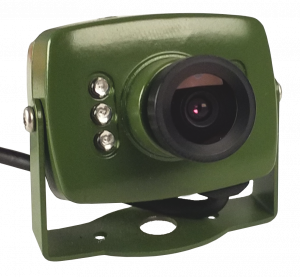
The Camera Ready Nest Box and IP Nest Box Camera
How to install the camera in the nest box
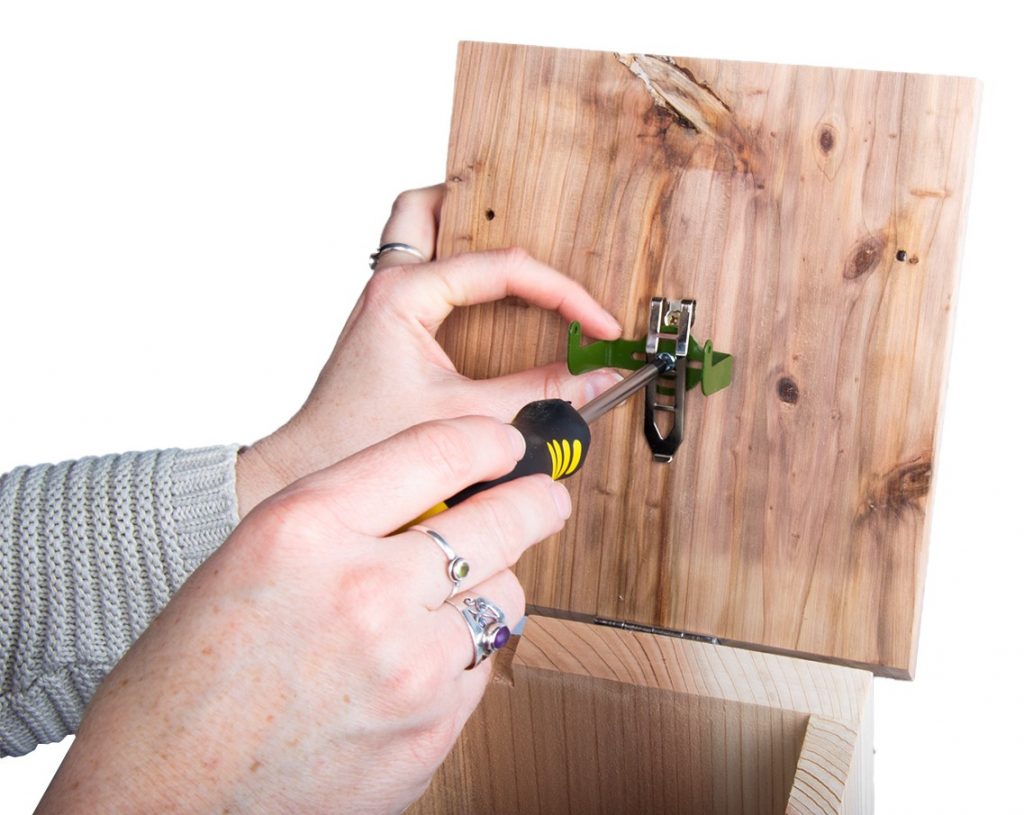
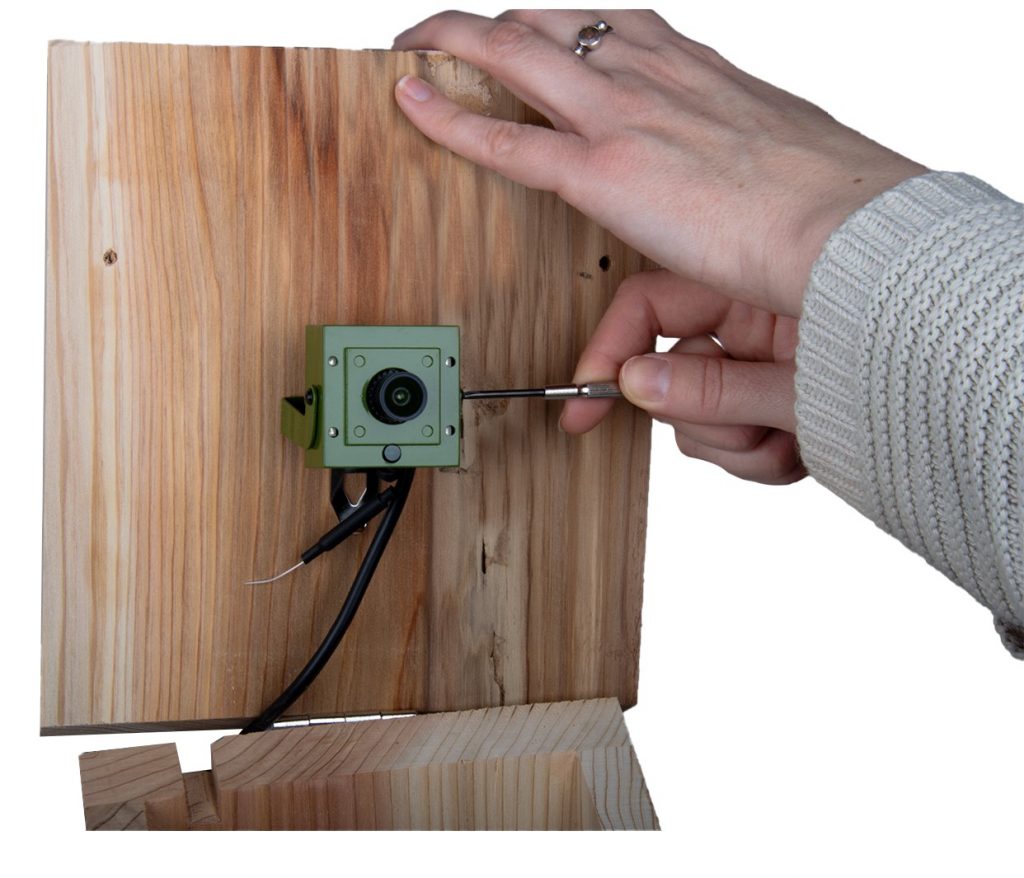
The procedure for attaching the camera to the lid was the same for the WiFi and IP cameras. We found that the easiest way of installing the camera into the box lid was to attach the camera bracket to the lid first and then to attach the camera to its bracket afterwards. We unscrewed the camera clip with a large Phillips screwdriver, slid the camera bracket underneath the clip on the inside of the lid and then tightened the clip screw back up again.
Unscrewing the camera clip and attaching the bracket
Then we attached the camera onto its bracket using a very small Phillips screwdriver.
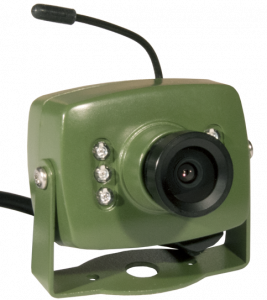
Attaching the WiFi camera to its bracket
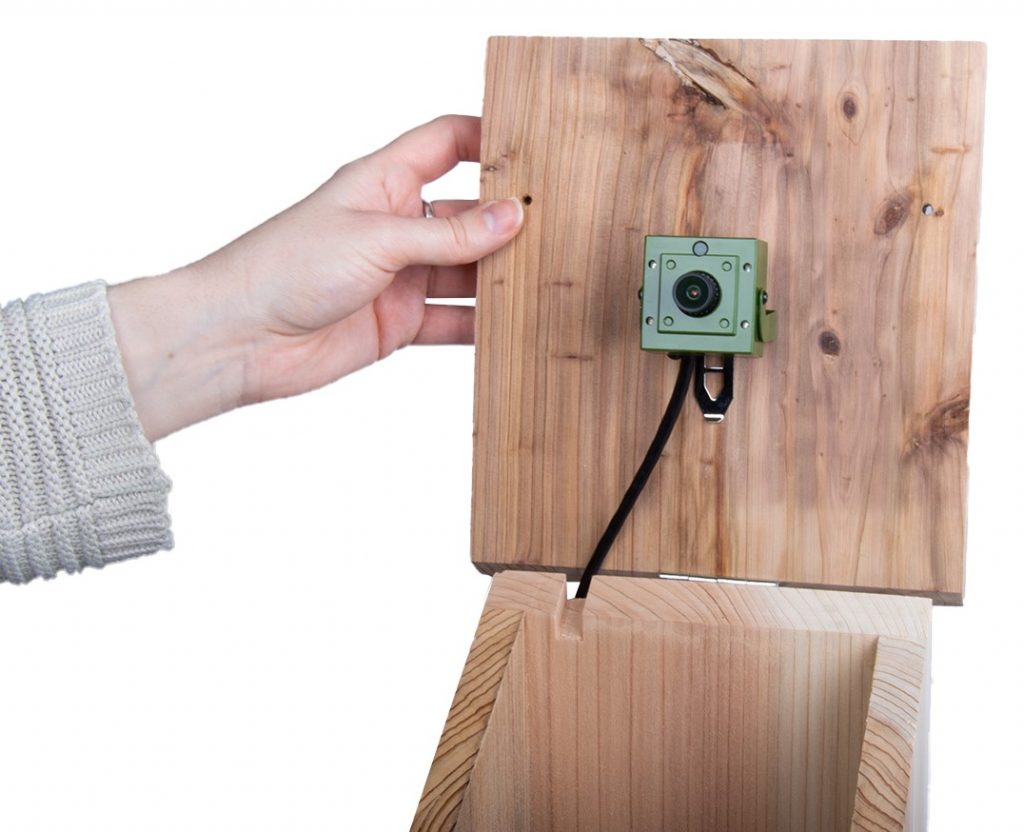
With the WiFi camera we found that it was best to point the aerial downwards because our nest box roof was sloping. You can check the angle of the camera through the perspex panel on the side – it is best to have it pointing directly downwards and not angled. Ensure that the camera cable is running out of the notch on the back of the box so that the lid fits down snugly.
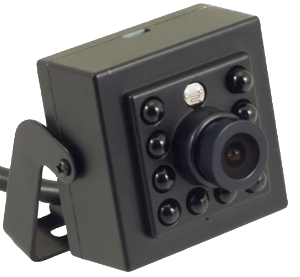
IP Nest Box Camera in position
Putting up the nest boxes
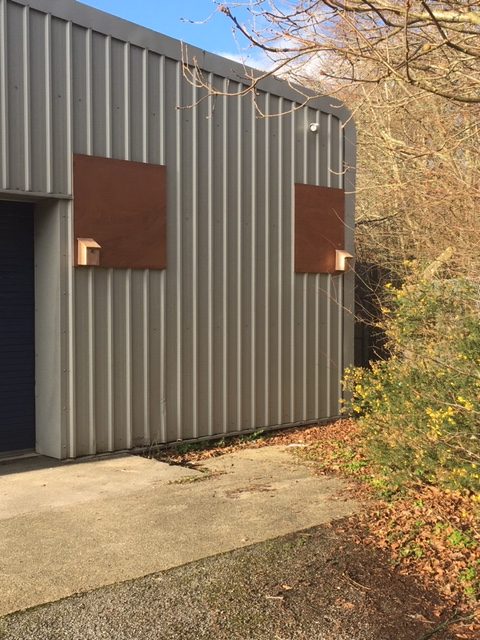
We sited the nest boxes on the eastern side of the building close to the tree cover along the river. To maximise the chances of occupation, it is advisable to site boxes for cavity nesting birds such as blue and great tits away from prevailing winds, and with a direct flight path to some tree cover. We attached them securely to the wall, approximately 2m off the ground – this is high enough to prevent interference but close enough to reach for monitoring and maintenance. We have put them as far apart as possible from each other and out of the sight of our bird feeder around the corner. We think that it may be unlikely that tit species would nest that closely to each other but if the boxes are occupied by house sparrows then these two boxes could form the start of a colony.
Connecting up the cameras
The IP Nest Box Camera connects via Ethernet cable directly into a router, hub or switch and then you need to choose software to allow you to access the camera feed and live stream to a website. We are currently trialling Anycam.iO. If there is no WiFi network, the WiFi camera can be used as a standalone WiFi source that you connect to directly with your smartphone or tablet. Alternatively you can tether the WiFi camera to your existing WiFi network and access it as a node on the network. The WiFi camera is viewed via an app on your smartphone or tablet and we are currently trialling ICSee Pro.
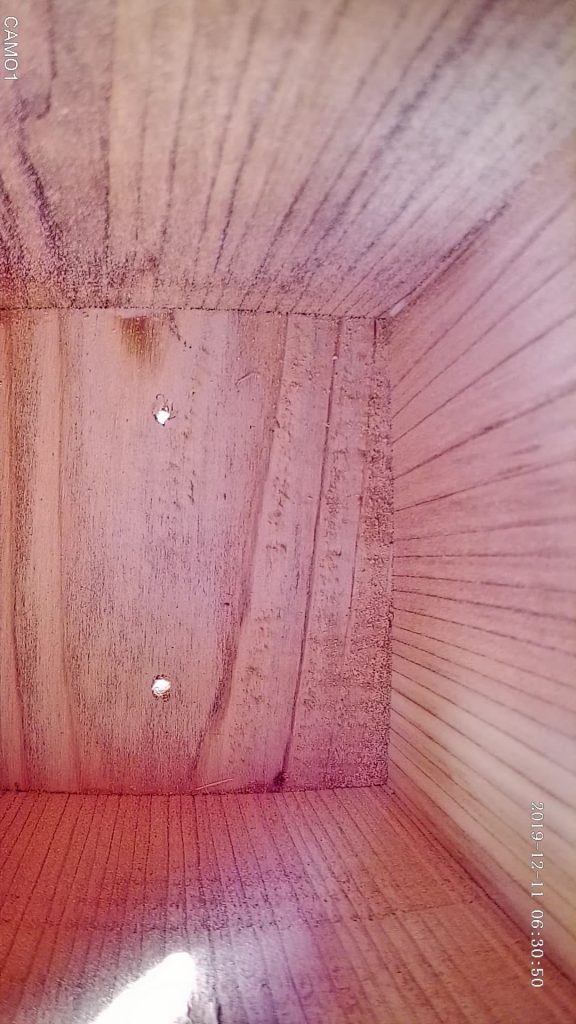
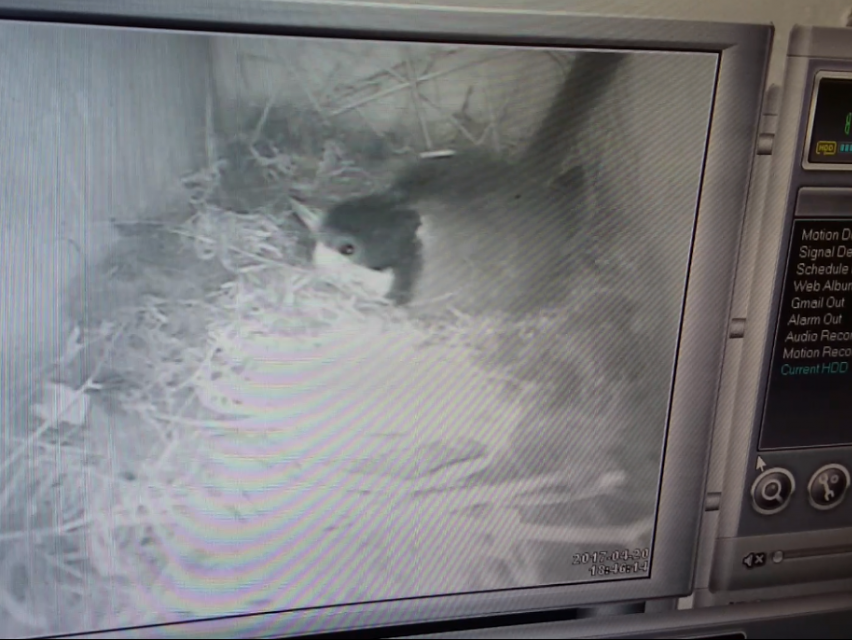
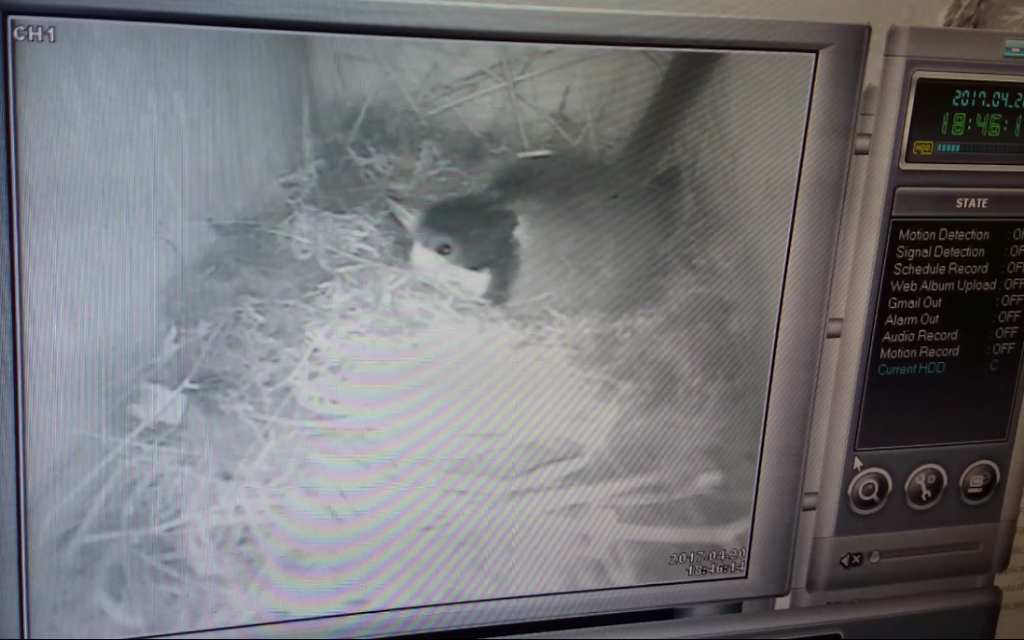
The current view in the IP camera nest box
Now we just have to wait and hope that the local birds decide that these are desirable nesting sites! For further advice on nest boxes and cameras, please do not hesitate to contact our team of Wildlife Equipment Specialists.
We have previously looked at the where to hang and how to maintain a nest box. Now we’d like to get down to the details, and take a look at the actual process of putting the box up.
For most situations, you will want to put the box on a tree, fence or wall, so we will address each of these individually. (If you have a box that is designed to be built into a house wall or roof, then it is likely that your builder will care of this for you).
The tips below are suitable for both bird and bat boxes.
Fixing to a tree
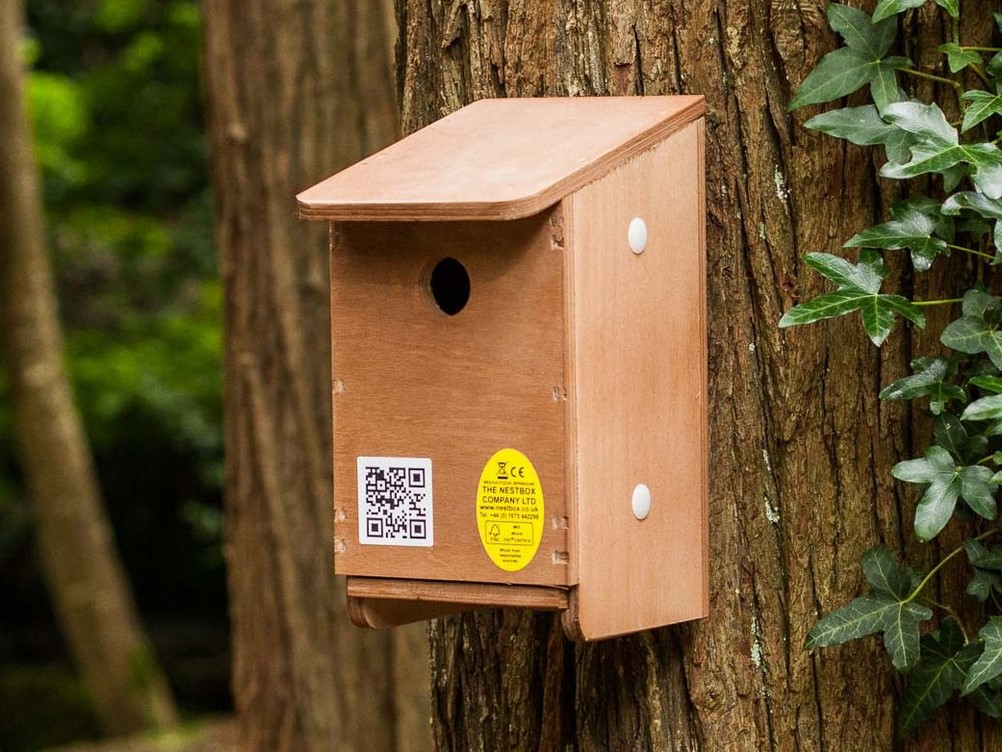
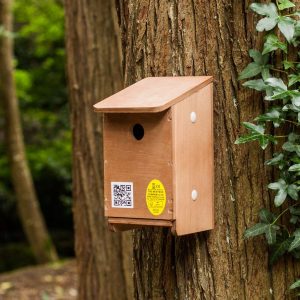
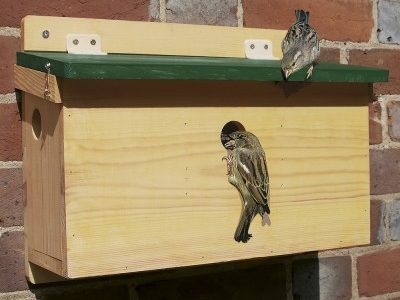
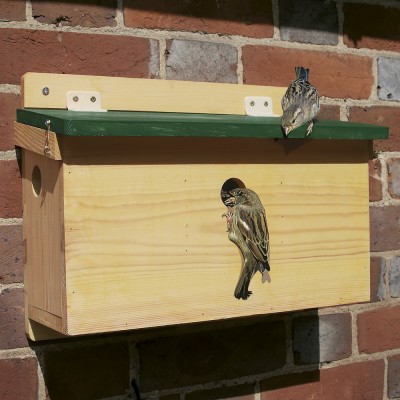
Tree Sparrow Nest Box
There are several things to be aware of when attaching a nest box to a living tree. The most important is that the growth of the tree will affect the fitting. This means that boxes should be checked at least once a year to make sure that they are still secure. A box which has fallen to the ground is of little use to birds, and one which falls down with a nest and eggs inside is disastrous.
The most common way to put up a nest box is using a strong nail which is at least 85mm in length. It is important to use aluminium nails, as these will not damage a chainsaw (or chainsaw user), should they be left in the tree when it is felled. Nylon, brass, copper and hardwood nails can also be used but steel nails should be avoided as they will quickly rust, making them difficult to adjust or remove.
Using a screw instead of a nail can also be a good option and means that you can loosen it by a couple of turns every year to compensate for the growth of the tree. Screws are more suitable for hardwood trees as they will be very difficult to adjust in softwood. Make sure that all nails or screws are removed from the tree if the boxes are taken down.
An alternative to using a nail or screw is to tie the box to the tree. Wire and synthetic twine both work well and, if boxes are tied loosely, they can be edged upwards as the tree grows. Boxes can also be hung from a horizontal branch if they come with a suitable hanger (e.g.Schwegler 1B).
Fixing to a fence
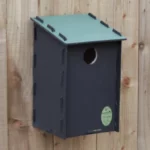
Eco Starling Nest Box
Hanging a bird box on a fence poses fewer problems than siting a box on a tree, as you will not need to worry about the wood growing. Use a strong nail or screw and check it annually to make sure that it still feels secure.
Fixing to a wall
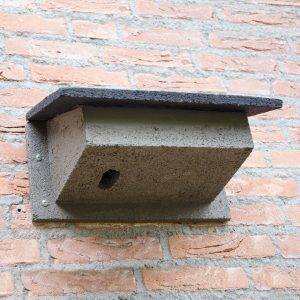
WoodStone Swift Nest Box
To fix a box to a brick wall will require a power drill with hammer action, masonry bits and a screwdriver. You will also need wall plugs and screws which are small enough to go through the hole in the box. Using the drill, make a hole which is slightly longer than your wall plug. (You can use a piece of tape around the drill bit to indicate the depth to which you need to drill). Insert the plug and then screw in the screw, first threading it through the hole in the box. Having a second person to hold the box will probably be helpful and, if you are using ladders, make sure that you take sensible steps to ensure your safety. Appropriate eye protection and clothing should always be worn.
There is a shortage of natural nesting sites for birds and this has played a part in the decline of some of the UK’s most iconic species. It’s easy to provide nesting opportunities for birds in our gardens and outdoor spaces, and with spring rapidly approaching, now is the ideal time to start thinking about nest boxes for your local birds ahead of the breeding season.
In this blog, we answer some of the most frequently asked questions about nest boxes – covering where and when to put them up, cleaning and maintenance, how to deal with predators and more.
When is the best time to put up nest boxes?
There really is no ‘best’ time to put up nest boxes. By putting up boxes in the autumn you can provide much needed winter refuges for roosting birds and possibly increase the chance of them staying and nesting there when spring comes around. However, any box erected before the end of February stands a good chance of being occupied if it is sited correctly. Even after February there is still a chance that they will be used; tits have been known to move in during April and house martins as late as July. Therefore, put your nest box up as soon as it is available rather than leaving it in the shed!
Where should I hang my nest box?
1B Schwegler Nest Box
Locating your nest boxes correctly is one of the key determinants in how likely birds are to occupy them, therefore the ‘where’ is much more important than the ‘when’. Nest boxes must provide a safe, comfortable environment and protect the inhabitants from predators and the worst of the weather. This may be difficult to achieve; a safe location out of reach of predators may also be exposed to the weather, so have a good think before you start putting nails in.
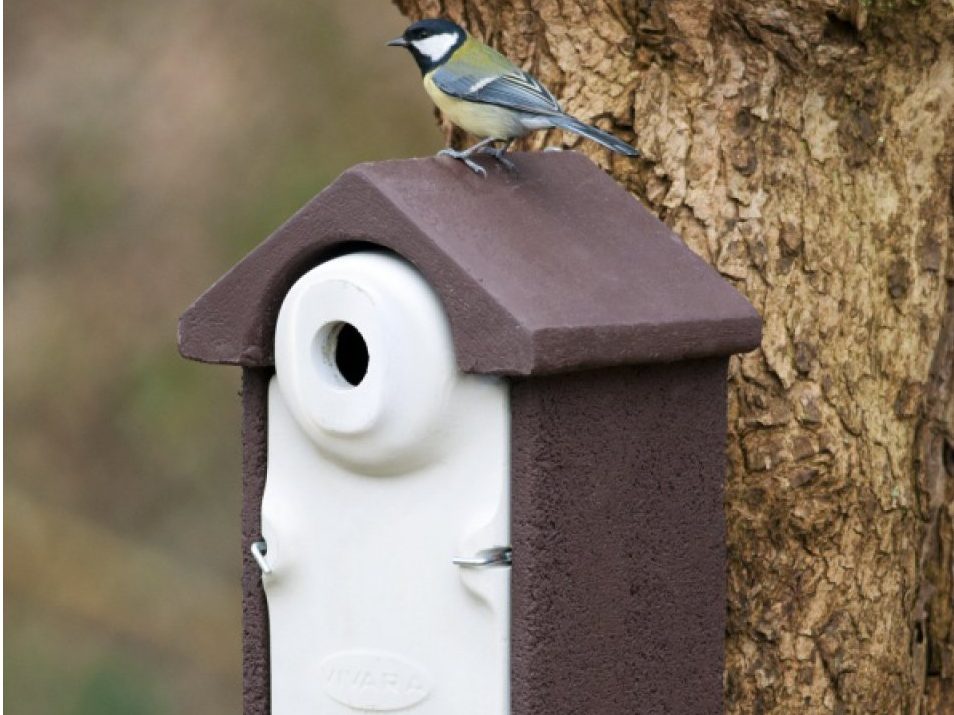
Nest boxes can be fixed to walls, trees or buildings, and there are an array of different styles of boxes that suitable for each location. Fixing to artificial surfaces means the growth of the tree does not have to be taken into consideration, which is useful for Schwegler and Vivara Pro nest boxes that can last for at least 20-25 years: a significant amount of time in the life of a small tree. If you’re planning any building work, remember that some bird and bat boxes can also be built directly into walls and roofs.
Incubating Great tit – Photo: Simone Webber
Locating boxes out of the reach of predators can be a challenge (weasels can climb almost anything), but there are things you can do to make it harder for them. Boxes in gardens should be located where cats cannot get to them, and prickly or thorny bushes can also help to deter unwanted visitors. Some nest boxes also have anti-predator designs (e.g. Schwegler’s 1N deep nest box). It is also best to avoid nest boxes that have a combined bird feeder and boxes should not be sited too close to the bird feeders in your garden. Visitors to the feeder may disturb the nesting birds and the feeder could attract unwanted attention from predators.
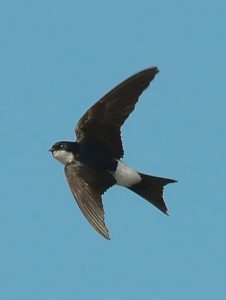
The height of the box is not crucial for many species, however, by placing it at least two metres off the ground you can help prevent predators and human interference. The direction of the entrance hole should be away from the prevailing wind and it is beneficial for there to be a clear flight path to the box. Crucially, the box should be also be sheltered from the prevailing wind, rain and strong sunlight, so in most UK gardens aim for a northerly, easterly or south-easterly aspect. If possible, position the box at a slight downward angle to provide further protection from the rain. There are a few species do have specific requirements for where a box should be sited (e.g. house martins and swifts nests need to be sited under the eaves); please see our product details for particular instructions for different species.
Wherever you position the box, try to ensure that you can still get access to it for maintenance. And finally, if possible, try to put it somewhere where you can see it, or invest in a nest box camera, so as to maximise your enjoyment of watching wild birds in your garden.
Is there anything else I can do to deter predators?
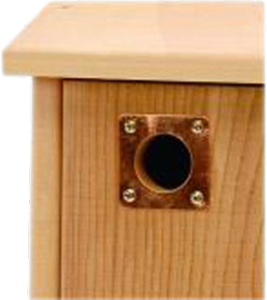
Entrance hole protection plate
As already mentioned, location is the most important factor when trying to deter predators. Whilst some mammals can climb walls, a blank wall is fairly inaccessible so can be a good choice. Ensure that the box cannot be reached by a single jump from a nearby branch or the ground.
Box design can also help deter predators. An entrance hole reinforced with a metal plate will prevent grey squirrels and some avian predators from enlarging the hole and gaining access to the nest. Woodcrete and WoodStone boxes are too hard for any predator to break through. However, you can also reinforce a nest box yourself with metal protection plates or provide additional protection with prickly twigs. Deep boxes may prevent predators reaching in and grabbing nest occupants, although some tits have been known to fill up deep boxes with copious quantities of nesting material. If you’re using an open-fronted nest boxes, a balloon of chicken wire over the entrance can work well. If you live in an urban area, cats are likely to be the most common predator. Gardeners have long since used various methods to exclude these unwanted visitors, such as pellets and electronic deterrents, all with varying degrees of success.
Great tit eggs – Photo: Simone Webber
How do I manage the nest box?
A well-designed nest box will only need one annual clean in the autumn. It is important not to clean out nest boxes before August as they may still be occupied. Wait until autumn and then remove the contents, scattering them on the ground some way from the box to help prevent parasites re-infesting the nest box. Wear gloves and use a small brush or scraper to remove debris from the corners. Boiling water can be used to kill any parasites remaining in the box, but remember to leave the lid off to dry out fully. Do not wait until the winter to clean out nest boxes as birds may already be roosting in them. The tit species do a thorough clean out of any old nesting material or roosting debris before they begin nesting again, but it will save them energy if you can help out.
How many nest boxes do I need?
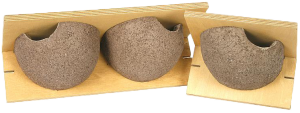
House Martin Nests
The exact amount of boxes required will depend on the space available, species and the surrounding habitat. As a very general rule of thumb, start with ten assorted small boxes per hectare (ensure uniform spacing between boxes). Keep adding several more boxes each season until some remain unused and hopefully you’ll hit on the correct density of boxes. However, even if you only have space for one box it is still worthwhile, providing it is suitably located, as many UK bird species need all the additional nesting habitat they can get.
If you are interested in installing a nest box camera into one of your bird boxes, take a look at our “How to choose the right nest box camera” article for more information on choosing the model that’s right for you.
Further information about individual nest boxes, including advice on positioning, can be found alongside each nest box in our range. If you have any other questions or would like any further advice, then please get in touch with our team of Wildlife Equipment Specialists.
This is part two of our series that looks into different ways of filming wildlife in your back garden. In this part, we will take a look at nest box cameras and how to choose the right one for you. For tips on how to choose the right trail camera, check out part one of this series.
There is a whole world of wildlife in our back gardens, but often these creatures can be elusive or hidden away. Our range of wildlife equipment can offer you an amazing insight into their world from the comfort of your house, without the risk of disturbing your wildlife.
Come early spring, our garden birds will begin their breeding season. Placing a nest box in your garden will not only give breeding pairs a helping-hand in finding somewhere safe to have their young. But it also provides an opportunity for you to get up close and personal with the goings-on inside with the use of a nest box camera. There are several options and kits out there and a few things to think about when it comes to picking a nest box camera. Here, I will offer some advice and options to ensure you can find the kit that is right for you.
A glimpse into the nest box by Simon Redwood via Flickr (CC BY 2.0).
Wired, Wireless or WiFi?
The difference in nest box cameras come mainly in the way that you receive images from the camera itself. These are either wired, wireless or WiFi. Standard Definition Wired kits and High Definition Wired kits can provide better, higher quality, more reliable images, but are sometimes not as convenient as Wireless or WiFi kits.
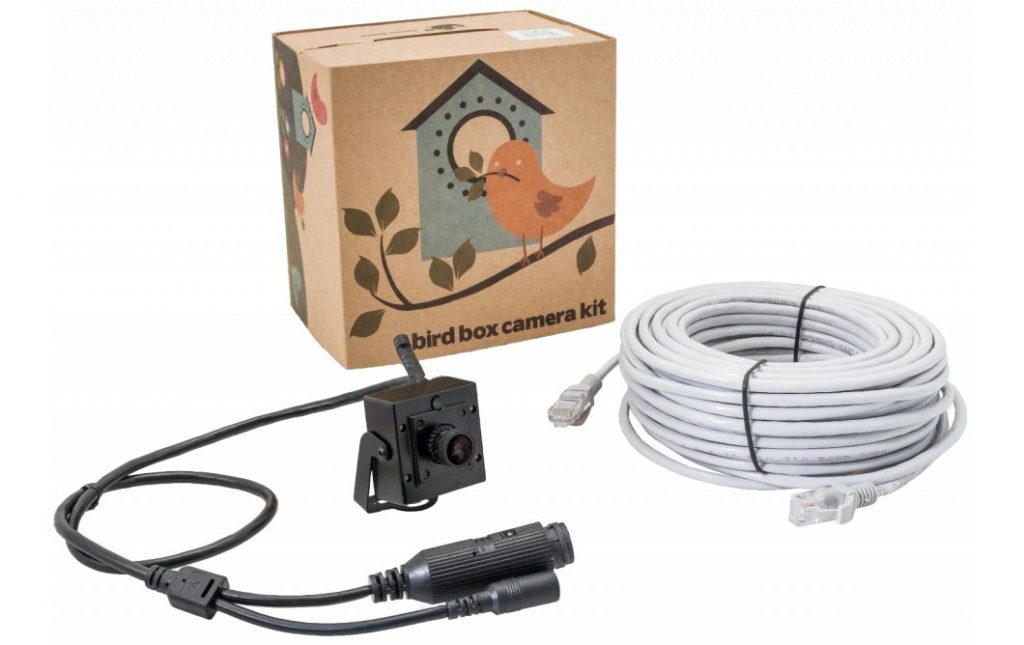
IP nest box cameras are also wired cameras, however they are powered and transmit footage via supplied Ethernet cables. These cameras have a great video quality as well as the ability to remotely view your footage on a computer or smartphone.
Note that Wireless and WiFi cameras still require power from either the mains (extension leads are available to buy separately) or from an external rechargeable battery.
Kit Contents
If you are completely new to nest boxes and nest box cameras, complete kits are available with a nest camera and a nest box. Alternatively, if you are looking to purchase a nest box camera, but you already have a nest box, then you can buy nest box cameras separately.
Viewing your footage
You can view your footage in a variety of ways depending on what camera or extra equipment you have.
Standard Definition Wired – These plug straight into your TV with an AV cable. However if you want to view and record footage on your laptop or computer, you can buy a USB video capture device for both Windows and MacOS. The software included with these USB devices also allows you to set up motion detection or schedule recordings.
High Definition Wired – These cameras use a HD Converter which, when plugged into a monitor or TV, can show a live-feed from your nest box in 1080p HD quality. Theses cameras can be plugged into a USB capture device, however they can only transmit standard definition video when used in this way. These cameras do not record audio.
Wireless – These cameras transmit their footage to a receiver which can then plug directly into your TV using the provided AV connectors, or into your PC or laptop via a USB capture device.
WiFi – These cameras transmit their footage over their own WiFi connection. This means you can connect your smartphone, tablet or PC to the camera’s WiFi to view or record footage.
IP – These cameras transmit their footage via long Ethernet cables which are plugged either directly into your router or into a wifi booster on the same network. Once set up on a PC or smartphone app, you can watch live footage of your nestbox from anywhere in the world.
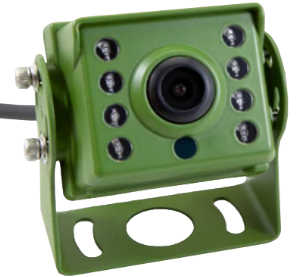
Wired HD Outdoor Camera– These cameras use the same technology as the wired HD nest box camera, but in a weatherproof housing. They are perfect for installing in an outdoor space, particularly near areas of activity such as bird feeders or nest box entrances. These cameras do not record audio.
If you need to use a wireless camera, a Digital Video Recorder kit is also capable of live-streaming. The wireless receiver can be plugged into the DVR which can be connected to your internet router to enable live-streaming. The DVR itself allows you to set up motion-detection or scheduled recording. You can also add up to four cameras to the DVR which may be useful if you want to watch from multiple angles or from multiple nest boxes.
You may have a particular species of bird in mind that you are hoping to capture on your nest box camera. Our nest box camera kits with boxes are aimed towards common garden birds. The species of birds that you may attract depends on the entrance-hole size.
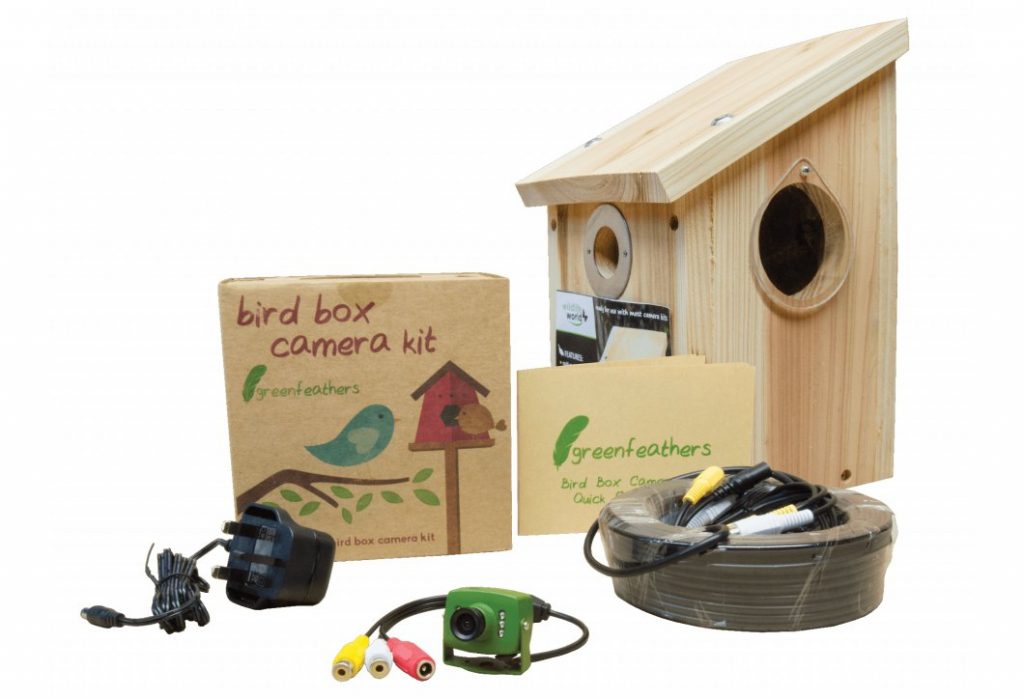
A 32mm hole, such as that of the Gardenature Nest Box Camera System, is suitable for House Sparrows, Nuthatches, Blue Tits, Coal Tits, Marsh Tits and Great Tits. It also has a removable front panel that is ideal if you are looking to attract robins or wrens.
Nest Box Camera Kit
The Nest Box Camera Kit has a removable 29mm plate that can attach over its 32mm hole meaning it is capable of attracting a range of species. If you are looking to attract anything larger or a more ‘picky’ species, then you may want to buy a species-specific nest box and fit one of our separate nest box cameras to this.
The Hedgehog Camera Kit
The Hedgehog Camera Kit – Wired camera
If you are lucky enough to have hedgehogs in your garden, why not see what they’re up to alongside giving them a safe place to nest? Our Hedgehog Camera Kit includes a high-quality wooden hedgehog nest box, designed and tested by the Hedgehog Preservation Society. It also includes a tiny camera that can easily be screwed to the roof or side of the box with no modifications required. Available with wired, wireless or Wi-Fi cameras.
Suggested Reading
CCTV for Wildlife Monitoring – An Introduction
For a collection of handy tips, tricks and ideas, Susan Young’s book CCTV for Wildlife Monitoringis an ideal guide for photographing wildlife in your garden. Whether you are an experienced trail camera user or a newbie looking to order your first nest-camera, Susan Young’s book will offer a wealth of information to help you get even more out of your equipment.
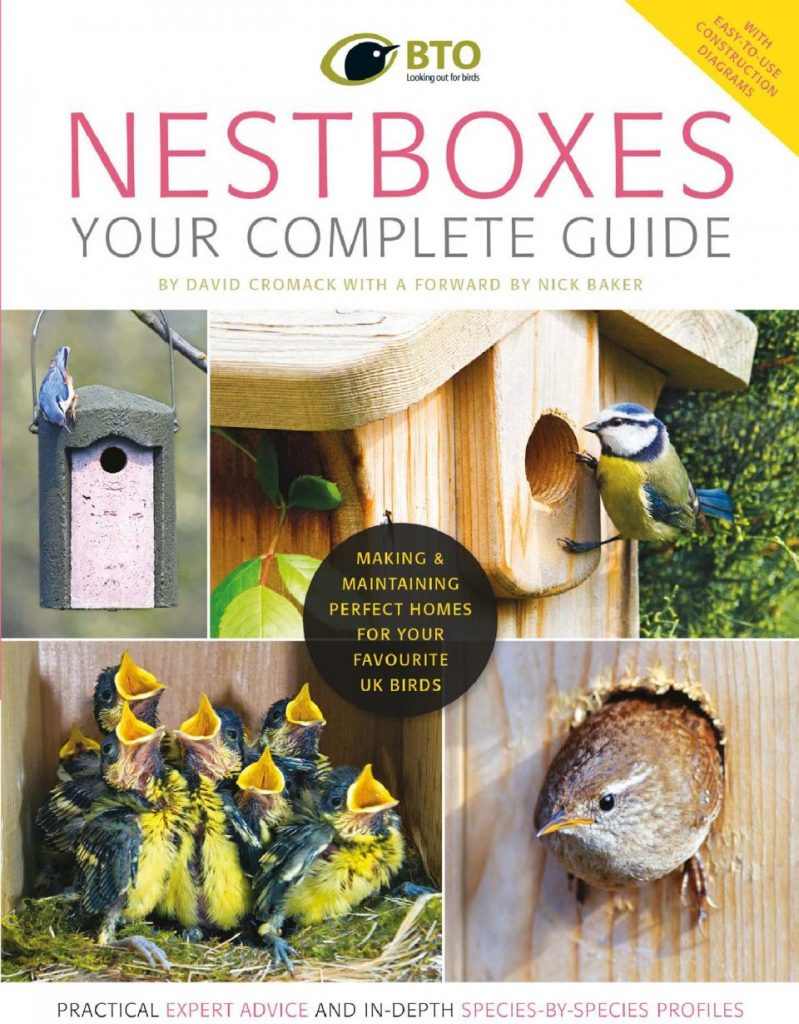
If you wanted to read more about how to make, monitor and maintain your bird box, Nestboxes: Your Complete Guide is a great book that will guide you through everything you need to know about your nest box and its inhabitants.
Would you like some more advice on which trail camera or nest box camera is most suitable for you? Contact us on +44 (0)1803 865913 or email customer.services@nhbs.com . Alternatively, reply below and we will get back to you.
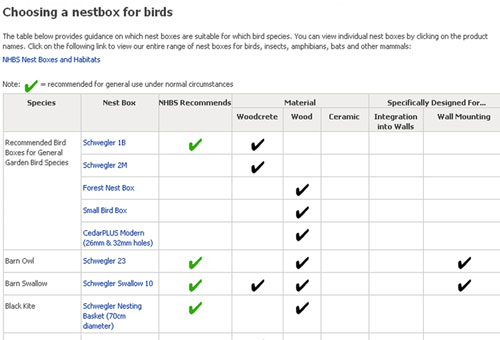
This guide is designed to help you choose the best bird box, based on the species of bird that you are hoping to attract, or that you know can be found in your garden or other outdoor space. Species are organised alphabetically by common name, and for each one we have included information about the preferred type of box and siting location. You will also find a handy list of suitable boxes available from NHBS.
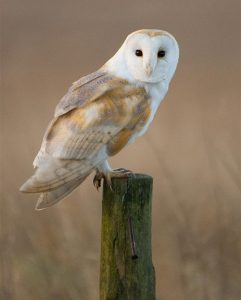
• Box type: Large box with entrance hole measuring at least 150 x 200mm. An exercise platform for young owls is also beneficial. • Siting guidelines: At least 4m high in an undisturbed area, away from roads. Boxes can be installed inside a barn if there is a clear flight path to the entrance. • Suitable boxes: Barn Owl Nest Box Eco Barn Owl Nest Box Triangular Barn Owl Nest Box Flat-Pack Barn Owl Nest Box
Blackbird – Turdus merula
• Box type: Medium box with platform-style front. • Siting Guidelines: At least 1.5m high and preferably within a bush or shrub. • Suitable boxes: Blackbird FSC Nest Box
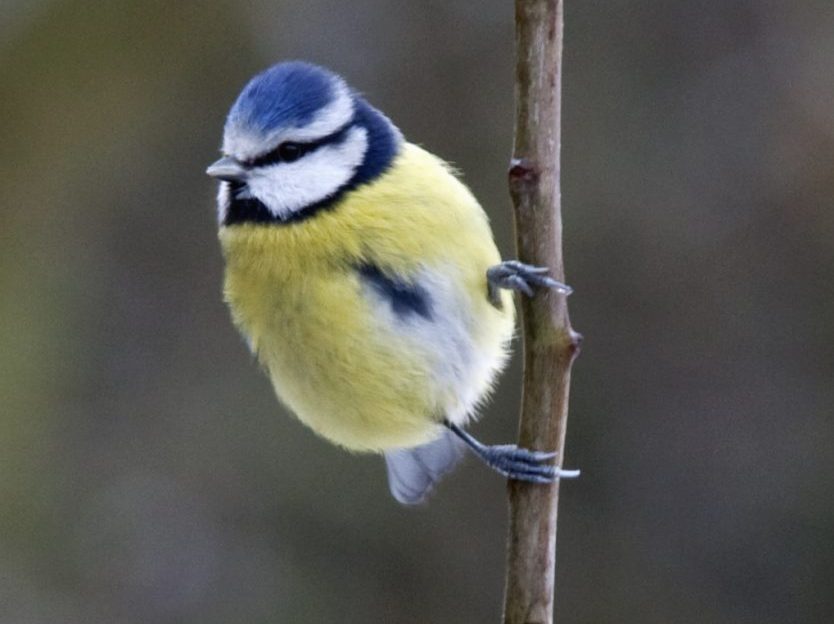
• Box type – Small box with 25mm entrance hole. Will also use boxes with a larger hole if there isn’t competition from larger birds. • Siting guidelines – Trees and walls in gardens and woodland. 1-5m in height with a clear flight path. Avoid direct sunlight and busy areas of the garden.
• Box type: Small box with 28mm entrance hole. Will also use boxes with a larger hole if there isn’t competition from larger birds. • Siting guidelines: Trees and walls in garden or woodland. 1-5m in height with a clear flight path. There is some evidence to suggest that crested tits will only utilise boxes if they are filled with sawdust or wood shavings. • Suitable boxes: Vivara Pro Seville 28mm WoodStone Nest Box Small Bird Nest Box with 28mm Hole Apex Bird Box with 28mm Hole
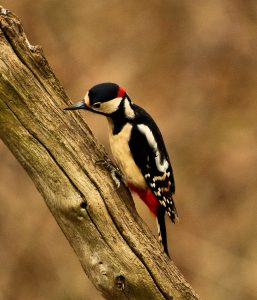
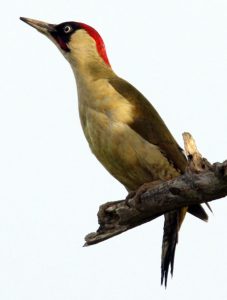
• Box type: Medium box with 50mm entrance hole. • Siting guidelines: On a tree at a height of 3 – 5m. Boxes should be stuffed with soft material such as rotten wood or bark. • Suitable boxes: Woodpecker/Starling Nest Box Woodpecker Box
• Box type: Medium box with 60mm entrance hole. • Siting guidelines: On a tree at a height of 3 – 5m. Boxes should be filled with soft material such as rotten wood or bark. • Suitable boxes: Large Bird Nest Box
• Box type: Small box with 32mm entrance hole. • Siting guidelines: On trees or buildings at a height of 2m or above. House sparrows are colonial nesters so multiple boxes can be sited near to each other, or terraced boxes used.
• Box type: Large box with 150mm entrance hole. • Siting guidelines: As high as possible on a building or tree (minimum 3m). Jackdaws are colonial nesters so several boxes may be placed close together. • Suitable boxes: Tawny Owl, Jackdaw and Stock Dove Nest Box
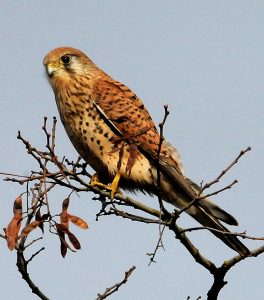
• Box type: Large box with open front. • Siting guidelines: On a tree or building at a minimum height of 5m with a clear flight path to the entrance. • Suitable boxes: Kestrel Nest Box Kestrel Open Nest Box
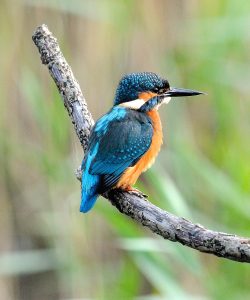
• Box type: Tunnel with rear nesting chamber. • Siting guidelines: Buried in a vertical bank beside a slow-moving river or lake. Only the entrance should be visible and it should be at least one metre above the maximum water level. Filling the tunnel with sand will improve the chances of occupation. If possible, two tunnels should be placed together, at least 70cm apart. • Suitable boxes: Vivara Pro WoodStone Kingfisher Tunnel
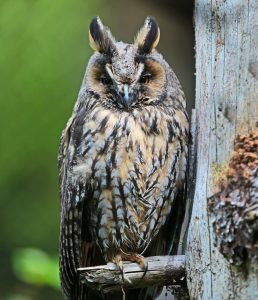
Little Owl – Athene noctua
• Box type: Tubular box with a 70mm entrance hole and internal baffle to reduce light. • Siting guidelines: On a horizontal branch at a minimum height of 3m. • Suitable boxes: Little Owl Apex Nest Box
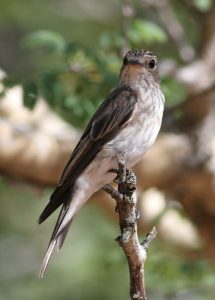
• Box type: Small box with 28mm entrance hole. • Siting guidelines: In a woodland, preferably overlooking a glade. Boxes should be installed at a height of 2-4m. If competition with earlier nesting tits is a problem, the holes of several boxes may be blocked up until the flycatchers arrive. • Suitable boxes: Vivara Pro Seville 28mm WoodStone Nest Box Small Bird Nest Box with 28mm Hole Apex Bird Box with 28mm Hole
• Box type: Tunnel, approximately 100mm in diameter • Siting guidelines: Tunnels should be filled with sand and buried into an artificial or natural sandbank. (Banks should be vertical or slightly overhanging). • Suitable boxes: Sand Martin Nest Box
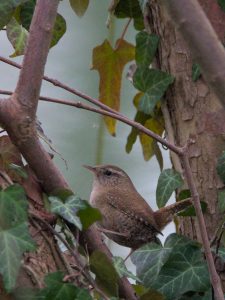
• Box type: Small box with open front. Front panel should be fairly low. • Siting guidelines: On a tree at a height of 2-4m and with a clear outlook (e.g. next to a lawn or woodland clearing). Alternatively on a building, nestled within ivy or other climbing plants. • Suitable boxes: Flatpack Bird Box – Open Front Robin Nest Box
Starling – Sturnus vulgaris
• Box type: Medium box with 45mm entrance hole. • Siting guidelines: On a tree or building at a minimum height of 2.5m. Starlings nest colonially so several boxes may be placed close together. • Suitable boxes: Woodpecker/Starling Nest Box Large Bird Nest Box Woodpecker Box
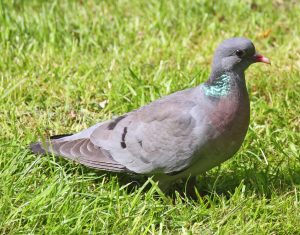
• Box type: Large box with 150mm entrance hole. • Siting guidelines: At least 3m high on a tree overlooking open fields or in an open barn. • Suitable boxes: Tawny Owl, Jackdaw and Stock Dove Nest Box
• Box type: Large box or chimney-style box with 150mm entrance hole.
• Siting guidelines: On a tree at a height of at least 2.5m with a clear flight path (particularly below the box).
• Suitable boxes: Tawny Owl Nest Box Tawny Owl, Jackdaw and Stock Dove Nest Box
Nest boxes are an increasingly important tool in helping to reverse the decline of many bird species. With such a broad range of nest boxes available, we’ve put together a table to help you to find the right nest box regardless of where you live and what species you’d like to help.

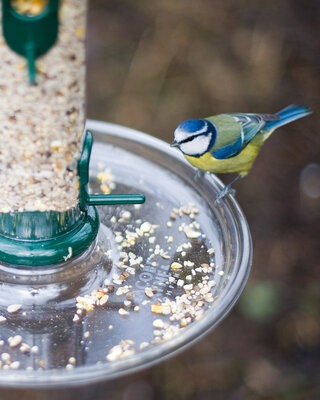 While you’re in the garden cleaning your nest boxes, why not take the opportunity to clean out your feeders and bird table too, ready for use over the winter. To thoroughly clean a bird feeder, first empty out all of the old food. Mix up a solution of animal-safe disinfectant in a bucket and soak the feeders for 10-15 minutes. Use a bottle brush to scrub them then rinse thoroughly in cold water. Leave feeders to dry before refilling.