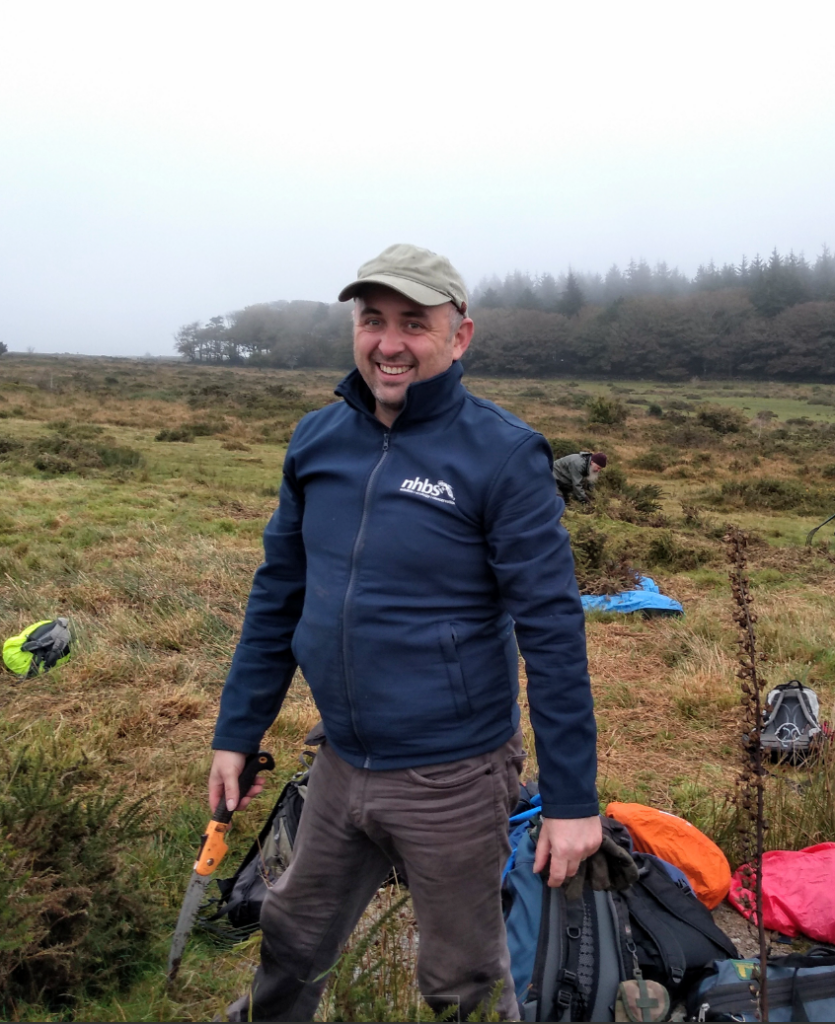
In early November, NHBS colleague Dan volunteered with Chagford Conservation Group and the Chagford Parish Council to regenerate public grounds for wildlife – find out about his volunteer work below.
When strolling through your local public green space, take a moment to consider its value—not just as a recreational space but as a haven for wildlife. Behind the trees, shrubs, and ponds lies a delicate balance that requires care. Who ensures these spaces thrive for the benefit of both people and nature?
As you dig into the depths of your mind for answers and speak to fellow locals, you’ll discover that your local wandering patch has a past, present and even the future.
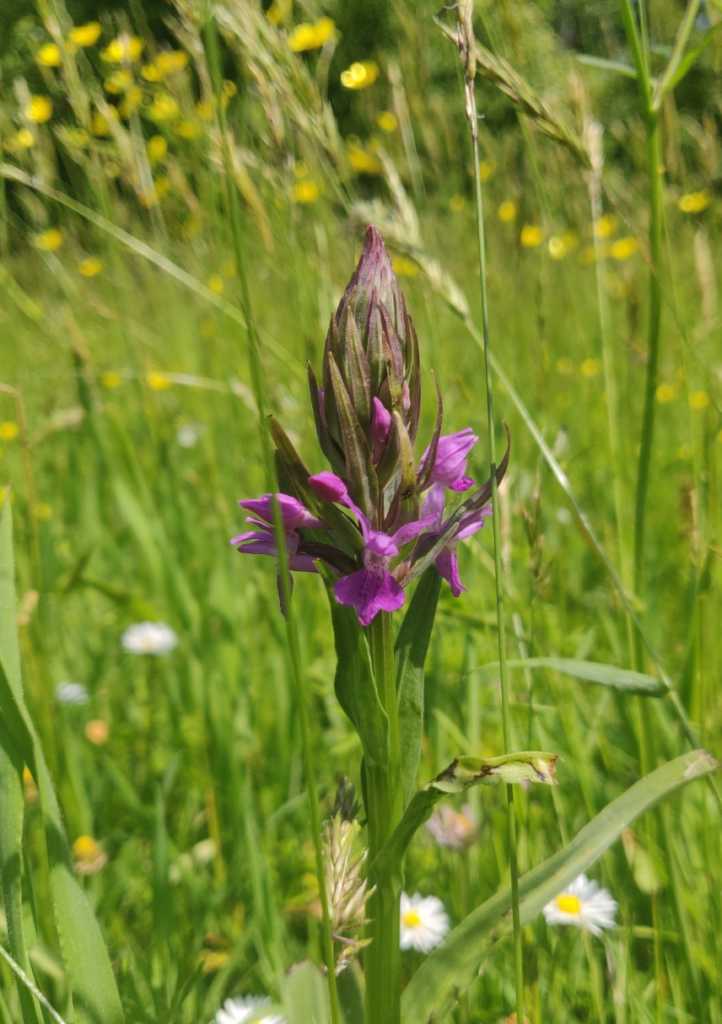
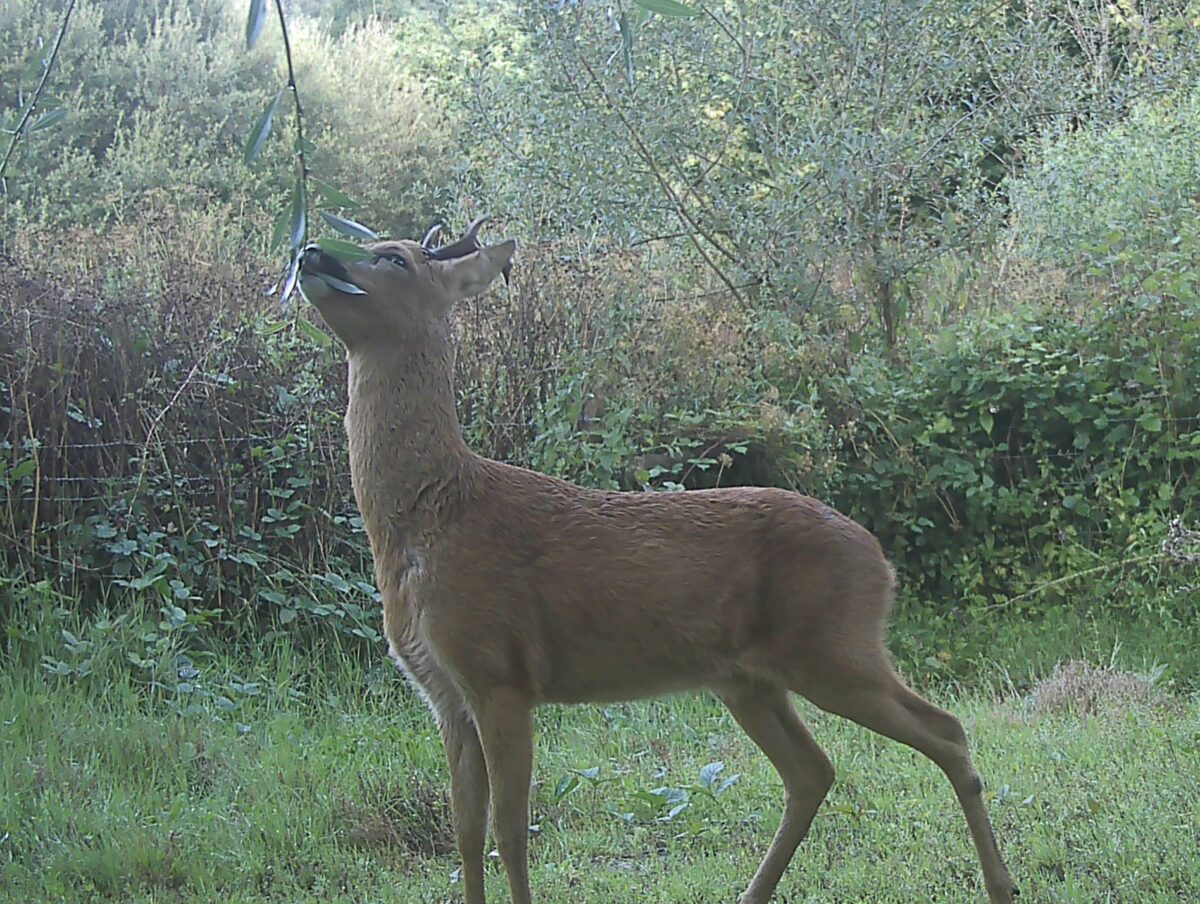
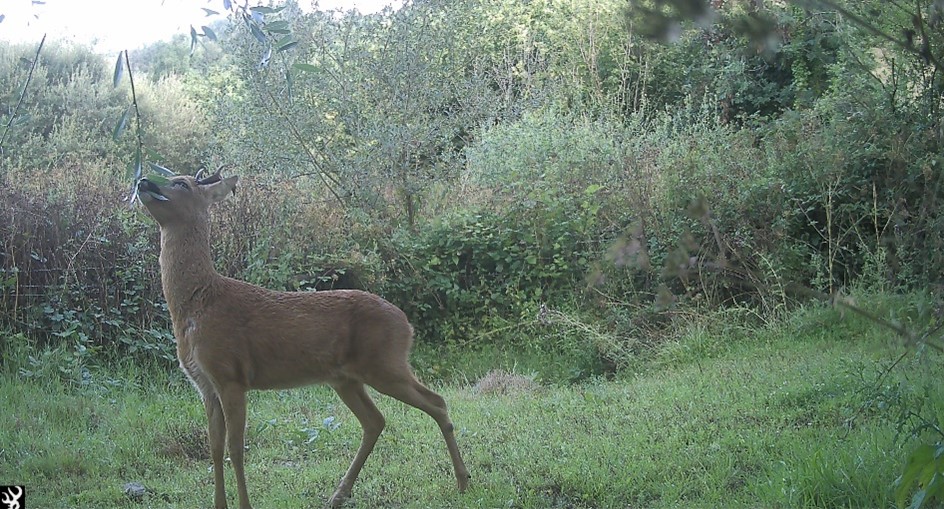
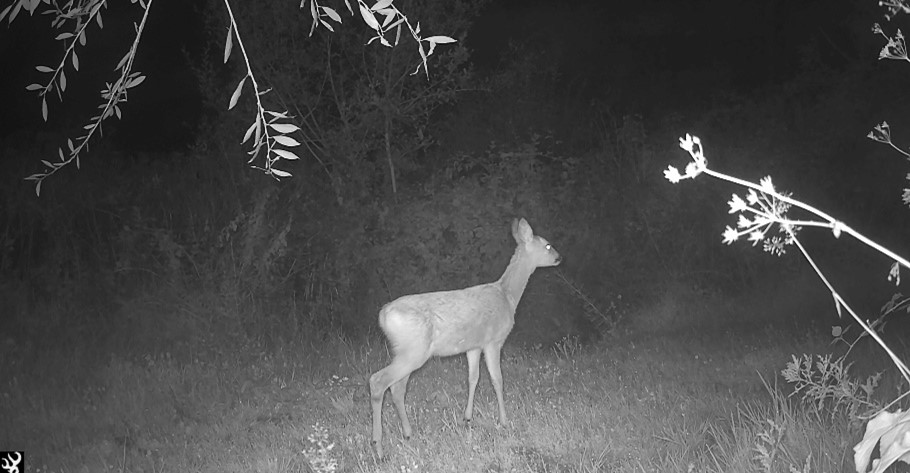
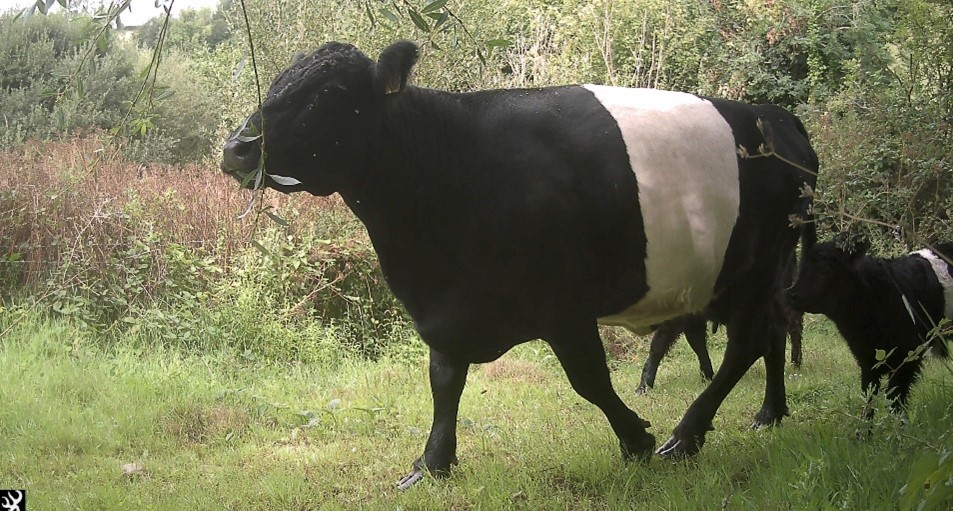
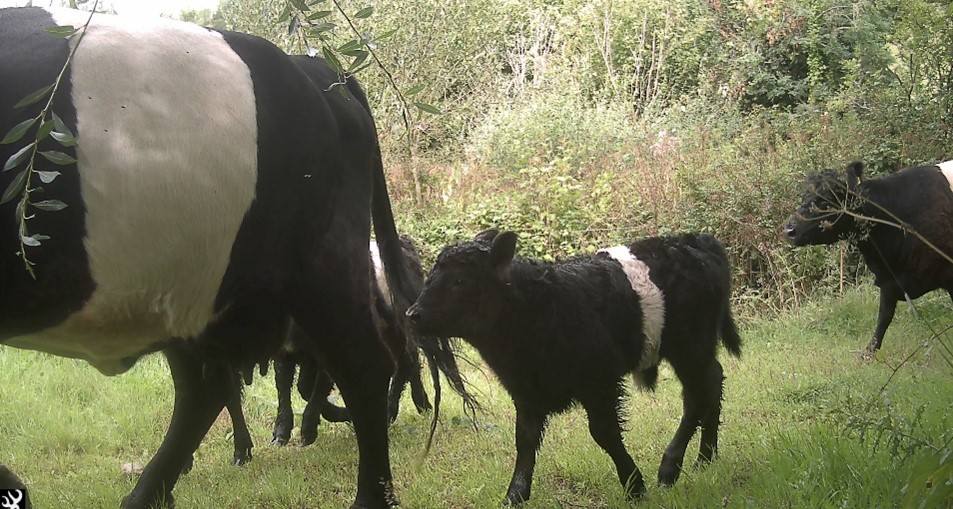
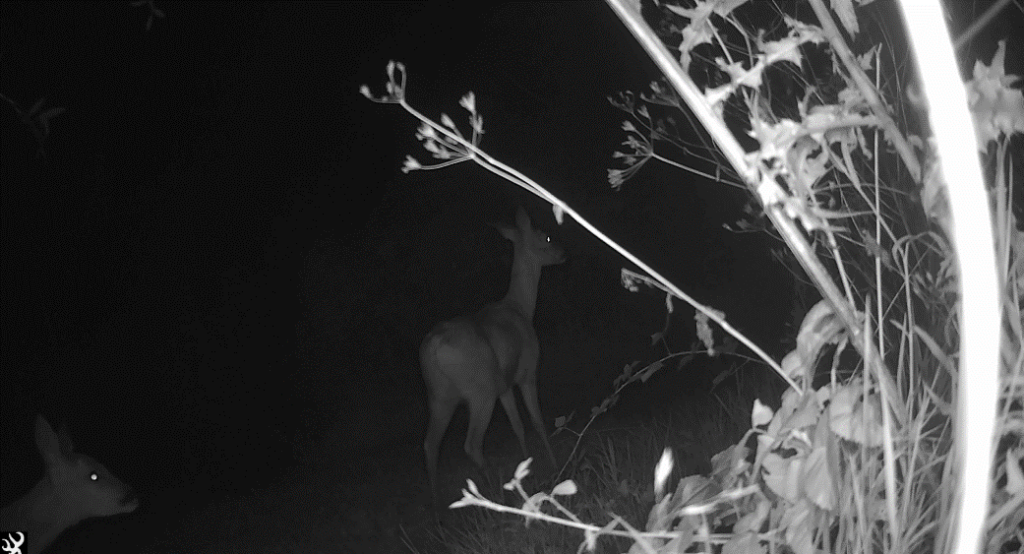
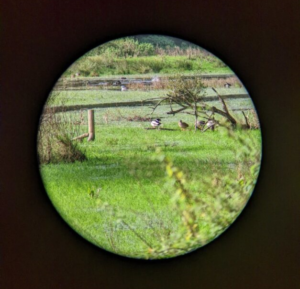
My front door patch, Padley Common, in Chagford – Dartmoor, has a variety of most of the above. Deciduous woodland, grassy fields aligned with stone walls and tree banks, areas with bracken and gorse, an area thick with young trees, streams and even some boggy areas.
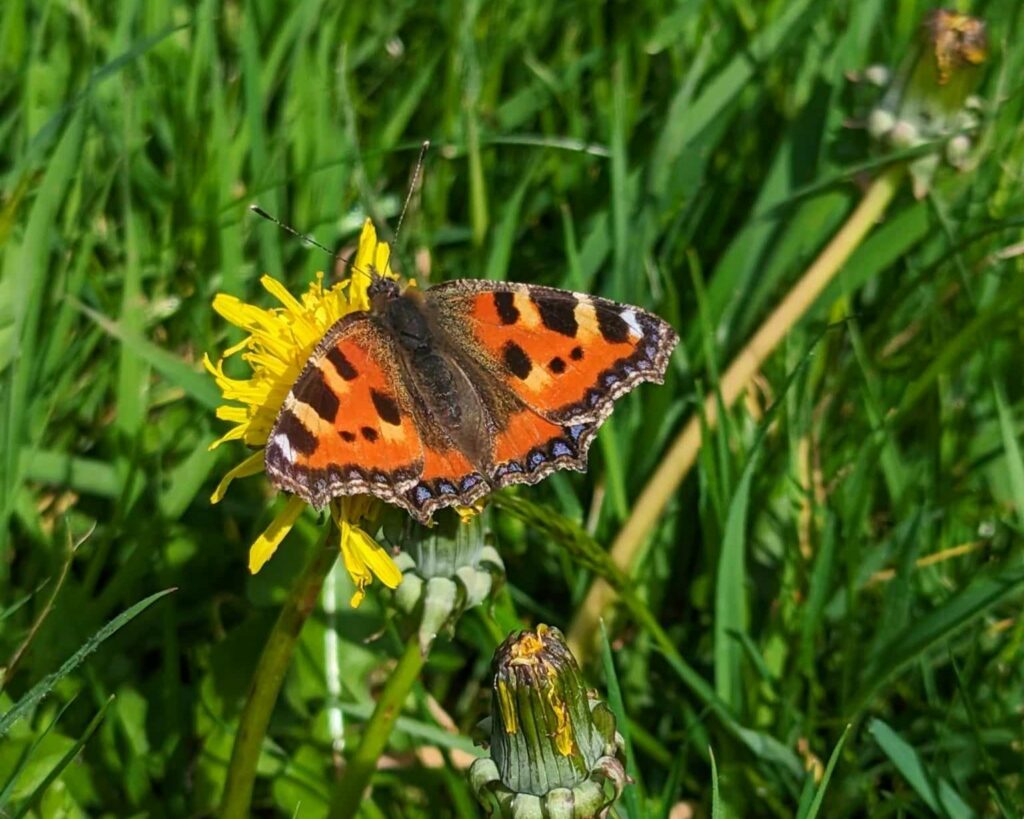
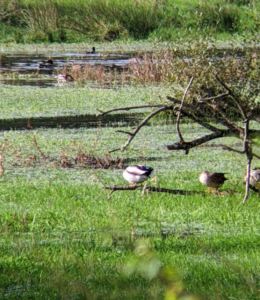
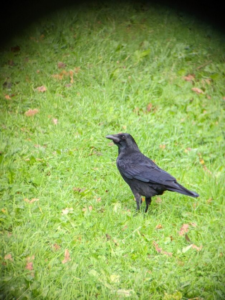
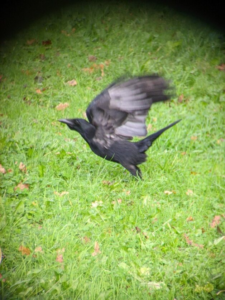
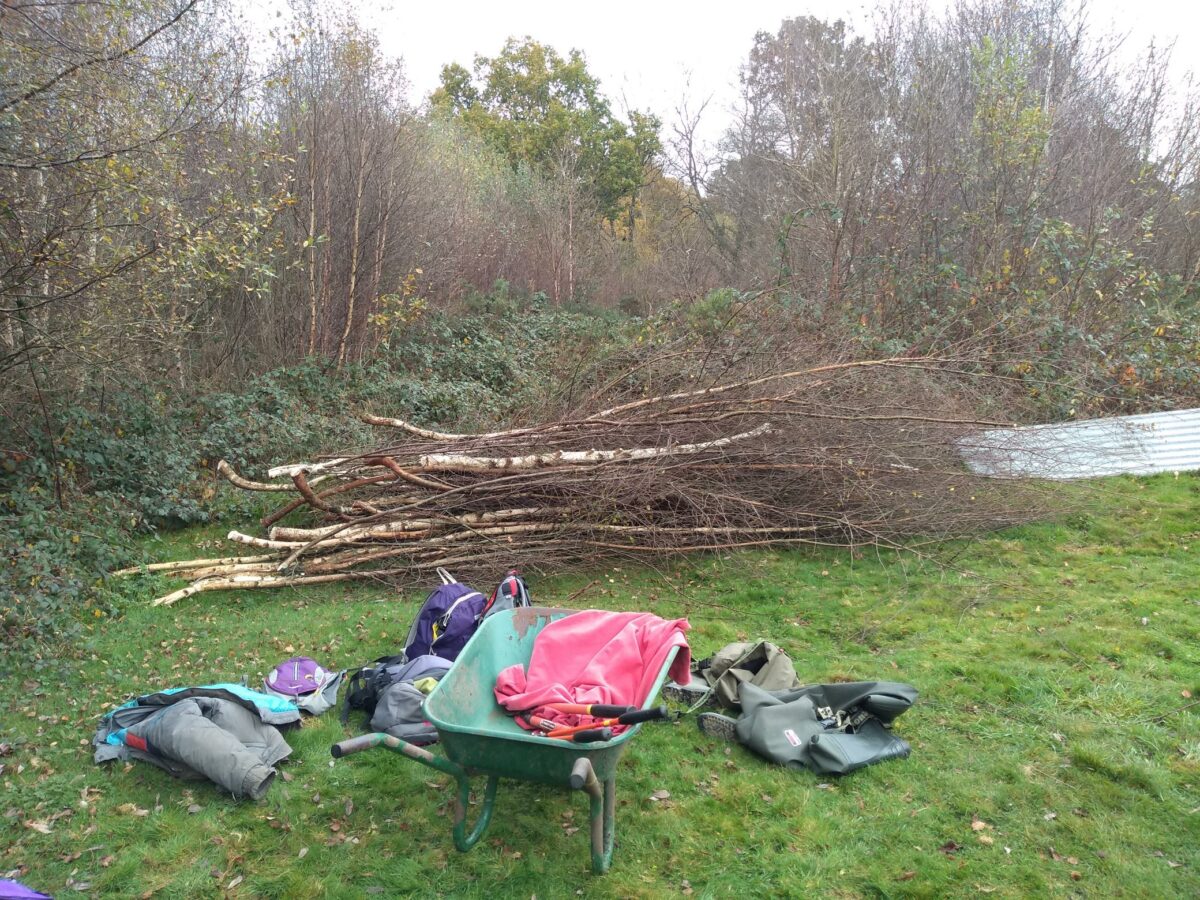
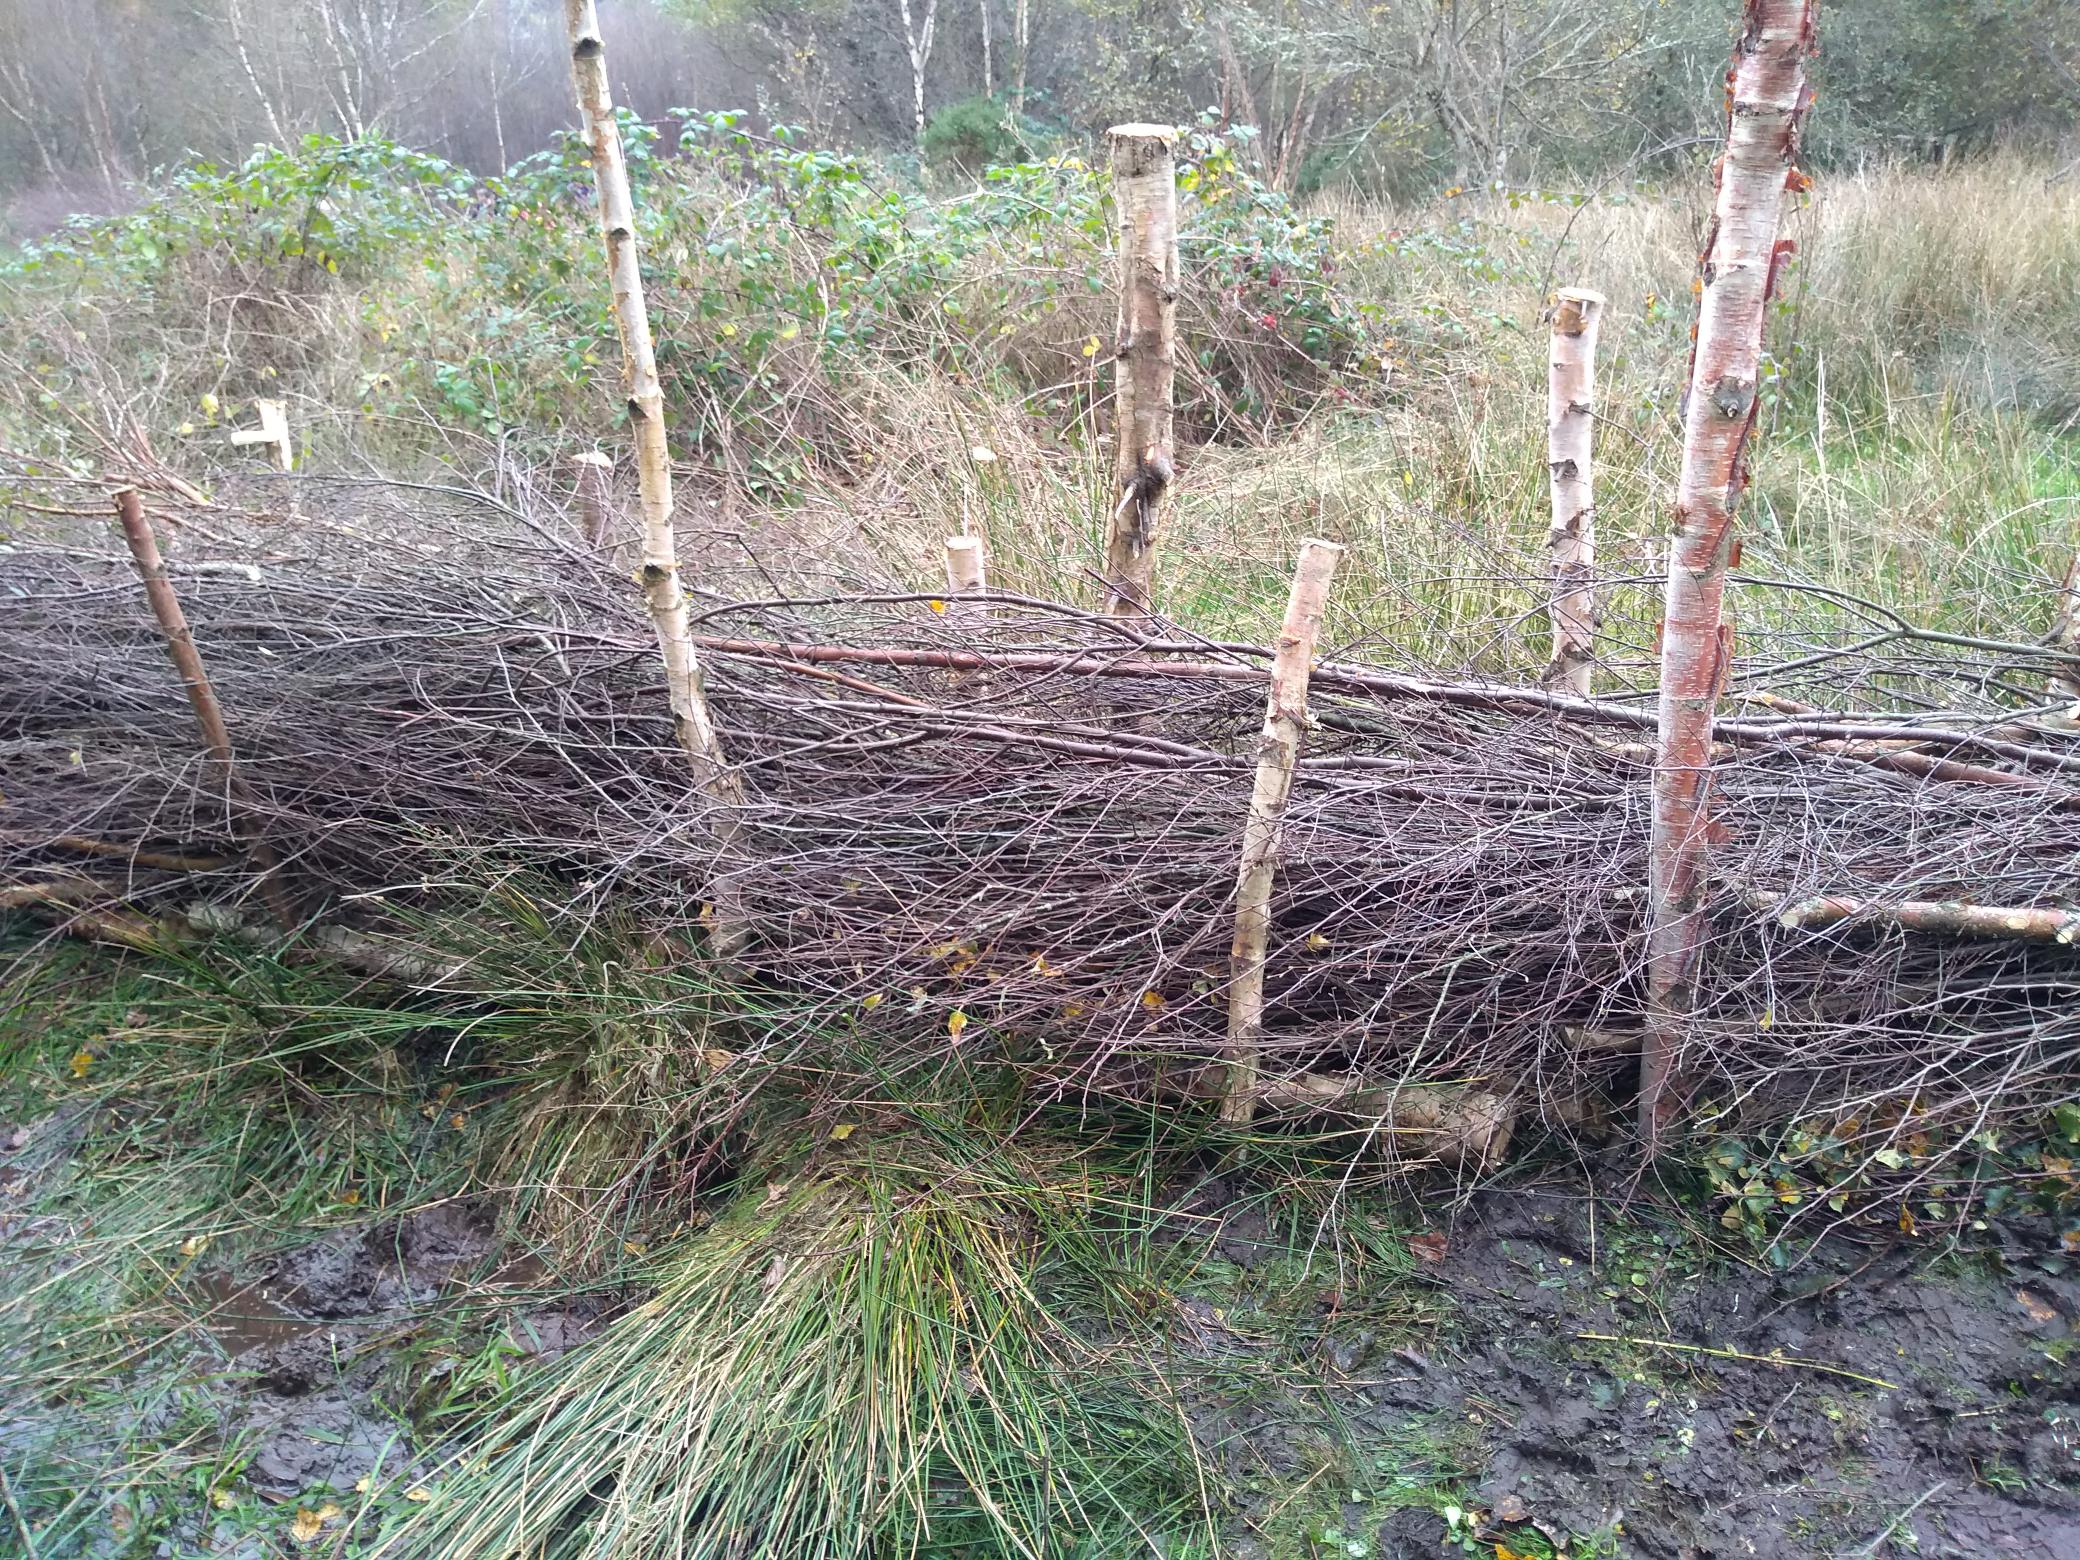
One cloudy but warm November morning I joined the Chagford Conservation Group to help clear an area that was taken over by young willow and silver birch growth. Reading this with conservation specs may cause a frown. Cutting trees for conservation? The purpose of this venture, commissioned by Chagford Parish Council, was to restore the grounds to more favourable conditions for butterflies. Under the direction of Devon Wildlife Trust personnel, we cleared young willow and silver birch growth from the common. These trees, if left unchecked, would outcompete light-loving wildflowers and raise water uptake, drying out the damp grasslands needed by marsh fritillaries. This species depends on devil’s-bit scabious for its larvae. Its population in England has declined by 66% since 1990. Maintaining open, flower-rich meadows not only benefits butterflies but supports a host of other pollinators and insects.
Under the direction of Devon Wildlife Trust personnel, the Chagford Conservation Group and the Chagford Parish Council volunteers rolled up their sleeves and cleared a section of the common.

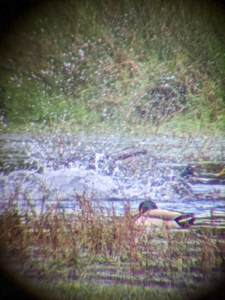
The cleared trees didn’t go to waste. They were repurposed into leaky dams that were fitted into streams that run through the common. These benefit the landscape in surprising ways as they allow water to pass through but slow its flow, reducing erosion and flood risk downstream. By creating side pools and wet areas, leaky dams also provide habitat for amphibians and aquatic insects.
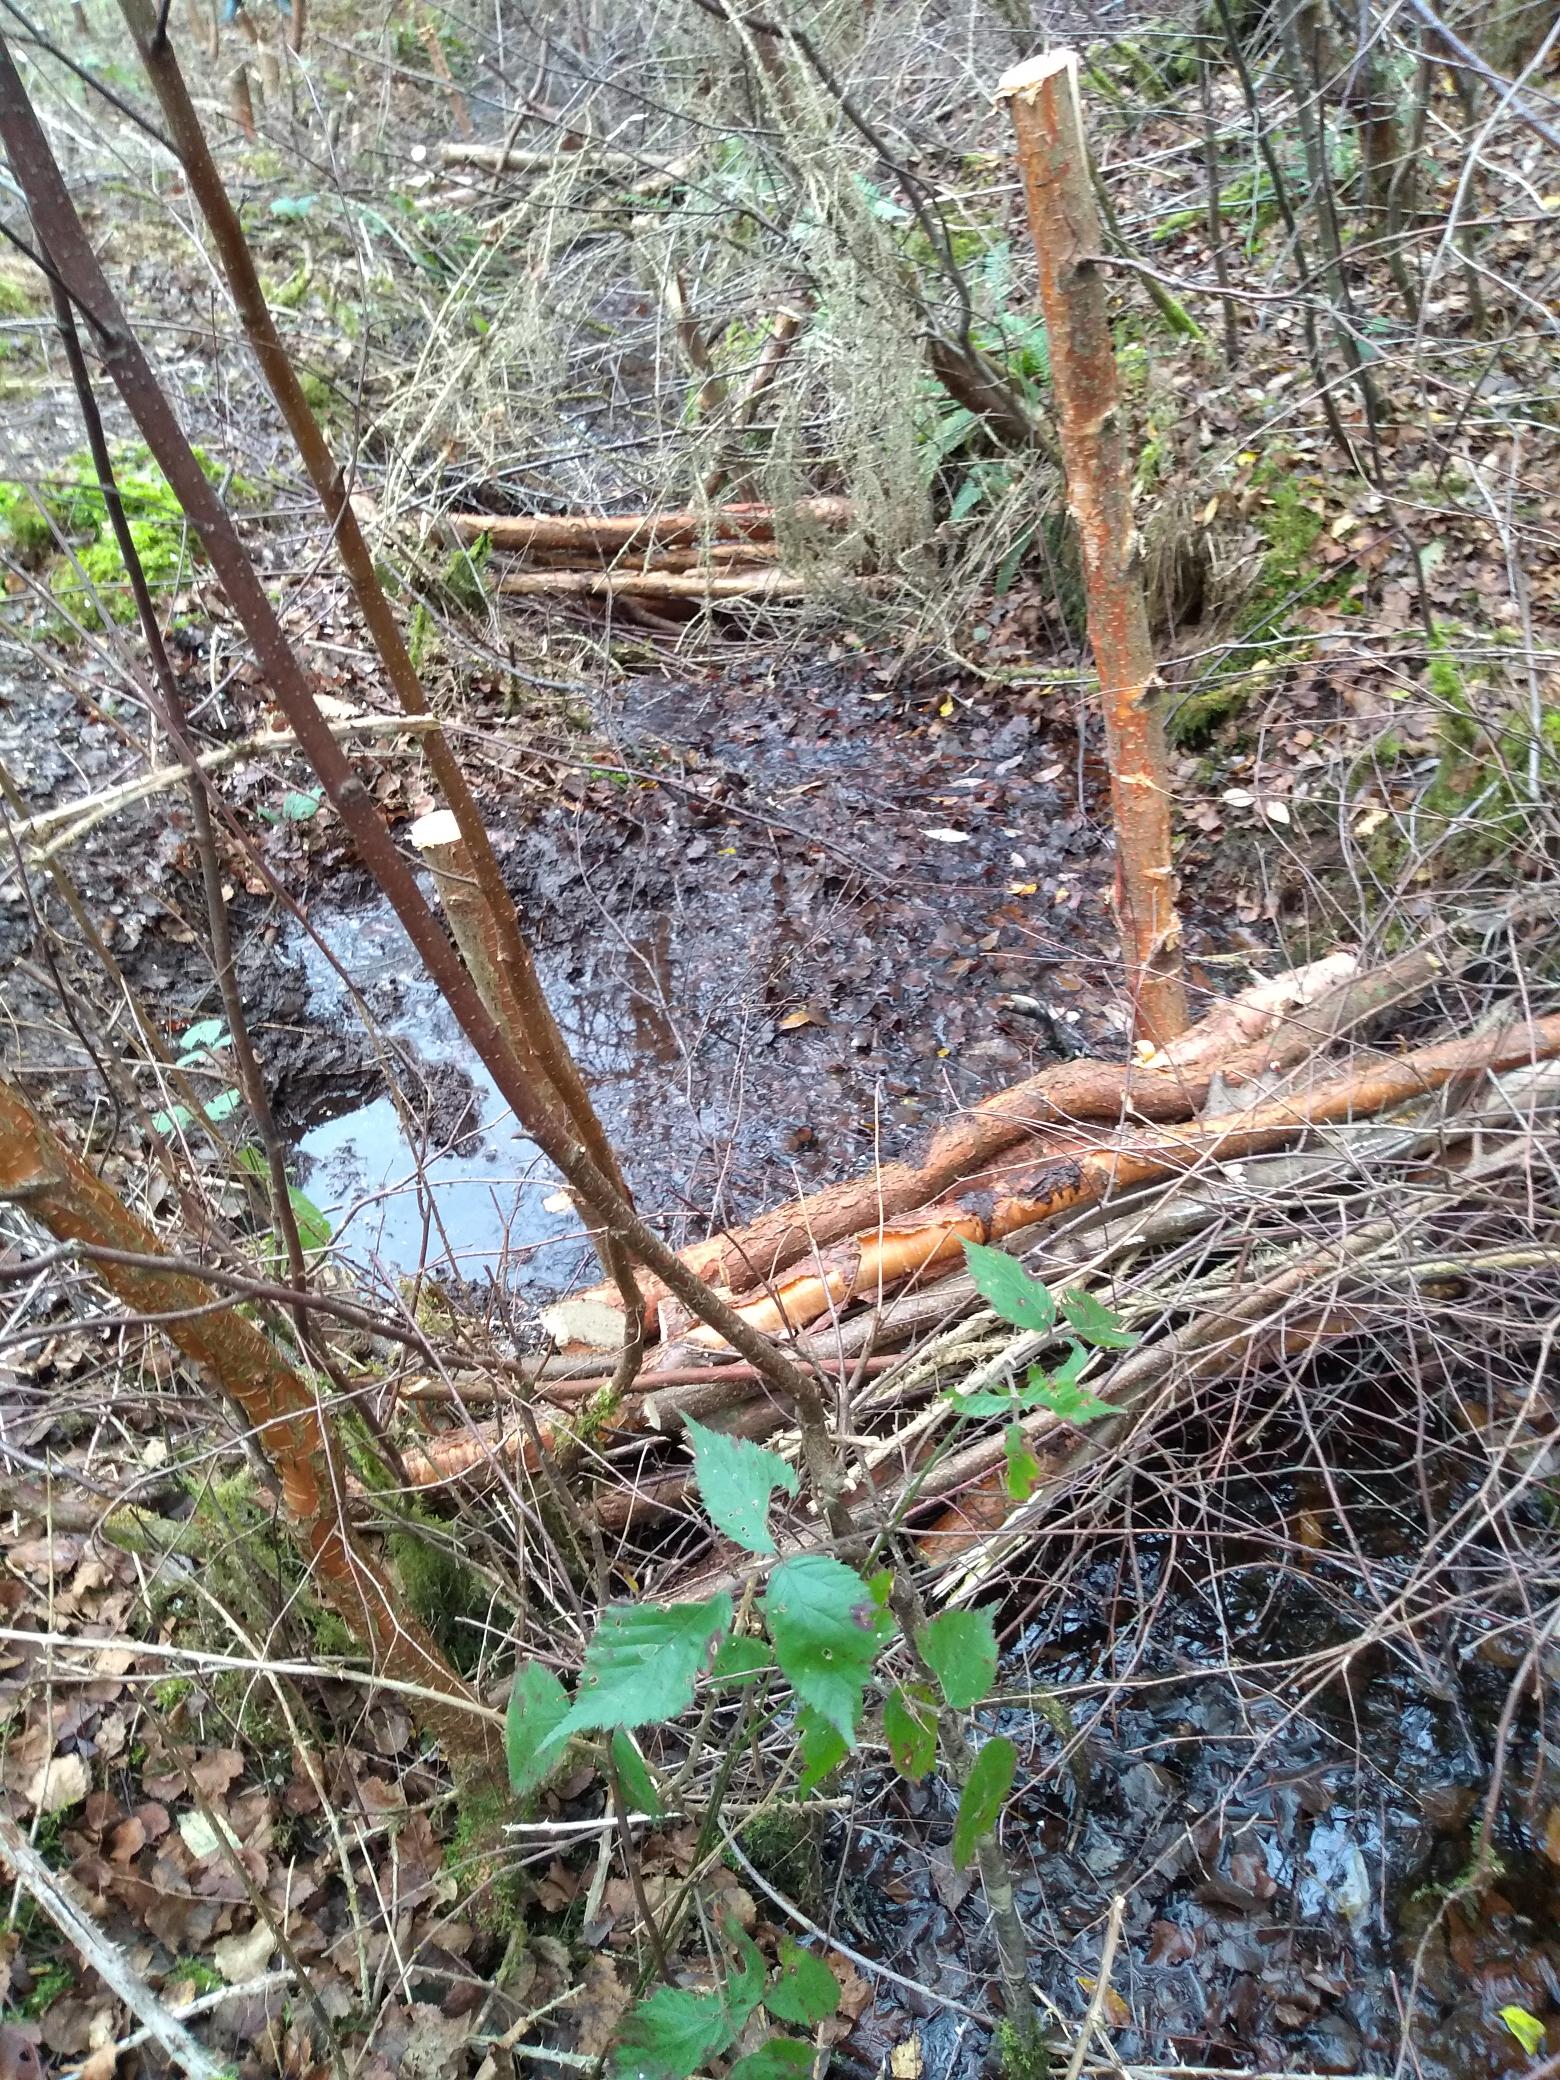
With three organisations involved and so much goodwill from the local community, the day’s work saw the clearing completed and a series of leaky dams constructed. It was striking to see how effectively conservation targets can be achieved when vision, organisation, and community support come together.
Next time you wander through your local patch, take a moment to imagine its potential for wildlife. What small changes could make a big difference? Remember, with the right plan and a collective effort, even a single day’s work can transform a space—creating benefits for nature and leaving a legacy for future generations to discover as they explore their local patch’s story.
February 2025 update:
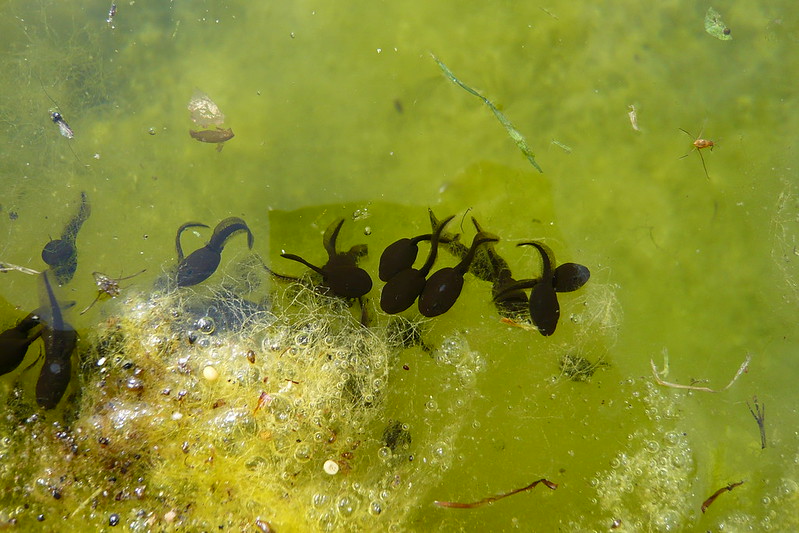
Last weekend I joined a local volunteering group for some more work on the same site – clearing brambles and gorse to enable new growth. On checking the leaky dams, I was delighted to see that pools created by these were now full of frog spawn!
June 2025 update:
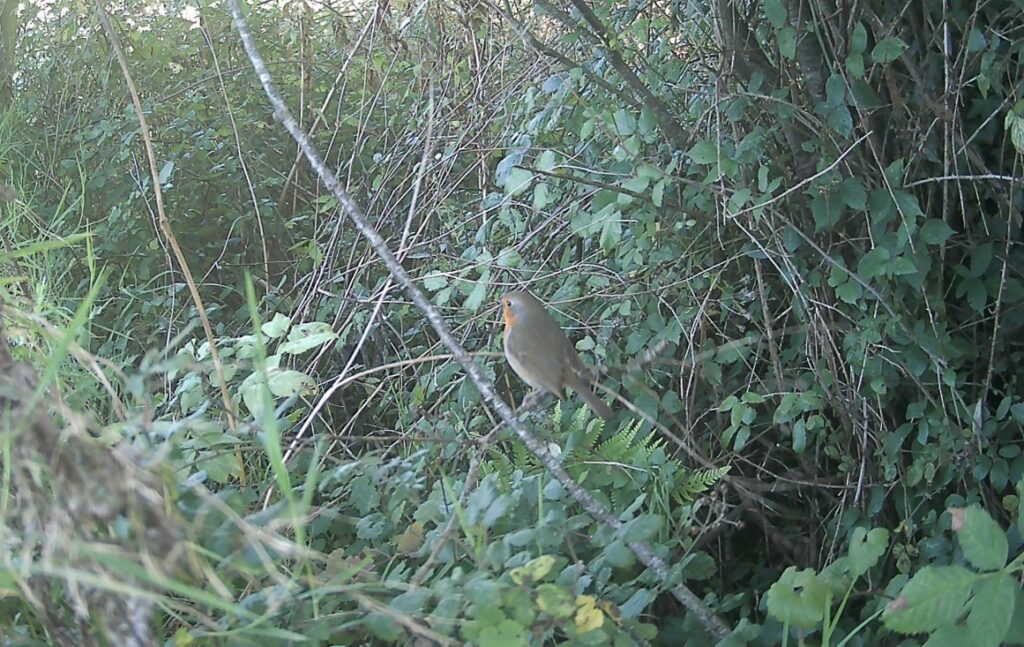
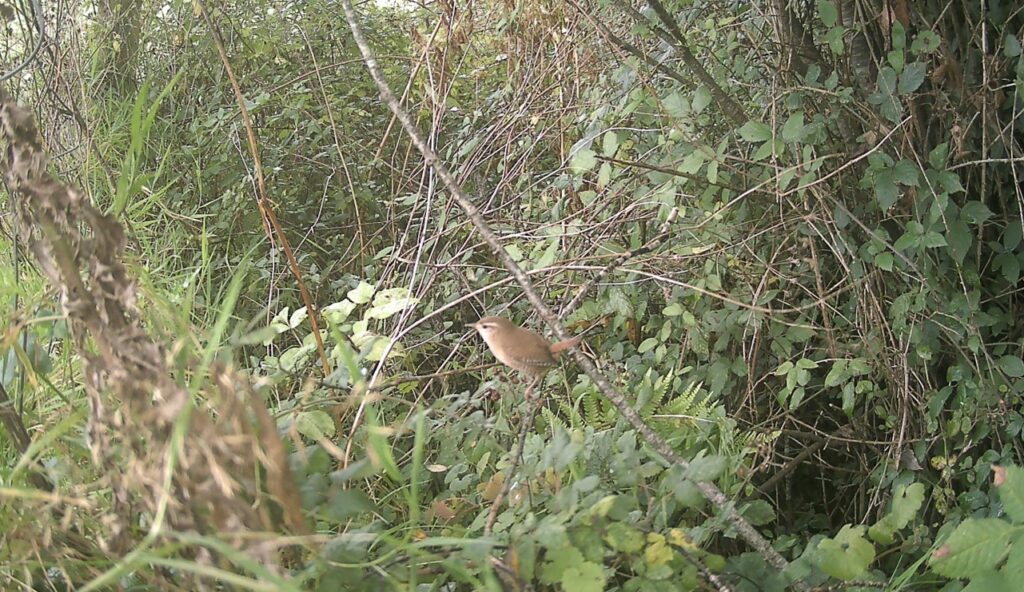
Butterfly Conservation have now completed a survey of Padley Common and found 3 times as many marsh fritillaries as last year. All the efforts in clearing and pulling up of tree saplings have made it much more attractive for butterflies. The weather may have had a positive effect too, but Butterfly Conservation assume the work done has made an impact.
Recommended reading:
 Butterfly Conservation – The Warwickshire Approach This book documents, celebrates and shares the many successes the Warwickshire Branch of Butterfly Conservation has had in conserving rare butterflies over the past 25 years. It is a manual of techniques, tips and ideas that will help and hopefully inspire others to create and manage habitats and to conserve butterflies.
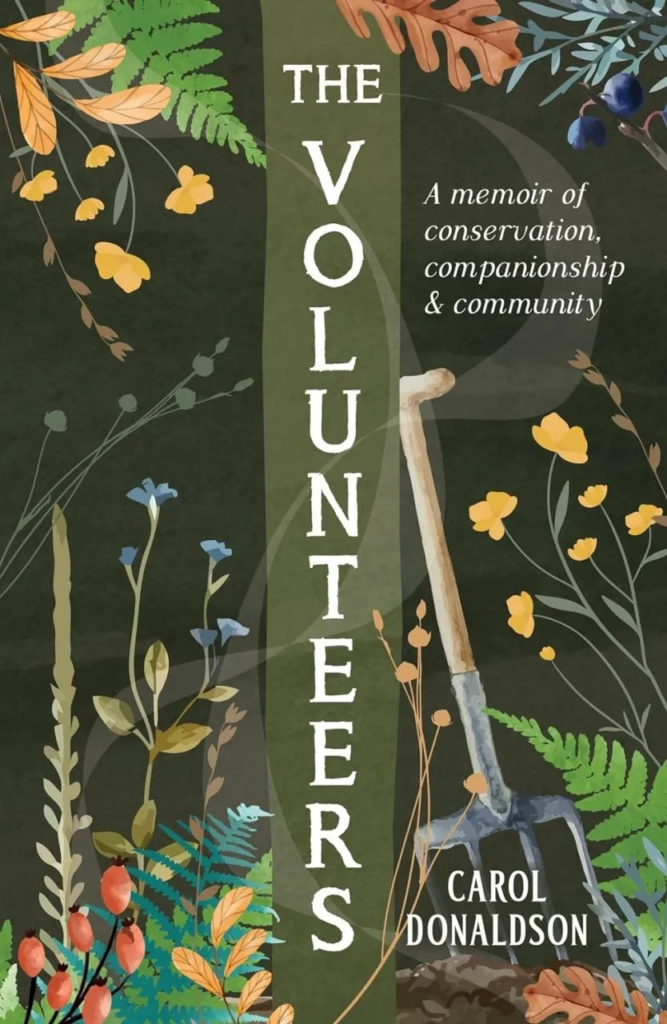
The Volunteers: A Memoir of Conservation, Companionship and Community
When Carol finds herself single and unemployed, she unexpectedly takes on the role of leading a quirky team of countryside conservation volunteers. Although their first days are rocky, she and her diverse group of volunteers bond over nature, finding friendship, purpose, and a renewed sense of belonging. The Volunteers is a heart-warming story about healing, community, and the redemptive power of the outdoors.
Since its launch in 1989, British Wildlife has established its position as the leading natural history magazine in the UK, providing essential reading for both enthusiast and professional naturalists and wildlife conservationists alike.
![]() Conservation Land Management Magazine
Conservation Land Management Magazine
Conservation Land Management (CLM) is a quarterly magazine, widely regarded as essential reading for all who are involved in land management for nature conservation, across the British Isles. Each aspect of CLM is designed for those involved in managing land to achieve conservation goals and priorities.