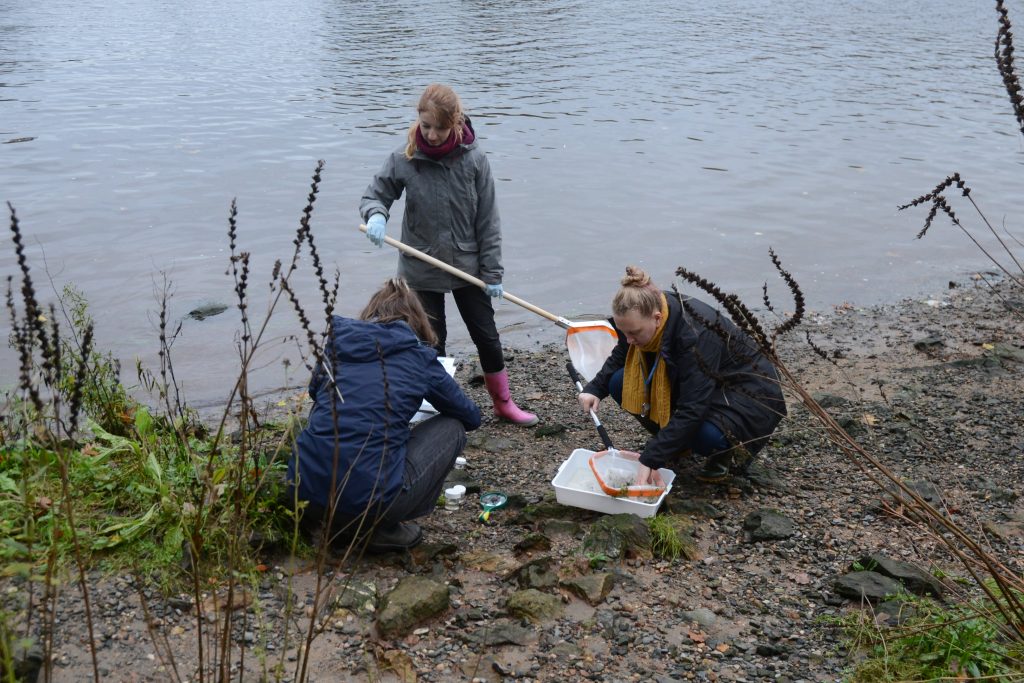
Our ten favourite spring garden activities for children

This spring is destined to be a different and difficult one for most of us. Some things, however, remain the same – the leaves and buds on the trees are unfurling, the flowers are blooming, and the outside world is gearing up for a new year of growth and renewal. If you’re lucky enough to have a garden, then getting the children outside each day is a great way for them to burn off some energy and to get some fresh air and vitamin D.

With this in mind we have put together ten of our favourite garden activities, most of which are suitable for children (and adults) of all ages – although supervision may be required for the younger ones.

  1. Learn about the insects and bugs in your garden

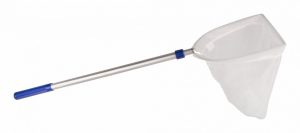
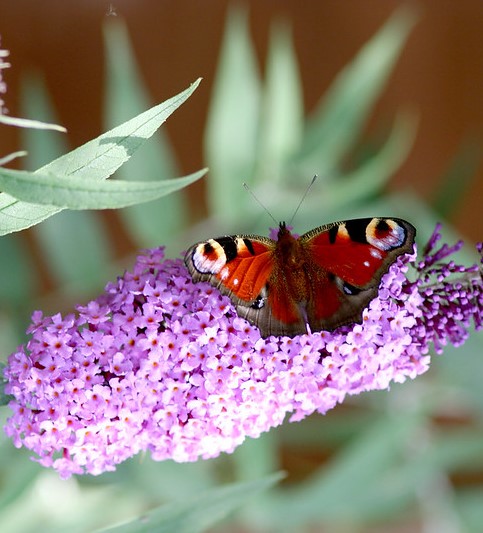
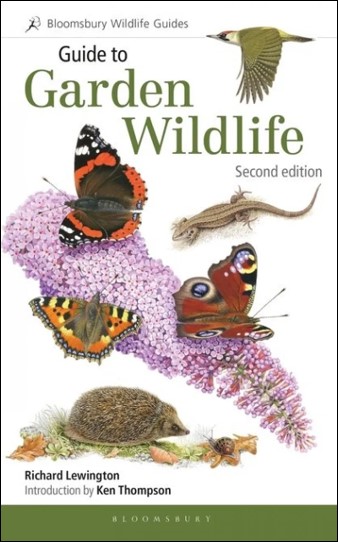
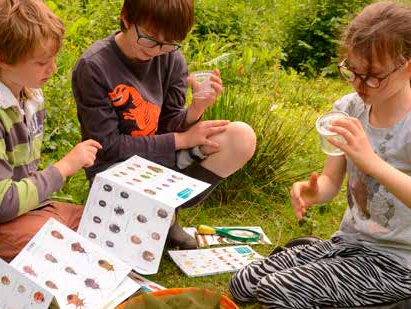
Insects and bugs are fascinating to children of all ages. As soon as the weather warms up in spring, the garden fills with the buzzing of flies, bees and wasps, whilst the soil teems with beetles, worms and other creepy crawlies. A butterfly or sweep net is ideal for catching flying insects and those in the long grass, while a pooter can be used to pick up tinier specimens. Or simply get down on the ground with a hand lens and see what you can find. There are lots of great field guides that will help you to identify your specimens. FSC guides, such as the Woodland Name Trail and Guide to the Butterflies of Britain and Ireland provide a great starting point. Or, for a more in-depth investigation, the Guide to Garden Wildlife covers not only insects and bugs, but also birds, mammals and amphibians. It also provides suggestions for some great nature-related activities.

  1. Install a nest box (and watch the eggs hatch from the comfort of your home)
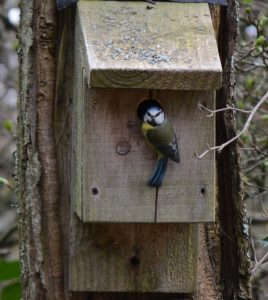
Image by gordon.milligan

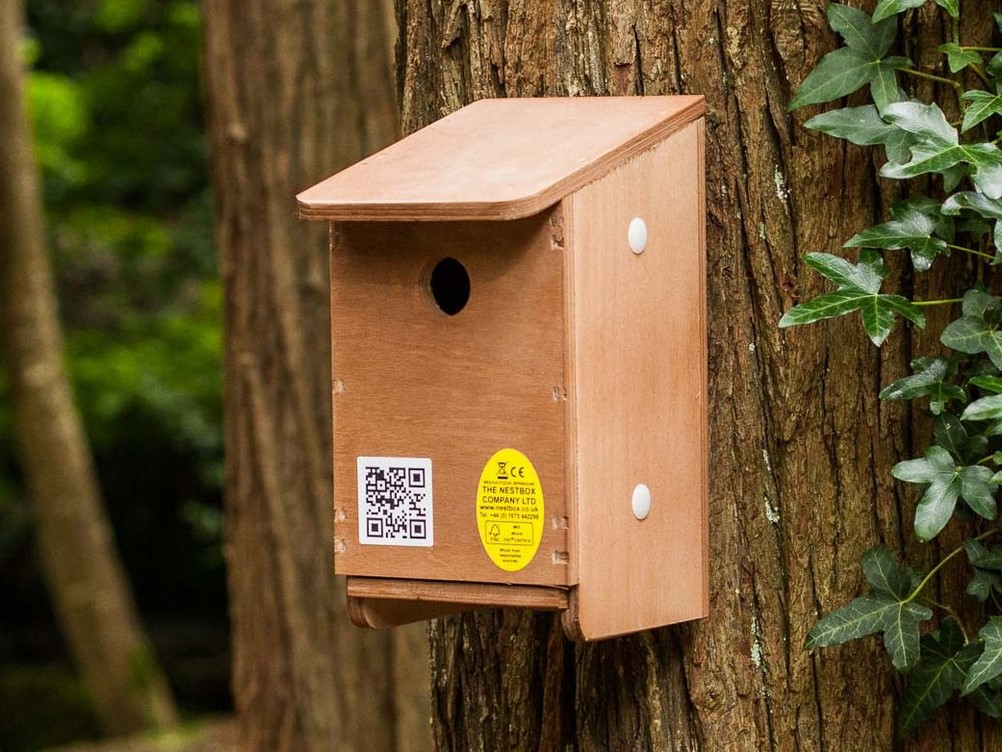
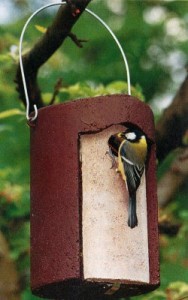
It’s never too late to install a nest box. Even in late spring you may manage to entice a breeding pair of birds in time to lay a late clutch of eggs. At the very least, you will provide a useful winter roost space and the box will be ready for the breeding birds next year. You can even equip your nest box with a tiny camera which will allow you to watch all the nesting, rearing and fledging action from the comfort of your home. Kits are available which contain everything you need to get started; choose from wired, wireless or Wi-Fi options. See our blog post on nest box cameras for more information.

  1. Learn to identify plants

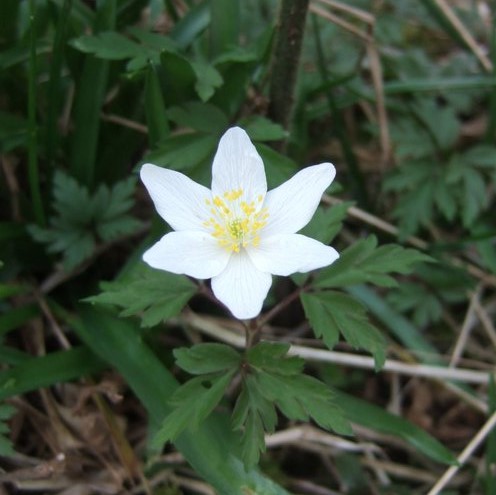
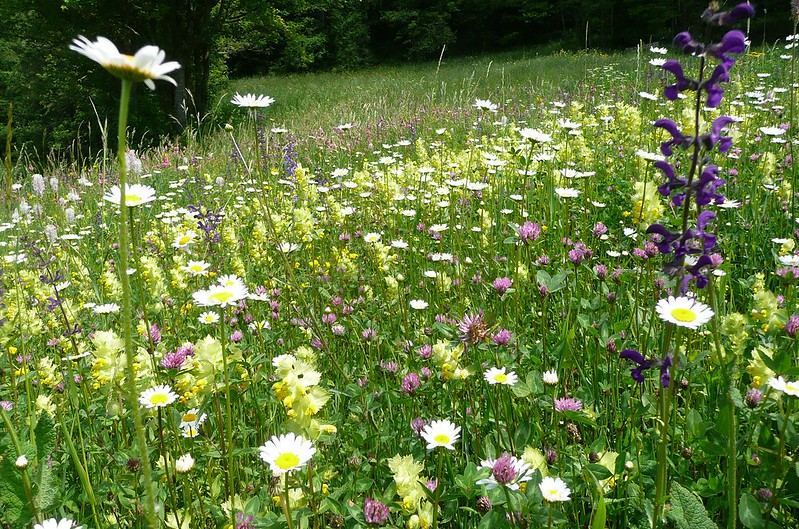
Rummage around in the wilder parts of your garden and you’re likely to find a wide range of plants that your little ones can study and try to identify. Even in the most manicured of outdoor spaces, you’re sure to find some ‘weeds’ that will provide a useful starting place. This is a great way to learn about common and Latin names and to study the different parts of flowers. The Pocket Guide to Wildflower Families will help you to identify the family to which your flower belongs, and the Collins Wild Flower Guide is a beautifully illustrated guide for those wanting a more in-depth look.

  1. Watch (and listen to) the birds
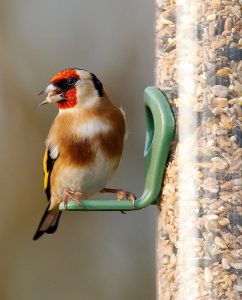
Image by Airwolfhound

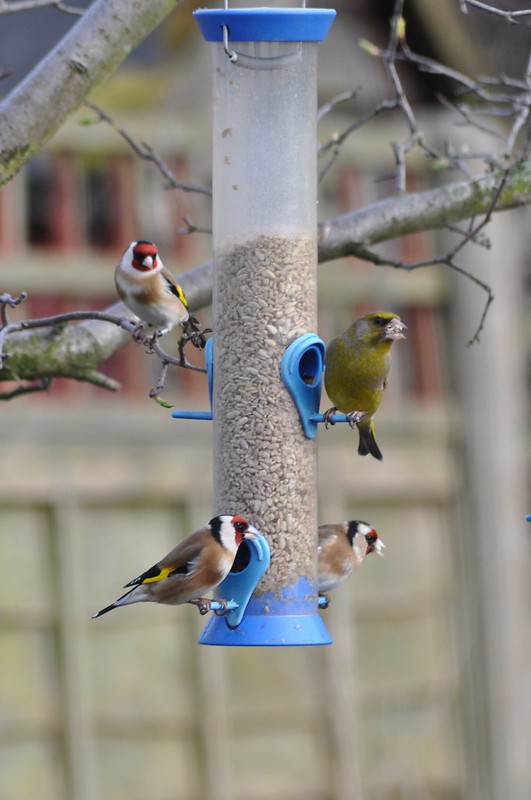
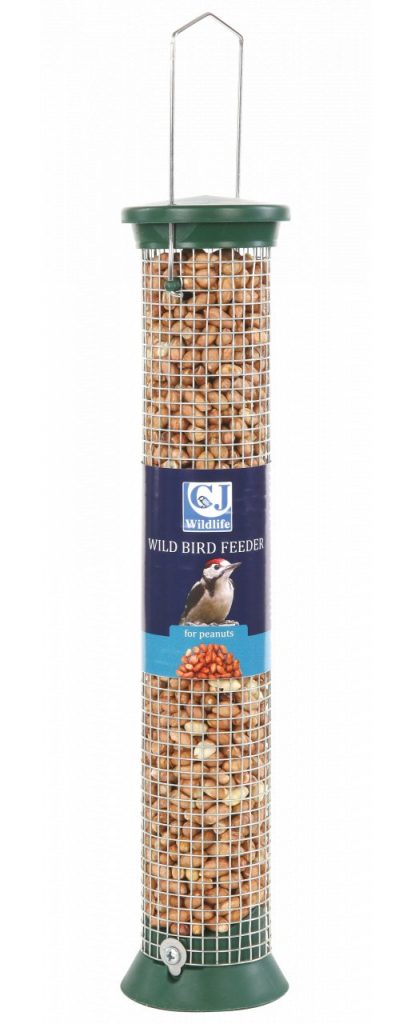
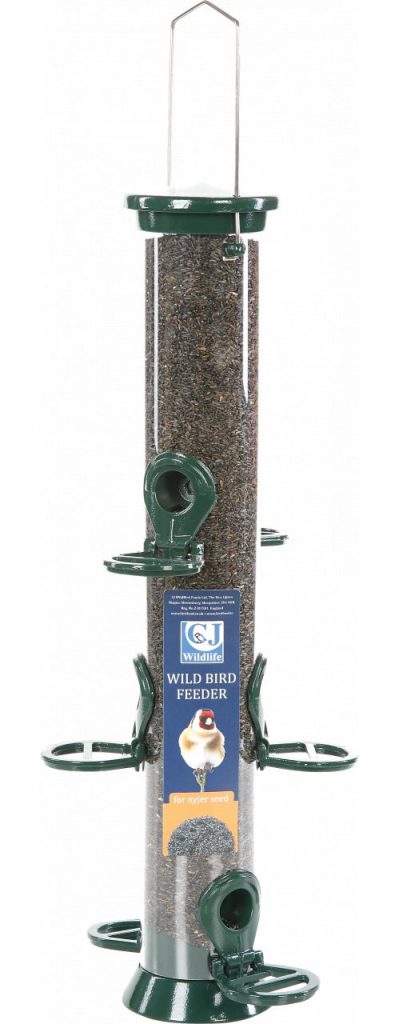
Get to know the birds in your garden by installing a feeder. During the spring there should be plenty of wild food sources for them to use, but protein-rich foods such as black sunflower seeds, mealworm and high-quality seed mixes will provide a valuable addition to their diet. (Avoid feeding fat balls and peanuts at this time of year, as they can be harmful to young birds.) If you’re not sure what kind of bird you’re looking at, the RSPB website has a great identifier tool which includes information on 408 species found in the UK. Once you’ve identified your bird, the website also allows you to listen to its song, helping you to further improve your identification skills.

For a fun garden game, why not play bird bingo? Simply draw a 3×3 grid on a piece of paper, and write the name of a common garden bird in each square. Put a cross in the square when you spot the bird – the winner is the first to cross off all nine squares.

  1. Grow something pretty or edible

If you have space, now is a great time to sow some seeds. Sunflowers and sweet peas provide a great splash of colour in the summer and will provide food for birds (sunflower heads) and pollinators (sweet peas). Peas and beans are both easy to grow in a small space and are happy in pots. Strawberries and bush varieties of tomatoes can be grown in hanging baskets.

Making seed bombs is another excellent activity to do with children and, when planted in the garden, will provide much needed flowers for pollinating insects. The Wildlife Trusts have a recipe that’s simple to make, along with a list of recommended flower seeds to include.

  1. Be a weather watcher
Image by Paper of Light

In most temperate countries (and particularly in the UK), the weather is constantly changing, making it a fascinating thing to track and record. A weather diary is a great way to do this. You can include as much information as you like, or keep it simple with just pictures for the younger children. You could even make a weather board, where the day’s weather is displayed every day. Wind speed, temperature and humidity can be easily measured using an anemometer, and rainfall with a simple rain gauge. (For more economical options, use a large yoghurt container with measurements marked on the side as a rain gauge and a piece of lightweight fabric tied to a pole to track the direction of the wind).

Clouds are also endlessly interesting – learn about the different types with Weather WizKids which has lots of information and explains how they are formed, why they look the way they do and how we can use them to predict the weather. Why not also investigate some of the old-wives tales pertaining to the weather? For example, is it really true that ‘swallows high, staying dry; swallows low, wet will blow’, or ‘Red sky at night, shepherds’ delight, red sky in the morning, shepherds’ warning’?

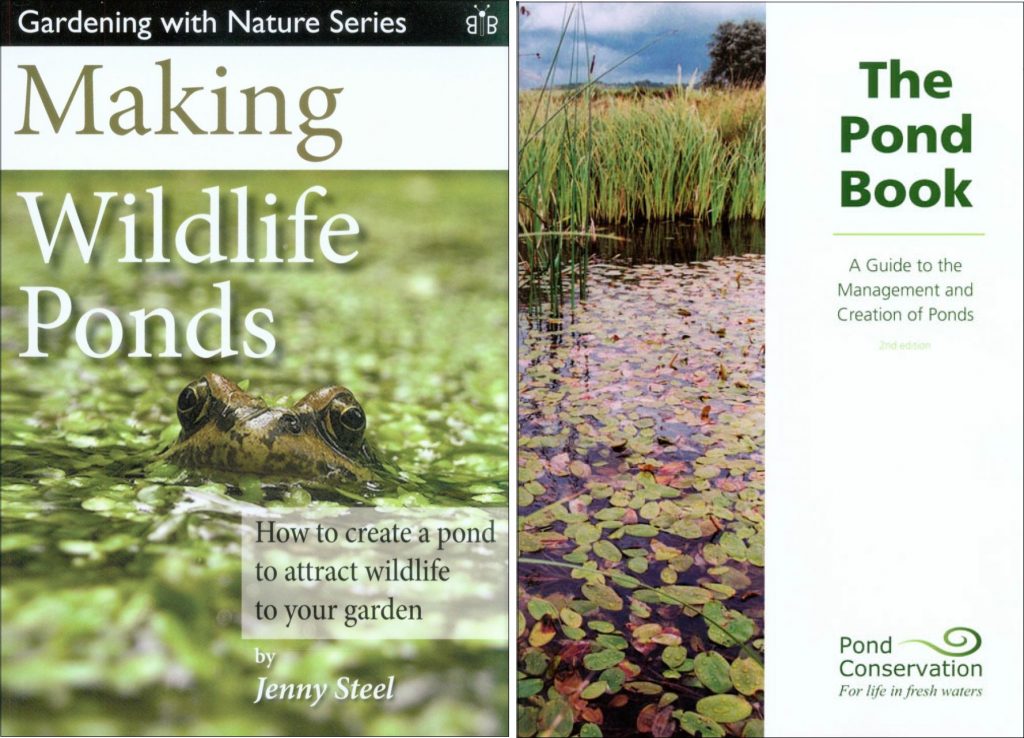
  1. Make a pond
Image by Alex Thomson

Recent surveys have shown that some amphibians, such as frogs, are now more common in garden ponds than they are in the wild. When planted with a variety of submerged and emergent plants, a pond will provide a complex environment with a variety of micro-habitats, and is also an attractive feature for the garden. Even in a small space it’s easy to use a bucket or other container to create a small aquatic environment which will provide valuable habitat for amphibians, insects and lots of other species. Take a look at the Wildlife Trusts website for a step-by-step guide to making a garden pond (including a handy list of suitable aquatic plants) or this RSPB page for advice on making a mini pond from an old washing-up bowl. Always ensure that younger children are supervised around water.

  1. Weave with nature

Weaving with natural materials is a fun activity and a great choice for several reasons: it is cheap to do and the results, while temporarily beautiful, can be composted, making it the ultimate in sustainable art. To begin, make a simple frame from four twigs, held together at the corners with a small amount of natural twine. Wind more twine from side to side around the frame leaving gaps between each winding, and then repeat in the other direction. Collect a wide selection of leaves, twigs, weeds, flowers, feathers and grass and weave into your frame in a pattern of your choice. For the best results, try and include as many different colours and textures as possible. Hang your masterpiece inside or in the garden to enjoy until the colours fade, and then throw it on the compost heap or in your garden waste bin.

  1. Eat some weeds

Did you know that lots of the weeds in your garden are actually edible? And what’s more, many contain higher amounts of trace elements like iron than their supermarket equivalents such as spinach and kale. Nettles are extremely common, very easy to identify, and can be made into a tasty soup (don’t worry, they lose their sting as soon as they are cooked). Similarly, dandelion leaves, fat hen, hairy bittercress and chickweed are prevalent in most gardens and can be used as salad greens. Children will love knowing that they have picked some of their meal for free, and that they are eating the garden weeds. If you’re unsure about what you’re picking, there are lots of helpful guides and images on the internet. Or you can invest in a book such as Food for Free, Foraging, or the compact and economical FSC’s Guide to Foraging.

  1. Draw from nature
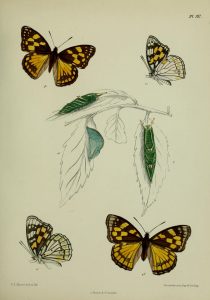
Image from the Biodiversity Heritage Library

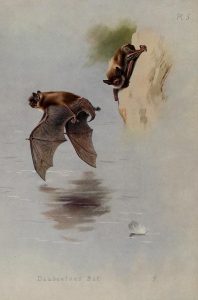
Sketching from nature was once a vital part of the naturalist’s skill set. Accurate drawings of specimens, alive or dead, played a vital part in classifying and sharing information about new species. Although this process has largely been replaced by photography, the act of putting pencil to paper and studying a specimen closely enough to draw it accurately can provide an excellent opportunity to study its structure and finer details. Flowers, plants and feathers are ideal starting points as they won’t fly or scuttle away; but insects, birds and other animals can also be fun to try. Keep notes of when and where your drawings were made and, over time, they can form the basis of a wonderful nature journal.

During these troubling times, we hope you can find inspiration in nature and we wish you all the best of health.

For a great selection of garden wildlife books and ID guides, take a look at the Garden Activities for Children collection at nhbs.com.

NHBS Guide: Where to Hang and How to Maintain your Bat Box

Natural roosting sites for bats are in decline due to changes in building standards and countryside management practices. Installing a bat box is a simple and affordable way of providing much needed roost space for a variety of species and now is the ideal time to install one, before bats fully emerge from hibernation. However, placing your bat boxes in the correct location and at the correct height is essential to encourage bats to occupy them. With this in mind, we have put together some answers to the most frequently asked questions about bat boxes – covering where and when to put up your boxes, cleaning and maintenance, and the legalities of checking whether they are occupied.

Which bat box should I purchase?

Bat boxes can be placed in trees, on walls and on or in the brickwork of buildings. To help you choose the most suitable bat box based on where you want to locate it, take a look at our three-part series designed to help you make the right choice:  

Top 10 Bat Boxes for Trees and Woodland

Top 10 Bat Boxes for Walls and Fences 

Top 10 Bat Boxes for New Builds and Developments

When is the best time to put up a bat box?

Bat boxes can be installed at any time of year, but they are more likely to be used during their first summer if they are put up before the bats emerge from hibernation in the spring. If you are installing bat boxes as part of an exclusion project from a building, it is best to erect the boxes four to six weeks before the exclusion. 

Schwegler 1FF Bat Boxes

Where should I hang my bat box?

All bat boxes should be positioned at a height of 3-6 metres (the higher the better) in an open, sunny position (6-8 hours of direct sunlight, or in a location where it receives the morning sun if this is not possible). Try to install the bat box where it will not be disturbed by bright lights at night such as porch or security lights. 

The most common location to hang a bat box is on a tree using a strong nail that is at least 85 mm in length. It is important to use aluminium nails, as these will not damage a chainsaw (or chainsaw user) should they be left in the tree when it is felled. For more details on how to hang your bat box to a tree, wall or fence, please read our blog on where to hang and how to maintain your nest box, which, although mainly focused on bird boxes, is equally relevant for bat boxes. 

How do I check whether the box is occupied?

Many bat boxes have an opening at the bottom and do not require any maintenance as the droppings will simply fall out of this space. If cleaning is required it is essential that you ensure that the box is not occupied before carrying out any maintenance. Once bats have inhabited a roost site they may only be disturbed by licensed bat workers. If you are unsure whether your bat box is occupied the best way to check for box occupancy is to observe the box at dusk (15 minutes after sunset for around 30 minutes) to watch for any bats leaving. Additionally, you can look under and nearby the box for guano (bat droppings). If there are bats present, wait until later in the season and then check again. It’s also a good opportunity to use a bat detector to identify the bats in your box – take a look at our guide on bat detecting for beginners.

Large Multi Chamber Bat Box

How do I maintain my bat box?

The best time to clean the majority of bat boxes (those suitable for summer roosts) is during the autumn or winter. Once you have ensured the bat box is not occupied you can open the box and clean out any droppings. Whilst you are cleaning the bat box it is a good idea to look for any damage, as this may mean it is unlikely to be used. The most likely damage will be broken seams around the roof, because the constant heating and cooling during the day can warp the wood slightly. To repair this, we would recommend using a roof sealant. 

Head over to the NHBS website to browse our full range of bat boxes. If you have any other questions or would like further advice, please get in touch with our team of Wildlife Equipment Specialists (email: equipment@nhbs.com or phone +44 (0)1803 865913).


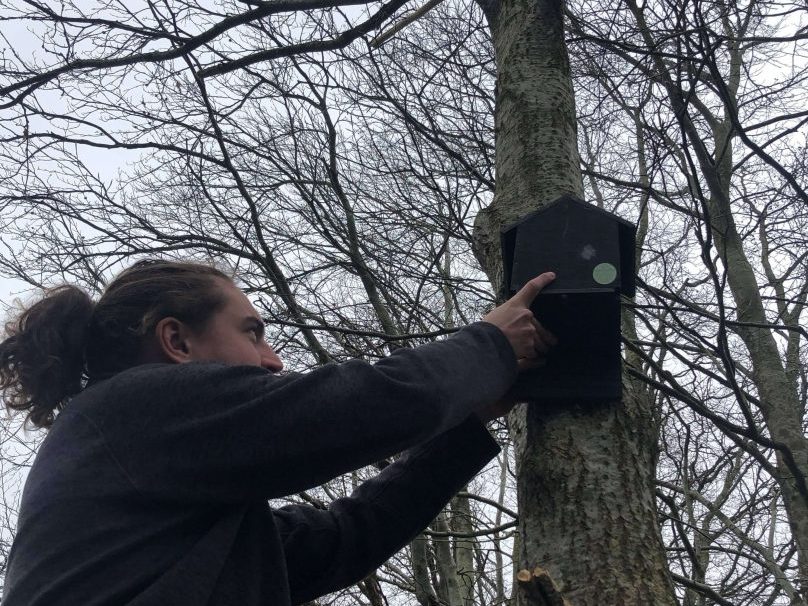
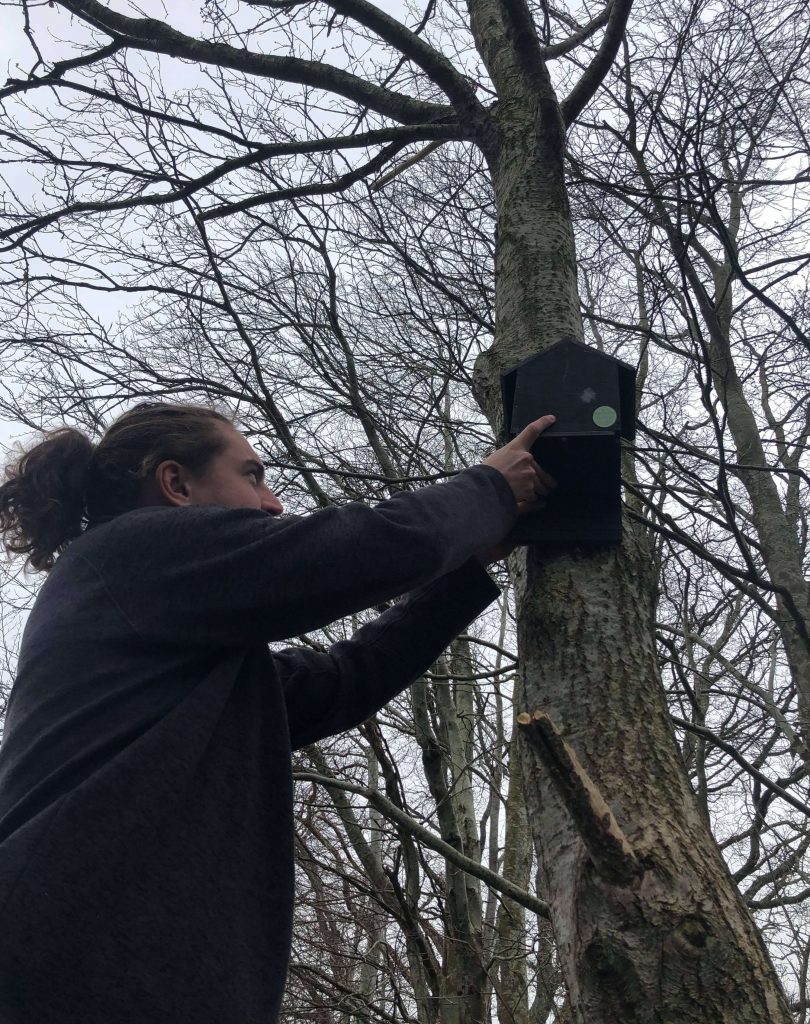
How to put up a nest box

We have previously looked at the where to hang and how to maintain a nest box. Now we’d like to get down to the details, and take a look at the actual process of putting the box up.

For most situations, you will want to put the box on a tree, fence or wall, so we will address each of these individually. (If you have a box that is designed to be built into a house wall or roof, then it is likely that your builder will care of this for you).

The tips below are suitable for both bird and bat boxes.


Fixing to a tree
Tree Sparrow Nest Box

There are several things to be aware of when attaching a nest box to a living tree. The most important is that the growth of the tree will affect the fitting. This means that boxes should be checked at least once a year to make sure that they are still secure. A box which has fallen to the ground is of little use to birds, and one which falls down with a nest and eggs inside is disastrous.

The most common way to put up a nest box is using a strong nail which is at least 85mm in length. It is important to use aluminium nails, as these will not damage a chainsaw (or chainsaw user), should they be left in the tree when it is felled. Nylon, brass, copper and hardwood nails can also be used but steel nails should be avoided as they will quickly rust, making them difficult to adjust or remove.

Using a screw instead of a nail can also be a good option and means that you can loosen it by a couple of turns every year to compensate for the growth of the tree. Screws are more suitable for hardwood trees as they will be very difficult to adjust in softwood. Make sure that all nails or screws are removed from the tree if the boxes are taken down.

An alternative to using a nail or screw is to tie the box to the tree. Wire and synthetic twine both work well and, if boxes are tied loosely, they can be edged upwards as the tree grows. Boxes can also be hung from a horizontal branch if they come with a suitable hanger (e.g. Schwegler 1B).

Fixing to a fence
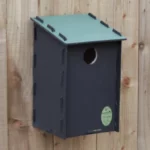
Eco Starling Nest Box

Hanging a bird box on a fence poses fewer problems than siting a box on a tree, as you will not need to worry about the wood growing. Use a strong nail or screw and check it annually to make sure that it still feels secure.


Fixing to a wall
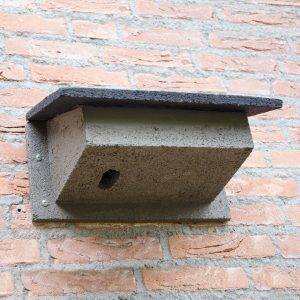
WoodStone Swift Nest Box

To fix a box to a brick wall will require a power drill with hammer action, masonry bits and a screwdriver. You will also need wall plugs and screws which are small enough to go through the hole in the box. Using the drill, make a hole which is slightly longer than your wall plug. (You can use a piece of tape around the drill bit to indicate the depth to which you need to drill). Insert the plug and then screw in the screw, first threading it through the hole in the box. Having a second person to hold the box will probably be helpful and, if you are using ladders, make sure that you take sensible steps to ensure your safety. Appropriate eye protection and clothing should always be worn.


Head over to nhbs.com for our full range of nest boxes, aluminium nails and ladders.

The NHBS Guide: Where to Hang and How to Maintain Your Nest Box

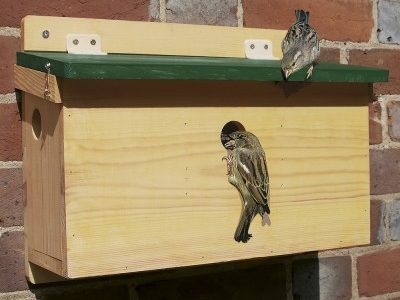
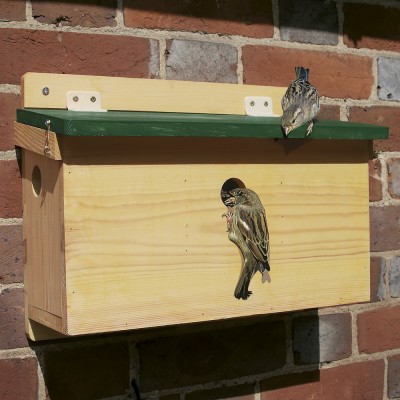
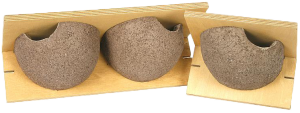
House Sparrow Terrace FSC Nest Box

There is a shortage of natural nesting sites for birds and this has played a part in the decline of some of the UK’s most iconic species. It is easy to provide nesting opportunities for birds in our gardens and outdoor spaces, however, and with spring rapidly approaching, now is the ideal time to start thinking about nest boxes for your local birds. Locating your nest boxes correctly is one of the key determinants in how likely birds are to occupy them and with this in mind we have put together some answers to the most frequently asked questions about nest boxes – covering where and when to put up your boxes, cleaning and maintenance as well as dealing with predators.

You can browse the full range of nest boxes we sell online and, if you’re keen to find out more, check out the BTO Nestbox Guide, which is packed with essential information.

When is the best time to put up nest boxes?

There really is no ‘best’ time to put up nest boxes.  By putting up boxes in the autumn you can provide much needed winter refuges for roosting birds and possibly increase the chance of them staying and nesting there when spring comes around.  However, any box erected before the end of February stands a good chance of being occupied if it is sited correctly.  Even after February there is still a chance that they will be used; tits have been known to move in during April and house martins as late as July. Therefore, put your nest box up as soon as it is available rather than leaving it in the shed!

Where should I hang my nest box?

1B Schwegler Nest Box

When it comes to nest boxes, the ‘where’ is much more important than the ‘when’.  Nest boxes must provide a safe, comfortable environment and protect the inhabitants from predators and the worst of the weather.  This may be difficult to achieve; a safe location out of reach of predators may also be exposed to the weather, so have a good think before you start bashing nails in.

Nest boxes can be fixed to walls, trees or buildings and different styles of boxes are available which are suitable for each.  Fixing to artificial surfaces means the growth of the tree does not have to be considered which is useful for Schwegler and Vivara Pro nest boxes which last for at least 20-25 years: a significant amount of time in the life of a small tree.  If you’re planning any building work, remember that some bird and bat boxes can also be built directly into walls and roofs.

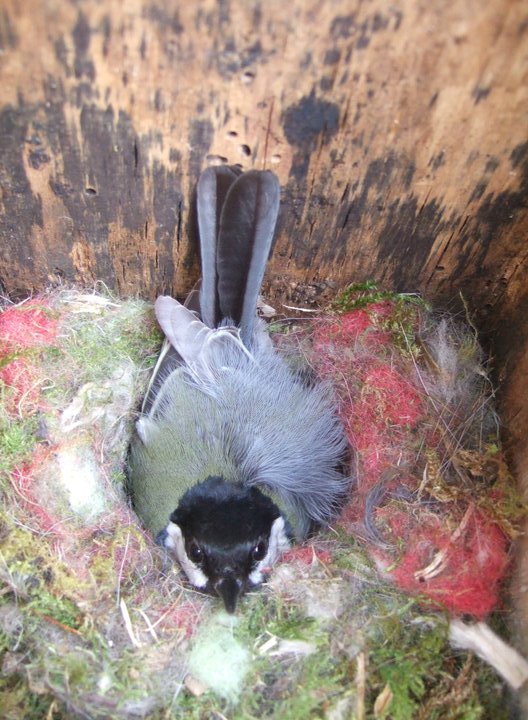
Incubating Great tit – Photo: Simone Webber

Locating boxes out of the reach of predators can be a challenge (weasels can climb almost anything), but there are things you can do to make it harder for them.  Boxes in gardens should be located where cats cannot get to them and prickly or thorny bushes can also help to deter unwanted visitors. Some nest boxes also have anti-predator designs (e.gSchwegler’s 1N deep nest box).  It is best to avoid nest boxes that have a combined bird feeder and boxes should not be sited too close to the bird feeders in your garden. Visitors to the feeder may disturb the nesting birds and the feeder could attract unwanted attention from predators.

For many species the height of the box is not crucial.  However, by placing it at least two metres off the ground you can help prevent predators and human interference.  The direction of the entrance hole should be away from the prevailing wind and it is beneficial for there to be a clear flight path to the box.  Crucially, the box should be also be sheltered from the prevailing wind, rain and strong sunlight, so in most UK gardens aim for an aspect of northerly, easterly or south-easterly.  If possible, position the box with a slight downward angle to provide further protection from the rain.  Some species do have specific requirements for where a box should be sited (e.g. house martins and swifts nests need to be sited under the eaves); please see our product details for particular instructions for different species. Wherever you position the box, try to ensure that you can still get access to it for maintenance.  And finally, if possible, try to put it somewhere where you can see it, or invest in a nest box camera, so as to maximise your enjoyment of watching wild birds in your garden.

Is there anything else I can do to deter predators?

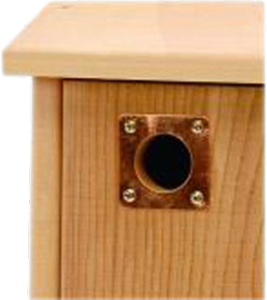
Entrance hole protection plate

As already mentioned, location is the most important factor when trying to deter predators.  Whilst some mammals can climb walls, a blank wall is fairly inaccessible so can be a good choice.  Ensure that the box cannot be reached by a single jump from a nearby branch or the ground.

Box design can also help deter predators.  An entrance hole reinforced with a metal plate will prevent grey squirrels and some avian predators from enlarging the hole and gaining access to the nest.  Woodcrete and WoodStone boxes are too hard for any predator to break through.  However, you can also reinforce a nest box yourself with metal protection plates or provide additional protection with prickly twigs.  Deep boxes may prevent predators reaching in and grabbing nest occupants, although some tits have been known to fill up deep boxes with copious quantities of nesting material.  If using open-fronted nest boxes, a balloon of chicken wire over the entrance can work well.  If you live in an urban area, cats are likely to be the most common predator.  Gardeners have long since used various methods to exclude these unwanted visitors, such as pellets, electronic scarers and even lion dung (available from your nearest obliging zoo), all with varying degrees of success.

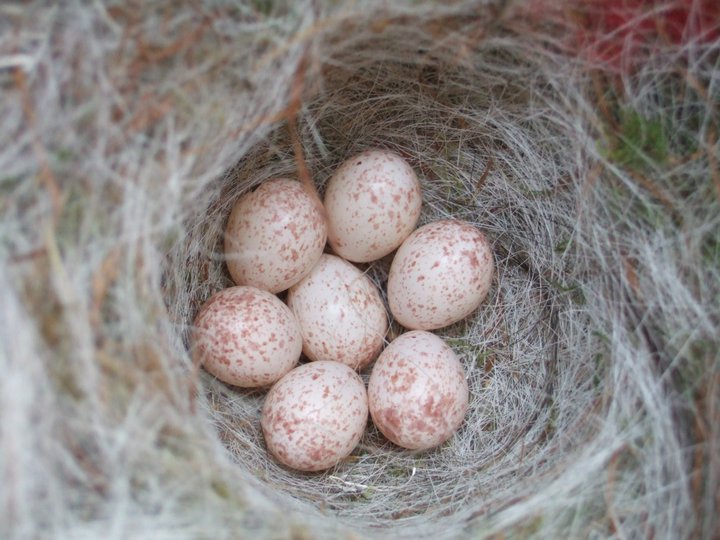
Great tit eggs – Photo: Simone Webber

How do I manage the nest box?

A well-designed nest box will only need one annual clean in the autumn. It is important not to clean out nest boxes before August as they may still be occupied.  Wait until autumn and then remove the contents, scattering them on the ground some way from the box to help prevent parasites re-infesting the nest box. Wear gloves and use a small brush or scraper to remove debris from the corners. Boiling water can be used to kill any parasites remaining in the box, but remember to leave the lid off for a while for it to try out. Do not wait until the winter to clean out nest boxes as birds may already be roosting in them. The tit species do a thorough clean out of any old nesting material or roosting debris before they begin nesting again but it will save them energy if you can help out.

How many nest boxes do I need?

House Martin Nests
House Martin Nests

The exact amount of boxes required will depend on the species and the surrounding habitat.  As a very general rule of thumb, start with ten assorted small boxes per hectare (ensure uniform spacing between boxes).  Keep adding several more boxes each season until some remain unused and hopefully you’ll hit on the correct density of boxes.  However, even if you only have space for one box it is still worthwhile, providing it is suitably located. Many UK bird species need all the additional nesting habitat they can get.

If you are interested in installing a nest box camera into one of your bird boxes, take a look at our “How to choose the right nest box camera” article, for more information on choosing the model that’s right for you.

Further information about individual nest boxes, including advice on positioning, can be found alongside each nest box in our range.  If you have any other questions or would like any further advice, then please get in touch with our team of Wildlife Equipment Specialists.


The NHBS Guide to Whale and Dolphin Watching

Public sighting records are important for UK cetacean conservation. Atlantic Bottlenose Dolphins by Jo Garbutt is licenced under CC BY 2.0
Catching a glimpse of a whale or dolphin whilst visiting the coast is a uniquely memorable experience and a few hours spent whale and dolphin watching is fun for all age groups. Plus, your sightings can really make a difference and will add to the growing body of survey data collected for the UK coastline.

Keep reading for some tips on when and where to watch whales and dolphins, how to get started and where to report your sightings.

When and where should I watch cetaceans and what am I likely to see?

The best time for spotting cetaceans is between April and October when visitors to our coastal waters are at their highest. Some areas are undoubtedly better than others for catching a glimpse of these elusive animals: Devon, Cornwall and Cardigan Bay in Wales are good places to go, as well as the coasts of northern Scotland.

Twenty-nine species of cetacean have been recorded in UK waters, and some areas of our coastline are home to permanent populations of dolphins. The most commonly reported species are bottlenose dolphins, harbour porpoises and minke whales, although rarer visitors have included killer whales, humpback whales and striped dolphins.

Of course, cetaceans aren’t the only things you will see. Keep your eyes peeled for seals too and enjoy the seabirds and beautiful views at the same time!

How do I get started watching whales and dolphins?

For most people, watching cetaceans from the land (rather than from a boat) will be the most convenient and economical option. Any place where you can sit comfortably with a good view of the sea will suffice, but if you can make your way to a cliff top then this will provide a better vantage point. Calm, overcast days tend to be the best for spotting cetaceans as the combination of swell, choppy waves and surface reflections can make fins all but impossible to see. For the same reason, the hours following dusk and prior to dawn are the best times of day to go.

A watch is conducted by scanning the surface of the water with the naked eye, switching to binoculars periodically or whenever you notice a disturbance at the surface. As soon as you see something that may be a whale or dolphin, concentrate your binoculars in that area, making sure to scan a little way around in case it surfaces again nearby. Another good technique is to look out for seabirds circling or diving as this may indicate cetaceans feeding just below the surface.

Any binoculars (or a scope and tripod) can be used for sea watches. If you are looking for binoculars specifically for this activity, however, make sure to go with a model that has a large objective lens diameter as this will improve the light transmission and will help with viewing in lower light conditions.

For researchers studying marine mammals, items such as thermal imaging scopes and hydrophones are useful additions to the surveying toolbox and will allow them to find and identify cetaceans in a greater range of conditions as well as enabling more detailed investigation of behaviour.

Where do I submit my sightings?

Several organisations in the UK offer online sighting forms where you can submit information about whales, dolphins and porpoises that you have confidently identified during your watch. Take a look at the Sea Watch Foundation, the Whale and Dolphin Conservation, or the Cetacean Research & Rescue Unit websites for sighting forms. Other regional groups such as the Hebridean Whale and Dolphin Trust and Norfolk Cetaceans also collect local sightings so it might be worth finding out if there is an active recording group near to where you live.

Check out the NHBS website for a great range of binoculars and scopes, as well as other handy field kit such as waterproof clipboards and notebooks. Also have a look at these two field guides to help with identifying whales and dolphins.

Guide to the UK Cetaceans and Seals
Whales, Dolphins and Seals: A Field Guide to the Marine Mammals of the World


Recording Orthoptera using a bat detector

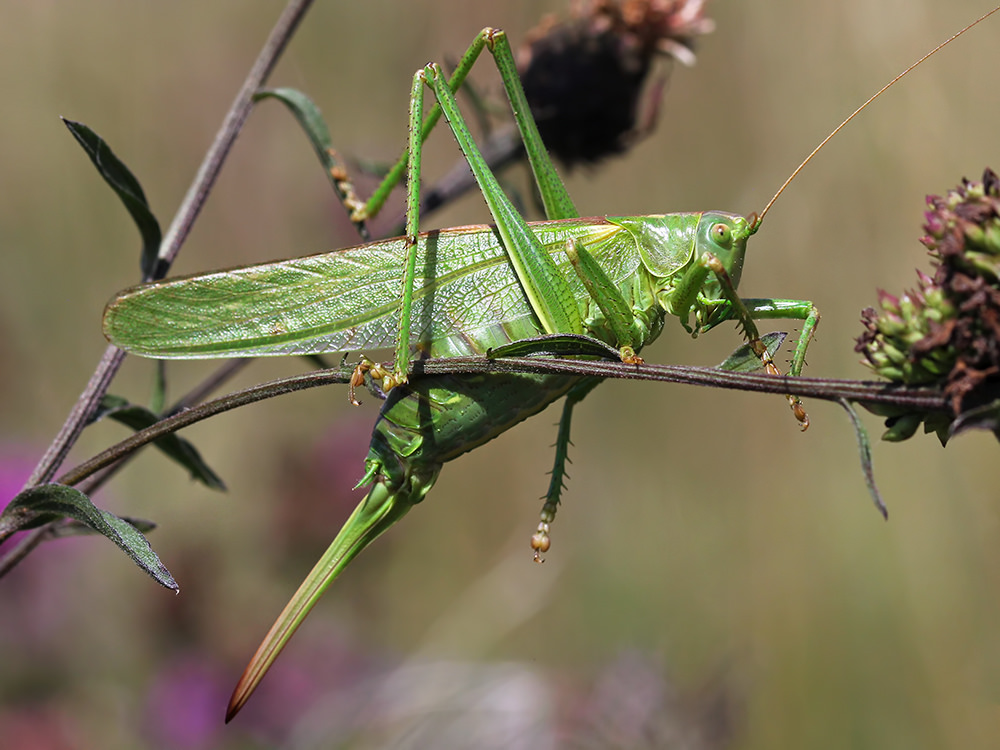
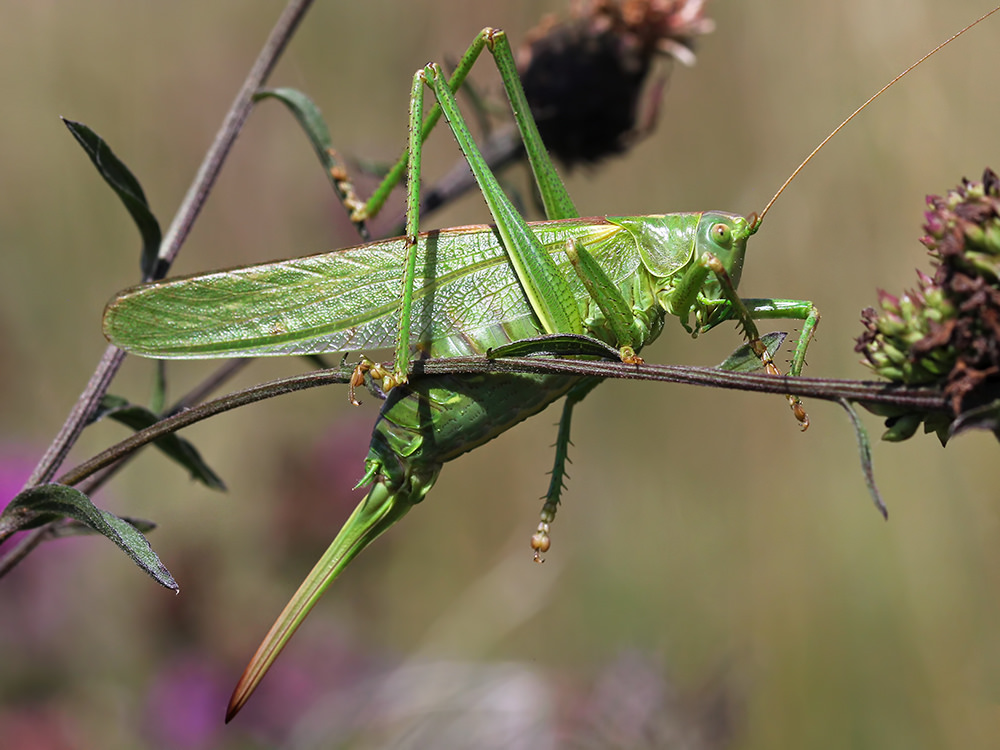
Great Green Bush Cricket
The Great Green Bush Cricket is the largest of the UK Bush Crickets. This beautiful image of a female cricket was taken by Charlie Jackson, from Flickr Creative Commons (CC by 2.0).


The order Orthoptera consists of the grasshoppers and crickets. Although most suited to warmer climates where they are incredibly diverse, in Britain we have 27 native species, as well as a number of non-native, naturalised species. From a very young age we are aware of these beautiful creatures as the sounds they produce fill our countryside with noise.

The characteristic Orthoptera song or “stridulation” is produced either by rubbing the wings together (observed in most of the grasshoppers) or by rubbing a hind leg against a wing (a method used by most crickets). The sound produced is an important part of the courtship ritual and is also used for other types of communication. As the sound created by different species varies significantly, studying these calls is an excellent way of surveying Orthoptera, and is helpful for finding individuals which can then be identified visually.

Stridulation produces a sound which covers a variety of frequencies – the sound made by grasshoppers is usually audible, but many species of cricket produce a higher ultrasonic frequency which cannot be heard by most humans. The use of a bat detector to listen to these higher frequency songs is an excellent way to listen to those species that we would not ordinarily be able to hear, such as the Speckled Bush Cricket. It also allows us to increase the range at which we can hear the audible ones. Bat detectors are also of use to older surveyors, whose ability to hear higher frequencies has naturally declined.

A simple heterodyne detector is perfect for listening to grasshoppers and crickets – one such as the Magenta Bat 4 or the Batbox IIID is ideal as it allows you to tune it to a specific frequency (as opposed to some of the more “intelligent” detectors which will alter it for you). The detector should be set to a frequency of 35-40kHz then all you need to do is sweep it around in different directions until you pick up your subject. It is best to stand in one place while surveying as the noise produced by your footsteps and clothes moving will produce background ultrasound noise which can confuse what you are hearing. The best days for surveying are warm and sunny; crickets are generally crepuscular (active during twilight) whilst grasshoppers are usually active throughout the day.

Unlike bat detecting, where the peak frequency is a key diagnostic feature for determining species, this information is less important for Opthoptera. Of more importance is the pattern and type of sound produced. The Environmental Records Centre of Cornwall and Scilly has a great guide to identifying Orthoptera including a useful information sheet on the use of bat detectors. They also have a collection of sound files of grasshoppers and crickets that you can use to recognise the typical calls produced by many of the species found in Britain.
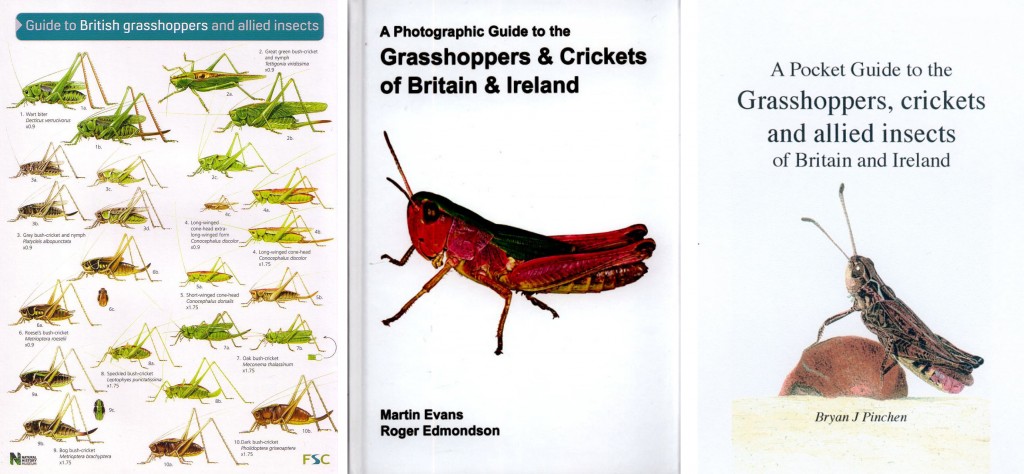
Why not take along a leaflet or book to aid your identification: The FSC guide to British Grasshoppers and Allied Insects is a handy fold out guide with a useful key. For those looking for a more in depth guide, try the Photographic Guide to the Grasshoppers and Crickets of Britain and Ireland or the Pocket Guide to the Grasshoppers, Crickets and Allied Insects of Britain and Ireland.
Books

Want to know more? Visit the website of the Grasshoppers and Related Insects Recording Scheme of Britain and Ireland where you will find lots of information and can submit your survey results. Or why not download the iRecord Grasshoppers app which is available for iPhone and Android devices.