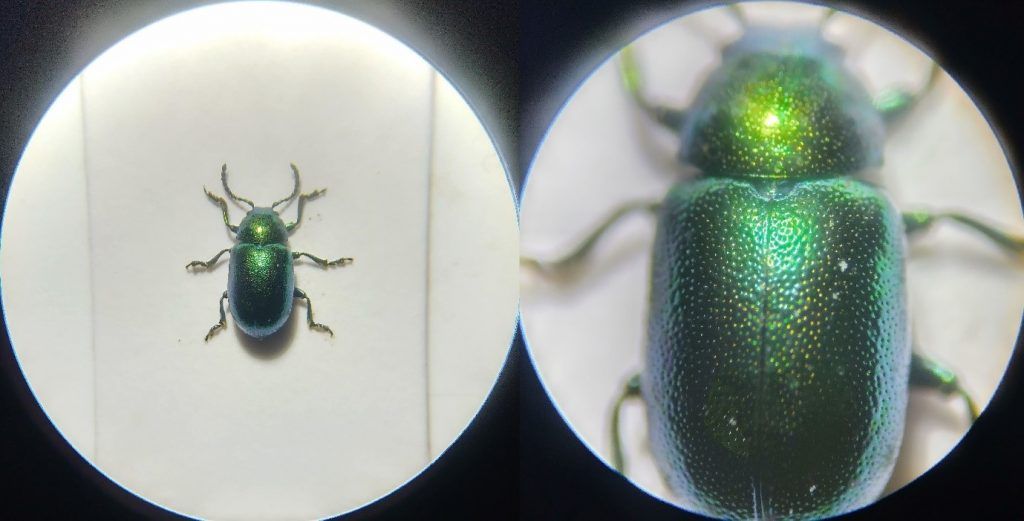
When thinking of the varied toolkit of the enterprising naturalist, a microscope is perhaps not the first thing that springs to mind. Nevertheless, for many entomologists, botanists and comparative zoologists, the ever-reliable 10× hand lens eventually proves insufficient. Indeed, many species of insect, lichen and fungi (among many others) are difficult to identify past genus or even subfamily without the use of more powerful optics. Animal scat, small mammal dentition and hair fibres can be likewise difficult to evaluate without suitable magnification. But researching the best optical equipment for your purpose can be a disheartening task, especially for naturalists who are likely to come across a wide range of resources for the engineer and medical professional, but sparse pickings tailored to their own specific needs.
For most naturalists, the 3D image and relatively low magnification of the stereo microscope (also called the low-powered dissection microscope) fits the bill nicely. However, with several big-name brands, a wide range of price points and numerous specifications available for uses across a plethora of fields, it’s useful to be armed with some background knowledge when choosing your own microscope.
Stereo Microscopes
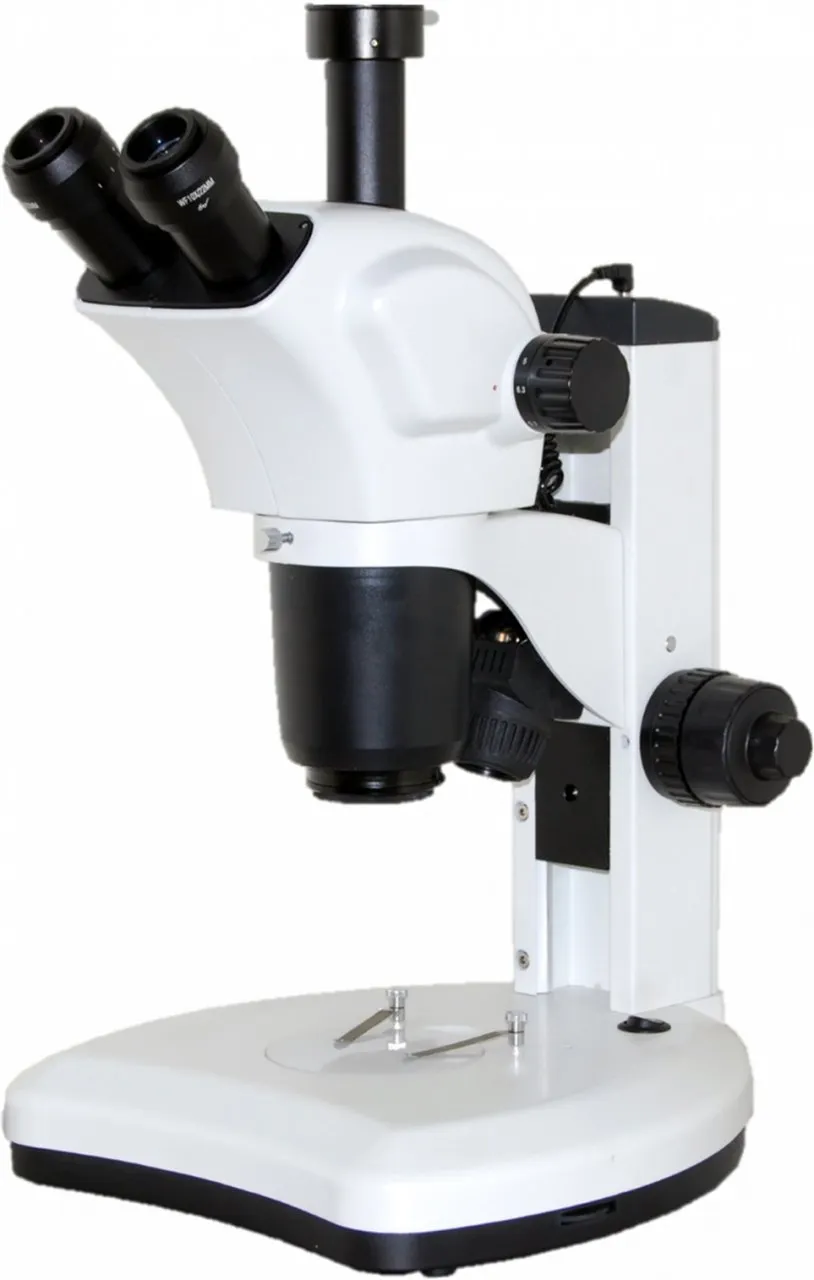
Stereo microscopes are made up of several parts: most include a base with or without illumination, a pillar with an adjustable bracket for the head and a head comprising of two eyepieces and one or two objective lenses, depending on whether the microscope uses the Greenough or Common Mains Objective design (discussed below). Some also include a third eyepiece or ‘photo tube’.

Specifics regarding the different parts of the microscope will be discussed later, but for now, it is important to understand how magnification is calculated. The optics of a stereo microscope consist of two eyepiece lenses and one or two objective lenses with which they are paired. Each provides its own zoom – typically 10× for a standard eyepiece and 2× or 4× for the objective (although many objectives provide a range of magnifications between 2× and 4×, see below). The overall magnification is calculated by multiplying the objective and eyepiece lenses together, for example a system with 10× eyepieces and a 2× objective will provide a zoom of 20×. Some objectives have a dynamic zoom lens, as we’ll discuss later.
Optical Systems: Greenough vs Common Mains Objective
Stereo microscopes are grouped by the optical system that they use – Greenough or Common Mains Objective (CMO). Both systems have distinct advantages and disadvantages, so knowing the difference is vital.
A staple since its original conception in the 1890s, the Greenough Optical System works by angling two objective lenses towards each other to create a 3D image. The objectives have wide apertures for good light-gathering potential, providing a crisp, clear image. It is also cheap to produce, meaning that most entry- to mid-level stereo microscopes utilise this design. However, as the lenses are slightly tilted, the focus is not constant across the image – the outer left and right portions of the view are always slightly over-focused while the centre is clear. This is known as the ‘keystone effect’, and while it is often unconsciously corrected for by the human eye, it does cause the viewer to experience eye fatigue more rapidly than the alternative.
Introduced in the middle of the 20th century, the Common Mains Objective (CMO) system uses one objective lens that is shared by both eye pieces, allowing for exceptional light-gathering potential, and eliminating the keystone effect. However, the single objective leads to a problem known as ‘perspective distortion’, in which the centre of the image appears to be elevated like a fish-eye lens. Models that correct this can cost thousands of pounds, so for many naturalists, a high-end Greenough system is likely to be a better investment than a low-end CMO microscope.
Magnification
Once you’ve decided which system you would like to go for, consider the magnification. Most microscopes under £1,000 fall into the 20-40/45× range. Occasionally 60× models are offered in this bracket, but it’s definitely worth testing these before purchase as the extra range can come at the cost of features such as lens quality. Remember too that as zoom increases, the aperture of the lens decreases, making the image worse. For most insects above 2mm, a 20×-40× microscope should do the job. Groups that rely on minuscule features or genitalia dissections may require higher magnifications, but this often requires a better-quality microscope that uses high-quality parts to maintain a clear, bright image.

The cheapest stereo microscopes use a ‘fixed’ zoom system, with a single pair of objective lenses that provide one magnification, normally 20×. The objective (and sometimes the eyepieces) can be removed and replaced manually with a higher magnification alternative.
Models above the £150 mark generally use a rotating ‘turret’ system shared with compound microscopes. Two pairs of objective lenses are included and can be rotated into place, generally 2× and 4× allowing for 20× and 40× magnification. For the serious amateur naturalist looking to invest in a ‘workhorse’ style system, this is often the design to choose, and many professional entomologists and botanists spend years learning with such an optic.
Finally, stereo microscopes above around £300 generally use a dynamic zoom system. This allows the magnification to be altered across a range (normally 20-40×). The default 10× eyepiece can be swapped for a greater magnification if desired. Many also include a ‘click stop’ system for easy reading of the magnification without having to look up. The flexibility of these microscopes makes them the most popular choice among many naturalists.
The Head: Binocular vs Trinocular
This is simple but important to consider. While the binocular head is generally considered to be the default for stereo microscopes, the trinocular variant is extremely popular among researchers and anyone who seeks to document their microscopy: the addition of the third eyepiece (phototube) allows for a camera to be attached and images or video to be captured while the user is viewing the image. Many microscope cameras are designed to be used specifically with a phototube and will not function when used with a binocular head. Some, like the Moticam X3, can be used with either.
The Stand: Base, Stage Plate and Illumination
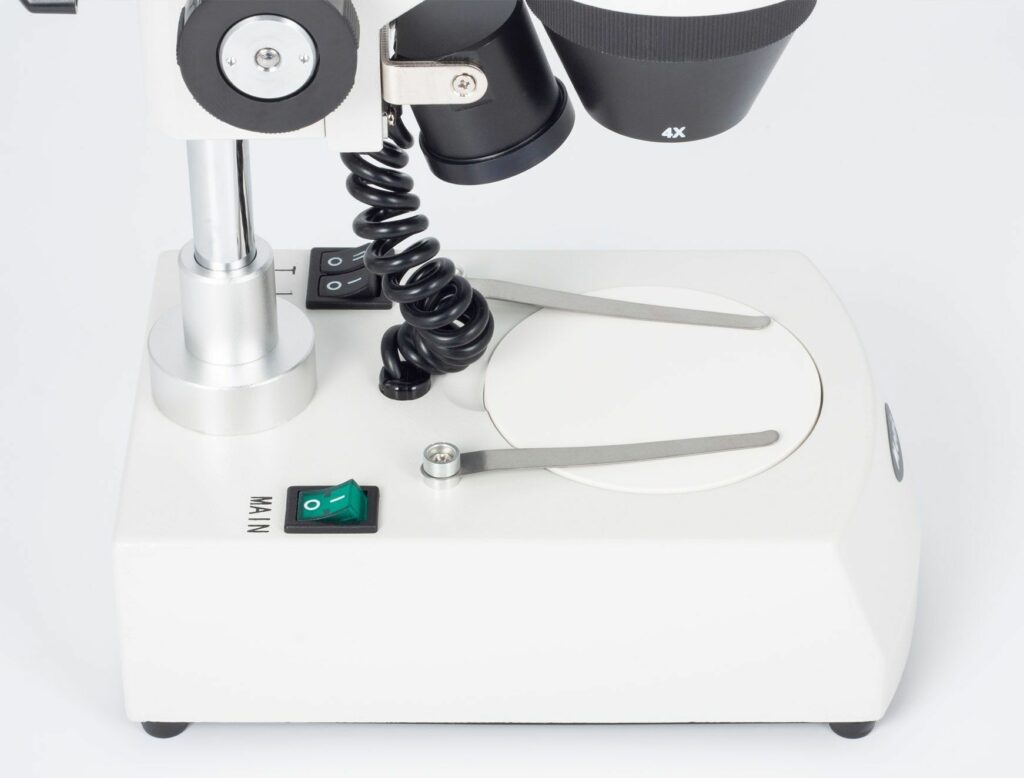
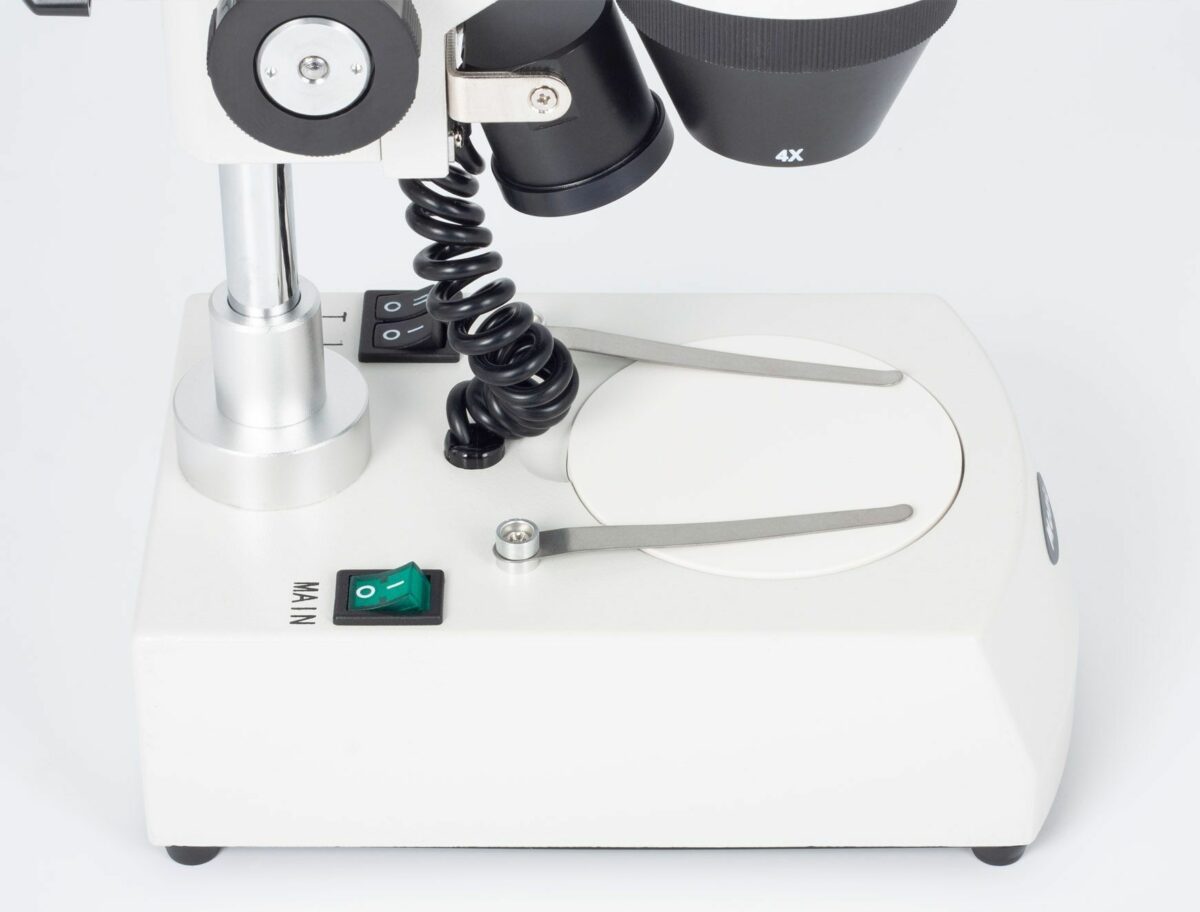
When choosing an illumination system, it is important to consider what you’ll be using your microscope for. You’ll often see plain (no illumination), halogen, or LED bases offered, with the plain option being the cheapest and LED the most expensive. Most illuminated bases offer both transmitted and reflected illumination, referring to the way in which light reaches the eye. The reflected system utilizes a light that shines straight down on the subject, reflecting the light off of the subject and into the user’s eye. This is the most commonly used design among naturalists, as the examination of opaque objects such as insects, plant material and mammal hairs requires the user to observe the sample’s upper surface.
Transmitted illumination utilizes a bulb beneath the sample, projecting light directly to the user’s eye, similar to a compound microscope. This is used in the examination of translucent samples such as aquatic invertebrates and some macroalgae.
This is also where stage plates come in. Sitting below the subject as the ‘background’ of the image, most microscopes come with opaque black and white options for use with the reflected illumination setting and a frosted glass option that light will shine through for use with transmitted illumination.

Don’t immediately discount a plain base. Many naturalists prefer not to use built-in illumination that sits directly above the subject, as specimens that require the examination of fine details on the sample’s surface, such as many beetle species, can be difficult to ID under such a light. The best solution is to purchase a dedicated microscope illumination unit, a handy tool that usually includes two swan neck LEDs that can illuminate the subject from whichever angle is most auspicious. These aren’t cheap, but the cost of one is often covered by the money saved in purchasing a base without a built-in light.
Finally, consider the difference between halogen and LED illumination. For many purposes, such as the examination of bones, animal hair or water samples, this is irrelevant and largely comes down to a matter of taste. However, some materials are prone to desiccation under the heat of a halogen lamp. Therefore, particularly for entomological work and work involving live samples, LED illumination is often preferred.
More Information
The array of options that go alongside buying your first microscope can be daunting, but with a little consideration, you should be well set to explore the wonderful world of the tiny. Keep in mind your budget, and the microscope’s intended function, and you won’t go wrong. The information in this blog should be a strong starting point, but if you should want any more advice, feel free to get in touch with our friendly team of Wildlife Equipment Specialists via customer.services@nhbs.com or phone on 01803 865913. Our full range of stereo microscopes can be found here.

