Trail cameras are an invaluable piece of equipment for those seeking to monitor wildlife as it is when there are no humans around. Unlike typical cameras, trail cameras are designed to be left in a particular location to capture photographs or video footage of passing animals. Thanks to infrared imaging technology, most modern trail cameras will also allow you to capture images of nocturnal animals under low light conditions.
The best trail cameras can endure a range of tough weather conditions and extreme temperatures due to weatherproof casing and a robust design. Their small size and camouflaged casing allow these cameras to blend into their surroundings and remain relatively inconspicuous. Most trail cameras can also be fitted with a python lock or security box to protect against damage or theft.
At NHBS, we sell a wide range of trail cameras and, like all products, there are advantages and disadvantages depending on the model and brand. To compare the trail cameras in our range we have prepared categories based on several of the key factors to consider when buying a trail camera. All recommendations found here are our opinions and views may differ on which cameras are best for each category.
Beginner Camera
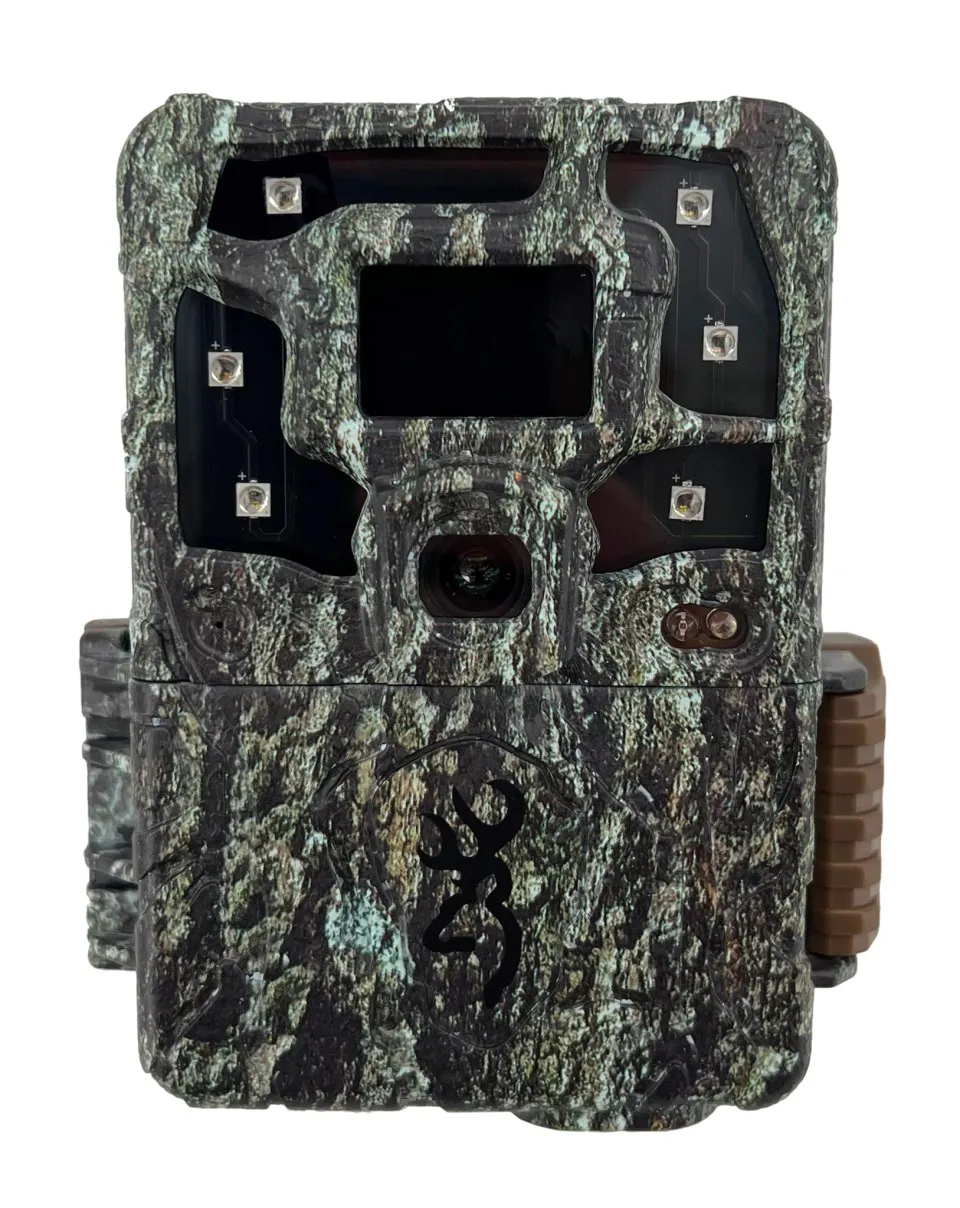
Browning Strike Force Pro X 1080
With a fast trigger speed, strong picture quality and robust design the Browning Strike Force Pro X 1080 performs well across all major categories. While not quite reaching to heights of some of our more advanced cameras in terms of picture quality, this economic camera is perfect for those looking for a starter camera or for high quality at an affordable price.

Picture Quality
When considering image quality, keep in mind that manufacturers sometimes inflate megapixel ratings through interpolation, a process by which pixels are digitally added to the image. While on paper photos have a higher megapixel count, the image quality is not improved. This is a marketing gimmick which eats up storage and generates longer recovery times.
While our top picks for picture quality both use interpolation, it is the quality of the photographs and footage produced by the camera which we base our opinion on.
Browning Recon Force Elite HP5
With crisp and clear daytime pictures and excellent night-time imagery, the Browning Recon Force Elite HP5 wins the top spot for picture quality. Video footage produced by this camera is of equally high quality as shown by recordings from our own team:
This camera is significantly cheaper than its close competitor, the Bushnell Core DS-4K. Another factor in this camera’s favour.
Bushnell Core DS-4K
A closer runner up, the Bushnell Core DS-4K likewise demonstrates superb picture quality. An advantage of this camera is the longer battery life when using the video capture setting, permitting longer deployment in the field, together with a world-beating 4K video resolution.
Night Footage
The nighttime capabilities of modern trail cameras are a key draw for many users. Using infrared technology, most trail cameras can capture photographs and videos of elusive nocturnal animals whose movements are normally challenging to monitor.
Browning Spec Ops Elite HP5
While the Browning Recon Force Elite HP5 and the Bushnell Core DS-4K perform well at night, if you are looking for a trail camera specifically designed to excel in low light conditions, the Browning Spec Ops Elite HP5 is a safe bet. This camera displays superb nighttime video and photographs with excellent clarity and contrast. A stealthy camera with top of the range trigger and recovery speeds, the Spec Ops Elite HP5 benefits from a no glow IR flash which allows it to remain inconspicuous in the presence of easily startled nocturnal animals.
Browning Dark Ops Pro DCL
Equipped with Radiant 6 Night Illumination Technology and a longer flash range than the Spec Ops Elite HP5, the Browning Dark Ops Pro DCL produces outstanding nighttime footage; the trade-off is a significantly reduced battery life and inferior daytime picture quality compared to the Spec Ops.
Trigger Speed
The trigger speed is the amount of time between the camera detecting movement and a photograph being taken. For those looking to monitor larger animals a quick trigger speed is of secondary importance; however, trigger speed is very important when monitoring small fast-moving animals where a small difference in trigger speed might mean the difference between capturing a picture of the animal or not.
Browning Spec Ops Elite HP5
Here the Spec Ops Elite HP5 stands out from the crowd yet again. One of the top cameras in our range, its lightning-fast trigger speed of 0.1 seconds makes this camera a perfect choice for those monitoring even the quickest creatures. The Spec Ops Elite HP5 also boasts a swift recovery speed of 0.5 seconds, granting the ability to rapidly capture multiple pictures of an animal in the camera’s detection range.
Battery Life
Browning Patriot
The Browning Patriot is not only one of our best all-rounders, performing well in all categories, but also the camera in our range with the longest battery life. Depending on the settings used (videos use up more battery power), this camera can last for over a year in the field without changing batteries.
Browning Strike Force HD Pro X
Another well-rounded camera, the Strike Force is also a strong performer when it comes to battery life.
Durability
Durability – Reconyx HyperFire 2 HF2X
A strong favourite amongst researchers operating in extreme environments, the Reconyx HyperFire 2 HF2X offers unparalleled resilience and longevity. We tend to recommend this camera for use in tough conditions as it can operate in temperatures of -29° to +50°C and comes with an impressive 5-year warranty. The more expensive Reconyx UltraFire XR6 has the benefit of improved picture quality; however, this trail camera carries a shorter 2-year warranty and slower trigger speed.

Cellular and Solar Cameras
Needing to go out to your trail camera when you want to change batteries, check photos or change settings can be time consuming, especially if your camera is in a remote location or if you have multiple cameras set up in different areas. Cellular and solar functionality save valuable time by reducing the frequency with which you need to physically interact with your trail camera. The trade-off is reduced image quality when compared to cameras without these features in a comparable price range.
Cellular – Spypoint LINK-MICRO-LTE
The Spypoint LINK-MICRO-LTE enables remote access to photos and settings by utilising cellular networks. It comes with a pre-activated SIM card, the free Spypoint app and a free monthly data plan allowing you to transfer up to 100 images per month. If you need to transfer more photos, choose from Spypoint’s affordable monthly payment plans.
While excellent for those wishing to leave their trail cameras in remote locations, remember the cellular features of the camera require a network connection to function, so ensure that you place the camera in a location with signal.
Please note, we cannot guarantee that cellular functions of the link series cameras will work outside of the UK.
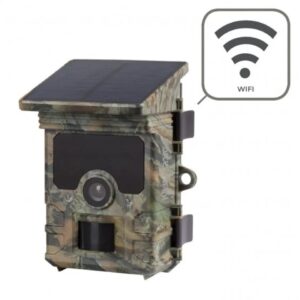
Solar – Num’axes PIE1060 Solar Wi-Fi Trail Camera
The Num’axes PIE1060 Solar Wi-Fi Trail Camera comes with a compact solar panel attached to the top of the unit which provides the camera’s lithium battery with an indefinite power supply when placed in sufficient sunlight. This negates the need to regularly replace the trail camera’s batteries, saving valuable time. The Num’axes camera likewise features WiFi technology, allowing photos to be remotely downloaded when inside the camera’s WiFi signal range.
Cellular and Solar – Spypoint LINK-MICRO-S
You can even combine features with the Spypoint LINK-MICRO-S. The built-in solar panel and cellular function allows you to leave the trail camera in the field for longer periods of time with minimal physical interaction.
Please note, we cannot guarantee that cellular functions of the link series cameras will work outside of the UK.
Recommendations and Accessories
A few important tips and accessories can go a long way to getting the best experience out of using your trail camera.
Use lithium batteries
Many new users elect to use alkaline or standard rechargeable batteries in their trail cameras and find that their camera is not working as expected. Lithium batteries are capable of giving off a stronger surge of energy. Most trail cameras are therefore designed to be used with lithium batteries; accordingly, we offer a bundle when purchasing a trail camera which normally includes eight lithium batteries. Using the wrong type of batteries is among the most common reasons for why a trail camera is not functioning correctly.
Rechargeable alternatives are available which perform well with trail cameras.
Python Mini Cable Lock
The versatile Python Lock with an 8mm diameter and length of 180cm is ideal for securing equipment and can be used with almost all our trail cameras.
Security Boxes
These tough and sturdy security boxes will help protect your trail camera from theft and damage. Double check that the security box you are purchasing is compatible with your trail camera model.
Explore our complete range of trail cameras on our website or check out our Watching Wildlife Guide on how to choose the right trail camera for further information on trail camera features.










 Our nylon