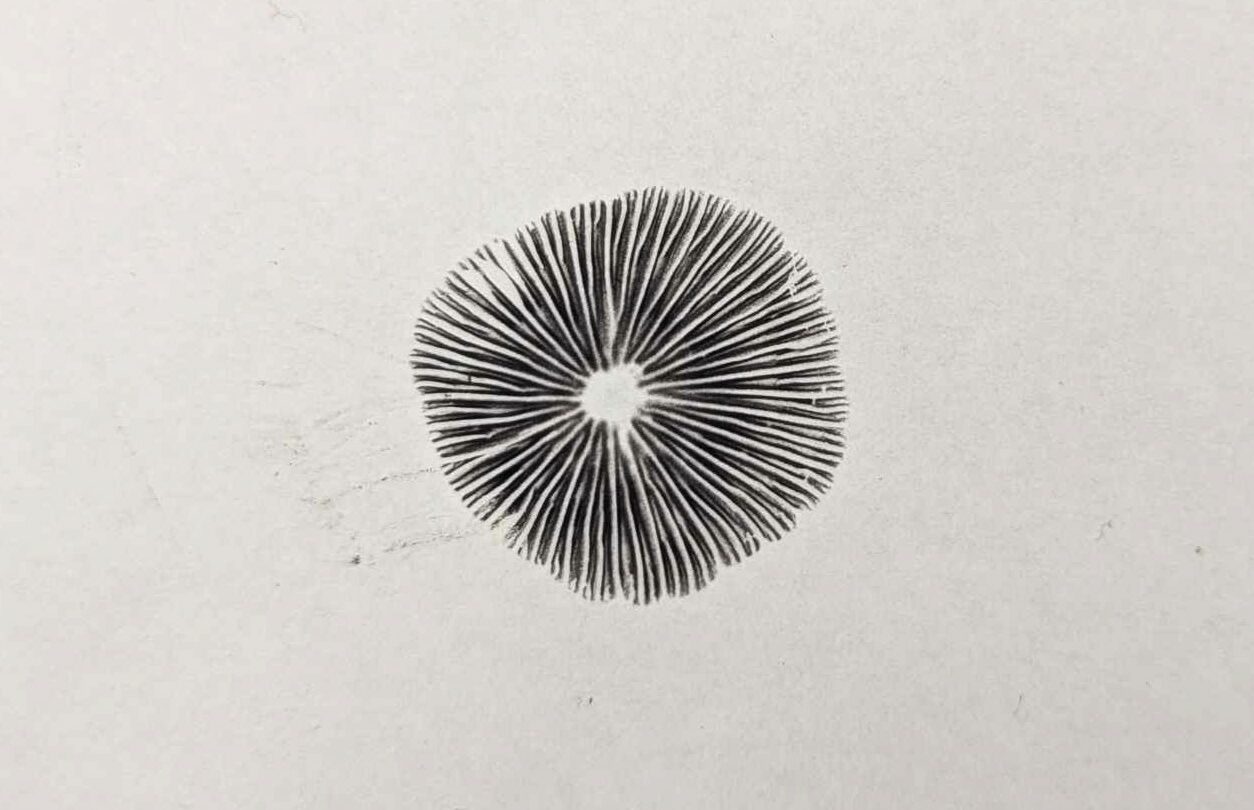
Whether you are a budding mycologist or a creative naturalist, spore printing can be a fantastic way to learn more about the intricate biology of fungi, and offers a unique glimpse into their inner structure. It is quick, simple and requires few resources to get started, allowing you to uniquely capture fantastic detail in just a few hours.
In this beginner’s guide, we delve into why we make spore prints and share how to capture the perfect print for identification or decoration.
What are spores?
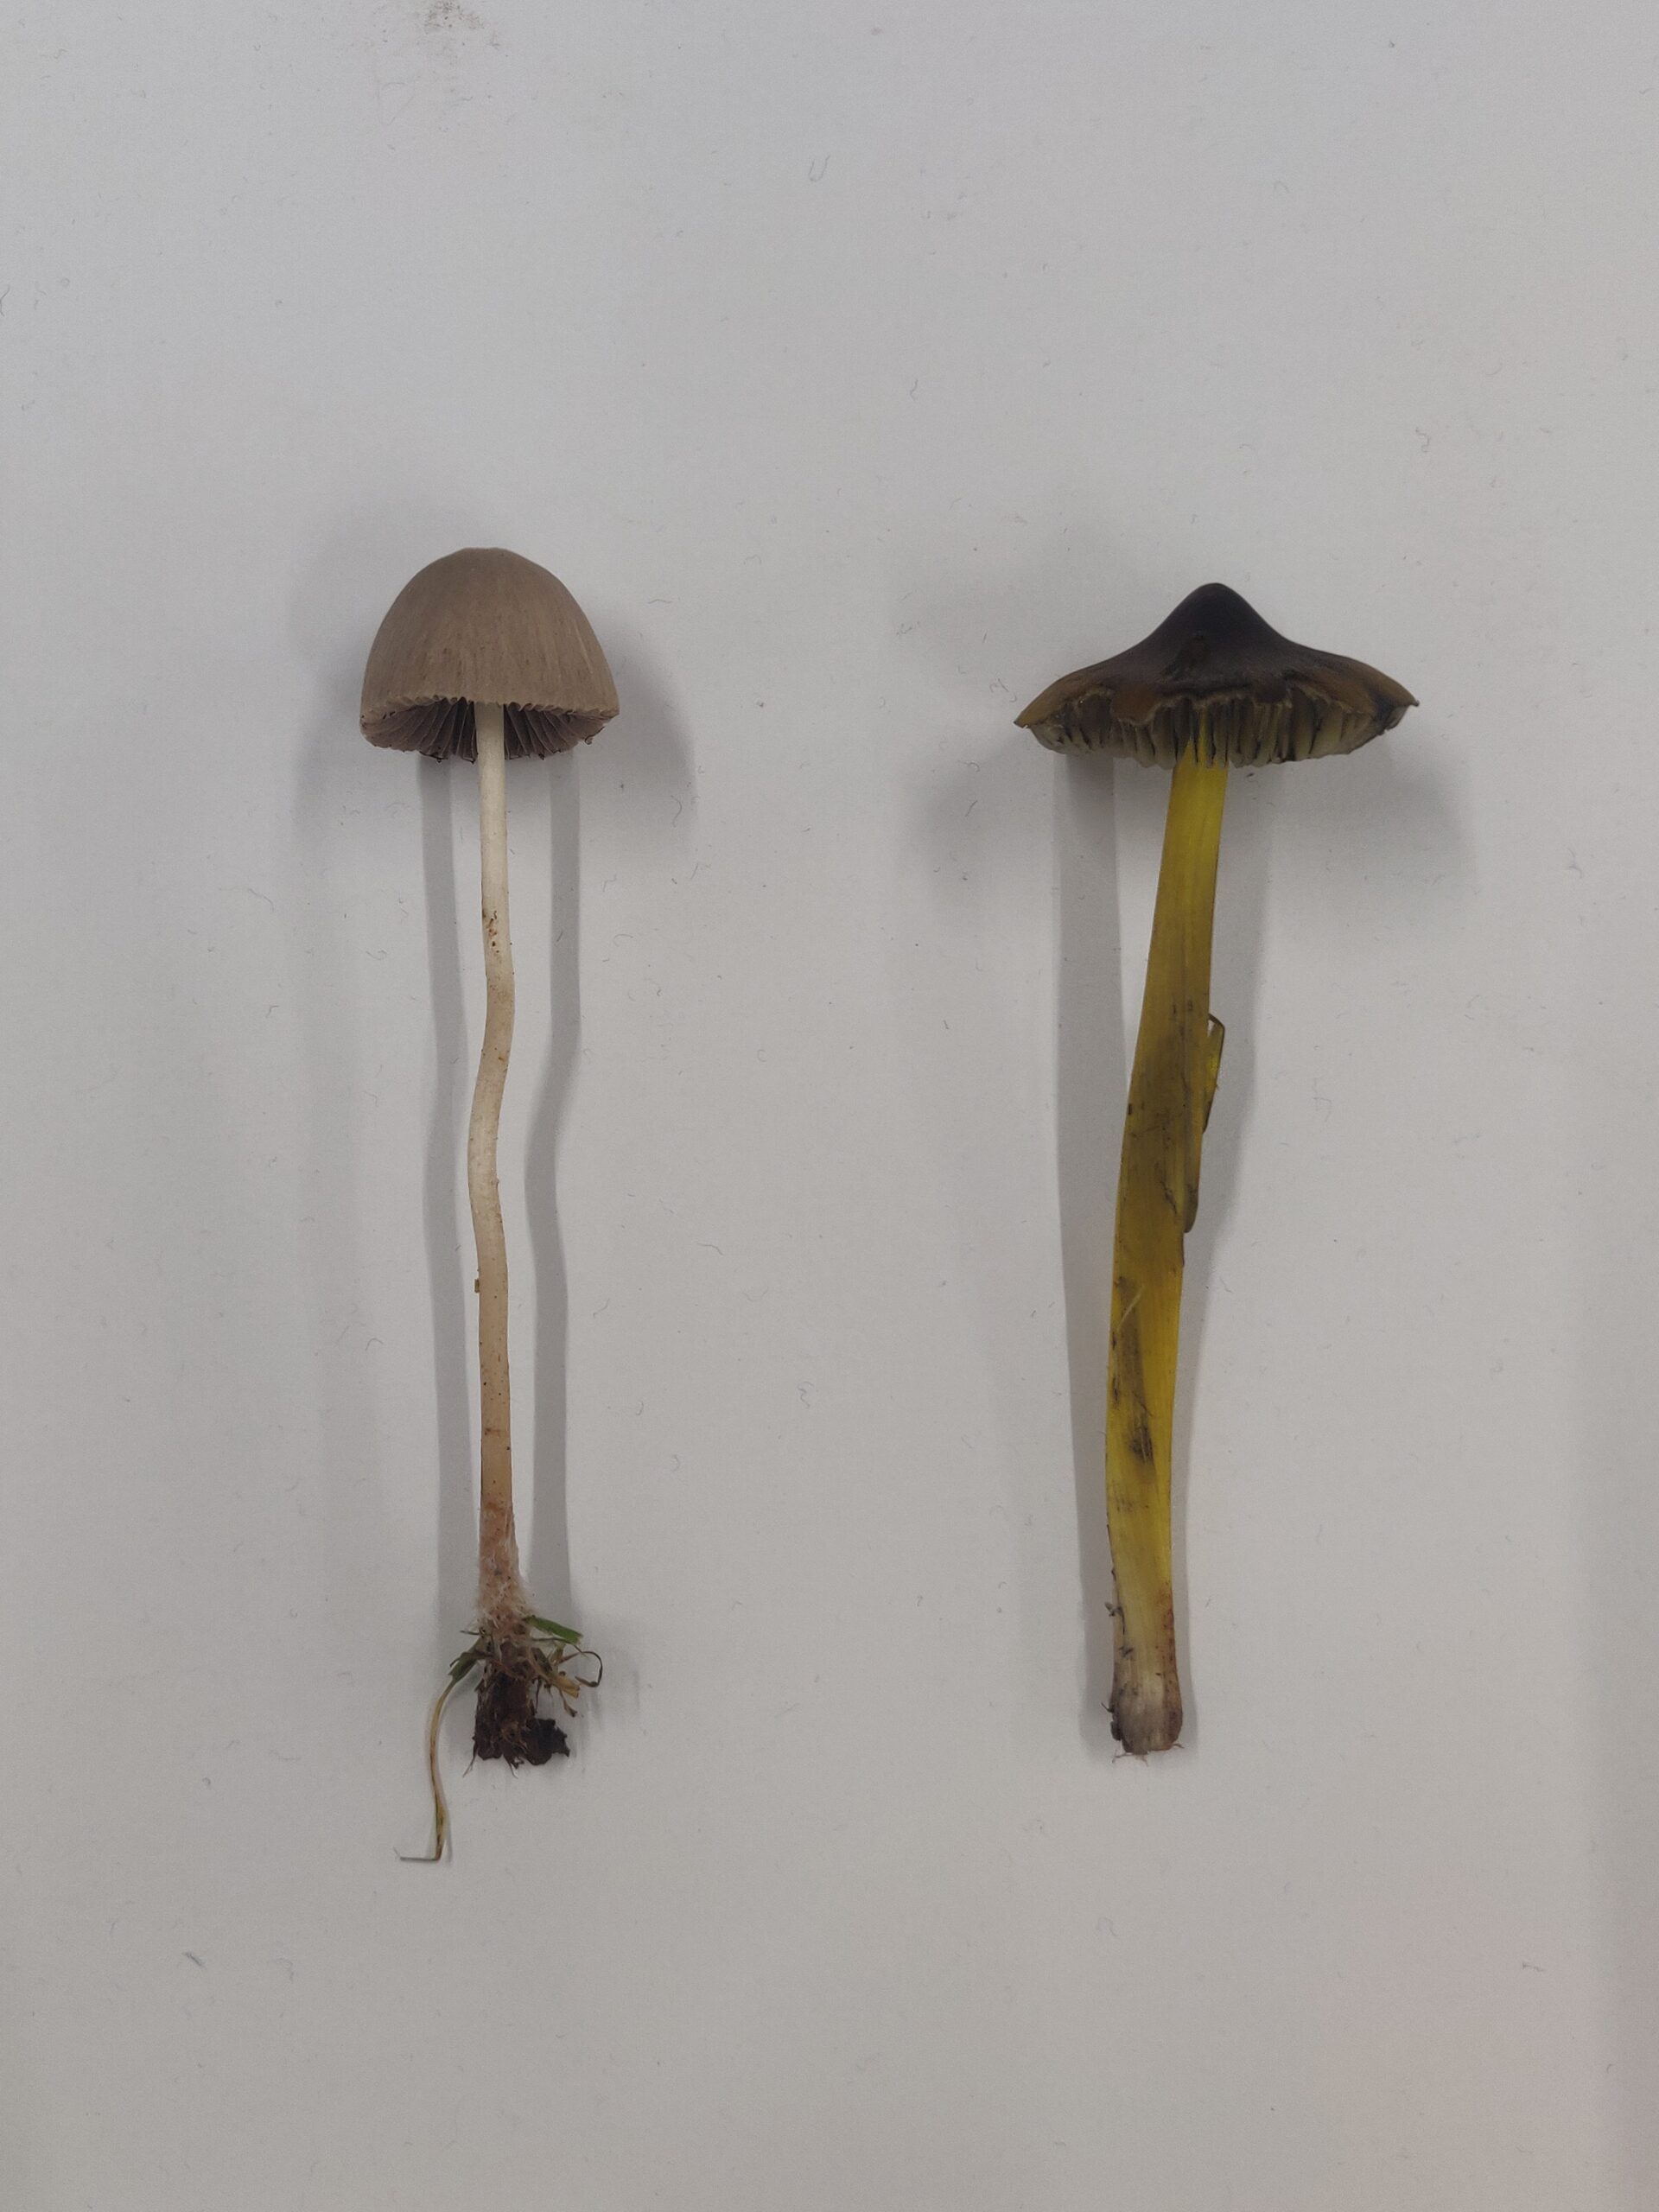
Spores are the primary reproductive unit of fungi, consisting of haploid cells that contain the genetic material required to reproduce. They are generally released from the gills or pores located underneath the cap of the mushroom, where they are then distributed through the environment via air currents or animal movement. Once the spores have landed on a substrate with a suitable growing environment, they form hyphal threads, gradually building a mycelial network. When environmental conditions are ideal, the mycelium will develop to produce the widely-recognised, and widely loved mushroom fruiting body.
Why make a spore print?
Spore prints are used for a range of reasons and are an essential skill for budding mycologists.
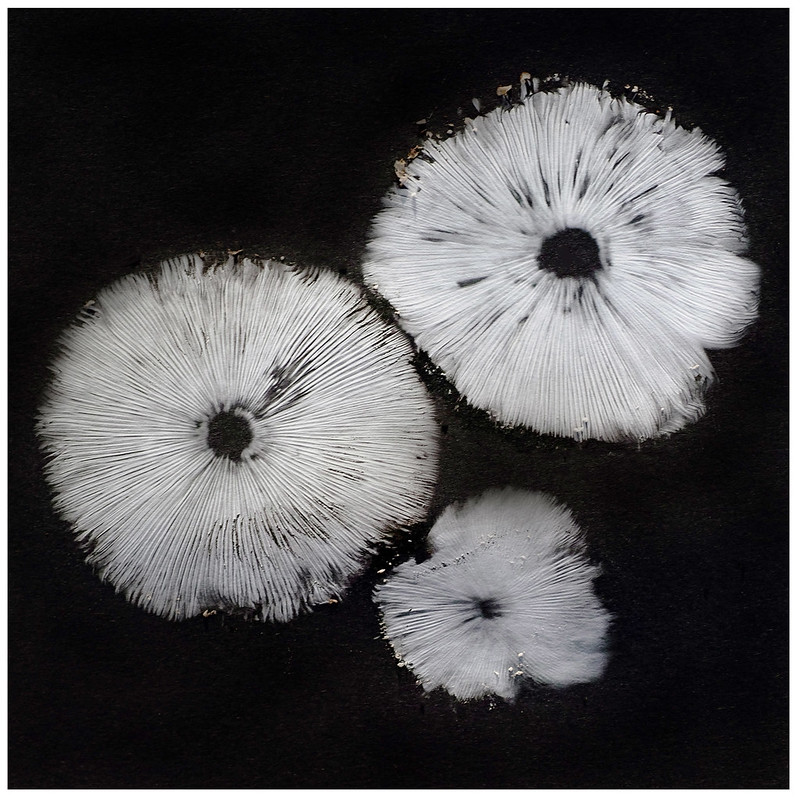
For those interested in mycology, or even foraging for food, spore prints can help with fungal identification by analysing the shape, size, colour, pattern and density of spores (although exercise caution with foraged goods as spore printing alone is not a reliable form of identification). It is also possible to observe spore characteristics microscopically to aid in identification, which can be done by obtaining a print on a microscope slide.
For collectors and enthusiasts, it is possible to grow your own mushrooms using the spores collected with this technique, and many others choose to simply admire their intricate biology with this informative process.
How to make a spore print
You will need:
- White or black paper, foil or glass
- A small, sharp knife or scalpel blade
- A glass or bowl, depending on the size of the specimen
- Artists lacquer spray (hair spray will also work)
Method:
- Find a suitable mushroom and ensure that the fruit is mature. This technique works with gilled and pored mushrooms, bracket fungi and oyster-shaped mushrooms.
- With a sharp knife, carefully remove the stipe as close to the cap as possible, without disturbing the gills around the stem.
- Place the cap gills-down onto a piece of paper. For darker coloured spores, use white paper for a clearer print, and vice versa for white spores. If you wish to grow mushrooms from gathered spores, foil is often chosen for its sterility and glass is preferred for those wishing to observe spores under a microscope.
- Cover the cap with a glass or bowl, depending on the size and let it sit for up to 12 hours. Covering the mushroom creates an air trap, allowing the spores to fall directly onto the material used for the print.
- After 12 hours, remove the cover and allow to fully dry for a day or two. If you are planning to display your print, lightly (!) spritz with artists’ lacquer spray or hairspray to secure the spores.
To safely store spore prints, fold over and secure in a sealed bag at room temperature, or frozen if you plan to cultivate in the future.
Recommended Reading:
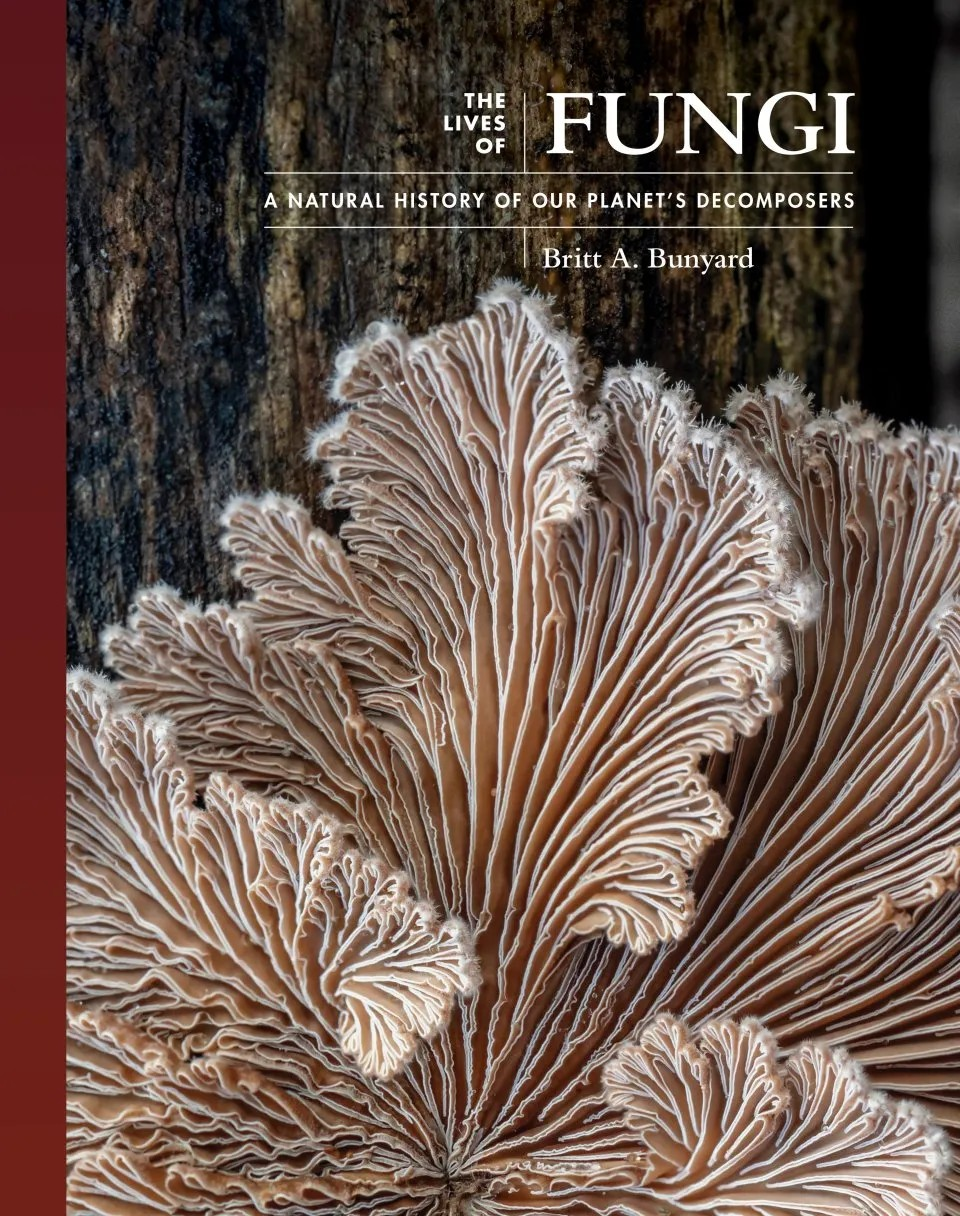
Filled with stunning photographs, this book invites the mycologically curious for an insider look into the hidden world of our planet’s diverse decomposers.
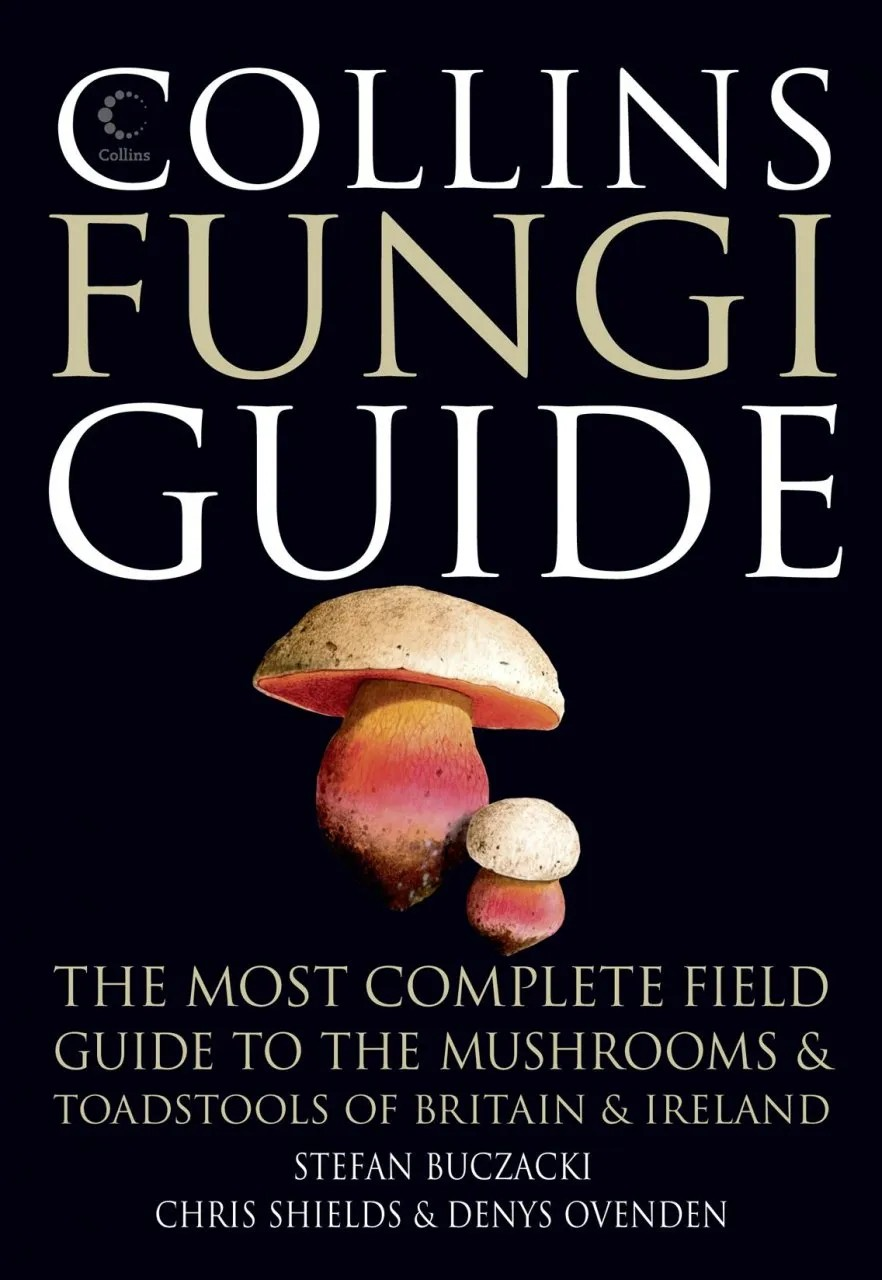
A richly illustrated guide to the fungi of Britain and Ireland, this book ensures clear, detailed descriptions for accurate identification.
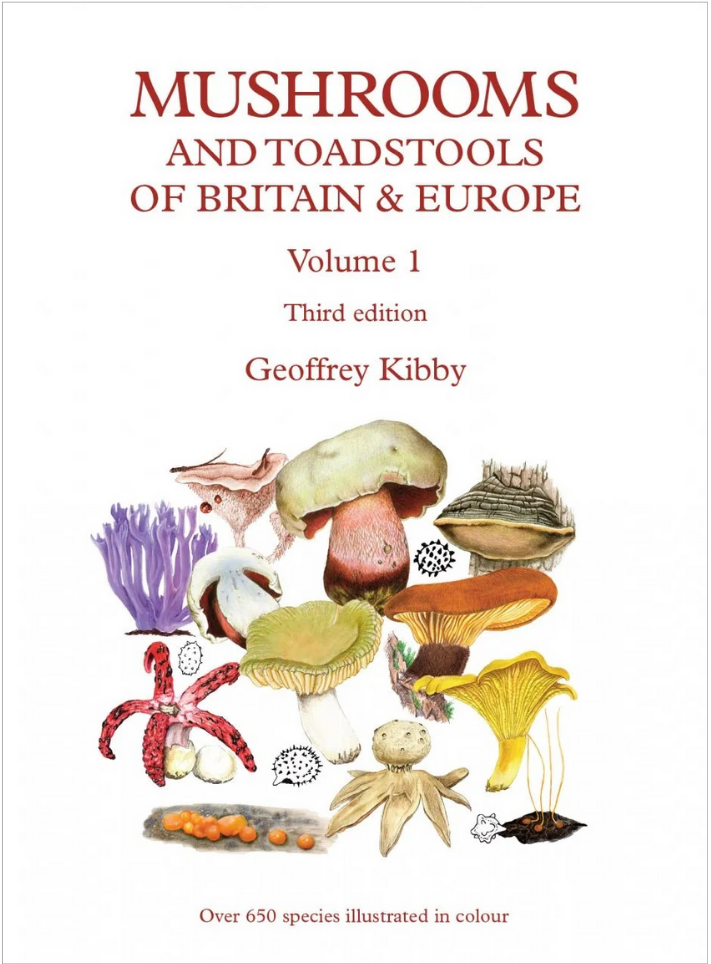 Mushrooms and Toadstools of Britain and Europe, Volume 1
This third edition illustrates over 650 species in stunning watercolour and features drawings of spores and other useful microscopic features to aid identification.
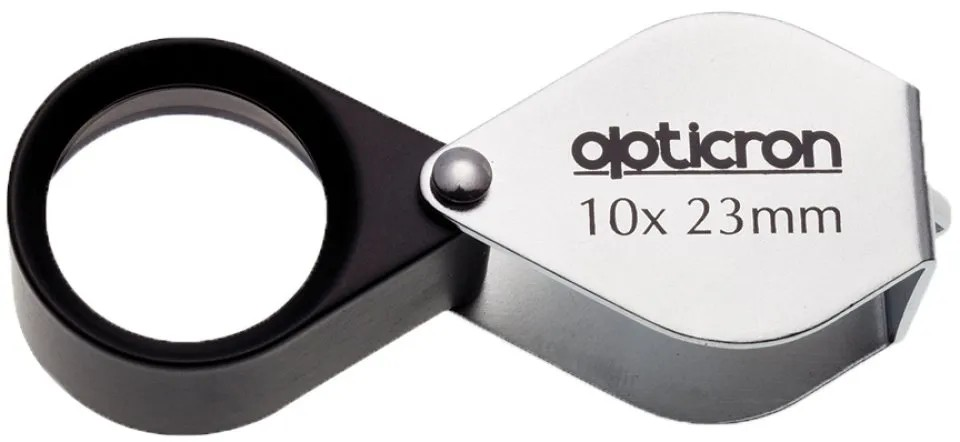 Opticron Hand Lens 23mm 10x Magnification
An essential part of any naturalist’s field kit, a hand lens will allow you to observe the finer details.
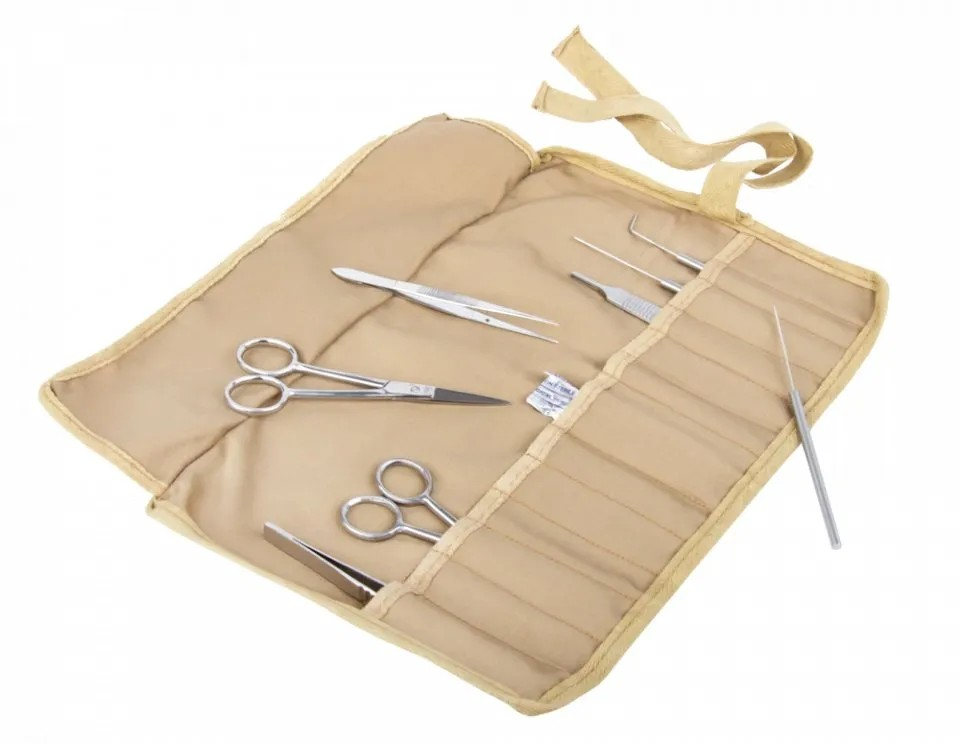
Equipped with a range of tools, this dissection kit is suited to mycologists, botanists and entomologists alike, and features a scalpel and forceps for sample manipulation.
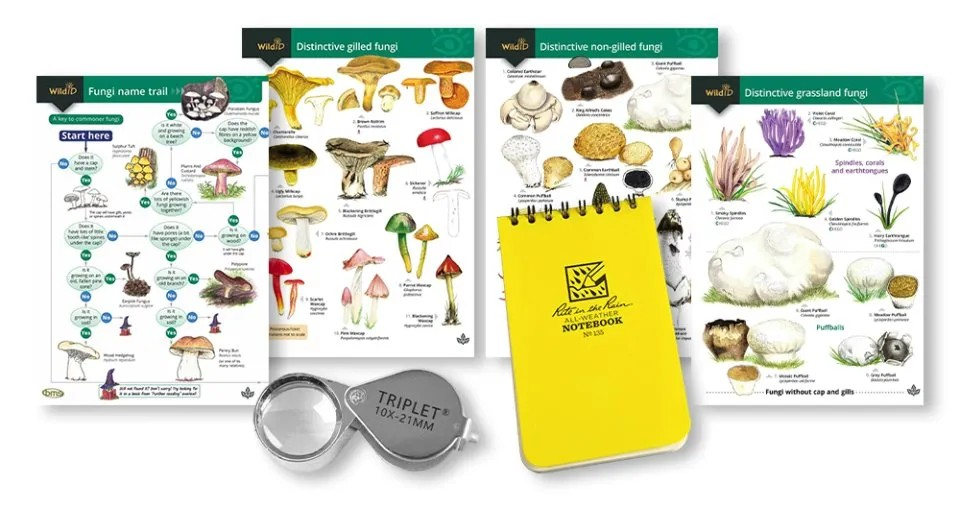
This comprehensive kit equips you with all the essentials to observe and document fungi in any weather, including a 10x magnification hand lens, weatherproof notebook and four waterproof identification guides to gilled fungi, non-gilled fungi, grassland fungi and common fungi.

