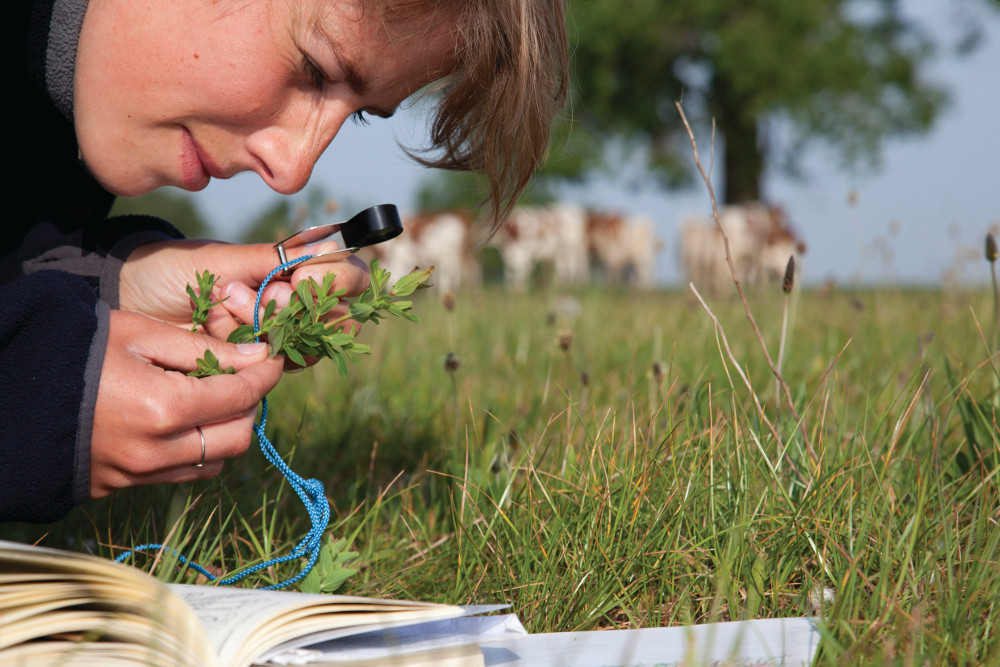
 The possession of a hand lens is one of the defining characteristics of a naturalist.
We use them for everything from peering at beetle genitalia and examining floral characters, to examining the arrangement of teeth in small mammal jaw bones. There are a wide variety of hand lenses on the market so how do you decide which lens is best for you? This article contains all the information you need to make an informed choice.
Glass versus plastic lens?
The optic in a hand lens can be made from glass or plastic. Serious naturalists and professionals will always choose a glass lens. Plastic lenses are generally more affordable and lighter but are of lower optical quality and are more difficult to clean. Plastic hand lenses and magnifiers, however, can be a good choice for schools and young children, for these users have a look at the Hand Held Magnifier.
How many optical elements?
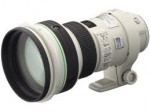
An element is an individual piece of glass within a lens. When you look through a high quality camera lens you will typically be viewing what’s in front of the lens through four to six lens elements, as well as other elements used for focusing and zooming (see image below right).

Hand lenses are constructed with one (singlet), two (doublet) or three (triplet) lens elements. Each one is specially shaped to correct for a particular type of optical distortion, so the more elements, the higher quality the image.
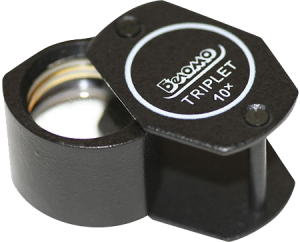 The highest quality lenses that we offer are the triplet products made by Kite and Belomo. These offer a bright, crystal clear and undistorted view of your subject. The images afforded by these optics will impress the user whatever their field of work is, be it geology, entomology
 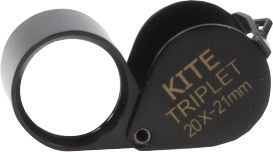 or botany.
N.B. There is a brand of hand lens / loupe called “Triplet”. Please note that 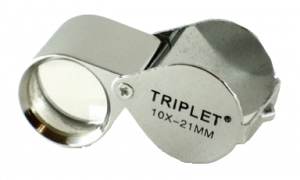 despite the brand name this popular product has one lens (singlet).
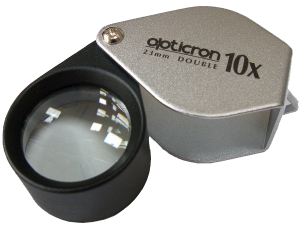
If you are interested in obtaining a doublet hand lens you should consider those that are manufactured by Opticron and also Kite. Opticron will be a familiar name if you have ever researched the purchase of a pair of binoculars and their hand lenses provide excellent distortion free magnification at 6x, 10x and 15x.
Magnification
A 10x magnification hand lens will be more than adequate for most purposes. Higher magnification lenses tend to be harder to use but are very useful for viewing extremely small objects. If you are unsure of which magnification you need, or think you may need several different lenses, you might consider the Triple Hand Lens (x3, x4 and x5).
Lens diameter
Large diameter lenses provide a wider field of view which means that they are easier to use but they are slightly more expensive to produce.
Hand lenses are named in the same way as binoculars, with both the lens diameter and the magnification included in the name. For example, the Opticron Hand Lens, 23mm, 10x Magnification has a 23mm diameter lens and provides 10x magnification.
LED Option
Some hand lenses such as the LED Triplet Loupe Hand Lens 10x 21mm 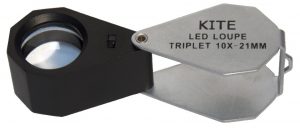 possess LED lighting in order to illuminate the object that you are viewing. This option can greatly improve your viewing experience and can be particularly valuable in low light conditions. Bat workers have expressed how useful these can be when looking for the key identifying features of a specimen held in the hand. Using a lens with LED can reduce stress on the bat because it means that you do not have to point the beam of your head torch directly at the animal.
Using your hand lens
Finally, a quick note on hand lens technique. To use your hand lens correctly, hold the lens close to your eye and then either a) move the subject closer to your eye until it comes in to focus or b) move your head (and the hand lens) closer to the subject until it comes into focus. The magnification of your lens will affect your positioning, as the higher the magnification, the smaller the focal length (the distance between the lens and the object) will be.
Getting the light right is also an important part of using your hand lens. You need a good source of light. Ideally, bright daylight but other bright light sources such as ceiling lights are sufficient. The light should be between your lens and the object, pointed at the object and not the magnifier. Any reflection on the lens can obscure the focus. This may require a little experimenting with your positioning until you get it right. It’s easy with a little practice so don’t get put off if you find a new hand lens difficult at first. Expect to get close up to what you’re examining – it’s quite common to see naturalists crawling around on the ground to get close to a plant they’re identifying.
Keeping your hand lens safe
It can be very hard to find a much-loved hand lens dropped in long grass or woodland. To prevent this happening, we recommend a lanyard for your hand lens – if you have it round your neck you won’t drop it!
For storage and transport purposes most hand lenses come equipped with 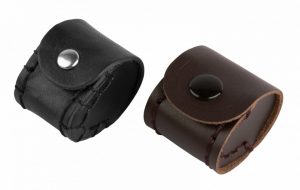 either a storage pouch or a plastic case. These enable you to keep your optic safe and reduce the risk of scratches or knocks occurring, especially when it is being carried in a pocket or bag. Spare leather pouches are available for the Triplet Loupe 10x 21mm but these may fit other lenses as well – we are happy to check before you buy.
Our full range of lenses and magnifiers can be found at nhbs.com.

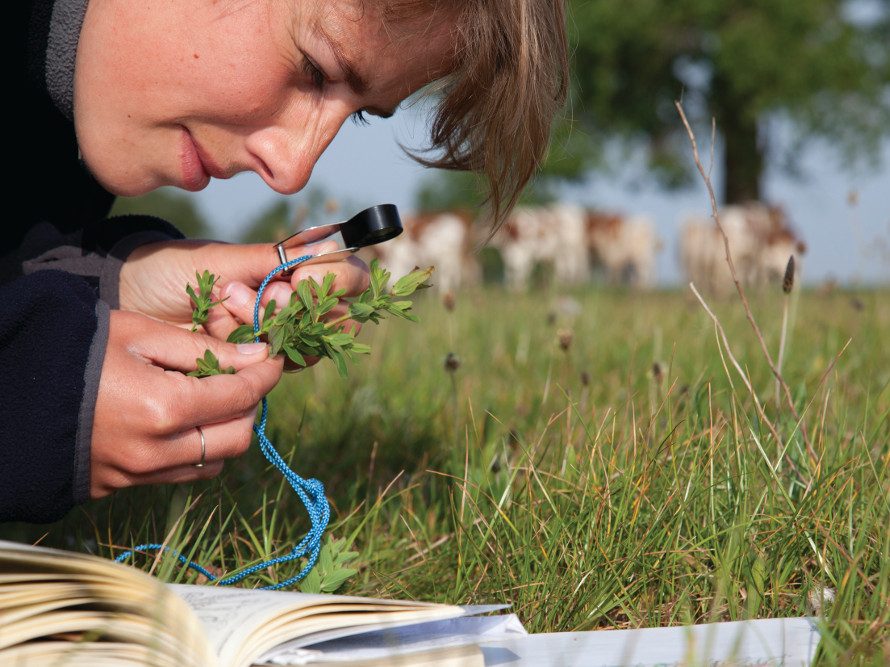
It was good to find this section. The lens position matters a lot for clear, wide, sharp viewing and an easily available explanation of this is clearly needed and I went straight to yours when I saw you had one available.
However the “Using your hand lens” section is very brief though it is surely the part that the novice needs information on most. Could you expand this section to include explanations of why/how the position of the lens matters; why it is so necessary to get the position of the lens correct and the light right.
Such information would, of course, require the heading photograph to be modified to explain that in particular situations the theoretical best position may need to be modified to get the best results and why the position here illustrated was selected as the best available solution.
The biologist tends not to be a physicist but in using equipment to best advantage a brief theoretical back ground is surely helpful – I certainly have found such information to be essential when I wanted to get the best out of equipment, particularly of optical equipment .
Thanks for reading the article and for your helpful suggestions. We’re hoping to write an updated version of this article at some point in the near future so we’ll definitely bear these comments in mind when we do so!
All the best,
Luanne